Follow these 10 key oven temperature guidelines to achieve perfect baking results every time. Use high temps (475-500°F) for pizza and bread, moderate temps (350-400°F) for cakes and cookies, and lower temps (325-350°F) for roasts and delicate items like cheesecakes. You'll need to adjust times based on temperature – higher temps require shorter baking times, while lower temps need longer durations. Keep in mind that opening the oven can add 5-15 minutes to cooking time, and different bakeware materials affect heat absorption. For precise results, always use an oven thermometer and monitor internal food temperatures. These basics will set you up for mastering more advanced baking techniques.
Understanding Solar Oven Temperature Ranges
How do solar ovens achieve such a wide range of cooking temperatures? The design and style of your solar cooker plays an essential role.
You'll find that parabolic cookers can reach impressive temperatures over 800°F, while box ovens typically max out between 325°F and 400°F. If you're using a portable model, expect temperatures around 210°F to 260°F. The performance depends heavily on using smooth reflective materials to concentrate sunlight effectively.
You'll need proper insulation and reflector panels to reach higher temperatures. For best results, position your oven between 10:00 a.m. and 2:00 p.m., when sunlight is strongest.
Remember, you'll need at least 180°F to cook food safely. Your location matters too – southern regions and summer months provide more intense sunlight.
Don't forget to protect your oven from wind, as it can greatly reduce cooking temperatures.
Adjusting Baking Times
When adjusting baking times, you'll need to account for temperature variations and their effects on different types of baked goods. Remember that higher temperatures require shorter baking times, while lower temperatures demand longer periods in the oven. You'll find that a 50-degree temperature difference can greatly impact your results. Opening the oven during baking causes heat loss of 5-15 minutes in additional cooking time.
For precise timing adjustments, follow these key guidelines:
- Calculate the percentage change in temperature (e.g., baking at 400°F instead of 450°F requires multiplying your original time by 400/450).
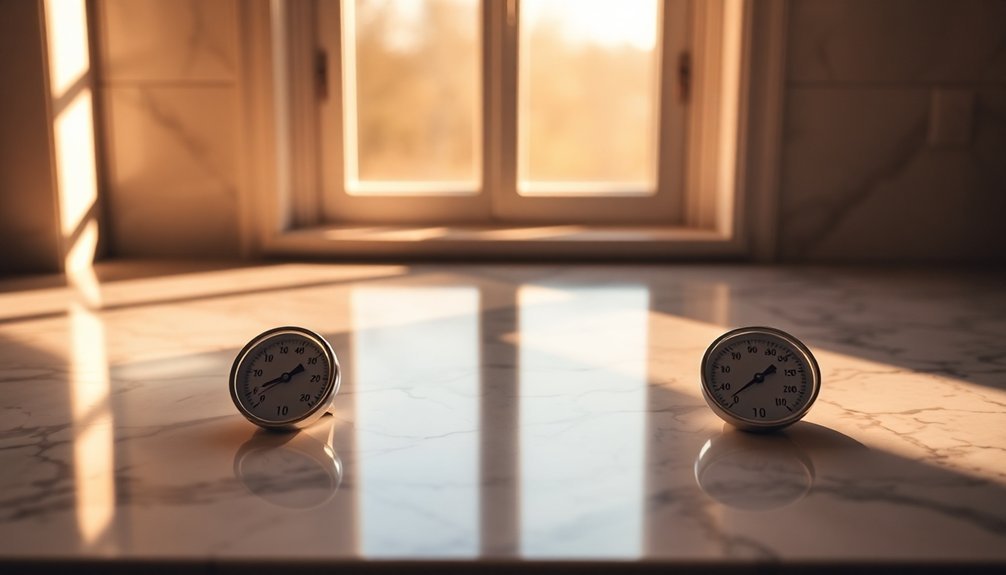
- Use an oven thermometer to verify actual temperatures, as settings can be inaccurate.
- Consider your bakeware material, as dark pans absorb more heat and may require shorter baking times.
For items requiring different temperatures, either split the difference for narrow ranges or bake sequentially when the gap is substantial.
Seasonal Temperature Variations
Beyond adjusting basic baking times, seasonal changes can greatly impact your baking results throughout the year.
In summer months, you'll need to reduce water content by about 10% and use colder liquids, as yeast becomes more active in higher temperatures. The dough can also become sticky due to increased humidity. Flour absorbs moisture from the humid summer air, requiring careful ingredient adjustments.
During winter, you'll face opposite challenges. Your dough will require warmer liquids since yeast activity slows in cooler temperatures, and you might need extra moisture due to drier flour.
Regardless of season, maintain dough temperatures between 75°F and 78°F for ideal results.
High humidity affects baking times too. You may need to extend baking by 3-5 minutes and closely monitor your dough's consistency.
Consider using air conditioning or a dehumidifier to create a more stable baking environment.
Optimal Solar Position
To achieve consistent results with solar cooking, understanding the sun's position is essential for perfect heat absorption. Effective solar cooking requires more direct sunlight at lower latitudes, making equatorial regions ideal for this cooking method.
You'll get the best results between 10:00 a.m. and 3:00 p.m., with peak intensity occurring from 11:00 a.m. to 2:00 p.m. Position your cooker on a level surface and adjust the angle so sunlight strikes it directly.
For optimal performance, follow these key positioning guidelines:
- Orient the front panel easterly for noontime meals, or westerly for evening cooking.
- Check that the cooker's shadow falls directly behind it to confirm proper alignment.
- Tilt the oven by raising its leg during non-summer months to compensate for seasonal sun angles.
Weather Impact on Cooking
Weather plays an essential role in your baking success, as high humidity levels force you to extend rising times and adjust liquid ratios in recipes.
You'll need to modify your oven temperatures when baking at different altitudes, typically increasing the temperature at higher elevations to combat faster moisture loss.
As seasons change, you'll want to adapt your baking approach by chilling ingredients in summer and monitoring kitchen temperatures year-round to maintain consistent results.
Humidity Affects Rising Times
Since humidity plays an essential role in baking, you'll need to account for its effects on dough rise times and texture.
When you're baking in high humidity, your dough will retain more moisture, making it softer and more pliable. This environment actually helps yeast-based doughs rise better, though it may delay crust formation.
To manage humidity's impact on your baking, follow these essential steps:
- Store dry ingredients in the refrigerator to prevent clumping.
- Chill your butter and liquid ingredients to maintain proper dough consistency.
- Adjust your liquid ratios to compensate for extra moisture in humid conditions.
In low-humidity environments, you'll notice faster crust formation and quicker drying.
You'll need to monitor your dough closely, as it might form a crust prematurely, impeding proper rise and resulting in denser baked goods.
Altitude Changes Temperature Needs
When baking at higher altitudes, you'll need to make essential temperature and ingredient adjustments to achieve successful results. For every 3,500 feet above sea level, increase your oven temperature by 15-25°F to help your baked goods set properly before moisture escapes.
You'll also need to modify your ingredients carefully. Reduce leavening agents by 1/8 teaspoon per teaspoon to prevent collapse, and add 1-2 tablespoons of extra liquid per 3,000 feet to combat faster evaporation.
Don't forget to cut sugar by 1 tablespoon per cup for every 1,000 feet above 3,500 feet to prevent over-browning. For proper structure, add 1-2 tablespoons of flour per cup.
Remember to reduce your baking time by 5-8 minutes for every 30 minutes of standard baking time per 1,000 feet above 3,500 feet.
Seasonal Temperature Adjustments
The success of your baked goods depends heavily on seasonal temperature fluctuations and humidity levels throughout the year.
You'll need to adjust your baking approach as weather conditions change to maintain consistent results.
During humid seasons, reduce liquid ingredients and extend baking times by 3-5 minutes. Store your dry ingredients in the fridge or freezer to prevent moisture absorption, and don't forget to bring them to room temperature before use.
Here's how to adapt your baking in different weather conditions:
- When it's humid, increase your oven temperature slightly and check your bakes more frequently.
- For warm days, chill your dough and use cold liquid ingredients to prevent premature fat melting.
- During wet weather, reduce recipe liquids by 1/4 and add back gradually as needed.
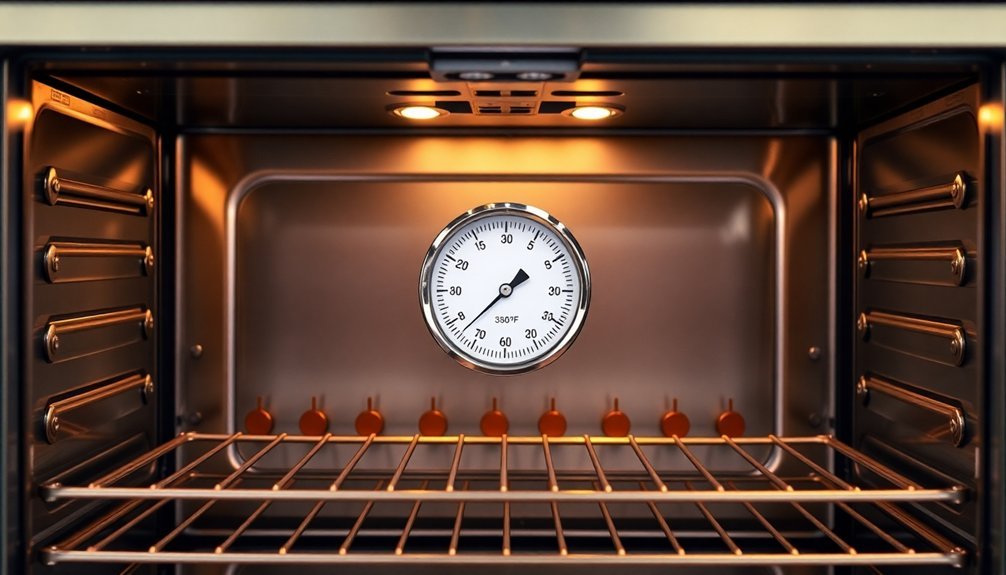
Maximum Temperature Points
You'll find most home ovens max out at 550°F (290°C), though the safest and most effective baking typically occurs between 325-500°F (165-260°C).
Your oven's critical heat thresholds vary by task, with pizza and bread needing temperatures around 475-500°F (245-260°C), while delicate items like cakes require lower temperatures of 325-350°F (165-177°C).
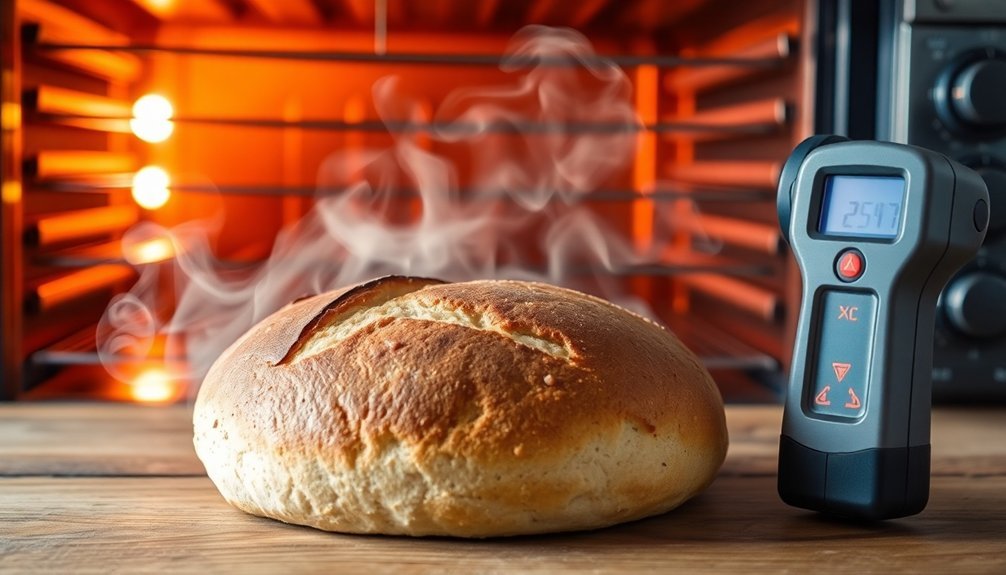
When using maximum temperatures, you must monitor your food closely and use an oven thermometer to prevent burning and guarantee safe, consistent results.
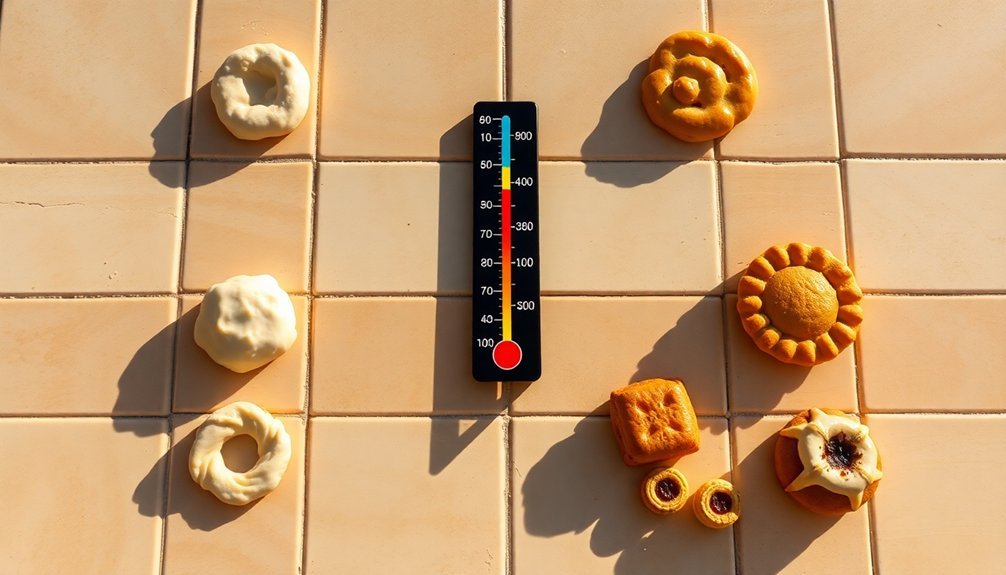
Critical Heat Thresholds
Understanding critical heat thresholds in baking helps prevent disasters while ensuring ideal results.
You'll need to master three key temperature ranges to achieve professional results:
- High temps (475-500°F): Perfect for pizza and bread when you want quick rising and crispy crusts, but you'll need to watch carefully to prevent burning.
- Moderate temps (350-400°F): Ideal for cakes, cookies, and yeast breads, allowing proper caramelization through the Maillard reaction.
- Lower temps (325-350°F): Essential for slow roasts and delicate items like rich-dough breads and cheesecakes.
For precision baking, you'll want to use internal temperature readings.
Molten cakes need 160°F, cheesecakes require 150°F, and pound cakes should reach 210°F for best doneness.
Safety Temperature Limits
When operating modern ovens, it's crucial to know their maximum safe temperature limits to prevent damage and guarantee safety.
Most standard ranges and wall ovens can safely reach 550°F, while some models max out at 500°F. If you're using a baking drawer, you'll need to stay within 450°F for baking functions.
You'll find specific temperature limits for different cooking methods. Bake and convection settings typically range from 170-550°F, while broiling operates between 400-550°F, with low broil at 400-450°F and high broil at 500-550°F.
For safety, your oven's exterior surfaces shouldn't exceed a temperature rise of 59°F on metal surfaces or 92°F on plastic components. Handles and knobs during self-cleaning cycles must stay below 54°F for metal and 90°F for plastic materials.
Insulation and Heat Retention
Proper insulation plays an essential role in maintaining consistent baking temperatures and maximizing your oven's efficiency. When you've got quality insulation materials like vermiculite, you'll notice improved heat retention and more uniform cooking results.
Your oven will maintain its temperature longer, letting you cook multiple dishes over several days with just one firing.
Here's what effective insulation offers:
- Extended cooking periods – your oven can retain heat for 4-5 days, with temperatures dropping slowly from 250° to 200° over 24 hours
- Reduced fuel consumption – you'll need a smaller fire to maintain desired temperatures
- Better heat distribution – enjoy more consistent results across your entire cooking surface
The combination of proper insulation and thermal mass materials guarantees you'll get maximum energy efficiency and superior cooking performance day after day.
Solar Baking Time Conversions
Beyond traditional oven insulation, solar baking introduces a new set of timing considerations.
When you're converting regular recipes to solar cooking, you'll need to multiply conventional baking times by 1.5 to 2.5, depending on your solar oven's temperature and conditions.
You can expect quick items like eggs and toasted coconut to cook in under an hour, while cookies and quick breads take about 90 minutes.
For proteins, plan on 2 to 2.5 hours for fish and cut-up meat. Whole vegetables and chicken require 3 to 3.5 hours, while large cuts like turkey can take up to 7 hours.
Your success depends on maintaining temperatures between 160-200°F and having direct sunlight. Remember to adjust these times based on weather conditions and your oven's design efficiency.
Direct Versus Indirect Sunlight
Understanding the difference between direct and indirect sunlight greatly impacts your baking environment and results.
While direct sunlight requires careful temperature monitoring, especially when baking at 425-450°F for cookies and pastries, indirect sunlight won't notably affect your oven's performance.
For best results in any lighting condition, you'll want to:
- Calibrate your oven using a thermometer to guarantee accurate temperature readings
- Adjust baking times according to humidity levels, adding extra minutes when needed
- Monitor items closely at higher temperatures to prevent burning, especially during the 10-15 minute window for cookies and biscuits
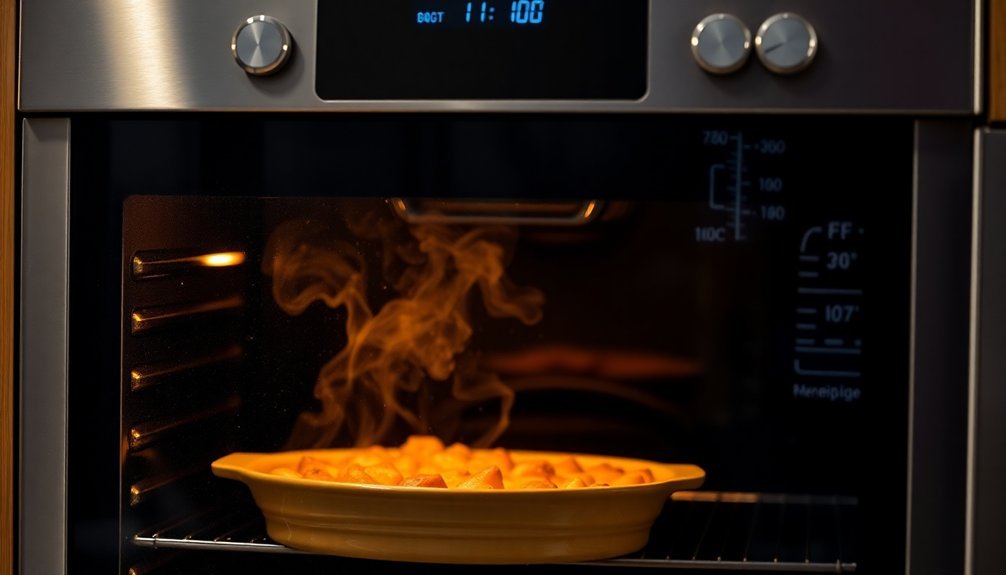
Monitoring Internal Food Temperatures
While visual cues can be misleading, monitoring internal food temperatures with a reliable thermometer remains the cornerstone of safe and successful baking.
You'll need to insert your thermometer into the thickest part of your food, avoiding bones and fat, and wait 15-20 seconds for an accurate reading. For liquids, make sure you're immersing the probe at least 1/4 of the way up from the bottom.
Don't forget to clean and sanitize your thermometer before and after each use. You should also maintain proper records of your temperature readings for food safety compliance.
Remember that different foods require specific internal temperatures – for instance, ground beef needs to reach 68°F (20°C). It's essential to monitor the cold spot of your food, as this is where harmful bacteria are most likely to survive.
Frequently Asked Questions
Does Altitude Affect Baking Temperatures and Times?
Yes, at higher altitudes you'll need to increase your oven temperature by 15-25°F and decrease baking times by 5-8 minutes per 30 minutes. These adjustments help prevent your baked goods from overexpanding and drying out.
Can I Use Dark or Light-Colored Baking Pans Interchangeably?
You can't use dark and light pans interchangeably without adjustments. When using dark pans, you'll need to reduce temperature by 25°F and check earlier, as they absorb heat faster than light pans.
How Do Different Oven Rack Positions Affect Baking Temperature?
Your rack position notably impacts baking temperature. The top's typically 25-30°F hotter due to rising heat, while the bottom's closer to heating elements. That's why you'll want the middle for most even results.
Should I Adjust Temperatures When Using Glass Versus Metal Bakeware?
Yes, you'll need to reduce the temperature by 25°F when using glass bakeware since it retains heat better than metal. You should also plan to increase your baking time by 5-15 minutes for even results.
How Does Preheating Affect the Final Texture of Baked Goods?
If you don't preheat your oven, your baked goods won't rise properly and you'll end up with dense, uneven textures. Proper preheating guarantees your treats develop light, airy structures with the right crust formation.
In Summary
You'll find solar baking success by carefully monitoring temperatures and making necessary adjustments. Remember that your oven's performance depends heavily on weather, positioning, and seasonal factors. Don't forget to insulate properly and check internal food temperatures regularly. With practice, you'll master converting traditional recipes to solar baking times, whether you're working with direct or indirect sunlight.


Leave a Reply