When cooking with a solar oven outside, you'll need to adjust your recipe temperatures considerably. Standard recipes typically require 1.5 to 3 times longer cooking duration, and you should reduce temperatures by about 25°F in summer months. You'll achieve the best results around noon when outdoor temperatures exceed 75°F, with solar ovens reaching anywhere from 160-400°F. High humidity and elevation also impact your cooking – decrease liquid content slightly in humid conditions, and expect 25-30% faster cooking times at higher elevations. Understanding these factors will help you master the art of outdoor temperature control for perfect results.
Understanding Solar Oven Heat Patterns
How do solar ovens harness the sun's energy to create a reliable cooking environment?
You'll find that these devices use reflectors and strategic design to concentrate sunlight onto a cooking vessel inside an insulated box. The most effective designs achieve a 5:1 ratio between intercepted sunlight and the oven's glass area.
You can expect temperatures between 160-200°F in basic models, while advanced designs reach up to 600°F, even on partly cloudy days. The plastic wrap window helps trap heat inside while allowing sunlight to pass through.
You'll get the best results at noon when solar energy is strongest. The oven's performance depends heavily on external conditions, with ideal cooking occurring above 75°F outdoors.
Materials like aluminum foil and black paper enhance heat retention, while carefully calculated angles guarantee maximum sunlight reflection.
For consistent results, you'll need stable positioning and proper focus maintenance.
Basic Temperature Conversion Guidelines
When converting temperatures for solar oven cooking, you'll need to understand both Fahrenheit and Celsius ranges to adapt traditional recipes effectively.
Different solar ovens operate at varying temperature ranges, with box-type ovens reaching 160-400°F (71-204°C) and parabolic cookers hitting up to 800°F (427°C).
You'll want to maintain at least 180°F (82°C) for food safety, though ideal cooking happens between 200-300°F (93-149°C).
For high-temperature dishes like cakes, aim for 300-400°F (149-204°C). If you're slow-cooking stews or soups, lower temperatures of 150-200°F (66-93°C) will work well.
Remember to use dark-colored cookware to maximize heat absorption and adjust your cooking times accordingly. Expect dishes to take 1.5 to 3 times longer than conventional oven cooking.
Peak sunlight hours between 11 am and 3 pm offer the best conditions for higher temperature cooking.
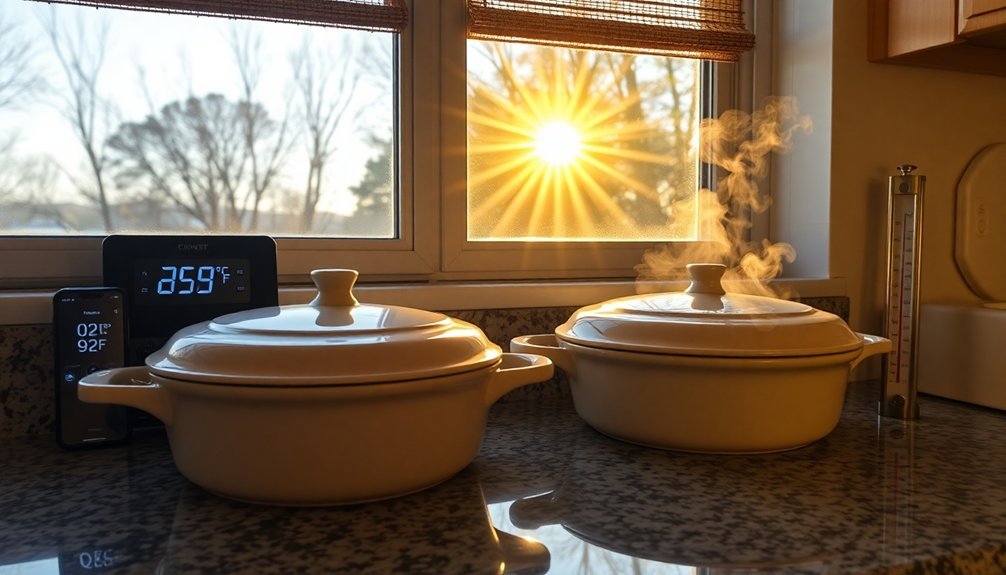
Weather Impact on Cooking Times
Various weather conditions markedly affect your solar oven cooking times, requiring careful monitoring and adjustments. When you're cooking outdoors, you'll need to account for cold air, wind, and humidity levels to achieve the best results. Using welding blankets or jackets can effectively maintain cooking temperatures in challenging weather conditions.
| Weather Factor | Impact | Required Action |
|---|---|---|
| Cold & Wind | Slows cooking, cools exterior | Add insulation, use more fuel |
| High Humidity | Speeds up cooking time | Monitor moisture levels closely |
| High Altitude | Extends cooking duration | Lower cooking temperature |
You'll find that warm temperatures speed up cooking, while cold weather considerably extends it. At higher altitudes, you'll need to adjust for lower air pressure and reduced oxygen. Consider using a water pan or wrapping meat to control moisture levels, and keep detailed notes of cooking times under different conditions to improve your future results.
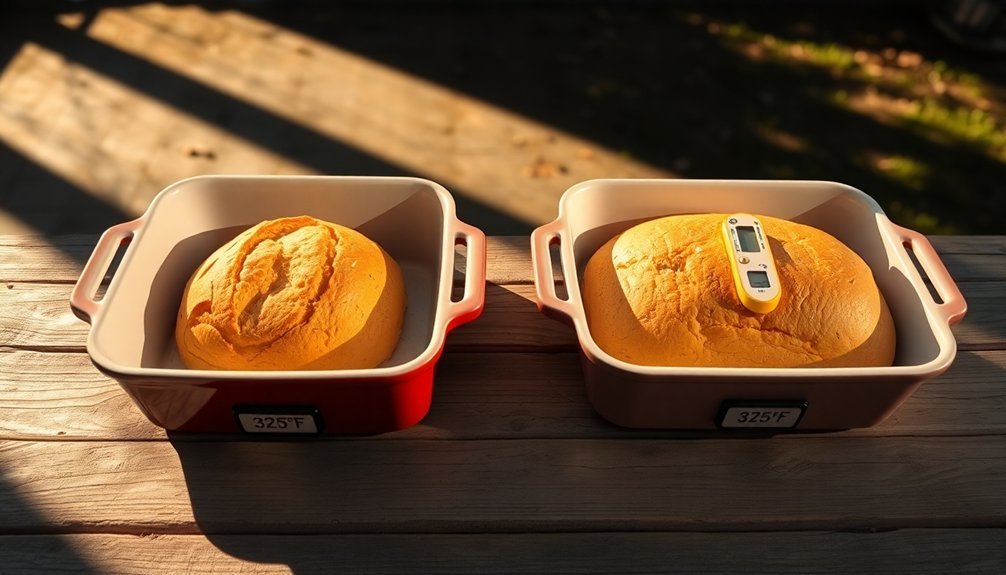
Seasonal Baking Temperature Adjustments
During summer's intense heat, you'll need to reduce your oven temperature by 25 degrees and decrease liquid content to maintain proper dough consistency. For high altitudes, you should increase heat 15-25°F compared to the recipe's standard temperature.
You can combat excessive yeast activity in warm weather by using cooler water and shortening proofing times to prevent over-fermentation.
In contrast, winter's cooler temperatures will require you to extend dough rising times and possibly increase your kitchen's ambient temperature for ideal results.
Summer Heat Baking Challenges
As summer temperatures rise, baking presents unique challenges that extend beyond standard recipe adjustments.
You'll need to pay close attention to your dough proofing times, as warmer conditions speed up fermentation considerably. While you don't need to change your oven temperature settings, you'll want to adjust other factors to maintain quality.
Watch your butter carefully, as it softens faster in warm kitchens.
You'll also need to reduce liquid content by about one-quarter to account for increased humidity.
Though oven temperatures remain consistent year-round, your proofing environment requires careful monitoring. Use a roll-in proofer if possible, or create a controlled environment to prevent over-proofing.
After baking, cool your goods efficiently and store them in a dry, cool place to maintain freshness and prevent moisture absorption.
Winter Dough Rising Times
Just as summer's heat demands specific baking adaptations, winter's cold temperatures bring their own set of challenges for dough rising.
You'll need to extend your rising times considerably – expect 5-6 hours for sourdough and 2-3 hours for yeast dough. To maintain ideal temperature between 75-78°F, you can double your yeast or starter amount and utilize warm spots in your kitchen.
- Place dough near appliances or on top of your refrigerator to take advantage of natural warm spots
- Use your oven with just the light on as a controlled environment for proofing
- Calculate water temperature based on your flour, levain, and room temperature readings
While longer rising times might test your patience, they'll reward you with enhanced flavor development and better fermentation in your final product.
Solar Position and Heat Levels
When you're using a solar oven, the sun's angle directly impacts your cooking temperature, with ideal heat levels occurring between 11:00 am and 3:00 pm.
You'll need to adjust your oven's position throughout the day as shadows shift across your cooking area, which can create varying temperature zones within the oven.
Your food will cook most effectively when you maintain direct sunlight exposure by repositioning the oven every 30 minutes, keeping temperatures steady between 200°F and 300°F.
Sun Angle Affects Heat
The angle of the sun plays an essential role in determining how effectively your solar cooker performs. You'll get the best results between 11:00 am and 3:00 pm when the sun's rays are most direct. To maintain ideal heat, you'll need to adjust your cooker throughout the day to follow the sun's path.
- Dark-colored cookware absorbs more solar energy, helping your food cook faster and more efficiently.
- Glass or Plexiglas covers trap heat inside, creating a greenhouse effect that maintains cooking temperature.
- Well-insulated cookers can perform effectively in any season, even during cold weather.
Remember that proper orientation is vital for maximum heat capture. You'll want to position your cooker facing the sun's midday position and use reflectors to increase energy collection.
With these adjustments, your food should be ready by early evening.
Shadows Change Temperature Zones
Shifting shadows across your solar cooker can dramatically affect its temperature zones and cooking efficiency. You'll need to position your cooker carefully, ensuring the pot's shadow doesn't exceed half its width for ideal heat absorption.
To maintain consistent temperatures, you'll want to place your cooker in an open area and adjust it regularly as the sun moves. Use dark, shallow pots with tight-fitting lids, and protect them with transparent heat traps like clear plastic bags or glass bowls.
When shadows are unavoidable, larger reflective surfaces can help redirect more sunlight onto your cooking vessel.
Watch out for environmental factors that create shadow-like conditions. Clouds, fog, and nearby structures will reduce your cooker's effectiveness.
On windy days, stabilize your setup with weights to prevent unwanted movement that could create temperature fluctuations in different zones.
Recipe Moisture Content Considerations
Understanding moisture content in recipes requires careful attention to both ingredients and environmental factors.
When you're baking outside, you'll need to adjust your recipes based on humidity levels, which can greatly impact your flour's moisture content. Store-bought flour typically contains around 10% moisture, but this can vary based on ambient conditions.
- Reduce your recipe's hydration by small increments (less than 5%) when humidity is high to maintain proper dough consistency
- Monitor your flour's moisture content across seasons by weighing it before and after drying to establish a baseline
- Consider using oven-dried flour for more consistent results, as it absorbs atmospheric moisture more slowly
You'll need to make these adjustments to compensate for how outdoor humidity affects both your ingredients and the baking environment, ensuring your baked goods turn out as intended.
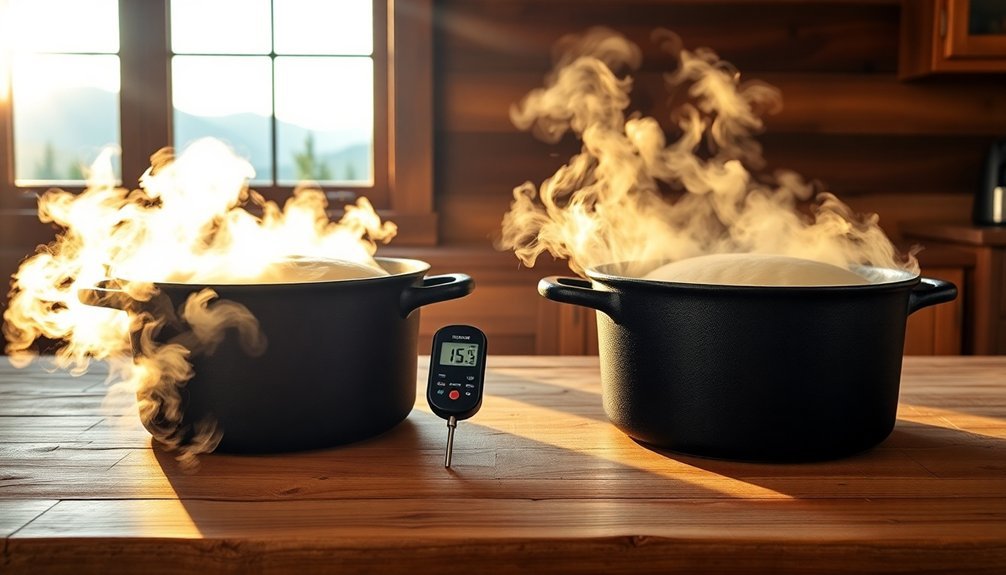
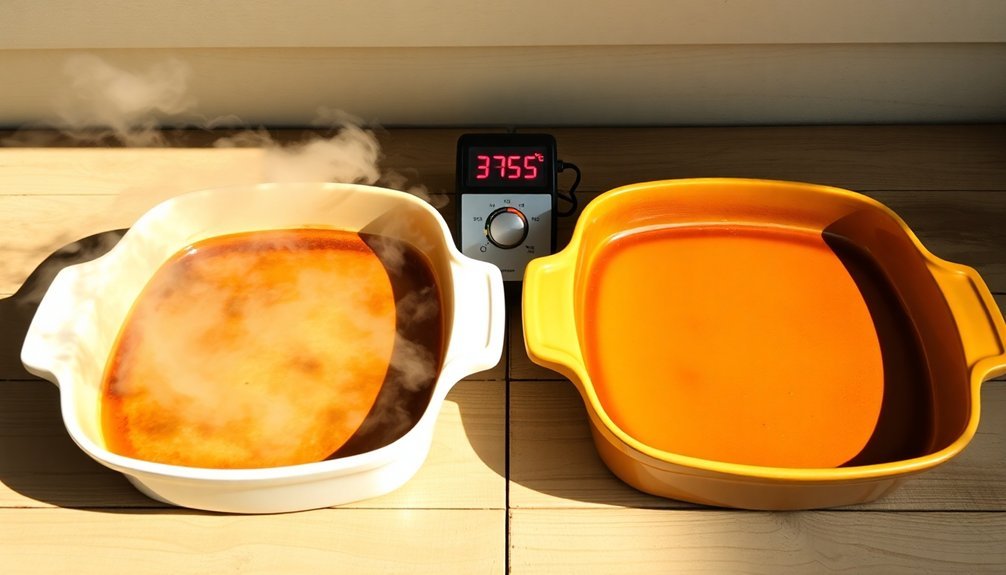
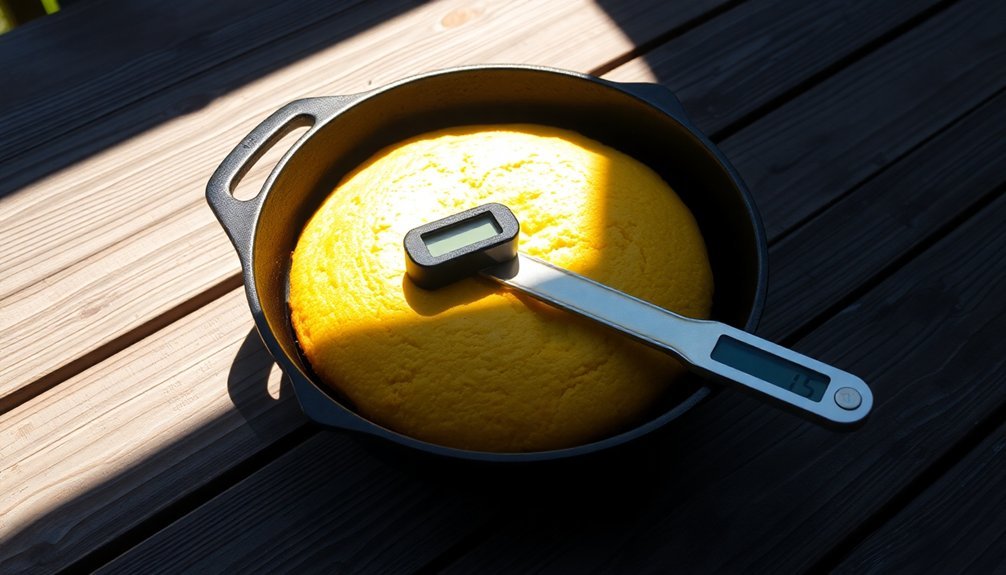
Temperature Monitoring Best Practices
Proper temperature monitoring can make the difference between perfectly cooked dishes and potential food safety hazards.
You'll need to insert your thermometer into the thickest part of the meat, avoiding bones and fat that could give false readings. For accuracy, you should check multiple spots when cooking larger cuts, and use separate thermometers for different dishes to prevent cross-contamination.
Don't forget to clean your thermometer with soap after each use. Before cooking, verify your thermometer's accuracy by testing it in boiling water.
When monitoring temperatures, you'll want to track both the internal meat temperature and cooking time. For wireless thermometers, double-check your presets before starting.
Remember to wait for the temperature reading to stabilize before removing the probe, ensuring you've got an accurate measurement.
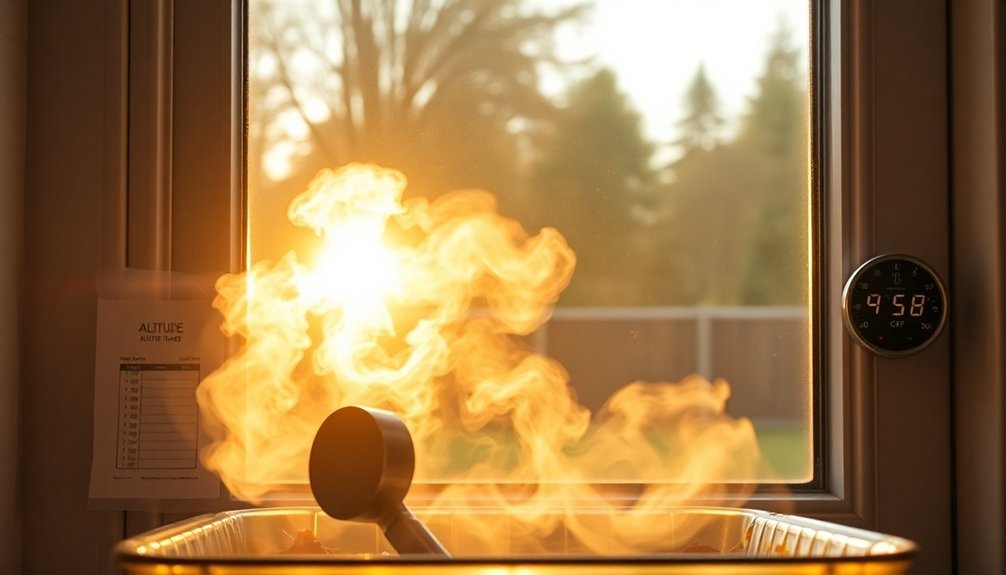
Elevation Effects on Solar Baking
As you venture into high-altitude solar baking, you'll need to account for significant environmental changes that affect cooking performance.
At higher elevations, you'll experience increased solar radiation intensity and lower air pressure, which actually works to your advantage. Your solar oven can achieve higher temperatures more quickly due to less atmospheric interference and more direct sunlight.
- Cooking times typically decrease by 25-30% compared to sea level due to enhanced solar efficiency
- Dark cookware becomes even more essential as it maximizes heat absorption in the thinner air
- You'll need to monitor moisture levels closely, as liquids evaporate faster at high altitudes
Remember to adjust your recipes accordingly, particularly when it comes to liquids and cooking duration.
Clear skies at high elevations will maximize your solar oven's performance, allowing for more efficient baking results.
Cloud Cover Cooking Strategies
While solar cooking thrives in direct sunlight, cloudy conditions present unique challenges that require strategic adaptations. You'll need to extend cooking times considerably, as clouds can reduce temperatures by 50-100°F inside your solar cooker. Double-check your food's internal temperature regularly to verify proper cooking.
To maximize efficiency during cloudy weather, you'll want to boost your cooker's heat retention. Add extra insulation around your cooking pot, verify all seals are airtight, and position reflective materials to capture scattered sunlight.
Consider preheating your cooker before adding food, and adjust its angle throughout the day to catch the most available sun.
If clouds persist, you can combine solar cooking with alternative heat sources or choose recipes requiring lower temperatures. Planning partially-cooked meals that you can finish later is also a practical approach.
Thermal Mass for Temperature Control
Understanding thermal mass is key to controlling cooking temperatures effectively. When you're cooking outside, materials like ceramics and bricks can help maintain stable temperatures by absorbing and releasing heat gradually.
You'll find that proper thermal mass reduces temperature swings when you open and close lids, making it easier to achieve consistent results in your outdoor cooking.
- Cast iron and aluminum transmit heat efficiently, while ceramics excel at heat retention
- A balanced amount of thermal mass lets your oven heat up quickly while maintaining steady temperatures
- Using a water pan with thermal mass can introduce beneficial steam into your cooking environment
Too much thermal mass can make it difficult to reach high temperatures, while too little leads to rapid heat loss.
You'll want to find the sweet spot for your specific outdoor cooking setup.
Direct Sunlight Placement Tips
Proper placement of your solar oven in direct sunlight dictates its cooking success.
You'll want to position your oven between 10 a.m. and 3 p.m., when sunlight is strongest, and make certain it faces the sun directly for maximum heat absorption.
Choose a level, stable spot away from trees and other obstructions that could cast shadows.
Using reflective surfaces can help concentrate more sunlight on your oven. You'll need to monitor the temperature with an oven thermometer, aiming for 240-280°F for peak cooking.
Don't forget to preheat for 30 minutes before adding food.
Remember to adjust your oven's position periodically to track the sun's movement.
Use dark-colored pans and keep them covered to retain heat.
For best results, arrange food in a single layer to guarantee even cooking.
Frequently Asked Questions
How Do High Winds Affect Temperature Control When Using Cast-Iron Cookware?
When you're cooking with cast iron in high winds, you'll lose heat quickly as wind blows it away. You'll notice uneven temperatures and hot spots, requiring more fuel and frequent rotation to maintain consistent heat.
Can Temperature Patterns Change When Using Different Types of Charcoal?
Yes, you'll notice distinct temperature patterns with each charcoal type: briquettes offer steady, predictable heat, lump charcoal provides quick temperature changes, and binchotan delivers sustained high heat for longer periods.
How Does Smoke From Nearby Campfires Impact Outdoor Oven Temperatures?
Smoke from nearby campfires can considerably lower your oven's temperature by blocking heat and disrupting airflow. You'll need to monitor closely and adjust your fuel supply more frequently to maintain consistent cooking temperatures.
What Temperature Adjustments Are Needed When Cooking With Ceramic Dutch Ovens?
You'll need to reduce your cooking temperature by 25°F and extend cooking time when using ceramic dutch ovens. Don't exceed 550°F, preheat gradually with oil, and maintain medium heat for best results.
Do Reflective Cooking Surfaces Require Different Temperature Settings Than Dark Ones?
Yes, you'll need different settings for reflective vs. dark surfaces. You should increase temperatures slightly for reflective surfaces, while dark surfaces require lower temperatures (typically 25°F less) to prevent overcooking and burning.
In Summary
You'll need to carefully monitor and adjust your outdoor cooking temperatures based on several key factors. When using a solar oven, plan for longer cooking times and increase your recipe's temperature by 25-50°F on cloudy days. Remember to account for elevation changes, seasonal sun positions, and thermal mass effects. Keep your oven in direct sunlight and use reflective surfaces to maintain consistent heat levels.


Leave a Reply