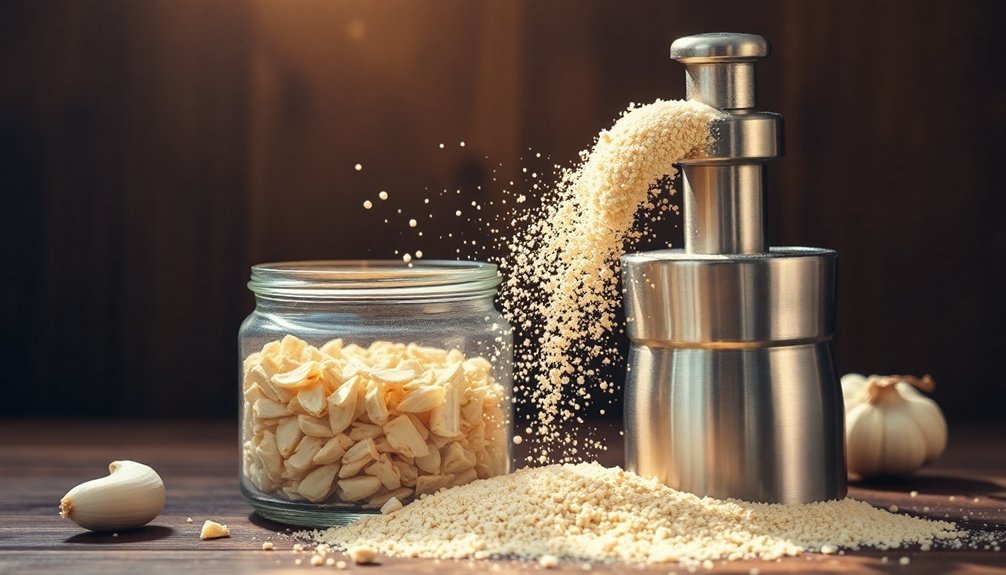
You'll get perfect homemade garlic powder by starting with high-quality bulbs like Rocambole or Porcelain varieties, which offer superior flavor and potency. Remove all papery skins and slice your garlic uniformly thin before drying at low temperatures between 40-80°C. Ascertain complete dryness by testing for a crisp snap and amber color before grinding in a spice grinder or high-speed blender. Store your finished powder in airtight glass containers away from light and moisture to maintain freshness. The key differences between mediocre and exceptional garlic powder lie in the details of selection, preparation, and proper technique.
Why Make Your Own Powder
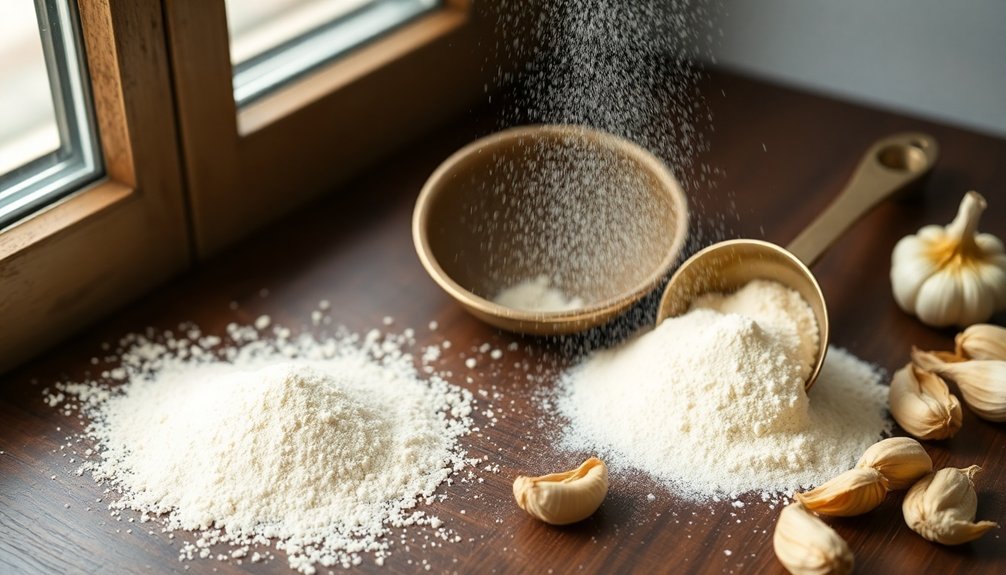
The allure of homemade garlic powder extends far beyond its fresh, potent flavor. When you make your own, you'll have complete control over the ingredients, ensuring there aren't any unwanted fillers or anti-caking agents in your seasoning. You'll create a pure, clean garlic flavor that's customizable to your taste preferences.
Making your own powder isn't just about quality – it's also cost-efficient, especially when you buy garlic in bulk. You'll save money in the long run and reduce waste by using excess garlic before it spoils. The process allows you to capture garlic's antimicrobial properties in a shelf-stable form.
Whether you choose to use a dehydrator, oven, or air-drying method, you'll preserve the health benefits of raw garlic, including its immune-boosting properties and rich nutrient profile of vitamin B, calcium, and iron.
Selecting Premium Garlic Bulbs
After deciding to make your own garlic powder, starting with premium garlic bulbs will set the foundation for exceptional results. For the most flavorful powder, choose hardneck varieties, particularly from the Rocambole or Porcelain groups. Making your own powder ensures you have superior flavor control compared to store-bought versions.
While Rocambole types like Spanish Roja and Russian Red deliver intense flavor, Porcelain varieties such as Music offer an excellent balance of taste and storage life.
- Music garlic stands out with its robust, pungent taste and subtle sweetness
- Porcelain varieties feature large, easy-to-process cloves with white wrappers
- Rocambole types offer superior flavor with their purple-streaked wrappers
- German Red and Kilarney Red provide fiery, spicy notes perfect for powder
Consider your storage needs when selecting – Porcelain varieties can last up to 9 months, while Rocamboles should be used within 2-4 months.
Essential Tools And Equipment
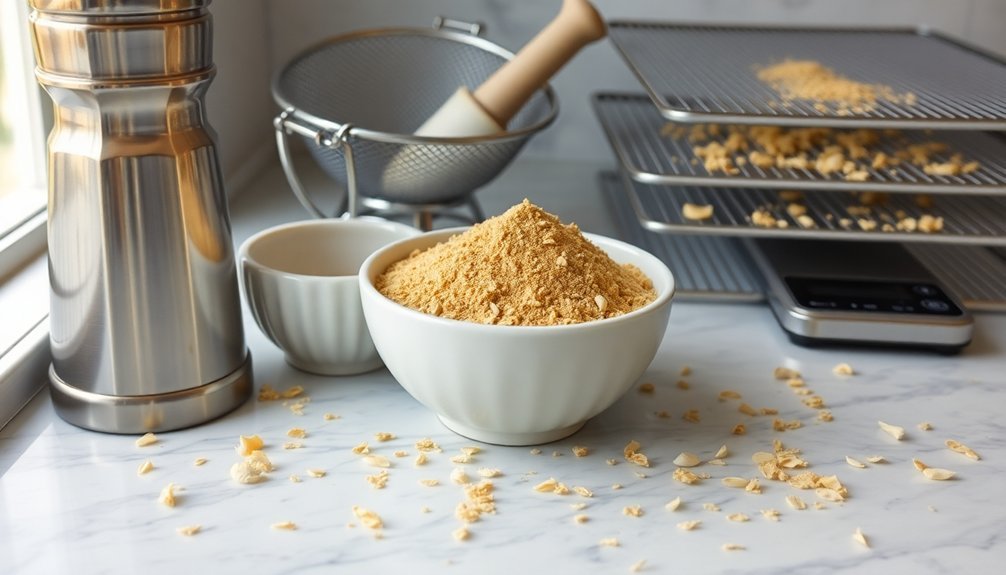
Making perfect garlic powder requires a carefully selected set of tools and equipment for each stage of the process.
You'll need dehydrating equipment like a food dehydrator or oven set to low temperatures, plus parchment-lined trays to prevent sticking.
For preparation, you'll want a silicone peeler or wide knife to remove garlic skins, and a sharp knife or food processor to create uniform slices.
Once your garlic is dried, you'll use either a spice grinder, blender, or food processor to transform it into powder. A high-quality Vitamix blender produces exceptionally fine powder texture.
Don't forget storage equipment – airtight glass containers are essential for maintaining freshness.
You'll also need conditioning tools like parchment-lined sheets for cooling and jars for the final conditioning process, where you'll shake the powder periodically to prevent clumping.
Proper Garlic Preparation Steps
Successful garlic powder starts with proper preparation of fresh, high-quality garlic bulbs. You'll need to separate individual cloves from the head and remove all papery skins completely.
Using a sharp knife will make peeling and preparing garlic much easier and safer.
To guarantee uniform drying, slice the cloves into consistently thin pieces using a mandoline slicer, which helps achieve ideal results.
- Break apart your garlic heads into individual cloves, keeping only the firmest ones
- Peel off all papery skins until you have clean, smooth cloves
- Set your mandoline to a thin setting for precise, even slices
- Arrange the slices in a single layer without overlapping
Remember that evenly sliced garlic is vital for consistent drying and ultimately producing a high-quality powder.
Take your time during this preparation phase, as it'll greatly impact your final product's texture and flavor.
Solar Drying Time And Temperature
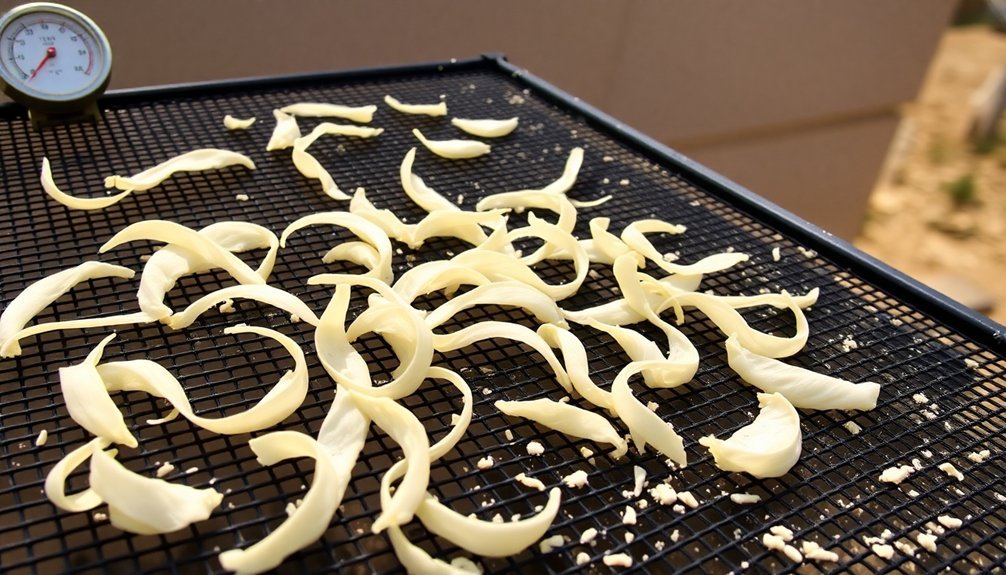
You'll want to expose your garlic slices to direct sunlight for 2-3 days, placing them near a sunny window during peak daylight hours.
Weather conditions greatly affect drying time, so choose clear, sunny days with low humidity for best results.
To maintain ideal drying temperatures between 40-80°C, use a thermometer to monitor your drying area and adjust ventilation as needed.
Optimal Sunlight Exposure Times
Proper sunlight exposure plays an essential role in creating high-quality garlic powder. You'll need to dry your garlic for 2-5 days under direct sunlight, spreading it in a very thin layer for even drying.
For the best results, place your garlic on a plastic sheet or thin cotton cloth, which makes removal easier after drying.
- Check your garlic paste or slices daily for dryness, adding 1-2 extra days if needed
- Maintain good ventilation to speed up the process and prevent spoilage
- Guarantee direct exposure to both sunlight and natural wind
- Give your powder a final 1-hour drying session after grinding
Remember to avoid temperatures above 60°C (140°F) to prevent color degradation.
Your patience will be rewarded with translucent, richly colored garlic powder that's free from moisture and mold.
Weather Impact On Drying
Weather conditions directly influence how quickly and effectively your garlic dries in the sun. In warmer, less humid environments, you'll achieve better results faster, while high humidity can greatly slow down the process and risk spoilage.
When using solar tunnel dryers, you'll want temperatures between 50-70°C for ideal results, though the average temperature typically stays around 55°C with ambient temperatures at 36°C.
Don't let temperatures exceed 65°C, as this can damage your garlic.
Your drying time will vary based on humidity levels. In low-humidity conditions, expect 4-6 hours in a dehydrator or 2-3 days with air drying.
High humidity (around 80%) extends these times to 6-8 hours in dehydrators.
Confirm proper ventilation and maximize solar radiation by using foil surfaces to speed up the process.
Temperature Control Methods
While solar drying offers an eco-friendly approach to creating garlic powder, maintaining precise temperature control is vital for satisfactory results.
You'll want to aim for a temperature of around 54°C, which typically takes 6-8 hours to achieve maximum drying. The temperature in your solar dryer can reach 10-30°C above the ambient temperature, so timing your drying session during peak sunlight hours is important.
- Position your dryer to maximize sun exposure during the 6-10 hour drying period
- Slice garlic uniformly at 3-4.5mm thickness to guarantee even drying
- Monitor internal temperature using a thermometer to maintain the ideal 54°C range
- Consider using KMS or NaCl treatment to reduce drying time if needed
Testing For Complete Dryness
You'll know your garlic is perfectly dried when it snaps cleanly without any flexibility, indicating ideal brittleness for powder making.
Check the dried pieces for any signs of visible moisture or darker spots, which suggest incomplete drying and could lead to clumping.
Examine your dried garlic slices under good lighting to verify they maintain a uniform, pale color throughout, as inconsistent coloring often signals uneven moisture content.
Snap Test For Brittleness
Before grinding your dried garlic into powder, performing a snap test is vital to ascertain complete dryness.
You'll want to check if your garlic slices snap cleanly and crisply when bent, indicating they're ready for grinding. If there's any flexibility or rubbery texture, continue drying them to prevent clumping and mold issues in your final product.
- Take a dried garlic slice between your fingers and bend it sharply
- Listen for a crisp, clean snap as it breaks in half
- Check that the broken pieces are amber in color and completely brittle
- Test multiple slices to verify uniform dryness throughout your batch
If your garlic doesn't pass the snap test, it still contains moisture and isn't ready for grinding.
Proper dryness is vital for producing high-quality garlic powder that'll store well and maintain its freshness.
Visual Moisture Check Points
In addition to the snap test, mastering visual moisture checks helps guarantee perfectly dried garlic powder. You'll want to inspect your garlic for any clumping or caking, as these are telltale signs of moisture contamination.
Look closely for damp or sticky textures that could indicate bacterial growth. When you're examining the powder, check that it doesn't have a rubbery feel when touched. Your garlic pieces should never form lumps instead of powder, and you shouldn't see any green, blue, or black spots that signal mold growth.
The texture should be consistently fine and powdery throughout, without any moisture-related clumping. If you're using a dehydrator, make sure you've spread the slices in a single layer to achieve uniform dryness and prevent moisture from getting trapped.
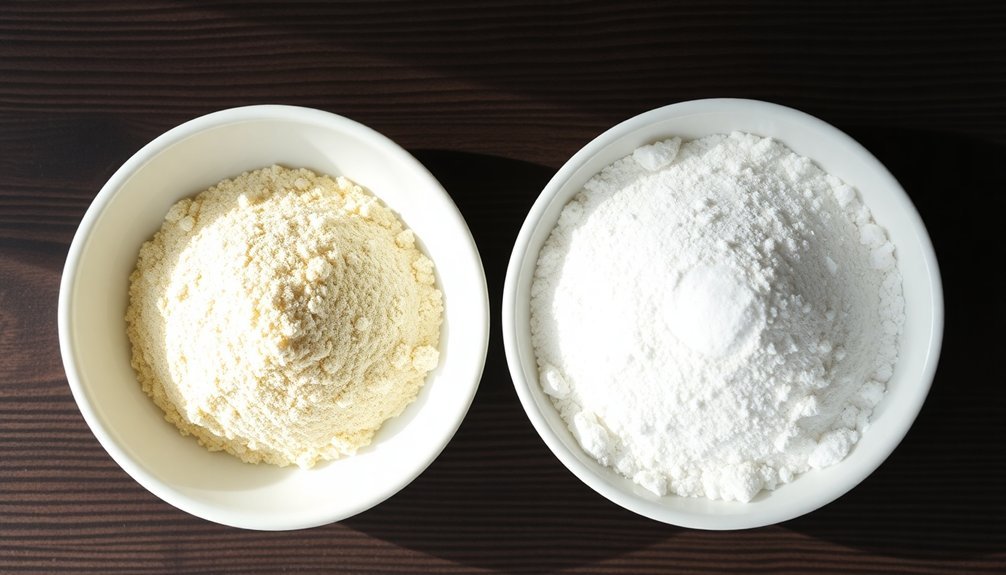
Uniform Color Assessment
Color uniformity serves as an essential indicator of properly dried garlic powder. Your finished product should have a pale, consistent appearance without any dark spots or discoloration. You'll know you've achieved the right color when your garlic powder maintains its natural whiteness, indicating proper drying and storage conditions.
- A uniform, creamy-white color suggests ideal drying
- Dark spots or patches signal potential moisture or spoilage
- Yellow or brown discoloration indicates heat damage
- Foggy storage containers warn of remaining moisture
To check color consistency, spread a small amount of powder on a white surface under good lighting.
If you're using specialized equipment, a colorimeter can provide precise L, a and b* measurements.
Remember that freeze-dried garlic typically produces the whitest powder, while other drying methods may result in slightly different, but still acceptable, shades.
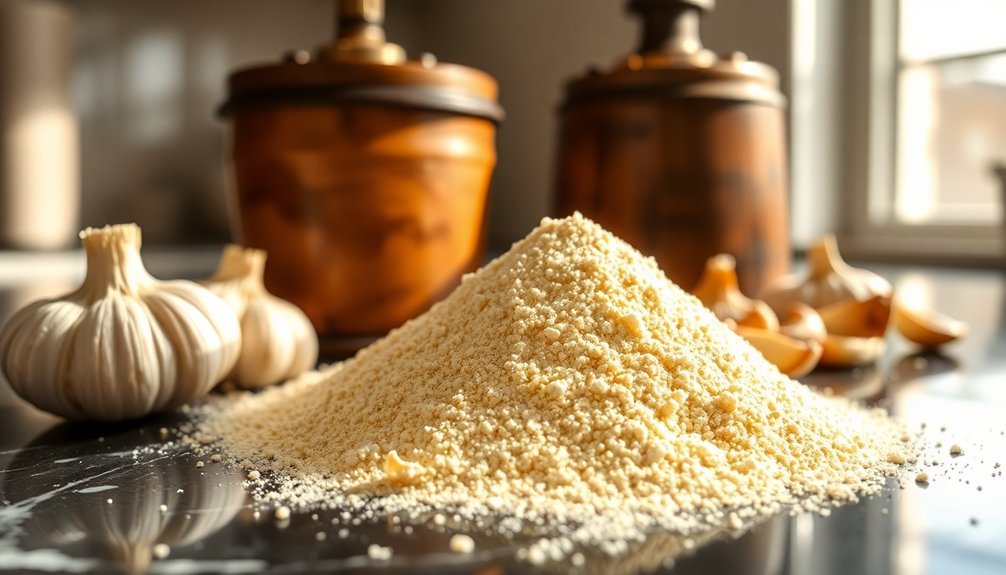
Grinding Methods For Best Results
When transforming dried garlic into powder, you'll need the right grinding method to achieve ideal results. You can choose from three effective approaches: a high-speed blender, a spice grinder, or a mortar and pestle.
If you're processing larger batches, use a blender or food processor, pulsing carefully to avoid heat buildup that could affect flavor. For smaller amounts, a coffee or spice grinder works well – just process in short bursts to prevent clumping.
The mortar and pestle method offers the most control but requires more time and effort.
Whatever method you select, make certain your garlic is completely dry before grinding. After processing, sift the powder to maintain uniformity and remove larger pieces.
You'll want to store your freshly ground garlic powder immediately in an airtight container to preserve its potency.
Proper Storage Techniques
Proper storage of garlic powder requires three essential conditions: airtight containers, cool temperatures, and minimal exposure to moisture.
You'll want to store your garlic powder in glass or opaque containers with tight-fitting lids, keeping it at 60-70°F (15-21°C) in a dry place away from sunlight. Use clean, dry utensils when scooping, and consider adding silica gel packets to absorb excess moisture.
- Label containers with dates to track freshness
- Store in mason jars or repurposed spice containers
- Keep away from steam-producing appliances and windows
- Transfer small amounts to a separate container for daily use
Monitor your garlic powder regularly for signs of clumping or discoloration.
If you're in a humid climate, using Mylar bags with oxygen absorbers can help maintain freshness for extended periods.
Don't forget to gently shake the container before use to redistribute the powder.
Common Mistakes To Avoid
Making excellent garlic powder requires attention to detail and avoiding several critical pitfalls that can compromise quality. You'll need to watch your dehydration temperature closely, guarantee proper grinding techniques, and understand how to use the final product correctly.
| Common Mistake | How to Avoid It |
|---|---|
| High-temp drying | Keep dehydrator below 115°F |
| Uneven grinding | Use a proper spice grinder, sift thoroughly |
| Poor rehydration | Mix powder with equal parts water |
| Incorrect substitution | Don't replace fresh garlic in recipes requiring texture |
| Quality compromise | Skip fillers and anti-caking agents |
Don't rush the drying process or overcrowd your dehydrator screens. When grinding, make sure you're achieving a consistent powder texture through multiple sifting rounds. Remember that garlic powder isn't just a direct substitute for fresh garlic – it's a different ingredient with unique properties and uses.
Frequently Asked Questions
Can I Use Garlic Powder to Season Food While Cooking or Only After?
You can use garlic powder both during and after cooking. It's versatile enough to add while preparing dishes like sauces and stews, or sprinkle it as a finishing touch on completed meals.
How Long Should I Wait Before Grinding Freshly Dried Garlic Pieces?
You'll need to wait until your dried garlic pieces cool completely to room temperature. Once they're cool and snap crisply when broken, you can start grinding them – typically about 30-60 minutes.
Will Homemade Garlic Powder Have the Same Strength as Store-Bought Varieties?
Your homemade garlic powder will likely be stronger than store-bought versions since it's pure garlic without fillers or additives. You'll want to use less in recipes to achieve the same flavor intensity.
Can I Mix Other Dried Herbs With My Garlic Powder?
You can definitely mix dried herbs with your garlic powder. Parsley, oregano, basil, thyme, and marjoram work great! Just guarantee they're dried and fresh, then blend them evenly for a custom seasoning mix.
Does the Color of Dried Garlic Affect Its Flavor or Potency?
While color can indicate quality, it's not a direct measure of flavor or potency. You'll find that proper drying methods matter more than color. Lighter garlic usually means better preservation of essential compounds.
In Summary
You'll get the best homemade garlic powder by choosing fresh, high-quality bulbs, properly peeling and slicing them thin, drying at the right temperature, and grinding to a fine consistency. Remember to store your powder in an airtight container away from light and moisture. With these steps mastered, you'll never need to buy store-bought garlic powder again – your homemade version will taste fresher and more potent.


Leave a Reply