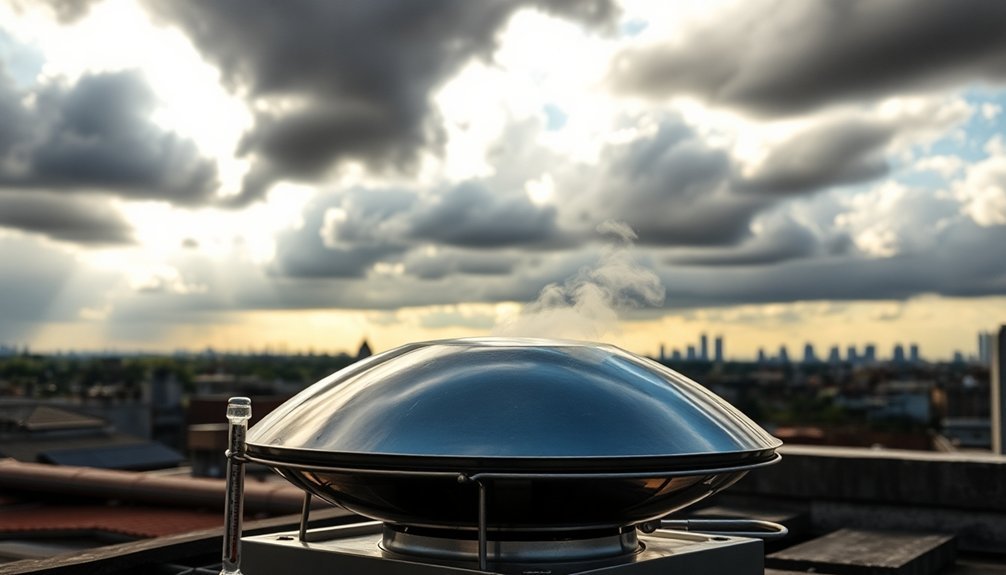
Weather directly impacts your success with solar cooking through several key factors. You'll get ideal results between 9 AM and 5 PM when the sun's rays are strongest, but cloud cover can greatly reduce efficiency. Even thin clouds affect cooking times, while dense overcast conditions might halt cooking altogether. Temperature, humidity, and seasonal changes also play vital roles – summer brings longer cooking windows, while winter requires more strategic planning. Your location matters too, as different climate zones offer varying levels of solar potential. Understanding these weather patterns and adapting your techniques will transform your solar cooking experience.
The Sun's Daily Sweet Spots

When positioning your solar oven for ideal cooking, proper alignment with the sun makes all the difference. A solar oven can cook anything conventional ovens can prepare.
You'll want to face your oven south and adjust it every 30-60 minutes to track the sun's movement. Adding reflectors will boost your heating power greatly.
For the best results, you'll find the sweet spot between 9 AM and 5 PM when sunlight intensity peaks. During these hours, your cooking time drops considerably, especially if you maintain excellent alignment.
You can reach temperatures between 200°F and 350°F using dark-colored metal pots that absorb heat efficiently. Remember to avoid lifting the lid too often, as this lets precious heat escape.
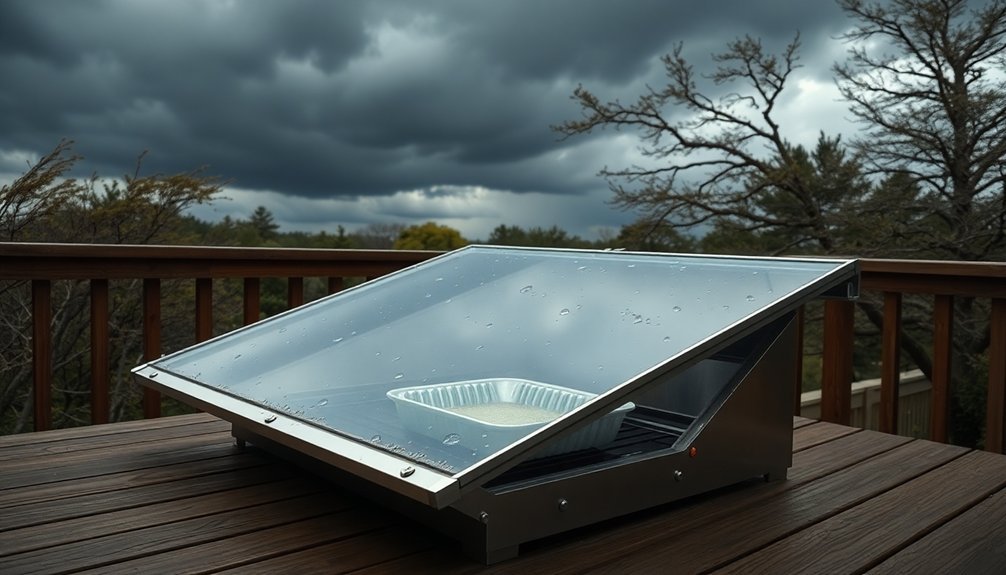
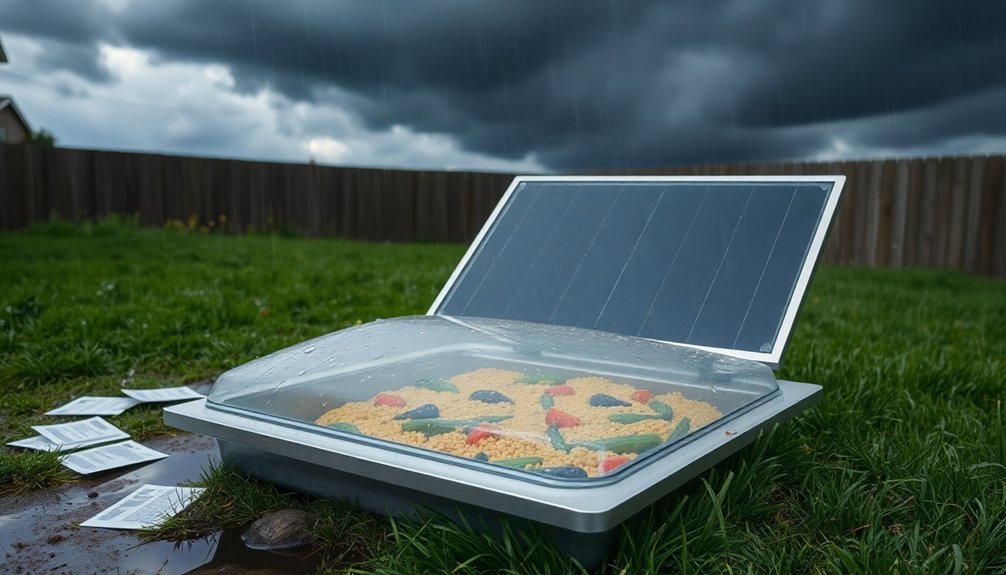
Cloudy Day Cooking Strategies
When you're cooking during cloudy weather, start by mastering heat retention techniques like double-insulating your cookware and using tight-fitting lids.
You'll need to watch for breaks in cloud cover by tracking weather patterns and positioning your cooking setup to capitalize on brief sunny moments. Taking inspiration from Chef Nate's approach, consider local ingredients that are suited to slower cooking methods during overcast days.
To maximize cooking efficiency, use dark-colored pots, multilayered insulation materials, and strategic placement of reflective surfaces to capture and maintain whatever solar energy is available.
#
Heat Retention Tips
First
Since cloudy days can limit solar cooking options, mastering heat retention techniques becomes essential for maintaining warm meals outdoors.
You'll want to focus on trapping and preserving heat using insulated containers and smart packing methods. Pre-warm your thermoses with boiling water, then fill them immediately with hot food to maximize temperature retention. Layer your dishes with aluminum foil and thick towels, creating multiple barriers against heat loss. Setting up in shaded picnic spots helps prevent rapid temperature changes that can affect your meal's warmth.
- Pack DIY heat packs made from rice and fabric next to your containers
- Nestle hot water bottles strategically among dishes in a cooler box
- Choose naturally heat-retentive foods like stews and casseroles
- Transfer meals into pre-warmed ceramic containers before serving
- Combine thermal bags with aluminum foil wrapping for maximum insulation
Cloud Pattern Recognition
Understanding cloud patterns can make or break your solar cooking success. You'll want to observe how clouds are moving across the sky and anticipate their impact on your cooking time.
Watch for thin, scattered clouds that may allow enough sunlight through versus dense, dark formations that will greatly reduce solar radiation. Solar performance can actually improve when thin clouds diffuse the light across your cooking setup.
When you notice patterns of intermittent clouds, you'll need to adjust your cooking strategy. Position your solar oven to maximize exposure during clear patches, and use thermal mass cookware to maintain consistent temperatures during cloudy periods.
If you spot approaching storm clouds or persistent overcast conditions, it's wise to have a backup cooking method ready. Learn to recognize the difference between morning fog that'll burn off and all-day cloud cover that'll require alternative cooking plans.
Insulation Maximizing Methods
Effective insulation can mean the difference between a successful solar-cooked meal and disappointment on cloudy days.
You'll want to maximize heat retention by surrounding your cooker's cavity with quality insulating materials like aluminum foil, down feathers, or rockwool. Double glazing your cooker's top can cut heat loss in half, though you'll sacrifice 5-15% of solar transmittance.
- Pack insulation tightly on all sides except the glazed top
- Use dark-colored cookware in shallow, thin pans
- Place food in high-temperature oven bags with tight lids
- Choose a box design with less depth to reduce heat loss area
- Seal all gaps and cracks to maintain an airtight cooking environment
During cloudy conditions, proper insulation becomes even more essential.
You'll need to double your usual cooking time, but with these methods, you can still achieve thoroughly cooked meals.
Winter Solar Kitchen Secrets
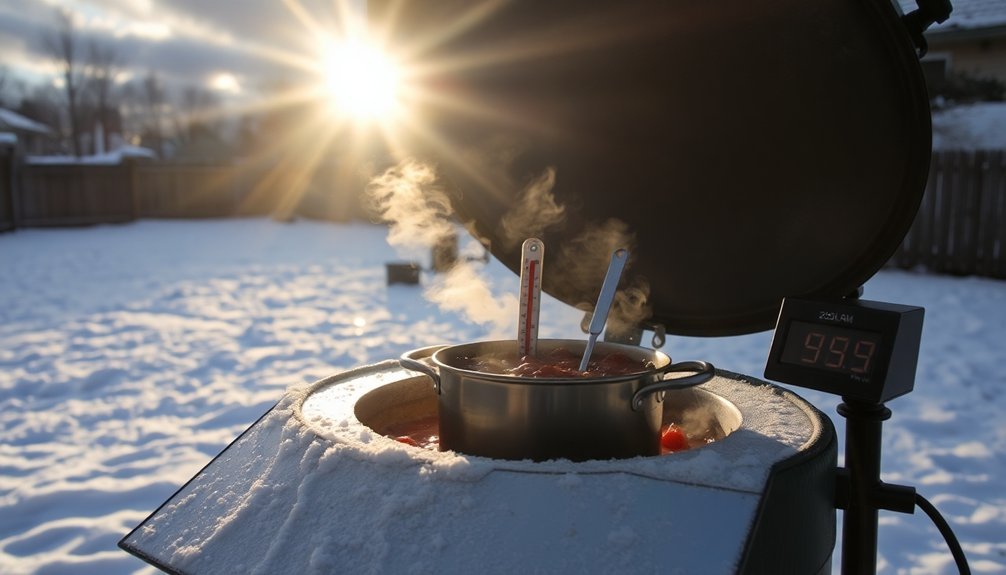
While winter may seem challenging for solar cooking, bright cold days can actually provide excellent conditions for sun-powered meal preparation. The crisp, thin air enhances sunlight intensity, and snow-covered surfaces act as natural reflectors to boost your cooker's performance.
| Strategy | Benefit | Action Required |
|---|---|---|
| Indoor Storage | Reduces preheat time | Store cooker inside overnight |
| Steam Check | Maintains heat | Watch for steam instead of opening |
| Vacuum Tubes | Superior insulation | Choose vacuum-tube models |
| Reflectors | Captures more light | Add reflective panels |
| Oven Bags | Heat retention | Wrap cooking vessels |
You'll need to adjust your cooker more frequently to track the lower winter sun. Consider cooking during peak midday hours and using solar cookers designed specifically for low sun angles. If sunlight's intermittent, plan meals that can be completed over multiple days.
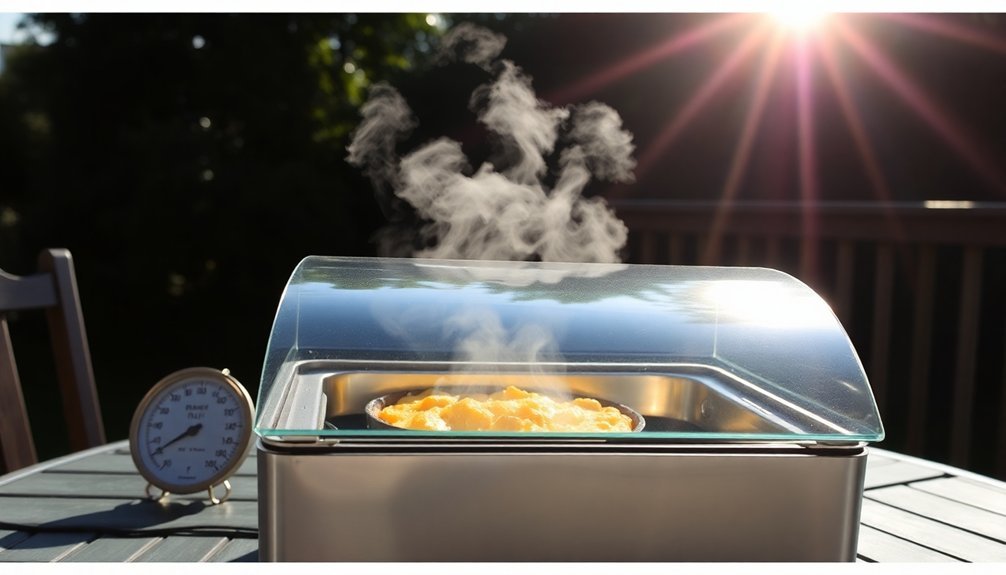
Mastering Temperature Control
Successfully managing your solar cooker's temperature requires careful attention to both equipment and technique.
You'll find that different models can reach anywhere from 65°C to 400°C, with parabolic cookers hitting the highest temperatures. To maintain peak heat, you'll need to regularly check your temperature gauge while minimizing lid openings to prevent heat loss.
- Use matte black pots to maximize solar absorption
- Position reflectors strategically throughout the day to control heat
- Monitor internal temperature with a reliable thermometer
- Adjust the cooking core's insulation as needed
- Keep the lid closed except for essential temperature checks
Peak Hours For Perfect Results
Building on your temperature management skills, knowing the ideal hours for solar cooking will maximize your results. You'll find the most efficient cooking window between 10:00 a.m. and 4:00 p.m., with peak intensity from 10:00 a.m. to 2:00 p.m. – perfect for baking. To guarantee timely meals, start morning dishes by 9:00 a.m. and evening meals by 1:00 p.m.
| Time of Day | UV Index | Best For |
|---|---|---|
| 9-10 AM | Rising | Prep work |
| 10-12 PM | High | Baking |
| 12-2 PM | Peak | Main dishes |
| 2-4 PM | High | Slow cooking |
| After 4 PM | Low | Not recommended |
Remember to track the sun's movement by adjusting your cooker's orientation throughout the day. For morning cooking, position it facing east; for afternoon cooking, face it westward to capture maximum sunlight.
Wind Protection Methods
When setting up your solar cooker, you'll want to take advantage of natural barriers like buildings, hills, or trees to shield it from strong winds that can disrupt cooking temperatures.
For additional protection, you can create windbreaks using transparent materials like recycled glass panels or strategically placed tarps that won't block sunlight.
Secure your cookware by positioning rocks or bricks around the edges, using bungee cords for anchoring, and placing panel cookers inside large buckets for enhanced stability during outdoor cooking sessions.
Natural Barriers Guide
Protecting your outdoor cooking space from wind doesn't always require purchasing expensive equipment. Natural barriers can be your best allies in creating an effective wind shield for your grilling area. By strategically positioning your grill near existing structures like garden sheds, walls, or fences, you'll create a protective barrier that helps maintain consistent cooking temperatures.
- Place your grill at least 10 feet away from any structure to prevent fire hazards.
- Position the cooking area perpendicular to typical wind patterns in your location.
- Use existing garden features like tall hedges or tree lines as natural windbreaks.
- Set up your grill near a sturdy fence or wall that blocks prevailing winds.
- Verify there's adequate ventilation and smoke escape routes despite the barrier.
Remember to maintain proper air circulation while using these natural shields, as this verifies safe and efficient grilling.
Securing Cookware Outdoors
To successfully cook outdoors in windy conditions, you'll need effective methods for securing your cookware and protecting your cooking space.
You can build a sturdy wind screen using wood or metal that wraps around your cooker on multiple sides, ensuring it's taller than the cooker and properly anchored to the ground.
For more complete protection, consider creating an enclosure using materials like plywood or ceramic tile. Add features such as folding doors and storage spaces while maintaining proper ventilation for combustion.
When managing wind impact, close the bottom vents on the upwind side and use the downwind vent to control temperature.
If you're looking for a simpler solution, transform a large barrel into a basic enclosure by removing its bottom, or use existing structures like a patio umbrella as a windbreak.
Regional Weather Impact
Climate patterns across different regions greatly influence the viability of solar-powered cooking systems. You'll find that your location's weather directly impacts how effectively you can prepare meals using solar energy.
Rising temperatures in arid regions like the Southwest are creating more atmospheric moisture and particles, which can reduce the sunlight reaching your solar cooker.
- Higher humidity levels mean more cloudy days, even in traditionally sunny areas
- Dust storms and wildfires can drastically reduce solar cooking efficiency
- Extreme heat waves often bring clearer skies, ideal for solar cooking
- Regional precipitation changes affect how many cooking days you'll have
- Local weather patterns can shift by up to 10% in solar radiation intensity
Understanding your region's climate trends helps you plan when and how to use your solar cooker most effectively.
## Heat Retention Tips
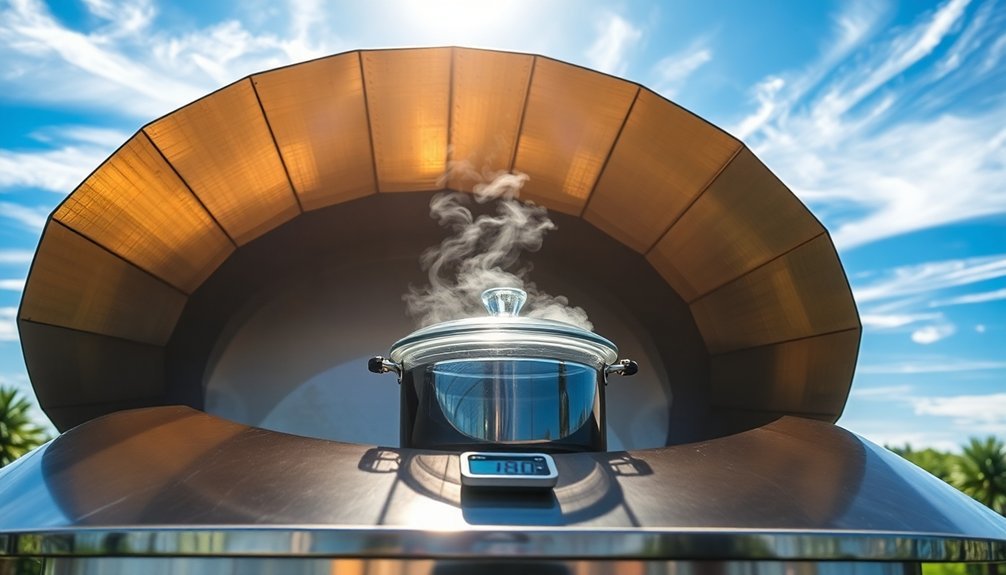
Maintaining ideal heat levels in your solar cooker requires careful attention to both equipment and setup. Choose dark-colored cookware, like Granite Ware pots, or cover light cookware with a dark towel to maximize heat absorption. Always use lids on your cooking vessels to trap heat and moisture effectively.
You'll need to guarantee your setup includes proper sealing elements. Cover the oven flap with aluminum foil, shiny side out, and secure plastic wrap over the opening to prevent heat escape.
Monitor internal temperatures with a simple thermometer – you'll want to reach at least 180°F for safe cooking, though your oven can achieve 200-250°F. To manage moisture, wipe the interior after use, and if you're dehydrating foods, slightly prop open the door while maintaining sufficient heat inside.
Best Climate Zones
You'll find your solar cooking most successful in hot-dry desert regions like Arizona, where clear skies and minimal humidity create ideal conditions for sun-powered meals.
The Pacific region, particularly Oregon and Washington, presents more challenges due to frequent cloud cover and overcast conditions that can extend cooking times.
While solar cooking is still possible in cloudier climates, you'll need to plan more carefully and take advantage of clear-sky periods when they occur.
Hot-Dry Desert Advantages
Four key characteristics make hot-dry desert regions ideal for solar cooking: abundant sunshine, stable skies, low atmospheric moisture, and consistent year-round conditions.
You'll find these best conditions in places like the northeast Sahara, northern Sahel, and regions along the Colorado River. In these areas, you can expect more than 300 days of sunshine annually, with many locations offering over 6 hours of direct sunlight daily for cooking.
- Cloudless skies dominate thanks to high-pressure systems
- Dry air allows for efficient solar heating with minimal heat retention
- More than 80% of days are suitable for solar cooking
- Most meals can be prepared in under three hours
- Year-round cooking potential with minimal seasonal disruptions
These conditions make hot-dry deserts your most reliable choice for solar cooking success.
Pacific Region Cooking Challenges
While hot-dry deserts offer prime conditions for solar cooking, the Pacific region presents distinct challenges that affect your cooking options and food security.
You'll face unpredictable weather patterns, with some areas experiencing severe drought while others get above-normal rainfall. Record-breaking temperatures and warming ocean waters are disrupting traditional food sources you'd typically rely on.
If you're planning to solar cook in the Pacific islands, you'll need to adapt to rapidly changing conditions.
The region's increasing vulnerability to natural disasters, combined with rising ocean temperatures, means you can't depend on consistent sunshine or stable food supplies.
You'll find that traditional cooking methods are becoming less reliable as climate change affects both marine and land-based food systems that you'd normally access.
Seasonal Cooking Adjustments
Successful solar cooking requires adapting your methods and recipes to match the changing seasons.
You'll need to adjust cooking times, ingredient choices, and techniques based on available sunlight and seasonal produce. During summer, you can prepare lighter dishes quickly, while autumn and winter call for heartier meals with longer cooking times.
Spring offers abundant fresh vegetables and herbs perfect for solar cooking.
- Use shorter cooking times and lighter recipes during intense summer sunlight
- Add extra liquid and insulation to winter dishes to compensate for weaker sun
- Take advantage of fresh spring produce like asparagus and bell peppers
- Plan ahead for cloudy days by choosing recipes that can handle extended cooking times
- Incorporate seasonal ingredients that match your local climate and availability
UV Ray Optimization
Optimizing UV ray exposure forms the foundation of efficient solar cooking.
You'll get the best results when the sun is high in the sky, as UV rays travel through less atmosphere to reach your cooker. While thick clouds can block UV radiation, thin or scattered clouds won't greatly impact your cooking.
To maximize UV ray efficiency, you'll want to use reflective materials like aluminum or chromium panels to concentrate the sun's energy.
These reflecting surfaces direct more UV rays onto your cooking vessel, speeding up heat accumulation. Once inside your cooker, UV rays convert to infrared radiation, which can't escape due to the greenhouse effect.
You can enhance this process by using dark-colored cookware and maintaining proper insulation with a clear glass or plastic cover that traps the heat inside.
Weather Emergency Backup Plans
Since solar cooking depends entirely on sunlight, you'll need reliable backup plans for adverse weather conditions.
Having alternative cooking methods isn't just convenient – it's essential for emergency preparedness. Make sure you're proficient with your backup cooking equipment and maintain an adequate fuel supply for stormy days, overcast conditions, or nighttime cooking needs.
Your emergency preparedness should include:
- A propane or charcoal grill with sufficient fuel stored
- A manual can opener for non-perishable food items
- Battery-powered radio for weather updates
- At least three days' worth of shelf-stable food and water
- First aid supplies and essential tools
Before severe weather hits, charge your devices, fill water containers, and secure outdoor items.
Remember to test your carbon monoxide and smoke detectors regularly, especially when using alternative cooking methods indoors.
Frequently Asked Questions
Can Lightning Damage a Solar Oven if Left Outside During Storms?
Yes, you'll want to bring your solar oven inside during storms. While direct lightning strikes are rare, they can destroy your oven, and electrical surges from nearby strikes can damage any electronic components.
How Does Air Pollution and Smog Affect Solar Cooking Efficiency?
Air pollution and smog greatly reduce your solar cooker's efficiency. You'll notice longer cooking times since particulates and aerosols scatter sunlight before it reaches your cooker, decreasing the available solar energy for cooking.
Does Cooking at High Altitudes Change Solar Oven Performance Significantly?
You'll notice better solar oven performance at high altitudes due to increased sunlight intensity and thinner air. However, you'll need good insulation since heat retention can be challenging in the less dense atmosphere.
Can Extreme Humidity Levels Impact the Taste of Solar-Cooked Foods?
You won't notice taste differences from humidity alone in your solar-cooked food. While humidity affects cooking times and surface moisture, it doesn't change the food's inherent flavors. Just adjust your cooking duration accordingly.
Do Solar Ovens Perform Differently Near Large Bodies of Water?
Yes, your solar oven will perform less efficiently near large bodies of water due to higher humidity, increased cloud cover, and stronger winds. You'll need extra insulation and longer cooking times to compensate.
In Summary
You'll find that weather truly determines your solar cooking success, but don't let challenging conditions discourage you. By tracking peak sunlight hours, adjusting your cooking times seasonally, and keeping backup plans ready, you can harness solar power for meals year-round. Start with simple recipes on clear days, then build your expertise. Soon you'll be confidently cooking with the sun, regardless of what Mother Nature throws your way.


Leave a Reply