
To make sun-free meals work with your solar cooker, you'll need to maximize efficiency during limited sunlight conditions. Start by positioning your cooker in the flattest, most exposed location and use black pots with tight-sealing lids to enhance heat absorption. You can improve performance by adding proper insulation like wool or fiberglass to the cooker walls and utilizing high-temperature baking bags to retain heat. Plan your cooking between 10 a.m. and 4 p.m., rotating the cooker every 20 minutes for ideal exposure. Double your usual cooking time during cloudy periods and minimize lid checks to maintain temperature. These strategies just scratch the surface of cloud-proof solar cooking techniques.
Understanding Cloud Coverage Effects
While many people focus solely on sunlight for growing food, understanding cloud coverage effects is essential for successful cultivation.
You'll find that clouds play a complex role in your agricultural success by moderating temperatures and protecting crops from extreme conditions. They act as natural insulators, trapping heat near the ground to prevent frost damage during colder periods.
In regions like the Pacific Northwest, you'll experience more frequent cloud cover especially during fall and winter months.
You need to recognize how clouds affect your crops' water needs through their impact on evapotranspiration rates.
They'll influence how much water evaporates from your soil and how much moisture your plants lose through transpiration. Cloud cover also determines the amount of direct sunlight your crops receive, affecting their photosynthesis rates.
Timing Your Solar Meals
You'll get the best results from your solar cooker between 11:00 am and 3:00 pm when the sun is directly overhead, though you can start preheating as early as 10:00 am on clear days.
To maximize efficiency, track the sun's peak hours and adjust your cooker's position every 20 minutes to follow the sun's movement. Using a heat-retained basket can help your food continue cooking even when strong sunlight isn't available.
Keep in mind that while summer offers longer unattended cooking periods, winter requires more frequent adjustments to maintain ideal cooking temperatures.
Predict Daily Cooking Windows
To make the most of solar cooking, understanding your daily cooking windows is essential for meal planning success.
You'll need to track the sun's path and identify the ideal hours between 10 a.m. and 4 p.m. when your cooker can receive direct sunlight. Consider any obstacles that might cast shadows during these prime cooking hours, and position your cooker accordingly. Solar cookers can achieve temperatures of 200°F to 300°F during peak sunlight hours.
- Scout your cooking location the day before, noting when trees or buildings might block sunlight.
- Plan to preheat your oven 30 minutes before your intended cooking window starts.
- Factor in double the normal cooking time when scheduling your meals.
Remember to check weather forecasts and UV indexes to anticipate cooking conditions.
For best results, you'll want to rotate your cooker every half hour to follow the sun's movement.
Track Sun Peak Hours
Successful solar cooking depends on tracking the sun's peak hours and planning your meals accordingly. You'll get the best results between 11:00 am and 3:00 pm when the sun's UV rays are strongest. While you can extend cooking from 10:00 am to 4:00 pm, reserve peak hours for baking bread and pastries that need high temperatures.
| Time Window | Best Uses | UV Requirements |
|---|---|---|
| 10-11 AM | Preheating, Warming | UV 5+ |
| 11 AM-3 PM | Baking, High-Heat Cooking | UV 7+ |
| 3-4 PM | Slow Cooking, Simmering | UV 5+ |
To maximize efficiency, reposition your cooker every 20 minutes to follow the sun's path. In summer, you'll need fewer adjustments, but winter requires more frequent monitoring. Consider an automatic tracking platform to maintain consistent energy capture throughout the day.
Maximizing Limited Sunlight

Making the most of limited sunlight requires strategic planning and careful attention to your solar cooker's placement. You'll need to maximize every ray of sunshine by selecting the flattest, most exposed location and positioning your cooker to directly face the sun.
When dealing with partial sunlight, use a high-temperature baking bag and keep your pot covered to retain precious heat.
- Rotate your cooker every 20 minutes to follow the sun's path and maintain ideal exposure
- Use black pots or darkened cookware to absorb available sunlight more efficiently
- Place a clear, clean cover over your food to trap heat and moisture while letting sunlight through
During cloudy periods, you can still cook effectively by doubling your usual cooking time and utilizing your box cooker's heat retention properties.
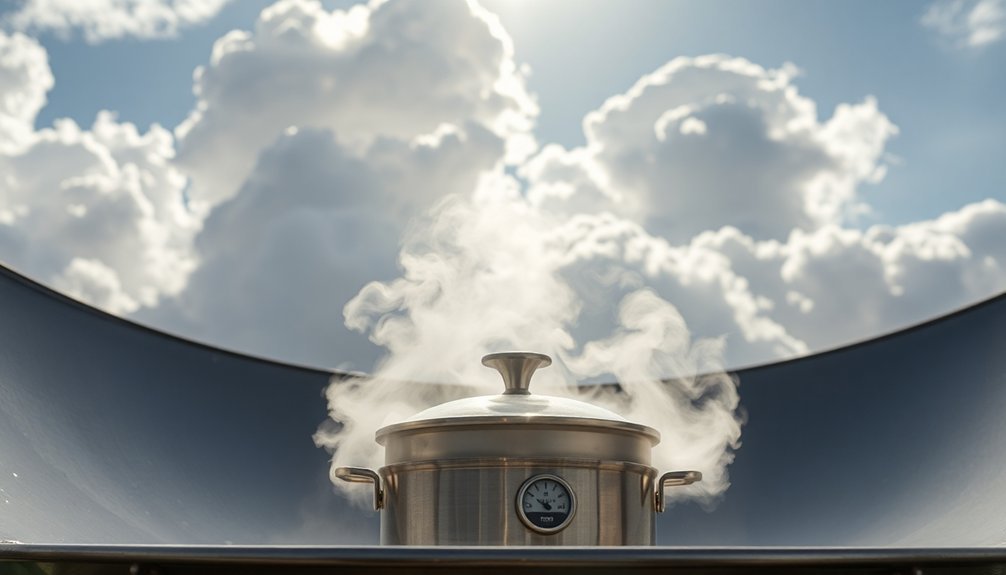
Pre-Heating Your Solar Cooker
Since proper pre-heating plays an essential role in solar cooking success, you'll want to dedicate at least 20-60 minutes for this important first step.
Position your cooker directly facing the sun, making sure the shadow falls straight behind it for ideal alignment.
While pre-heating, keep the glass door closed and all covers fully zipped to retain heat. On a clear day, you can reach 300° in about 20 minutes with a Sun Oven. Use this time to prepare your ingredients while the cooker warms up.
Remember to handle your pre-heated cooker with pot-holders, as it can get extremely hot. You'll need to monitor and realign the cooker periodically to maintain its focus on the sun.
This pre-heating process increases efficiency, shortens cooking times, and guarantees safe, predictable results.
Insulation Strategies For Cloudy Days
Your solar cooker's insulation becomes critical on cloudy days, so you'll want to double-check that all seams are tightly sealed and consider adding an extra layer of wool or fiberglass insulation to the walls.
You can boost heat retention by installing double glazing and positioning reflectors to capture any available sunlight, even on overcast days.
If clouds persist, thicker insulation materials like straw or cellulose in the walls will help maintain cooking temperatures longer, letting you complete your meal despite less-than-ideal weather.
Maximize Heat Retention
While cloudy days can challenge solar cooking, proper insulation strategies help maintain consistent cooking temperatures. You'll need to focus on creating an airtight environment that traps and retains heat effectively.
Start by securing well-insulated covers with spray glue or white glue, and seal all edges of the glazing with tape to prevent heat escape.
- Line your solar oven with mylar from emergency space blankets to reflect heat inward and maintain cooking temperatures.
- Place your food in high-temperature baking bags before putting it in covered pans to create multiple layers of insulation.
- Incorporate thick, heat-retentive materials in your oven's construction to store energy throughout the day.
These methods guarantee your solar cooker maintains peak cooking temperatures even when sunlight isn't at its peak.
Alternative Heat Sources
Even with excellent insulation, some days simply don't provide enough sunlight for solar cooking. You'll need reliable backup heat sources to guarantee you can prepare meals regardless of weather conditions.
| Heat Source | Best Use Case |
|---|---|
| Propane Heater | Outdoor cooking, high heat needs |
| Alcohol Heater | Indoor DIY setups, small meals |
| Terracotta Setup | Space-efficient cooking |
| Portable Stove | Versatile, multi-fuel option |
Consider creating a terracotta pot heater using canned heat and a folding stove – it's an effective DIY solution that works well indoors. For larger cooking needs, propane heaters offer significant heat output, while alcohol heaters provide a clean-burning alternative for smaller meals. Remember to maintain proper ventilation when using any fuel-based heating system, and always keep your equipment well-maintained for peak performance.
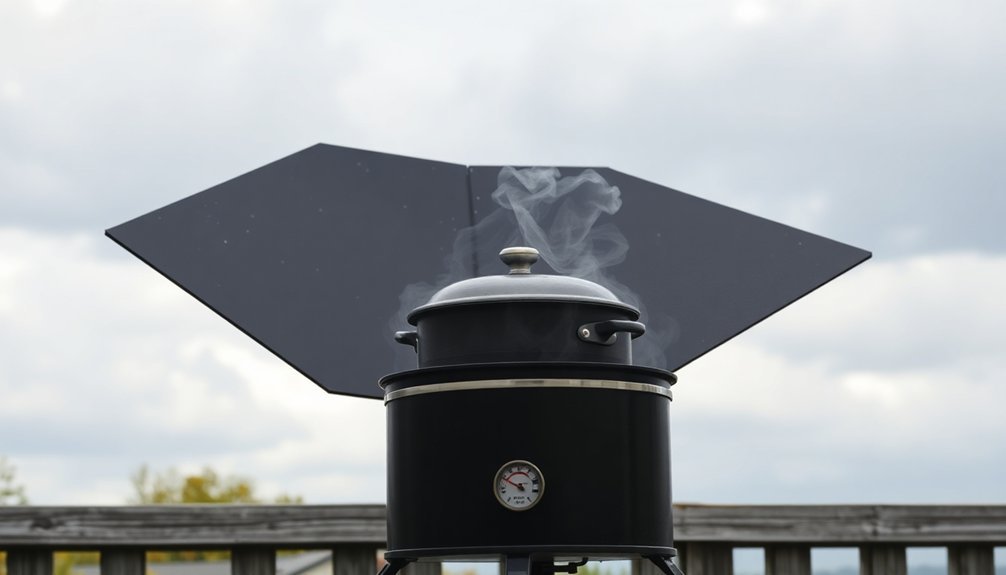
Weather-Proof Cooking Tips
Successfully weatherproofing your cooking setup requires strategic insulation and protection from the elements.
You'll need to shield your cooking area from wind and rain while maximizing heat retention. Create a barrier using foil-wrapped grates or stacked rocks, and position your setup above ground to prevent heat loss.
- Wrap your pot in a homemade cozy made from metallic bubble wrap, or place it inside a high-temperature baking bag to maintain consistent heat.
- Set up a tarp that allows smoke to escape while protecting your cooking area, ensuring you've got natural shelter from surrounding features.
- On cloudy days, double your usual cooking time and use a Lazy Susan to easily rotate your cooker every 20 minutes, tracking the sun's movement.
Choose thin, black metal pots and avoid reflective materials like aluminum foil on your food.
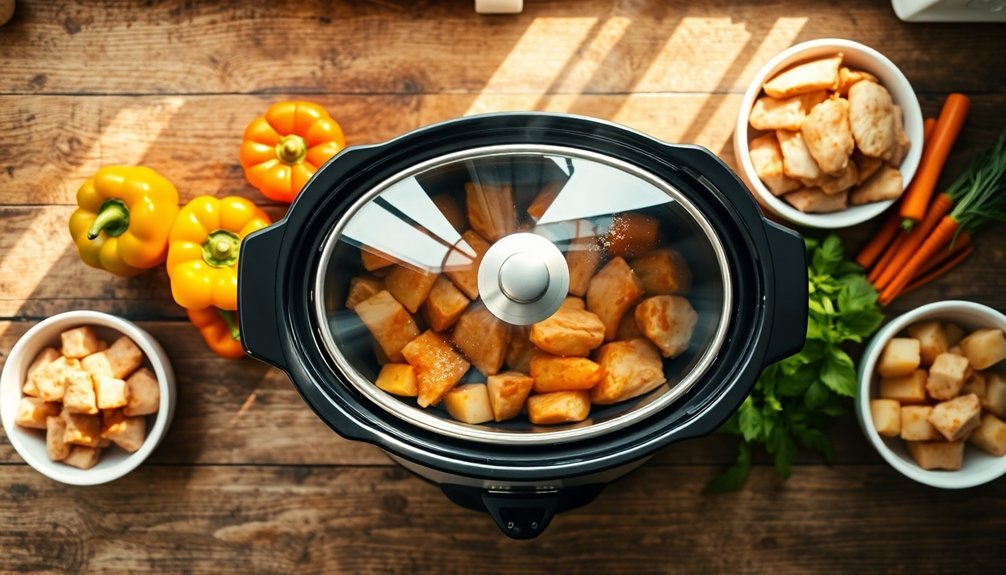
Best Foods For Overcast Weather
When dark clouds roll in and the temperature drops, your kitchen becomes the perfect refuge for creating comforting meals.
You'll find warmth in steaming bowls of tomato soup paired with crispy garlic bread, or a hearty lasagne soup that combines two comfort classics. For something more substantial, try the protein-rich stroganoff meatballs with mash or a slow-cooked braised pork tenderloin.
Don't forget Asian-inspired favorites like hot momos with spicy chutney or a warming bowl of customized noodles. Indian comfort foods like khichdi and buttery pav bhaji offer satisfying options too.
When you're craving something sweet, whip up a creamy hot chocolate topped with marshmallows or bake a warm, spiced apple crumble. Complete your rainy day experience with a cup of masala chai and some crispy pakoras.
Temperature Monitoring Methods
Modern temperature monitoring has revolutionized the way we track cooking processes, offering both traditional and smart solutions for precise results.
You'll find that smart thermometers with Bluetooth connectivity let you monitor temperatures remotely through your smartphone, while traditional thermometers require manual checks but remain reliable tools for basic temperature readings.
- Connect your smart thermometer to your phone for real-time alerts and temperature graphs, especially helpful when cooking multiple dishes simultaneously.
- Insert traditional thermometers into the thickest part of your food for accurate readings, whether you're using digital, dial, or infrared models.
- Monitor your cooker's internal temperature regularly and make adjustments based on changing conditions – turn the cooker toward or away from heat sources to maintain ideal cooking temperatures.
Positioning Your Cooker Effectively
When positioning your cooker, you'll need to contemplate the battle between shade and full sun to maintain consistent cooking temperatures.
Understanding the sun's daily path across your kitchen space helps you choose the ideal spot that minimizes direct sunlight exposure.
You should also factor in how seasonal angle changes will affect sun exposure throughout the year, which might require occasional adjustments to your cooker's position.
Shade Vs Full Sun
Since perfect solar cooking depends on maximizing sun exposure, understanding the difference between shade and full sun positioning is essential for your cooker's performance.
You'll get the best results between 10:00 and 2:00 on clear days when your cooker has direct sunlight access. Even partial shade from trees or buildings can dramatically reduce your cooking temperature and extend preparation time.
- Position your cooker where you can see direct sunlight hitting your cooking vessel.
- Adjust reflective surfaces to capture maximum sunlight and redirect it into your cooker.
- Monitor for shadows from the cooker's own components, as these can reduce efficiency.
If you're dealing with less-than-perfect conditions, use black cookware and additional reflective materials to enhance performance.
Keep your cooker's position adjusted throughout cooking to maintain prime sun exposure.
Tracking Sun's Daily Path
Success with solar cooking hinges on your ability to track and adjust to the sun's daily journey across the sky. To enhance your cooker's performance, you'll need to reposition it every 20-30 minutes, following the sun's movement. Watch the shadows cast by your cooker to guarantee proper alignment and maintain peak temperatures.
| Time of Day | Orientation | Start Cooking |
|---|---|---|
| Morning | East-facing | 9:00-10:00 AM |
| Midday | Overhead | 11:00-1:00 PM |
| Afternoon | West-facing | 1:00-2:00 PM |
| Evening | West-facing | 2:00-3:00 PM |
Keep your cooker's reflective surfaces clean and adjust the front flap based on the sun's height. For best results, place your cooker on level ground and use a tilt stand during early morning or late afternoon cooking sessions.
Seasonal Angle Adjustments
Proper seasonal adjustments to your solar cooker's angle can make the difference between a successful meal and an undercooked disappointment.
To maximize your cooker's performance throughout the year, you'll need to adapt its position based on the sun's changing elevation. Position your cooker at an angle that matches your latitude during summer months, and regularly clean your reflectors to maintain peak efficiency.
- Set your cooker between 11:00 AM and 3:00 PM on a dry, level surface
- Orient the front panel eastward for lunch preparation or westward for dinner
- Create stability using bricks or large stones, especially on windy days
Don't forget to use thermal mass materials and maintain an air gap under your pot to guarantee consistent heating.
Keep your reflectors properly angled to match the sun's daily path for best results.
Alternative Cooking Backup Plans
When disaster strikes, having multiple backup cooking methods can mean the difference between hot meals and cold canned food.
You'll want to take into account portable options like white gas stoves or denatured alcohol stoves for quick meals, while wood stoves work well for longer-term situations.
Don't overlook traditional methods like the three-rock fire setup or basic campfire cooking. If you've got a grill, keep extra propane or charcoal on hand.
Remember, you can't use these indoors due to carbon monoxide risks. Practice with your backup methods now – you don't want to learn how to use them during an emergency.
Focus on simple, one-pot meals like soups and stews to minimize cleanup.
Keep your cooking gear clean and maintain a stock of shelf-stable ingredients like dried goods and canned foods.
Weather Forecasting For Solar Cooking
Understanding weather patterns is essential for effective solar cooking. You'll get the best results between 10:00 a.m. and 2:00 p.m. when the sun's intensity peaks.
Watch out for clouds, dust, and high winds, as they can greatly reduce your cooker's efficiency.
To determine if conditions are suitable for solar cooking:
- Check if your shadow is shorter than your height – this indicates ideal sun position
- Monitor local weather stations for sunshine forecasts and wind speeds
- Look for clear skies without dust or heavy cloud cover, especially if you're in tropical or monsoon-prone regions
For reliable results, use weather data from surface meteorological stations and satellite services.
If you're in the Sahel or desert regions, you'll enjoy more cooking days compared to equatorial zones where clouds can interfere frequently.
Seasonal Solar Cooking Adaptations
Seasonal changes considerably impact your solar cooking routine, requiring smart adjustments to maintain efficiency year-round.
In winter, you'll need to track the sun more frequently and adjust your cooker's position every 30 minutes due to the sun's lower path. Use a Sunsight device to guarantee ideal alignment.
While winter cooking typically requires longer preheating times, you can leverage cold, dry air and snow reflection to enhance cooking efficiency.
Focus your cooking during peak hours between 11:00 am and 3:00 pm. Don't let winter discourage you – minimize heat loss by checking food less frequently and watching for steam as a completion indicator.
When possible, store your cooker indoors to reduce preheating time and consider breaking meal preparation into manageable steps across several days.
Equipment Maintenance During Cloud Cover
Although solar cookers rely on direct sunlight, you'll need to maintain your equipment even during cloudy conditions to guarantee peak performance when the sun returns.
Cloud cover can reduce your cooker's efficiency by up to 90%, but you can still keep it ready for action with proper care.
Key maintenance tasks during cloudy periods:
- Combat condensation by wiping moisture from the glass lid promptly and creating small ventilation gaps.
- Take advantage of rain as a natural cleaner, but dry your equipment thoroughly afterward to prevent humidity damage.
- Inspect and clear any debris that might've accumulated, assuring ideal sunlight absorption when skies clear.
When clouds persist, consider using backup cooking methods while continuing these maintenance practices.
Your diligence will assure your solar cooker performs at its best when sunshine returns.
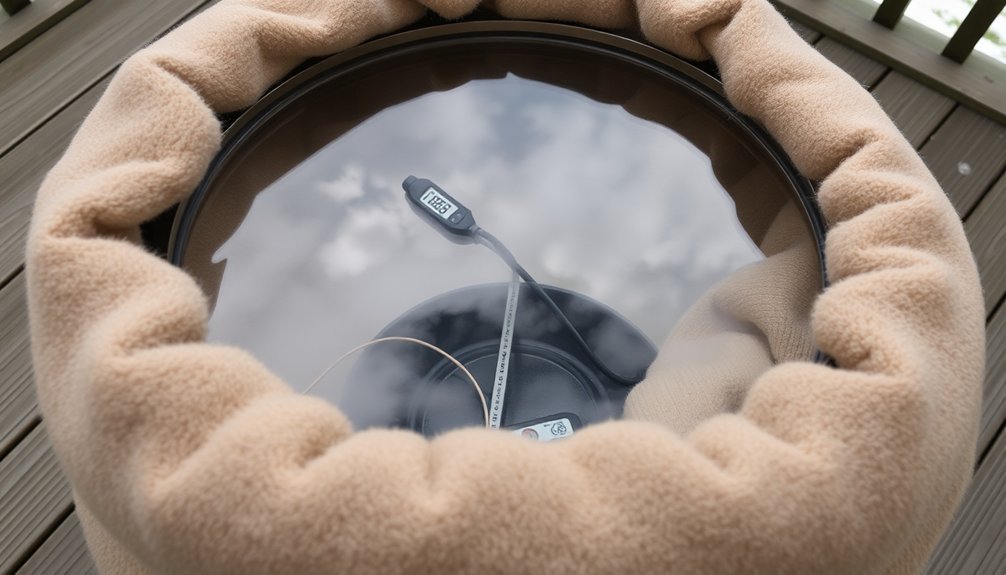
Heat Retention Techniques
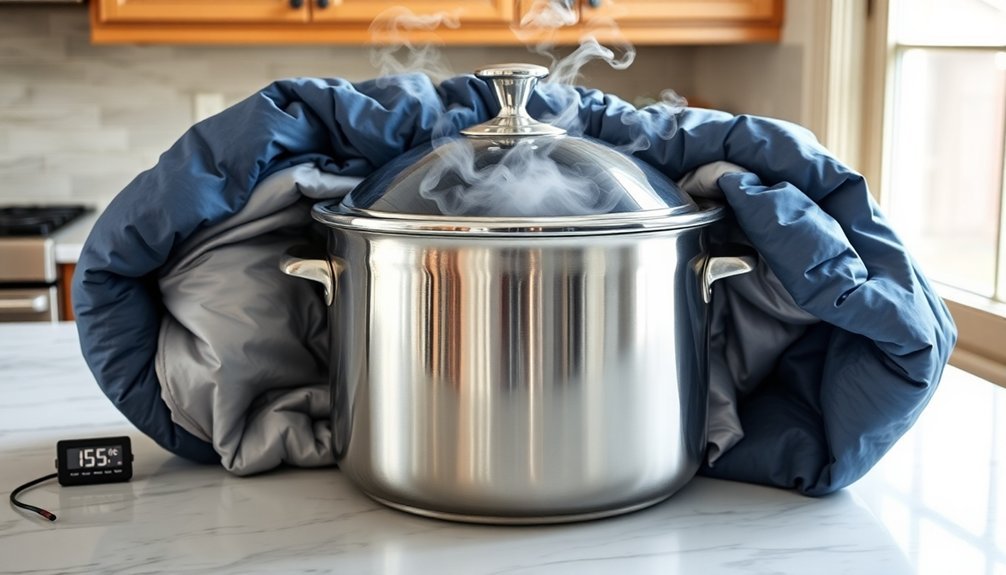
While sunlight powers your solar cooker, effective heat retention techniques can maximize its cooking efficiency and extend meal preparation into the evening hours.
You'll get the best results by using thin metal pots filled close to capacity and fitted with tight-sealing lids.
For extended cooking, you've got two reliable insulation options. Vacuum insulation systems offer convenient, self-contained solutions with heat loss of 8-10 degrees per hour.
Alternatively, foam insulation methods like Wonder Oven-style setups provide slightly better heat retention at 6 degrees per hour and work with your existing cookware.
Before transferring food to your retained heat system, make sure it reaches boiling temperature.
Remember to fill your pot generously – larger portions maintain heat better than smaller ones.
Don't use aluminum foil covers, as they'll reflect heat away from your food.
Frequently Asked Questions
Can Solar Cookers Be Used Indoors Near Sunny Windows?
You can use solar cookers near sunny windows, but they'll be less effective due to UV-blocking glass. You'll experience longer cooking times and lower temperatures compared to outdoor use. Consider using plain glass windows.
How Do Different Colors of Cookware Affect Cooking Performance?
While your cookware's color doesn't affect everyday cooking performance, dark colors, especially black, absorb heat better for solar cooking. For regular stovetop or oven use, color is purely aesthetic and won't impact results.
What Happens if Animals or Birds Are Attracted to Reflective Surfaces?
You'll notice birds often mistake reflective surfaces for real environments, leading to collisions or territorial battles with their reflections. They'll spend hours fighting these "intruders," which can cause stress, injury, or even death.
Is It Safe to Cook Frozen Food Directly in Solar Cookers?
Yes, you can safely place frozen food directly in your solar cooker in the morning. It'll stay cold until the sun heats it, but you must guarantee it cooks quickly once heating begins to avoid the danger zone.
Can Multiple Dishes Be Stacked in One Solar Cooker Simultaneously?
You shouldn't stack multiple dishes in solar cookers. Most designs are optimized for single-dish cooking to guarantee proper heat distribution and safety. Attempting to stack dishes could compromise cooking efficiency and food safety.
In Summary
You'll find solar cooking rewarding even on less-than-perfect days by applying these cloud-cover strategies. Remember to check weather forecasts, pre-heat when possible, and maintain proper insulation. Don't let a few clouds discourage you – with proper timing and heat retention techniques, you're still able to prepare delicious meals. Keep your equipment well-maintained, and adapt your cooking schedule to seasonal changes to make the most of available sunlight.


Leave a Reply