To convert traditional recipes for solar cooking, you'll need to double your standard cooking times as a general rule. If it's cloudy, plan for up to 2.5 times longer. Use dark, shallow pots to maximize heat absorption, and preheat your solar oven for 30 minutes to reach temperatures between 250°F-400°F. You'll get the best results between 10 a.m. and 2 p.m. when sunlight is strongest. Reorient your cooker hourly and avoid opening the lid frequently to maintain heat. Keep your solar thermometer handy and expect longer cooking times in winter months. These basic adjustments will set you up for successful solar cooking techniques.
General Time Conversion Guidelines
When adjusting cooking times between different temperatures and appliances, you'll need to understand the basic principles of time conversion.
Start by calculating the percentage difference between your original and new temperatures by dividing the start temperature by the end temperature. For example, if you're changing from 400°F to 450°F, divide 400 by 450 to get 0.89.
Multiply your original cooking time by this percentage to find your new cooking time. If a recipe calls for 60 minutes at the original temperature, you'll need 53 minutes at the higher temperature.
Always add a safety margin and check your food earlier than the calculated time. Shelf height placement can significantly impact your cooking times, with top shelves cooking faster than bottom ones.
Remember that different appliances require specific adjustments – like reducing temperatures by 25-50°F when converting from oven to air fryer, or adjusting slow cooker recipes to just 30-45 minutes in the oven.
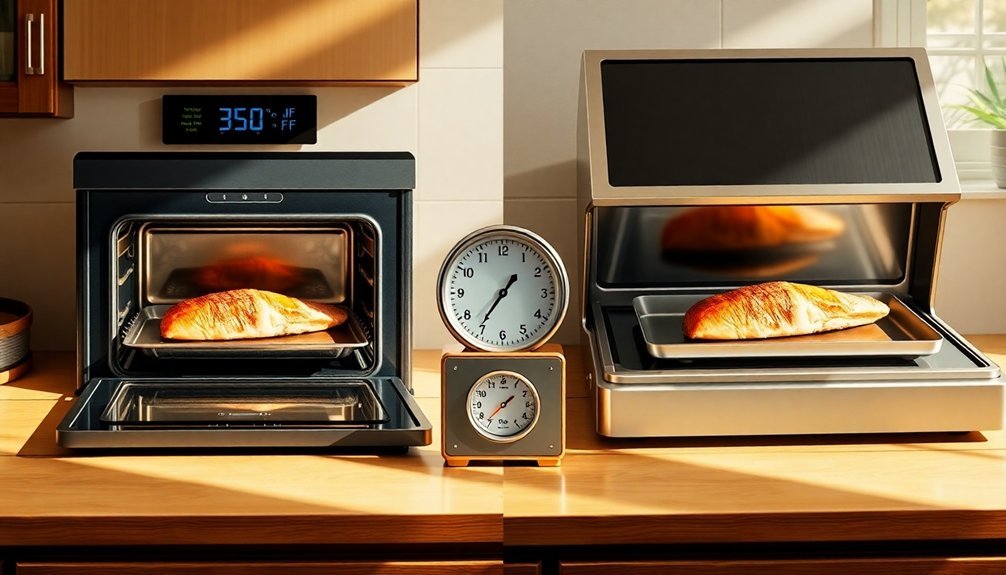
Baked Goods Solar Timing
When you're baking treats like brownies, breads, and muffins in your solar oven, you'll need to monitor temperatures closely and adjust cooking times based on sun conditions.
You can expect standard brownie and muffin recipes to take 20-30 minutes longer than conventional baking when your solar oven maintains 300-350°F on bright sunny days.
For bread baking success, guarantee your solar oven temperature stays consistently above 250°F and double your baking time during winter months or partially cloudy conditions.
Using a blue enamel cast iron pan can help ensure your baked goods cook more evenly in the solar oven.
Solar Brownie Timing Tips
How long should you leave those tempting brownies in your solar oven? You'll need to plan for 1-2 hours of baking time, considerably longer than the 20-30 minutes required in a conventional oven.
Before starting, preheat your solar oven for 30 minutes to reach ideal temperatures between 250°F and 400°F. Using canning jar rings under your brownie pan helps promote even heat distribution during baking.
You'll get the best results on clear, sunny days by positioning your oven due south and adjusting the reflectors periodically to maintain consistent heat.
Don't give in to frequent lid checks, as this will drop the temperature dramatically. Instead, wait until you're close to the expected cooking time, then use a clean pick test to check for doneness.
Remember to factor in environmental conditions – cloudy skies or cold weather will extend your baking time.
Bread Temperature Control Guide
Successful bread baking in a solar oven depends heavily on maintaining proper temperatures throughout the process. You'll need to adjust your timing and techniques when switching from conventional to solar baking. For ideal results, monitor internal bread temperatures using a thermometer. For the most consistent results, your dough temperature should match your rising temperature throughout proofing.
| Bread Type | Rising Temp | Internal Done Temp |
|---|---|---|
| Lean Dough | 81°F (27°C) | 190-210°F (88-99°C) |
| Sweet Dough | 75-80°F (24-27°C) | 180-190°F (82-88°C) |
| Sourdough | 70-85°F (21-30°C) | 190-210°F (88-99°C) |
| Rye Bread | 80-85°F (27-30°C) | 190-210°F (88-99°C) |
| Pre-ferments | 70-72°F (21-22°C) | N/A |
When using a solar oven, expect longer baking times of 40-90 minutes. Keep humidity between 60-80% to prevent dough from drying out. You'll know your bread is done when it's golden brown and sounds hollow when tapped.
Quick Muffin Conversion Chart
Just as bread requires precise temperature control, muffins need specific timing adjustments when baking in a solar oven.
You'll find that converting your traditional muffin recipes requires attention to both the type of solar oven you're using and weather conditions.
- Box solar ovens need 45-50 minutes at 110-130°C (230-266°F)
- Tube solar ovens require 30-35 minutes at 150-200°C (302-392°F)
- Panel cookers may need extended baking times due to lower temperatures
Check your muffins every 10-15 minutes to prevent overcooking.
To guarantee success, you'll want to grease your muffin tins thoroughly and use smaller sizes for even cooking.
Remember to adjust your solar oven regularly to maintain ideal heat capture, and consider using a rack to improve air circulation during baking.
Meat Cooking Duration Chart
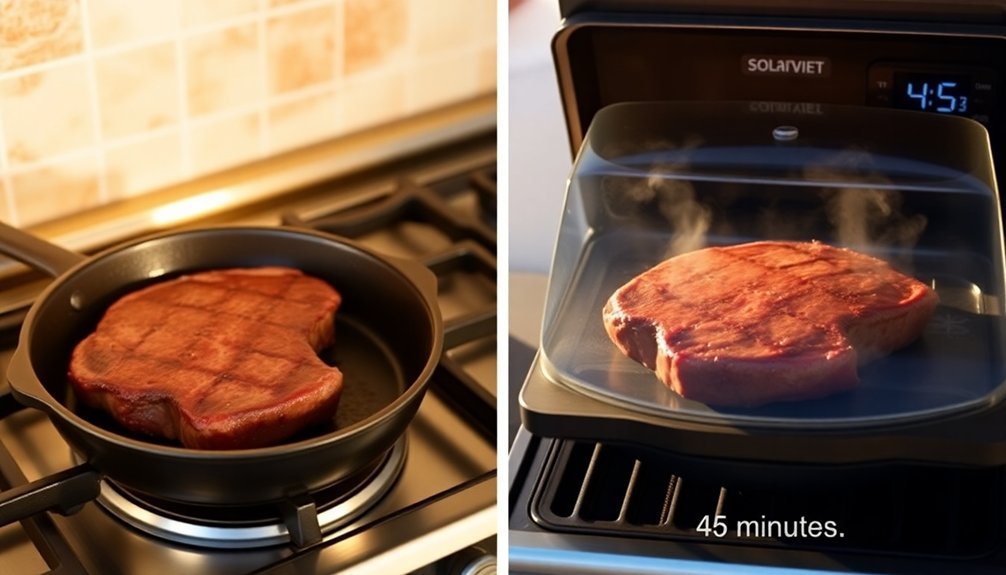
Precise timing makes the difference between a perfectly cooked steak and one that's overdone. For grilling, you'll need to adjust your cooking times based on both thickness and desired doneness. A 1/2-inch steak needs just 2 minutes per side for rare, while a 2-inch cut requires 8 minutes on the first side and 6 on the second.
If you're using the sear-roasting method, you'll start with a consistent 2-3 minute sear on the first side regardless of thickness.
The second side's cooking time varies considerably – from 3-4 minutes for a rare 1-inch steak to 20-24 minutes for a well-done 1 1/2-inch cut.
Remember to maintain your grill temperature at least 400°F and use a meat thermometer to confirm internal temperatures.
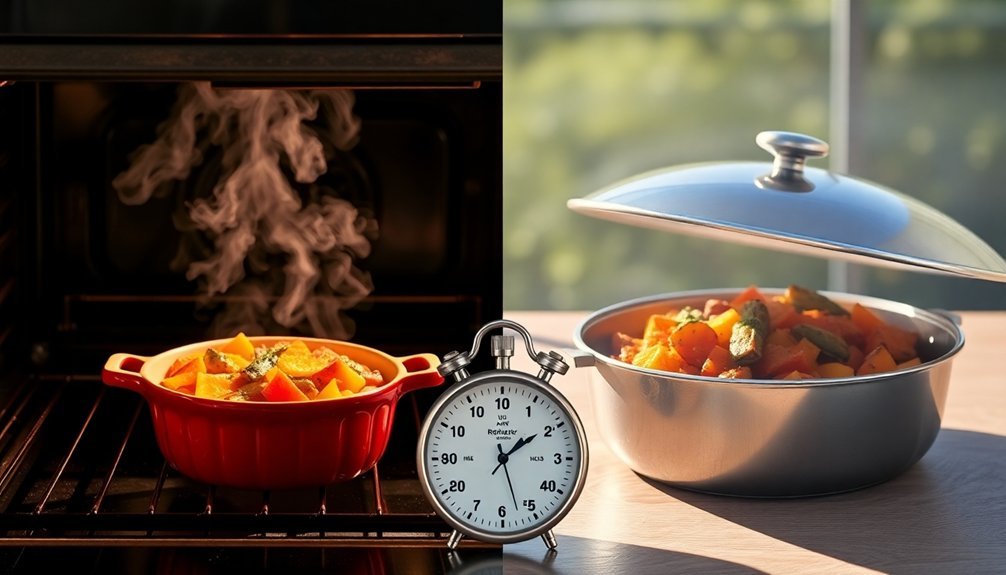
Vegetable Solar Cooking Times
Solar cooking transforms ordinary vegetables into flavorful dishes, though timing varies considerably based on natural conditions.
You'll find most vegetables cook best between 10 a.m. and 2 p.m., when sunlight is strongest. Remember to reorient your cooker hourly and use dark-colored pots or oven bags to maximize heat retention.
For efficient solar cooking of vegetables:
- Cut pieces smaller for faster, even cooking
- Preheat your cooker before adding ingredients
- Use transparent lids to monitor progress
- Mix quick-cooking items like tomatoes (20-40 minutes) with longer-cooking vegetables like potatoes (2-6 hours)
Season your vegetables early in the cooking process to enhance flavors.
While squash might take 4-6 hours, you can combine various vegetables in one pot, adjusting cooking times by controlling piece sizes and monitoring doneness regularly.
Grain and Legume Adjustments
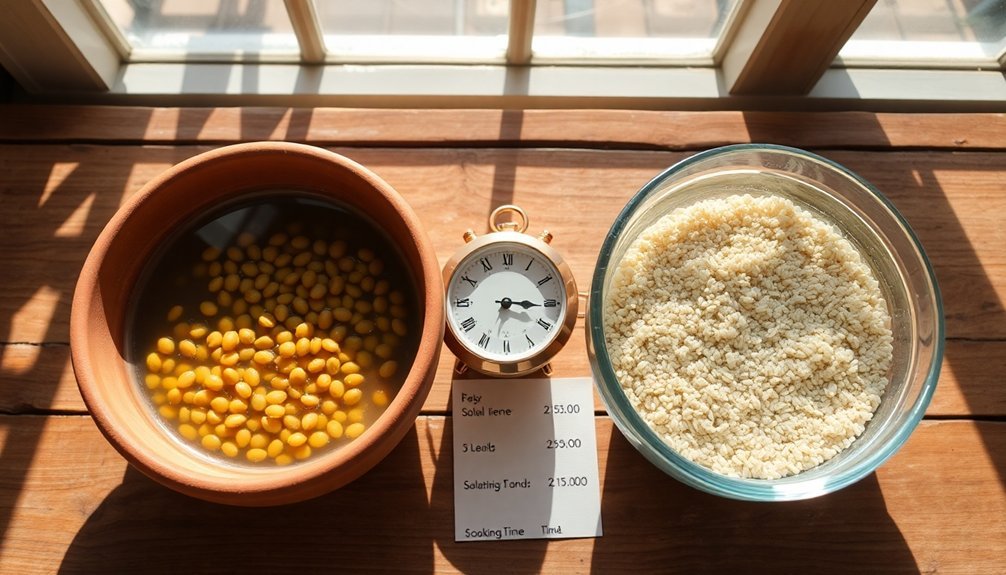
You'll need to adapt your cooking approach when preparing grains and legumes in a solar cooker, with brown rice requiring about an hour and pre-soaked beans taking 1-1.5 hours in sunny conditions.
For best results, maintain traditional water-to-grain ratios while being ready to adjust if your food turns out too moist or dry.
Pre-soaking your legumes the night before and checking weather conditions will help you plan the most efficient cooking schedule.
Rice Cooking Time Charts
Understanding rice cooking times is essential for achieving perfectly cooked grains, whether you're using a traditional stovetop method or modern pressure cooker.
While white rice varieties typically need 15-20 minutes to simmer, brown rice requires considerably longer at 40-50 minutes. You'll want to adjust your timing based on your specific rice type:
- White long-grain and aromatic rices like basmati and jasmine cook faster, needing just 15-20 minutes plus 5 minutes rest time.
- Brown rice varieties demand more patience, requiring 45-50 minutes of simmering for ideal texture.
- Wild rice and brown rice blends typically need 40-50 minutes to achieve the right tenderness.
- Specialty rices like arborio cook quickly at 15 minutes, while parboiled rice needs 20-25 minutes to reach perfection.
Water-to-Grain Ratio Guidelines
Mastering water-to-grain ratios is essential for cooking perfect grains and legumes every time. You'll find that lighter grains like quinoa and bulgur require less water, typically 2 cups of water per cup of grain.
Heartier grains such as farro, amaranth, and barley need 3 cups of water for each cup of grain.
Remember to rinse your grains before cooking to remove excess starch and any bitter compounds. If you're looking to enhance flavor, try toasting your grains in a bit of oil before adding liquid.
You can also swap water for broth to add depth. Don't forget to use a pot that's large enough to accommodate the grains' expansion, and resist lifting the lid while cooking.
For shorter cooking times, consider pre-soaking your grains overnight.
Legume Soaking Time Factors
While proper soaking techniques can dramatically reduce cooking times for legumes, several key factors influence the effectiveness of this preparation method.
You'll find that both overnight and quick-soaking methods offer similar time-saving benefits, but adding sodium chloride or sodium bicarbonate to your soaking water can further decrease cooking duration.
Consider these critical soaking factors for ideal results:
- Elevation affects cooking time – higher altitudes require longer soaking periods
- Environmental storage conditions can impact the hard-to-cook (HTC) defect
- Soaking duration directly relates to oligosaccharide reduction and digestive comfort
- Removing soaking water helps eliminate indigestible sugars
For the best digestive comfort and nutrient retention, you'll want to discard the soaking liquid and rinse your legumes thoroughly before cooking.
This helps maintain their beneficial nutritional profile while reducing potential digestive issues.
Solar Temperature Control Methods
To effectively control temperature in solar cooking, you'll need to take into account the specific capabilities of different cooker types.
Parabolic cookers can exceed 290°C but require frequent adjustments every 10-15 minutes to prevent overheating. Box cookers, reaching 165°C, offer more stable temperatures and need less monitoring, making them ideal for baking and slow-cooking.
For precise temperature control, you'll want to master lid management and cooker positioning.
Don't open the lid frequently, as this releases valuable heat. Instead, adjust your cooker's position slightly ahead of the sun's movement. Using dark, heat-absorbing pots with tight-fitting lids helps maintain consistent temperatures.
For enhanced efficiency, preheat your cooker for 15-30 minutes before adding food, and cut ingredients into smaller pieces to guarantee even cooking.
Weather Impact on Cooking
Since weather conditions greatly influence cooking outcomes, you'll need to adapt your techniques accordingly. High humidity affects your baking by extending cook times and causing dough to flatten, while warmer temperatures make fats melt faster in your recipes.
At higher altitudes, you'll notice cakes rising quicker and losing moisture more rapidly.
- Reduce liquids by 25% on humid days and store dry ingredients in the fridge to prevent moisture absorption
- Chill your dough and use cold liquid ingredients when working in hot kitchens
- Adjust leavening agents, sugar, and flour quantities when baking at high elevations
- Consider indoor cooking during wet weather and quick-cooking methods during hot days
These adaptations will help you maintain consistent results despite challenging weather conditions.
Recipe Liquid Reduction Guide
Just as weather affects cooking times, mastering liquid reduction techniques will enhance your culinary skills. You'll need to start with the right ratios: 1 cup of liquid to 1/2 cup sugar for fruit-based reductions, or 4 cups fresh fruit with 1/2 cup each of water and sugar.
| Action | Time/Method |
|---|---|
| Initial Heat | Medium until bubbling |
| Reduce Heat | Low once bubbles cover surface |
| Simmer Time | 5-10 minutes for fruits |
| Consistency Check | Coat back of spoon |
| Storage | 2-3 weeks refrigerated |
Heat your mixture on medium until bubbling, then reduce to low. You'll know it's ready when the liquid coats your spoon. Remember that reductions thicken as they cool, so don't overcook. For long-term storage, you can freeze your reduction for up to six months and reheat when needed.
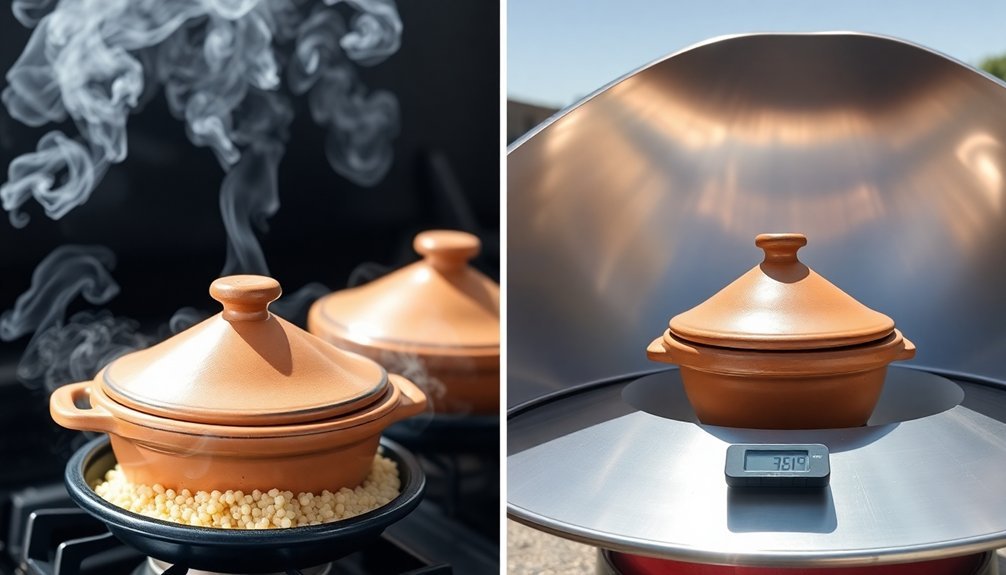
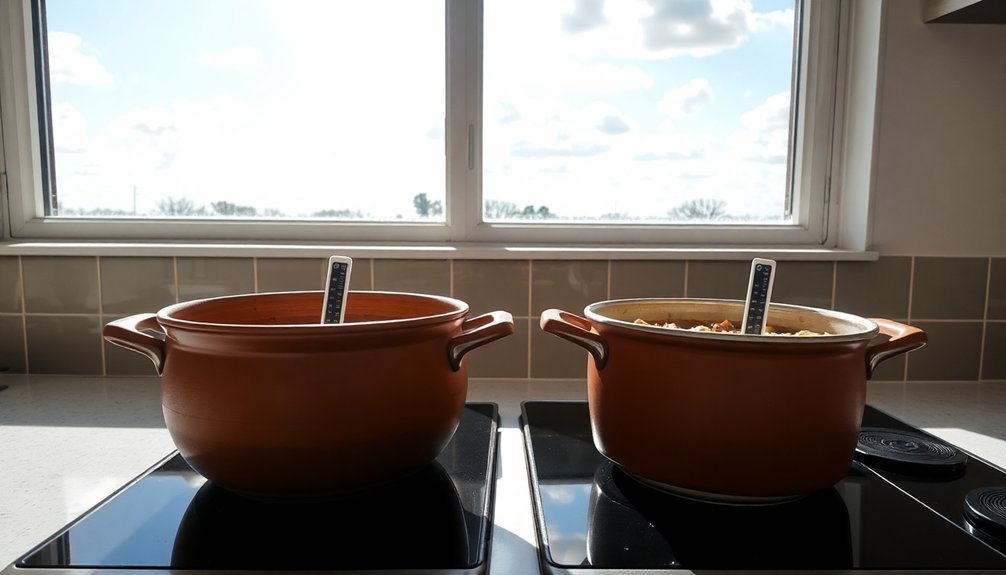
Pot Size and Material
While selecting cookware for solar cooking, the right pot size and material can make a significant difference in your results. Choose shallow, thin pots for faster and more even heating, as deeper vessels require longer cooking times. Your pot should fit well within your solar cooker's design to maximize heat absorption and retention.
For best performance, select pots that are:
- Matte black or dark-coated to maximize sunlight absorption
- Made from materials like black enameled steel or aluminum with black coating
- Shallow and wide rather than deep and narrow
- Compatible with your solar cooker's specific geometry and reflector setup
The pot's inner lining material also matters – copper or aluminum can improve heat conductivity.
Remember that reflective surfaces won't work well, as they'll redirect sunlight away from your food instead of absorbing it.
Direct Sun Versus Partial Shade
When cooking outdoors, you'll need to contemplate how sun exposure zones affect your cooking temperatures, as direct sunlight can raise temperatures by 10-15 degrees compared to shaded areas.
You can adjust your cooking setup by strategically placing equipment in either full sun or partial shade to maintain consistent temperatures throughout the cooking process.
If you're using multiple cooking stations, position temperature-sensitive items in shadier spots while keeping items that need higher heat in direct sunlight.
Light Exposure Impact Zones
Understanding light exposure zones is essential for successful solar cooking, as the difference between direct sun and partial shade greatly impacts cooking temperatures and times.
You'll need to recognize that full sun (6+ hours of direct sunlight) can raise food temperatures up to 13°C above ambient conditions, while partial shade requires longer cooking durations and more frequent adjustments to your solar cooker.
- Direct sun zones are ideal for solar cooking, allowing you to prepare recipes like rice, chili, and stews efficiently.
- Partial shade zones (4-6 hours of sun) need extended cooking times and more frequent solar tracking.
- Using high-temperature oven bags and lids helps retain heat, especially in partial shade conditions.
- Light intensity affects both cooking speed and chemical reactions in food, so you'll need to adjust recipes accordingly.
Temperature Variability Management
Managing temperature fluctuations between direct sun and partial shade conditions can make or break your solar cooking success.
You'll need to adapt your approach based on light exposure, as temperatures can vary from 300°F in direct sun to considerably lower levels in partial shade.
In direct sunlight between 11 AM and 3 PM, you'll achieve ideal cooking temperatures of 200-300°F.
When cooking in partial shade, expect longer cooking times – often double what you'd need with traditional methods.
Keep your food safe by maintaining temperatures above 125°F and regularly checking internal temperatures with a calibrated probe thermometer: 145°F for whole cuts, 160°F for ground meats, and 165°F for poultry.
Use dark-colored cookware and adjust your reflectors frequently to maximize heat absorption, especially when dealing with variable sunlight conditions.
Seasonal Cooking Time Variations
Throughout the year, cooking times naturally shift to accommodate seasonal ingredients and weather conditions.
Winter calls for longer cooking periods with hearty stews and roasted root vegetables, while spring and summer favor quicker methods like steaming and grilling. When using solar cooking, you'll need to adjust times based on available sunlight and weather conditions.
To optimize your seasonal cooking times:
- Winter dishes like lentil soups and braised meats require slow cooking methods, often taking several hours.
- Spring vegetables cook quickly – asparagus and peas need just minutes of steaming or boiling.
- Summer meals focus on minimal cooking time with fresh salads and quick-grilled vegetables.
- Solar cooking requires flexibility, with cooking times doubling on cloudy days versus clear days.
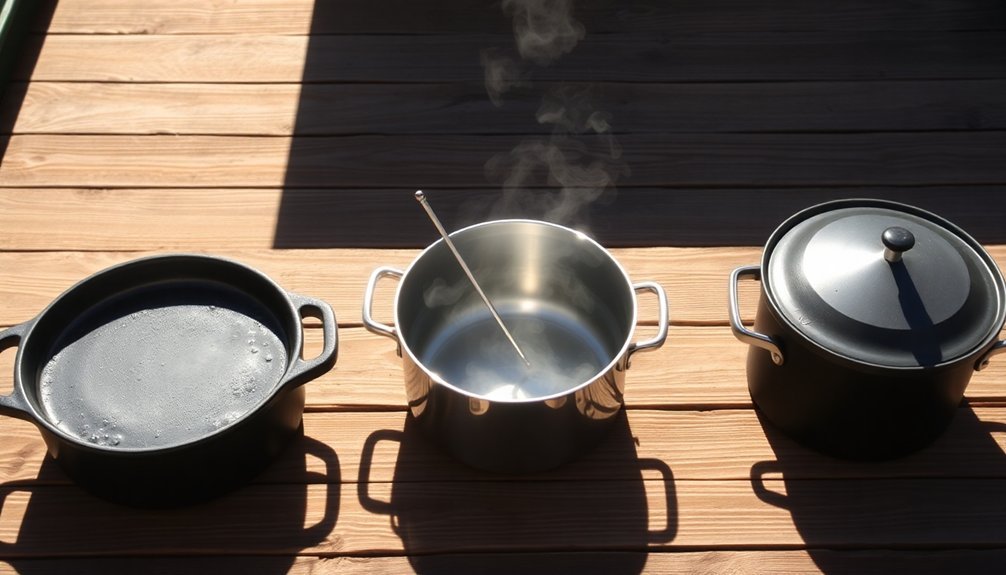
Food Container Heat Absorption
When selecting food containers for temperature retention, the material composition and construction play essential roles in heat absorption. The double-wall vacuum-insulated design of 18/8 food-grade stainless steel containers guarantees ideal temperature control, keeping your food hot for up to 8 hours and cold for up to 12 hours.
You'll find that these containers prevent heat dispersion through their specialized air chamber and expanded polyurethane foam insulation. The external plastic wall combined with the stainless steel inner wall creates an effective barrier against temperature changes.
You won't experience condensation on the outside or burning hands when handling hot contents. To maximize heat retention, it's best to fill the container almost completely, as this reduces air space and maintains consistent temperature.
Frequently Asked Questions
Can Foods Defrost Safely in a Solar Cooker Before Cooking Begins?
You can safely defrost food in your solar cooker early morning before cooking begins, as long as it converts quickly from frozen to cooking temperature once the sun heats up the cooker effectively.
How Do Different Altitudes Affect Solar Cooking Times and Temperatures?
You'll cook faster at higher altitudes due to increased solar radiation and less atmospheric interference. Your food will reach higher temperatures more quickly since there's less air blocking the sun's energy.
Do Spices and Seasonings Need Adjustment When Cooking With Solar Power?
Yes, you'll need to adjust spices and seasonings for solar cooking. Since flavors mellow during longer cooking times, you should increase your usual amounts and consider adding some seasonings later in the cooking process.
Can Multiple Dishes Be Stacked and Cooked Simultaneously in Solar Ovens?
You shouldn't stack dishes in solar ovens as it disrupts heat distribution and temperature control. It's best to cook one dish at a time or use multiple ovens for simultaneous cooking.
How Does Food Coloring Affect Cooking Time in Solar-Powered Recipes?
You'll notice adding dark food coloring to your recipes can reduce solar cooking time by increasing heat absorption. It's similar to using dark cookware – the darker color helps capture more solar energy efficiently.
In Summary
You'll find that converting traditional recipes to solar cooking requires consistent practice and careful timing adjustments. Start with simple dishes, track your results, and gradually build confidence with more complex meals. Remember that factors like pot material, seasonal changes, and cloud cover will impact your cooking times. Keep a log of successful conversions, and you'll soon master the art of solar cooking timing.


Leave a Reply