
Your solar cooking success depends on maintaining temperatures between 200°F and 300°F, with most dishes cooking perfectly in this range. You'll need to plan around peak sun hours (11 AM to 3 PM) and position your cooker to capture maximum sunlight. While you can achieve up to 350°F even in cold weather, expect longer cooking times than conventional ovens – about 1 hour for small items and 2-2.5 hours for substantial meals. Good insulation, dark cookware, and proper wind protection will help you maintain these ideal temperatures. Understanding these temperature controls will reveal your full solar cooking potential.
The Magic Number: 200-300°F
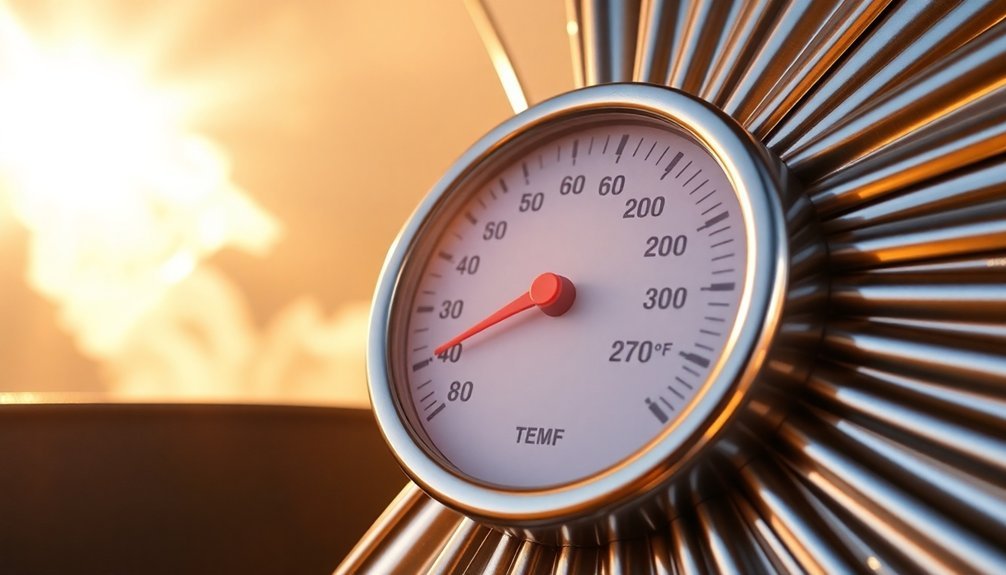
Two critical temperature points define effective solar cooking: 200°F and 300°F. When your solar cooker maintains this temperature range, you'll achieve consistent cooking results.
At these temperatures, you can cook most foods effectively, though you'll need to plan for longer cooking times than with conventional ovens. Parabolic solar cookers can achieve temperatures exceeding 800°F for specialized high-heat cooking needs.
You'll find that smaller items like eggs and toast cook in under an hour, while vegetables and quick breads take 1 to 1.5 hours. For more substantial foods like grains, fish, and cut-up meat, expect 2 to 2.5 hours of cooking time.
To maintain these ideal temperatures, you'll need proper insulation, dark-colored cookware, and good sealing. Remember to position your cooker toward direct sunlight and adjust it as the sun moves to keep temperatures steady within this magic range.
Time of Day Matters
Successful solar cooking depends heavily on the time of day you choose to cook. You'll find peak cooking hours between 11:00 AM and 3:00 PM when the sun's intensity is strongest. During summer, you can extend your cooking window from 10:00 AM to 4:00 PM, while winter limits you to a shorter period between 11:30 AM and 2:30 PM. Food safety demands careful attention to cooking temperatures, with pasteurization achieved at 65° C and proper cooking starting at 82° C or higher.
| Season | Prime Cooking Hours |
|---|---|
| Summer | 10:00 AM – 4:00 PM |
| Winter | 11:30 AM – 2:30 PM |
| Fall/Spring | 11:00 AM – 3:00 PM |
| Ideal Days | 9:00 AM – 6:30 PM |
To maximize efficiency, position your cooker facing east for lunch preparations and west for dinner. You'll need to adjust your cooker more frequently during winter months to track the sun, while summer allows for longer periods between adjustments. Remember, your food cooks fastest when the cooker's shadow falls directly behind it.
Size Impacts Heat Distribution
When designing a solar cooker, size and proportions play essential roles in heat distribution and cooking efficiency. You'll want to make your cooker longer in the east/west direction to capture more sunlight throughout the day.
While larger boxes can reach higher temperatures, they must maintain an ideal ratio between the solar collection area and heat loss area.
To maximize heat retention, you'll need to focus on proper insulation and moisture management. Use materials like foam or cotton balls to prevent heat escape, and verify you've sealed all gaps. Heavy materials like rocks can help store heat and keep the box warm for extended periods.
You'll get better results by using dark cookware and keeping food in sealed containers to manage condensation.
While smaller boxes can work effectively, they won't reach the same high temperatures as larger ones with proper proportions and insulation.
Reflective Materials and Heat Collection
You'll get better cooking results by incorporating multiple reflective surfaces to maximize the sunlight directed into your solar cooker.
While both mirrors and aluminum foil work effectively, mirrors typically provide superior reflection but cost more, while foil offers a budget-friendly alternative that's still highly efficient.
Position your reflectors at angles that track the sun's movement throughout the day, ensuring consistent heat collection as the sun's position changes.
Maximize Reflection Surface Area
Maximizing reflective surface area stands as the cornerstone of efficient solar cooking performance. You'll achieve higher temperatures by strategically increasing the area that captures and directs sunlight to your cookware. Adding reflective inserts considerably boosts your sun-catching potential, while proper alignment guarantees prime heat direction to your cooking surface.
| Reflector Element | Impact | Best Practice |
|---|---|---|
| Surface Material | Heat Collection | Use aluminum foil tape for highest reflectivity |
| Size | Energy Capture | Larger reflectors generate more cooking power |
| Positioning | Direction | Angle reflectors to maximize cookware exposure |
To boost your solar cooker's efficiency, you'll want to position multiple reflectors to direct additional sunlight toward your cooking vessel. Remember, smooth reflective surfaces guarantee consistent light direction, while proper angular positioning maintains focus throughout the cooking process.
Mirror Vs Foil Efficiency
Two primary reflective materials compete in solar cooking technology: mirrors and aluminum foil.
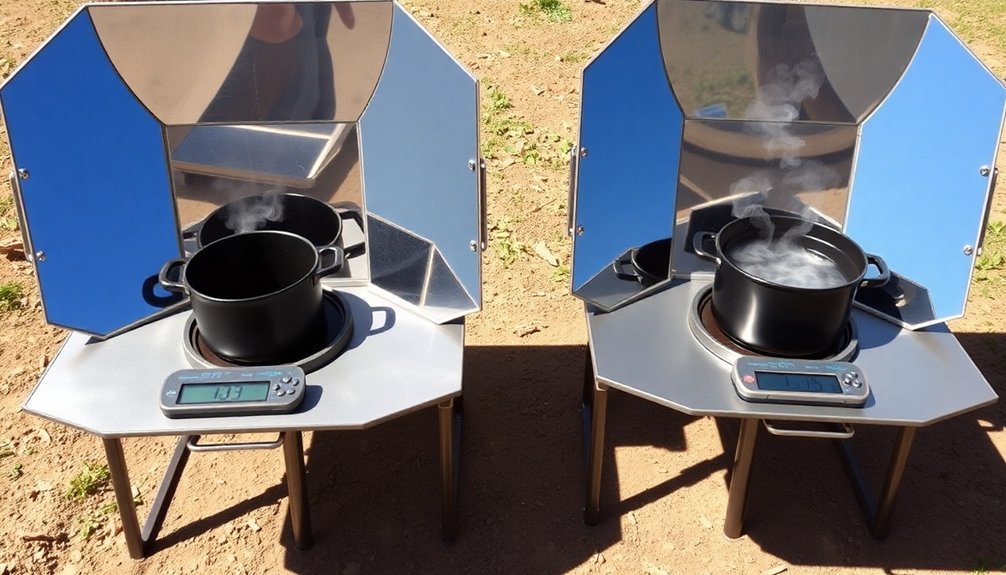
Mirror reflectors considerably outperform foil, boosting efficiency by 134% compared to non-reflective surfaces. You'll find that mirrors can boil 1.5 kg of water in just 51 minutes due to their superior heat collection and smooth reflection properties.
While mirrors offer the best performance, they're not always practical for your solar cooking needs. They're expensive, fragile, and require careful handling.
If you're building a homemade solar cooker, aluminum foil might be your better choice despite its 17.86% lower optical efficiency. It's cheaper, more flexible, and easier to work with.
However, you'll need to accept longer cooking times and more frequent replacements due to foil's lower durability and heat collection capabilities.
Strategic Reflector Positioning
Proper positioning of reflective surfaces serves as the cornerstone of efficient solar cooking. You'll need to adjust your reflectors every hour to maintain alignment within 30 degrees of the sun, ensuring peak heat collection.
Rather than moving the entire cooker, it's more practical to mount reflectors on hinges for easy rotation, especially with box-style designs.
For ideal temperature control, follow these essential positioning strategies:
- Align reflectors to face the noon sun during mid-day cooking sessions.
- Position reflectors to redirect sunlight throughout the day, particularly in temperate zones.
- Configure the east/west dimension of your cooker longer to maximize sun exposure as it travels across the sky.
When you maintain proper alignment, you'll achieve higher cooking temperatures and more consistent heat distribution throughout your solar cooking session.
Insulation Makes All the Difference
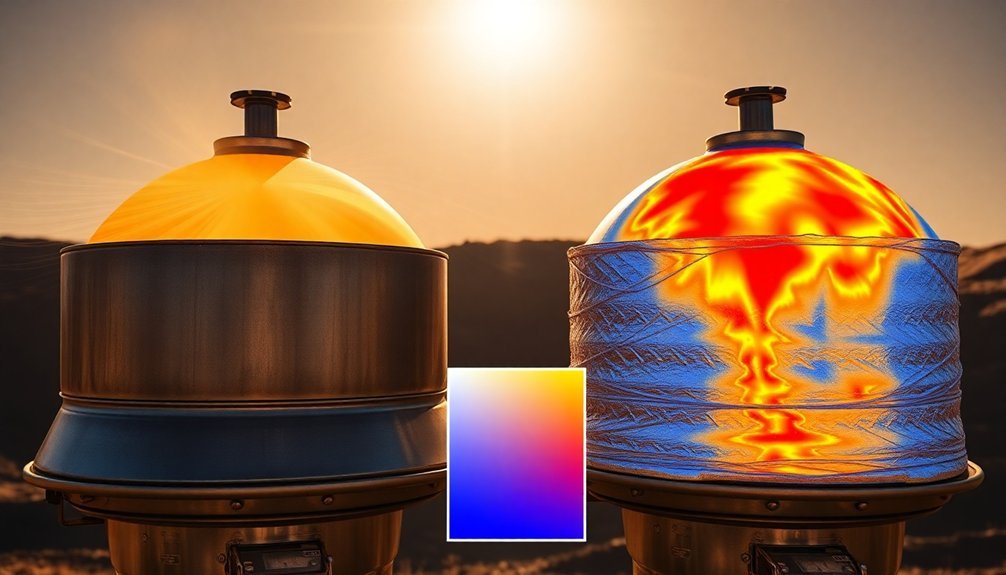
When it comes to achieving high temperatures in solar cookers, effective insulation plays a vital role in trapping and maintaining heat.
You'll want to surround your cooking cavity with quality insulating materials like fiberglass, rockwool, or even down feathers to minimize heat loss through conduction.
You can create a robust insulation system by layering different materials. Start with aluminum foil as a radiant reflector, then add materials like crumpled newspaper or rice hulls, which are both affordable and effective.
Make sure you're installing the insulation tightly, without any gaps or cracks where heat might escape.
With proper insulation, you'll maintain higher cooking temperatures even during cloudy periods, cook food faster, and enhance the greenhouse effect inside your cooker.
This improved heat retention is what makes the difference between mediocre and successful solar cooking.
Weather Effects on Cooking Power
Although solar cookers can generate impressive temperatures, various weather conditions greatly influence their cooking power and efficiency.
While outside temperature has minimal impact on a well-insulated solar cooker, wind and cloud cover can considerably affect your cooking success.
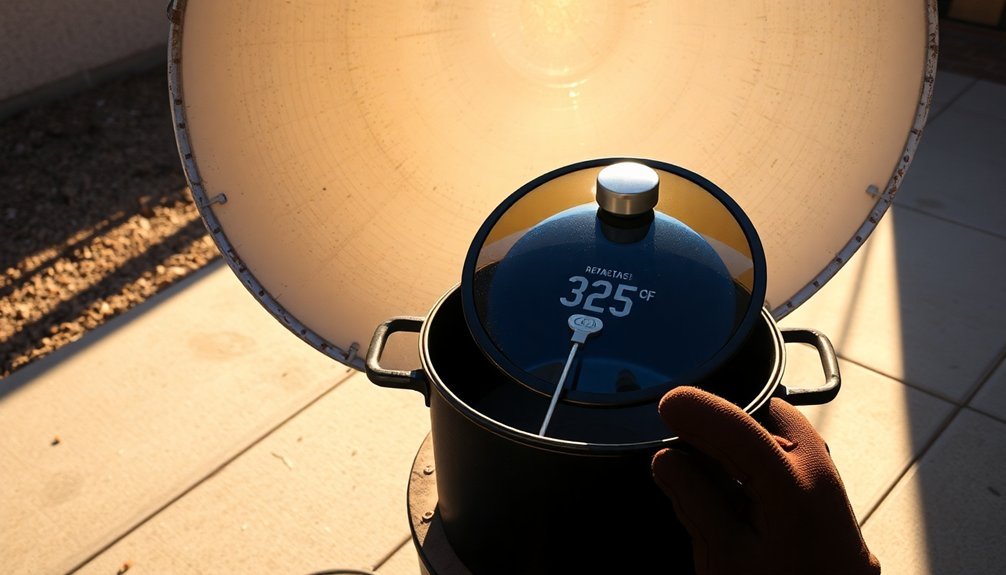
You'll find that your solar cooker can reach 350°F even in freezing conditions, but strong winds can drop temperatures by over 100°F.
- Use a windbreak or shield on blustery days to maintain ideal cooking temperatures
- Expect cooking temperatures between 200-250°F on partially cloudy days, and adjust your cooking time accordingly
- Position reflectors strategically to maximize sunlight capture, especially when clouds are present
Positioning for Maximum Heat Retention
Successfully positioning your solar cooker for maximum heat retention requires careful attention to both location and setup. Choose a dry, level spot with unobstructed sunlight, and secure your cooker against wind using weights if needed.
Face your cooker's reflective surfaces directly at the sun, adjusting the angles to match the sun's position. You'll need to reorient it every 20 minutes to track the sun's movement.
Confirm your reflective panels are smooth and wrinkle-free to maximize sunlight concentration on the cooking chamber.
To trap heat effectively, place your pot inside a clear heat-resistant plastic bag or under an inverted glass bowl, leaving space for an insulating air layer.
Use dark, shallow metal pots with tight-fitting lids on a raised stand to minimize heat loss.
Frequently Asked Questions
Can I Adjust Cooking Temperature by Changing the Number of Reflectors?
Yes, you can control your solar oven's temperature by adding or removing reflectors. More reflectors concentrate additional sunlight, increasing heat, while fewer reflectors reduce the temperature. You'll need to adjust them for best results.
How Do Different Pot Materials Affect Solar Cooking Temperatures?
Your pot's material directly impacts cooking temperature: metal pots heat quickly but lose heat fast, ceramics warm slowly but retain heat well, and dark-colored cast iron provides the most consistent cooking temperatures.
Does Altitude Impact the Maximum Temperature Achievable in Solar Cookers?
Yes, higher altitudes will help you achieve hotter temperatures in your solar cooker due to less atmospheric interference. You'll get more direct solar radiation, which means greater heat concentration and faster cooking times.
What's the Lowest Temperature Needed for Safe Solar Cooking?
You'll need to maintain at least 180°F (82°C) for safe solar cooking. It's crucial to preheat your oven to 140°F before adding food to avoid keeping ingredients in the dangerous bacterial growth zone.
How Does Food Color Influence Cooking Temperature and Time?
You'll find that darker foods absorb heat faster and cook more quickly, while lighter-colored foods take longer. This means your dark beans or meat will cook faster than white rice or potatoes.
In Summary
You'll find solar cooking success depends on maintaining temperatures between 200-300°F throughout your cooking process. By planning your cooking time, using proper insulation, and positioning your cooker correctly, you're able to harness the sun's power effectively. Remember that weather conditions and your cooker's size will impact heat distribution, so adjust accordingly. With these temperature controls in mind, you'll master solar cooking.


Leave a Reply