To focus your reflector for food photography, start by positioning the base opposite your main light source at a 45-degree angle to create balanced illumination. Next, track the sun's movement using apps like Suncalc.org or Golden Hour to determine the ideal azimuth and elevation angles for your setup, adjusting the reflector's position accordingly. Finally, fine-tune your focus point by identifying the hero element of your dish and making small adjustments to the reflector's distance and angle until you achieve the perfect balance of highlights and shadows. These fundamental steps will reveal the secrets to professional food lighting techniques.
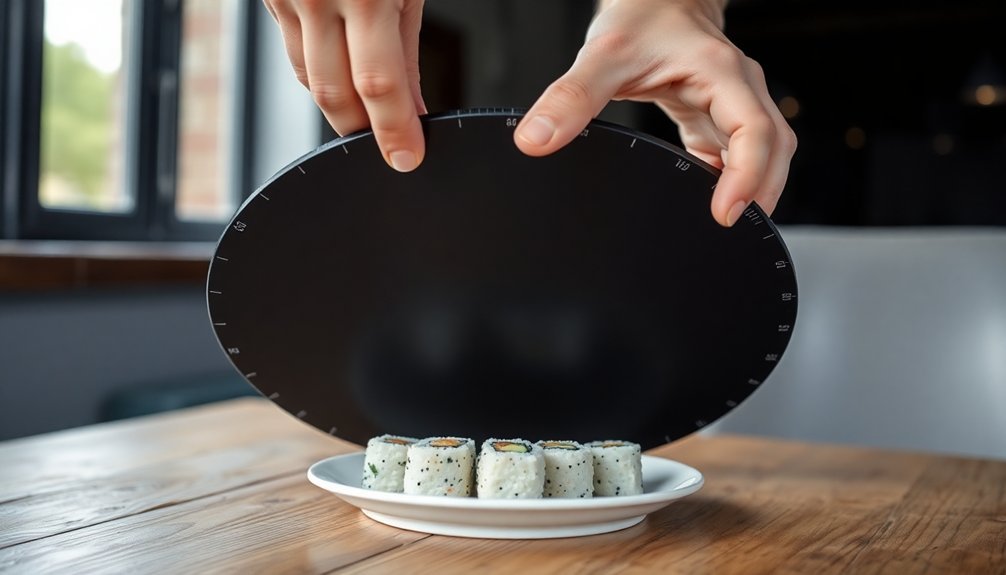
Position Your Reflector Base

The proper positioning of your reflector base is essential for capturing stunning food photography.
Start by identifying your main light source, whether it's sunlight streaming through a window or artificial lighting. Once you've determined the light's direction, place your reflector on the opposite side of your food setup.
Set your reflector at a 45-degree angle to bounce light effectively onto your subject. You'll want to experiment with the distance between the reflector and your food to achieve the perfect balance of highlights and shadows.
Choose a reflector material that matches your lighting needs – white cardboard creates soft, even light, while silver foil delivers stronger reflections. Multiple reflectors can be strategically placed around your setup to eliminate unwanted shadows and create even illumination.
Remember to adjust your reflector's position throughout your shoot as the light source changes to maintain consistent illumination.
Calculate Sun Tracking Angles
Accurately tracking the sun's position enables you to maximize your reflector's effectiveness for food photography.
You'll need to understand both azimuth (the sun's horizontal direction from true north) and elevation (the sun's height above the horizon) to position your reflector correctly.
Use online tools like Suncalc.org or the Golden Hour app to get precise angles for your location and time.
Simply enter your details, and you'll receive azimuth values measured clockwise from north and elevation in degrees from the horizon.
For manual calculations, use trigonometry to determine angles based on object heights and distances.
Since the sun moves continuously, you'll need to adjust your reflector frequently.
Keep monitoring its position and make real-time adjustments to maintain ideal light reflection on your food subject.
Arriving 30 minutes before shooting gives you time to properly set up your reflector and test different angles for optimal lighting.
Fine-Tune The Focus Point

After positioning your reflector for peak sunlight, precise focus becomes your next priority.
Start by identifying the hero element of your dish, as this will determine your primary focus point. You'll want to select the closest focus point to this element for maximum sharpness.
If you're using a tripod, switch to live view mode and zoom in on your camera's screen for precise focus control. Turn the focus ring slowly, moving slightly past the point of sharpness and back until you find the sweet spot.
Don't hesitate to take multiple shots, adjusting between each to guarantee ideal focus. A white reflector setup can help reduce intense shadows while maintaining sharp focus on your subject.
For the most accurate results, consider calibrating your lens, especially if you've recently transported your equipment.
Modern cameras offer edge-to-edge focus points, so take advantage of these capabilities to achieve perfect sharpness.
Frequently Asked Questions
Can I Use Multiple Reflectors Simultaneously for Different Lighting Effects?
Yes, you can definitely use multiple reflectors at once! They'll help you create diverse lighting effects, fill shadows, shape light direction, and add contrast. You'll have more control over your lighting setup.
How Do Weather Conditions Affect the Performance of Reflectors?
Rain and snow can reduce your reflector's effectiveness, while extreme temperatures may impact its performance. You'll need to protect your reflectors from harsh weather and store them in cool, dry conditions for ideal results.
What Materials Make the Best DIY Reflectors for Food Photography?
You'll get excellent results using white foam boards and aluminum foil as DIY reflectors. They're affordable, easy to handle, and create soft, even lighting that's perfect for showcasing your food photography subjects.
Should Reflector Size Change Based on the Food Being Photographed?
Yes, you'll need different reflector sizes for various foods. Use larger reflectors for big spreads and platters, while smaller ones work better for macro shots and individual garnishes or detail work.
How Often Should Reflectors Be Cleaned for Optimal Light Reflection?
You'll need to clean your reflectors at least once a year, but inspect them monthly for visible dirt or smudges. When you notice reduced light output or surface haziness, it's time for immediate cleaning.
In Summary
You've now learned the essential steps to properly focus your solar reflector for cooking. By positioning the base, calculating sun angles, and fine-tuning the focal point, you'll maximize your reflector's cooking efficiency. When you follow these three steps consistently, you'll create the perfect setup for solar cooking. Remember, small adjustments make a big difference in maintaining ideal heat concentration throughout your cooking session.


Leave a Reply