To calculate perfect cooking times, start by mastering basic temperature conversions between Fahrenheit and Celsius. You'll need to adjust for seasonal changes, adding 5-15% more time in colder months. Factor in your altitude, as higher elevations require longer cooking times and temperature adjustments. Consider your container materials – ceramic heats fastest while glass retains heat longer. Account for humidity levels and food density by cutting ingredients uniformly and avoiding overcrowding. Don't forget solar cooking variables like time of day and reflector positioning. These fundamentals will help you develop precise timing instincts, but there's much more to explore beneath the surface.
Basic Temperature Conversion Methods
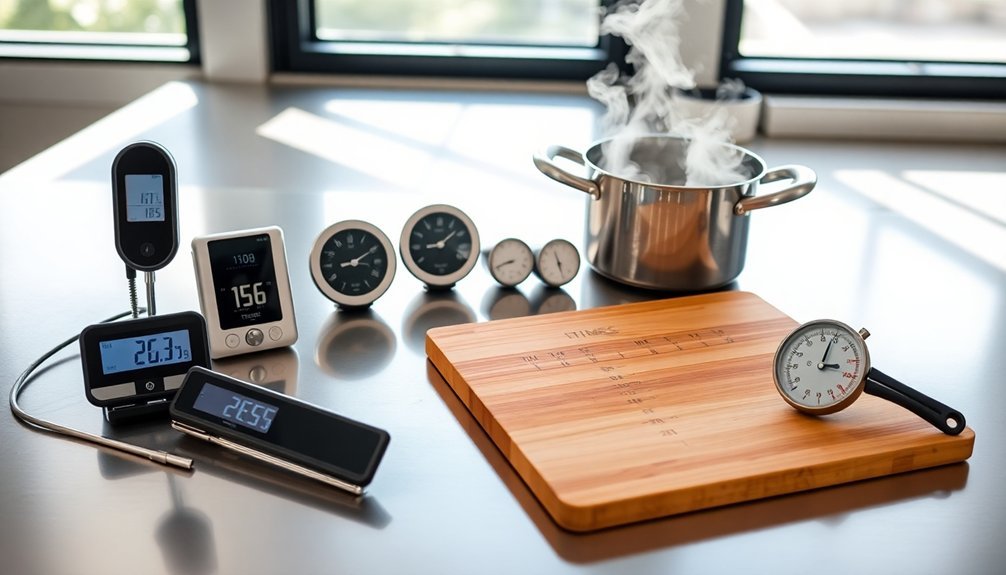
Understanding temperature conversions is essential for successful cooking, especially when using recipes from different parts of the world.
To convert from Fahrenheit to Celsius, subtract 32 from the temperature, then divide by 1.8. For Celsius to Fahrenheit, multiply by 1.8 and add 32.
When you're in a hurry, you can use quick estimation methods. For Fahrenheit to Celsius, subtract 30 and divide by 2. For Celsius to Fahrenheit, double the temperature and add 30. While these aren't exact, they'll give you a workable estimate. Remember to add a safety margin check when using estimated temperatures.
Remember these common conversions: 350°F equals 180°C for standard baking, 400°F equals 200°C for roasting, and 450°F equals 230°C for high-heat cooking like pizza.
These temperatures cover most of your cooking needs.
Solar Heat Intensity Factors
While temperature control in conventional ovens relies on precise settings, solar cooking success depends on maximizing natural heat intensity. You'll get the best results between 11:00 am and 3:00 pm when the sun's rays are strongest.
To boost heat absorption, use multiple reflectors with smooth, shiny surfaces like aluminum foil or mirrors, positioning them to direct sunlight onto your cooking area without creating shadows. Creating a DIY solar oven provides an engaging educational experience while being cost-effective.
Your solar oven's insulation is essential – line it with materials like newspapers or cotton balls to trap heat effectively. Choose dark, thin metal pots with tight lids, and consider using a clear plastic bag or glass bowl as a heat trap.
Remember that environmental factors matter – wind, clouds, and seasonal changes will affect your cooking times, so you'll need to adjust your schedule and track the sun's movement accordingly.
Seasonal Cooking Time Adjustments
Because seasonal temperature variations affect cooking dynamics, you'll need to adjust your recipe times throughout the year. Your kitchen's ambient temperature and humidity levels directly impact how your oven performs. During winter months, you'll often need longer preheating times and slightly extended cooking periods. For clear understanding, using bullet points can help you track seasonal adjustments more effectively.
| Season | Temperature Impact | Adjustment Needed |
|---|---|---|
| Summer | Higher ambient temp | Reduce cooking time 5-10% |
| Spring | Moderate conditions | Standard recipe times |
| Fall | Cooling temps | Add 5% cooking time |
| Winter | Cold kitchen | Add 10-15% cooking time |
Monitor your food more closely during seasonal shifts. You'll want to position your racks higher in winter to maximize heat efficiency, while in summer, use middle racks to prevent overcooking. Remember to keep your oven door closed as much as possible to maintain consistent temperatures, especially during colder months.
Altitude Impact on Timing
As you cook at higher elevations, you'll need to account for the decreasing atmospheric pressure that lowers water's boiling point by roughly 1°F per 500 feet.
You'll want to increase cooking times by up to 25% for simmered or braised foods, since water boils at lower temperatures – for example, a 3-minute egg at sea level requires 5 minutes at 5,000 feet elevation.
While oven temperatures remain constant regardless of altitude, you should plan for longer cooking times with moist-heat methods and adjust deep-frying temperatures downward by 3°F per 1,000 feet to guarantee even cooking.
Pressure Changes With Height
Understanding altitude's effect on cooking times can save you from undercooked meals at higher elevations. As you climb higher, atmospheric pressure drops, lowering water's boiling point from 212°F at sea level to 203°F at 5,000 feet. You'll need to adjust your cooking methods accordingly.
| Altitude (feet) | Required Adjustments |
|---|---|
| 0-2,000 | Standard recipe times |
| 2,000-4,000 | Add 5-10% cooking time |
| 4,000-6,000 | Add 10-15% cooking time |
| 6,000-8,000 | Add 15-20% cooking time |
| 8,000+ | Add 20-25% cooking time |
In pressure cookers, increase cooking time by 5% for every 1,000 feet above 2,000 feet. For example, if a recipe takes 25 minutes at sea level, you'll need 30 minutes at 6,000 feet. Remember that high altitudes also increase evaporation, so keep food covered while cooking.
High-Altitude Boiling Adjustments
The physics of high-altitude cooking goes beyond simple time adjustments. At higher elevations, you'll need to adapt your cooking strategy since water boils at lower temperatures – dropping about 1°F for every 500 feet you climb.
While water reaches a boil faster, your food will actually take longer to cook. You'll need to extend cooking times based on your elevation. For dishes that typically cook in under 20 minutes, add one minute per 1,000 feet. For longer-cooking foods, add two minutes per 1,000 feet.
Keep in mind that moisture evaporates more quickly at altitude, so you'll want to cover your food to prevent it from drying out. Certain foods, like pasta and beans, might struggle to cook properly at very high elevations, so you'll need to plan accordingly.
Temperature Compensation Guidelines
Properly compensating for altitude changes can make the difference between perfectly cooked meals and disappointing results. You'll need to adjust your cooking times and temperatures based on your elevation to guarantee food safety and quality.
| Altitude (ft) | Time/Temperature Adjustments |
|---|---|
| 1,000 | +10-15% cooking time |
| 3,500 | +25°F for baked goods |
| 5,000 | +25% for braised meats |
| 7,000+ | -3°F per 1,000ft for frying |
For boiling and simmering, increase cooking time by 10-15% per 1,000 feet elevation. While oven temperatures remain constant for roasted meats, you'll need to raise temperatures by 25°F for leavened products above 3,500 feet. Don't forget to reduce sugar by 1 tablespoon per cup in baked goods, and keep pots covered to retain moisture in the dry mountain air.
Container Material Heat Transfer
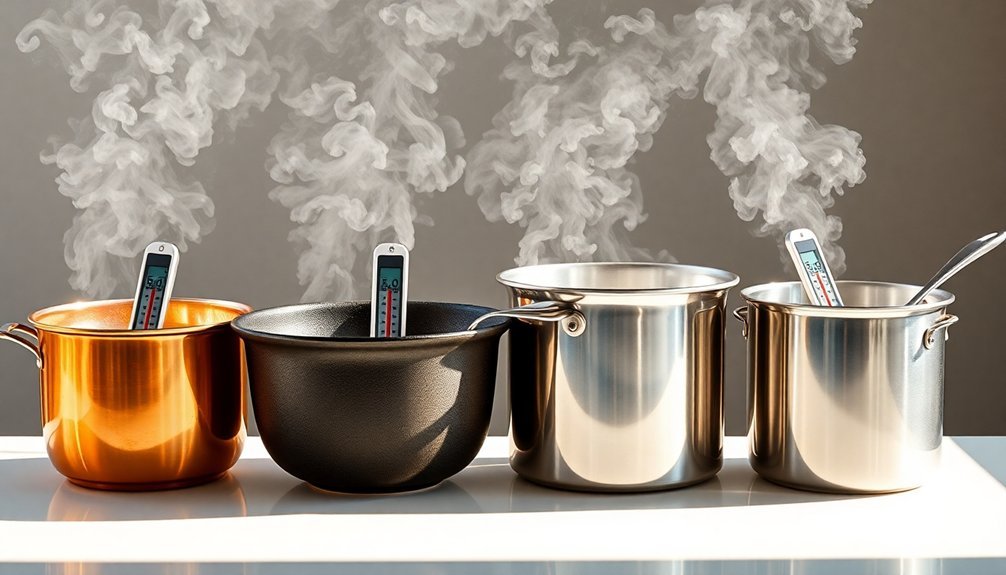
When choosing containers for microwave cooking, material composition considerably affects heating performance and efficiency.
Ceramic containers heat food fastest and retain heat longer, while glass bowls outperform plastic in overall heating times. The shape and surface area of your container also play vital roles in heat distribution and cooking efficiency.
- Ceramic vessels provide superior heating performance, making them your best choice for quick, efficient microwave cooking.
- Bowls heat food faster than cups due to their larger surface area, which allows for more effective heat transfer.
- While plastic containers may seem convenient, they're less efficient at heating than both ceramic and glass alternatives.
Remember that heat transfers through conduction when your food warms the container, so choosing the right material directly impacts your cooking results.
Weather Variables and Timing
When cooking at higher altitudes, you'll need to adjust your baking times and temperatures to compensate for lower air pressure and faster evaporation.
High humidity can greatly extend your cooking times by slowing moisture evaporation, especially during low-and-slow cooking methods.
You'll want to account for seasonal temperature changes by adjusting your cooking times accordingly – shorter in warm weather and longer in cold conditions.
Altitude Effects on Baking
Baking at high altitudes presents unique challenges that can greatly affect your results. The lower air pressure causes liquids to evaporate faster and leavening agents to react more quickly, which can lead to dry, collapsed baked goods if you don't make the right adjustments.
To succeed with high-altitude baking, follow these essential modifications:
- Increase your oven temperature by 15-25°F and reduce baking time by 5-8 minutes per 30 minutes.
- Add extra liquid (1-2 tablespoons per 3,000 feet) and consider using an additional egg for structure.
- Decrease leavening agents and consider using bread flour for better stability.
You'll need to adapt these adjustments based on your specific altitude and recipe. For yeasted doughs, reduce yeast by 25% and refrigerate during the first rise to control fermentation.
Humidity Impacts Cooking Time
Just as altitude affects baking, humidity plays an essential role in determining your cooking times and results. When you're cooking on humid days, you'll notice that moisture evaporates more slowly from your food, which can extend cooking times and affect texture.
You'll need to adjust your recipes accordingly. In high humidity, reduce liquid ingredients in your baked goods to prevent them from becoming too moist or undercooked. For meats, wrap them in butcher paper or foil to control the moisture level and guarantee even cooking.
If you're using a smoker or grill, consider adding a water pan to maintain consistent humidity levels. During dry conditions, you'll want to increase liquids in recipes and watch cooking times carefully to prevent food from drying out too quickly.
Seasonal Temperature Adjustments
Seasonal changes greatly impact your oven's performance and cooking times throughout the year.
When outdoor temperatures fluctuate, you'll need to adjust your cooking approach, especially at high altitudes where air pressure already affects boiling points and moisture retention.
- In summer, your kitchen's higher ambient temperature means your oven reaches cooking temperature faster, but you'll lose more moisture through evaporation, requiring tighter lid coverage.
- During winter, cold ingredients straight from the refrigerator need extra time to reach room temperature before cooking.
- Humid days increase moisture content in your food, potentially extending cooking times, while dry conditions may require additional liquid or shorter cooking durations.
Keep a food thermometer handy and don't rely solely on standard cooking times, as seasonal variations can affect your food's doneness by up to 25%.
Moisture Content Calculations
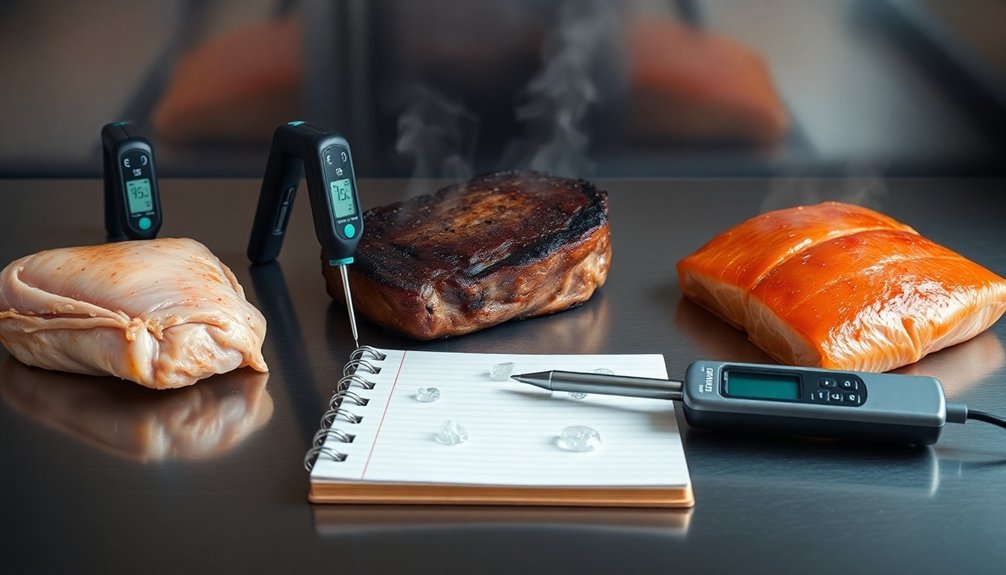
Understanding moisture content calculations is essential for achieving consistent results in your cooking. You'll need to master the basic formula: subtract the dried weight from the initial weight, then divide by the initial weight and multiply by 100 to get the percentage.
When you're adjusting recipes, you can convert between liquid and dry ingredients by calculating water content. For baking and frying, measure ingredients before and after cooking to track moisture loss.
You'll want to use a reliable method like a convection oven or moisture analyzer to get accurate measurements.
Remember that moisture affects both texture and shelf life. If you're developing recipes, you'll need to account for seasonal variations and adjust water content accordingly.
Track your measurements carefully to maintain quality and consistency in your final products.
Food Size and Density
When you're cooking food, surface area exposure to heat is one of the most essential factors affecting cook time.
You'll notice that thinner pieces with more surface area cook faster than thicker pieces of the same food.
If you want even cooking results, cut your ingredients into uniform sizes and consider their density, as denser foods like root vegetables need smaller cuts than lighter ingredients.
Surface Area Matters Most
The size and shape of your food dramatically influence how quickly and evenly it cooks. When you cut ingredients into smaller pieces, you're increasing the surface area exposed to heat, which leads to faster cooking times and better results. The increased surface area allows heat to penetrate more efficiently through conduction, convection, and radiation.
Here's why surface area is vital for cooking success:
- Smaller pieces cook faster and more evenly, reducing the risk of burning the outside while keeping the inside raw.
- You'll retain more nutrients since food spends less time exposed to heat.
- Enhanced flavor development occurs through better caramelization and browning on the increased surface area.
Thickness Affects Cook Times
Since food thickness plays a pivotal role in cooking success, you'll need to focus on more than just weight when determining cook times. Heat penetrates thicker cuts more slowly, so you'll want to adjust your timing accordingly, especially for dense foods like meat roasts.
| Food Type | Thickness Impact | Key Consideration |
|---|---|---|
| Steaks | +1 hour per inch | Use thermometer |
| Fish | Less density | Quick cooking |
| Roasts | High density | Longer times |
Don't let overcrowding interfere with heat distribution – space your food properly in the pan or oven. For precise results, particularly in sous vide cooking, increase time by approximately one hour per inch of thickness. Remember that shelf position affects heat distribution, so place your food strategically for even cooking.
Reflector Position Timing Effects
Properly timing your reflector position adjustments throughout the day can dramatically boost your solar cooker's efficiency.
You'll see up to 50% more energy gain during summer's high sun angles and double the efficiency during lower winter angles when you position your reflectors correctly.
For ideal cooking times, follow these key timing adjustments:
- Adjust your reflector twice daily – once before noon (10° East towards South) and once after noon (10° West towards South)
- Set summer tilt angles to 100° for two-position adjustments, while winter requires 75°
- Position your reflector using the formula eta = 60 + ⅔α in summer, where α is the sun's elevation angle
Keep your reflector surfaces clean and well-maintained to maximize these timing benefits.
Multi-Dish Solar Cooking Schedule
Building on your reflector timing knowledge, maximizing your solar cooking potential means mastering a multi-dish schedule.
You'll need to plan your meals around peak solar hours, typically between 10 AM and 4 PM in summer, with shorter windows during other seasons.
Start by preheating your solar cooker for 15-20 minutes while preparing ingredients.
Place dishes that require the highest temperatures, like meats, during peak sunlight hours when you can maintain at least 180°F.
Use dark-colored, thin metal cookware with lids to speed up cooking times.
You can cook multiple items by staggering their start times based on required cooking duration.
Remember to reposition your cooker every 30 minutes and use a thermometer to monitor temperatures.
During winter months, focus on cooking between 11:30 AM and 2:30 PM for ideal results.
Frequently Asked Questions
How Do Different Brands of Ovens Affect Standardized Cooking Time Calculations?
You'll need to adjust standard cooking times since different oven brands heat differently. Your Wolf or GE may cook faster or slower, so it's best to check food earlier and monitor temperatures carefully.
Can I Adjust Cooking Times When Using Multiple Oven Racks Simultaneously?
Yes, you'll need to increase cooking times by about 15% when using multiple racks. Space dishes 3 inches apart, rotate them between racks, and consider using convection settings for more even cooking results.
Do Leftovers Require Different Temperature and Time Adjustments When Reheating?
Yes, you'll need to adjust both temperature and time when reheating leftovers. You should heat them to 165°F for safety, but times vary based on the food type and reheating method you choose.
How Does Marination Time Influence Required Cooking Temperature and Duration?
While marination affects tenderness and flavor, it won't change your cooking temperature or time requirements. You'll still need to cook to standard internal temperatures: 145°F for steak, 160°F for pork, 165°F for chicken.
Should Cooking Times Be Adjusted When Using Recycled or Reused Baking Containers?
Yes, you'll need to adjust cooking times based on your container's material and condition. Check that recycled containers aren't damaged, and remember that different materials like glass or metal affect heat distribution and cooking duration.
In Summary
You'll find success in solar cooking by mastering these timing factors. From basic temperature conversions to reflector positions, each element plays a vital role. Don't forget to account for altitude, seasonal changes, and your food's moisture content. With practice, you'll confidently adjust cooking schedules based on container materials and portion sizes. These calculations will help you achieve perfect results every time.



Leave a Reply