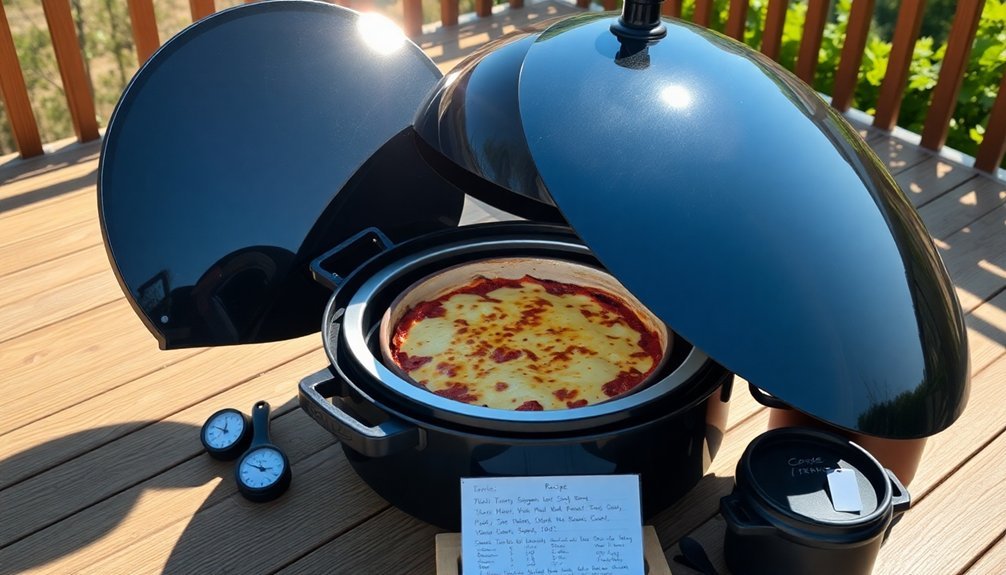
To convert recipes for sun oven cooking, you'll need to extend cooking times by 2-3 hours compared to conventional methods and preheat your oven for 30 minutes. Choose dark-colored cookware to maximize heat absorption, and reduce recipe liquids by 25% since solar cooking retains more moisture. Position your oven to track the sun's movement every 30 minutes, and adjust recipes to fit within your oven's dimensions (typically 19" x 19" x 11"). Use metal binder clips to secure pot lids, and layer ingredients with denser items at the bottom. Scale portions smaller for more even cooking. These fundamentals will set you up for solar cooking success, but there's much more to master about this eco-friendly cooking method.
Adjusting Cooking Times and Temperatures
When converting traditional recipes for solar cooking, understanding how to adjust cooking times and temperatures is essential for success.
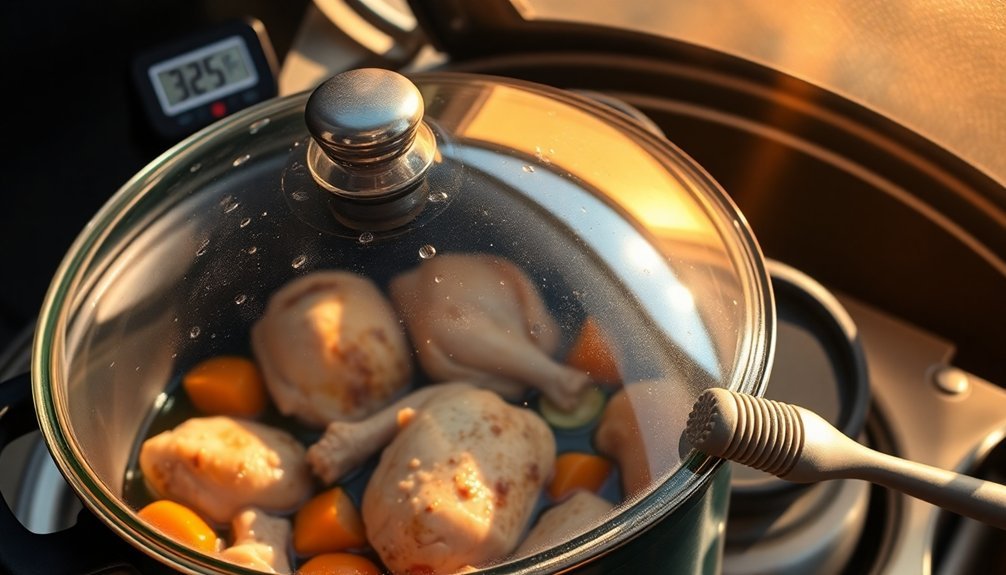
Your sun oven can reach temperatures between 200°F and 400°F, with parabolic models hitting up to 800°F. Box-style ovens typically operate at 325-350°F.
To optimize cooking time, you'll need to refocus your oven every 30 minutes to follow the sun's path. Most dishes will cook similarly to slow-cooker recipes, taking about 6 hours. Using crumpled newspaper insulation around the cooking area helps maintain consistent temperatures.
You can reduce cooking time by maintaining direct sunlight alignment throughout the process. Remember to preheat your solar oven for 25-30 minutes before adding food, and use a thermometer to monitor internal temperatures.
If you're using a DIY solar oven, expect longer cooking times due to lower maximum temperatures of 250-300°F.
Dark Cookware Essentials
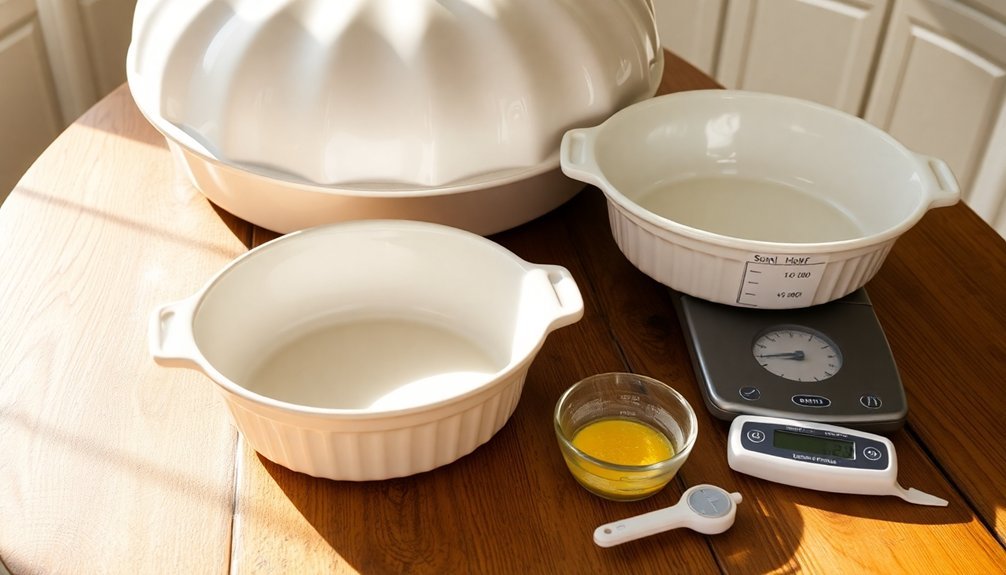
Since ideal heat absorption is essential for solar cooking, choosing the right cookware can make or break your success with a sun oven.
You'll want to use dark-colored pots and pans that efficiently absorb and retain heat. Enamelware pots, black metal containers, and dark glass dishes with lids are your best options.
Don't use shiny or reflective cookware like stainless steel, as they'll bounce light out of the oven and reduce cooking temperatures. If you only have reflective pots, you can cover them with a dark dish towel. Keep in mind that 60% of heating energy comes directly through the glass door when using proper cookware.
When using your cookware, always place it on a leveling rack rather than directly on the oven floor, and make certain to use lids to prevent steam from fogging the glass. This will help maintain consistent temperatures and guarantee even cooking.
Managing Moisture While Cooking
Managing moisture in your sun oven is critical, as too much steam can obstruct your view and affect cooking performance.
You'll want to preserve natural food juices for flavor while controlling excess steam that clouds the glass cover.
To maintain this balance, you can use techniques like venting the oven door, reducing recipe liquids, or using absorbent materials to catch condensation. Using metal binder clips to secure pot lids helps minimize unwanted steam escape and maintains consistent cooking temperatures.
Retaining Natural Food Juices
Successful solar oven cooking depends heavily on proper moisture control to preserve natural food juices.
You'll need to choose dark-colored cookware, particularly cast iron pots with lids, to maintain ideal heat retention and prevent moisture loss when checking your dishes. Blue enamel on cast iron cookware provides particularly even heating performance.
Marinating meats beforehand and cooking foods in their own juices will help keep them tender and flavorful.
- Use a minimum amount of liquid in your recipes, reducing water by ¼ to ½ cup to prevent excess steam while ensuring foods don't dry out.
- Select black or dark brown cookware that retains heat effectively, and always cook with lids on to trap natural moisture.
- Cut ingredients into smaller, uniform pieces and prepare one-pot meals to maintain consistent moisture levels throughout the cooking process.
Steam Control Techniques
Proper steam control makes all the difference when cooking with a sun oven. You'll need to manage moisture effectively to prevent excess condensation and maintain ideal cooking conditions.
Start by using a well-fitted lid on your pot, securing it with metal office binder clips if needed. Don't make it too tight, though – you'll want to avoid dangerous pressure buildup.
When cooking rice, beans, or vegetables, reduce the liquid content by ¼ to ½ cup from your regular recipe.
You can create ventilation by leaving a small gap with a stick between the glass and oven top, or by keeping one latch loose.
For additional moisture control, drape a clean tea towel over your covered pot. If you're using cans or jars, remember to punch at least two holes in their lids to let steam escape safely.
Positioning for Maximum Solar Efficiency
You'll need to angle your sun oven to match your location's latitude while tracking the sun's movement every 20-30 minutes for ideal heat collection.
Keep the shorter front panel facing east for morning cooking or west for afternoon meals, using shadows as alignment guides to guarantee even exposure.
During different seasons, you'll want to adjust your starting time—beginning earlier around 10:00 AM in winter months and positioning the cooker between 11:00 AM and 3:00 PM during peak sun seasons.
Angle Toward Sun Direction
Mastering sun oven alignment is essential for achieving ideal cooking temperatures. You'll need to position your cooker at an angle that matches your latitude for maximum solar radiation capture.
Orient the shorter front panel eastward for lunch preparation or westward when planning dinner. Check that shadows fall evenly on both sides to confirm proper alignment.
- Use the indicator on your Sun Oven's front panel – when properly aligned, you'll see a circle of light centered in the dark hole.
- Create a straight line from the sun to the ground using your cooker's leg or bracket for best tilt.
- Adjust the angle every 20-30 minutes throughout cooking to maintain direct sunlight exposure.
For windy conditions, stabilize your setup with large stones or bricks, and consider placing additional wind barriers around the cooker.
Track Daily Sun Movement
Following the sun's daily path guarantees ideal cooking temperatures in your solar oven. Position your cooker between 11:00 AM and 3:00 PM when solar intensity peaks, and adjust it every 20-30 minutes to maintain prime alignment with the sun's movement.
You'll need to monitor shadows carefully – they should fall directly behind the cooker. Keep reflectors clean and properly angled while checking temperatures regularly with a digital thermometer.
For stability on windy days, secure the cooker with large stones or bricks and add wind barriers as needed. Create an air gap under your cookware using a wire rack to enhance heat retention. Center your pots at the focal point of the reflectors, and don't forget to preheat the oven during peak hours for maximum efficiency.
Seasonal Position Adjustments
Maximizing your sun oven's efficiency requires specific seasonal adjustments throughout the year.
You'll need steeper angles in winter, shallower angles in summer, and moderate angles during spring and fall. For winter cooking, set your angle to latitude multiplied by 0.9 plus 29°, while summer requires latitude multiplied by 0.9 minus 23.5°.
- During winter months, lay your oven on its back for better stability and efficiency, especially in higher latitudes.
- In summer, you mightn't need tilting during midday when the sun's directly overhead.
- For spring and fall, subtract 2.5° from your latitude and adjust every 30 minutes.
Remember to secure your oven's position using stakes or blocks when necessary, and always use sun-track indicators to maintain proper alignment with direct sunlight.
Recipe Size Modifications
Successfully adapting recipes for sun ovens requires careful attention to size modifications.
You'll need to scale your recipes based on your sun oven's 19" x 19" x 11" interior dimensions and weight capacity. Consider cooking in batches or using multiple ovens if you're working with larger recipes.
When adjusting portions, select cooking vessels that fit properly and allow for air circulation. Use black pots for better heat absorption and always place them on the leveling rack, not directly on the oven floor.
You can maximize space by stacking items, but guarantee proper airflow is maintained. For larger items like turkeys, baking bags can help achieve even cooking.
Remember to position your food so it doesn't interfere with the reflectors or block sunlight entry.
Seasonal Temperature Adjustments
Because sun oven temperatures vary considerably between seasons, you'll need to adjust your cooking approach throughout the year.
Summer offers peak performance, reaching 300-350°F with up to 13 hours of cooking time, while winter temperatures rarely exceed 300°F and provide only 5 hours of daylight cooking.
- In summer, position your oven at standard angles and expect faster preheating – about 20 minutes to reach 300°F on clear days.
- During winter, maximize sun exposure by fully extending the inclining leg or laying the oven on its back, and use booster panels for better performance.
- Throughout all seasons, guarantee you have a visible shadow (indicating sufficient sunlight), stabilize against wind, and reduce liquid content in recipes to compensate for minimal evaporation.
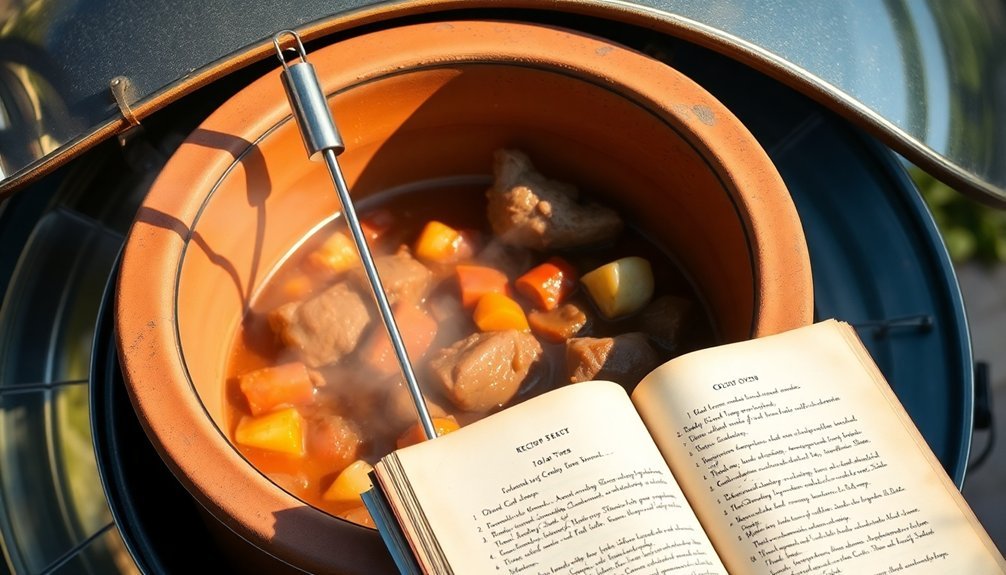
One Pot Meal Adaptations
Adapting one-pot meals for sun oven cooking builds on the seasonal adjustments while offering a practical way to create complete dishes.
You'll need to layer your ingredients strategically, placing denser items like potatoes at the bottom of your cast-iron pot or Dutch oven.
Start by preheating your sun oven for 20-30 minutes, then add your marinated meats and aromatics.
Remember to cut all ingredients uniformly to guarantee even cooking.
Keep your pot covered and resist the urge to stir frequently.
You'll want to realign your oven every 30 minutes to maintain consistent heat.
Monitor moisture levels carefully by using the right amount of liquid, and consider using baking bags for more complex meals.
Add fresh herbs and citrus just before serving to maximize flavor.
With proper timing and attention, you'll achieve perfectly cooked one-pot meals.
Frequently Asked Questions
Can I Use Aluminum Foil to Line My Sun Oven?
Yes, you can line your sun oven with aluminum foil! It'll help reflect sunlight, increase temperature, and trap heat inside. For best results, make sure the shiny side faces outward when you're applying it.
How Do I Prevent Condensation From Dripping Onto My Baked Goods?
You can prevent condensation drips by placing a dark tea towel under your pot's lid, using a BBQ skewer between the door and gasket, or unlatching the glass door slightly to let moisture escape.
What's the Maximum Altitude at Which a Sun Oven Works Effectively?
You can effectively use a sun oven at any altitude, even above 14,000 feet. The thinner atmosphere actually helps, as you'll get more intense UV rays and direct sunlight at higher elevations.
Will Cooking Times Differ Between Morning and Afternoon Sun Exposure?
Yes, you'll notice longer cooking times in the morning due to less intense sunlight. Your afternoon cooking will be faster since the sun is stronger, especially between 1:00-2:00 p.m. when it's most intense.
Can I Stack Multiple Cooking Containers in the Sun Oven?
Yes, you can stack multiple containers in your sun oven. Using stackable pots designed for solar cooking, you'll maximize space and cook several dishes simultaneously. Just verify they fit within your oven's dimensions.
In Summary
Now you're ready to transform your favorite recipes for solar cooking success. Remember to lengthen cooking times, use dark pots, and position your sun oven for ideal sunlight exposure. You'll need to adjust moisture levels and reduce recipe sizes for better results. Whether it's summer or winter, you can adapt most conventional recipes to work in your sun oven by following these essential tips.


Leave a Reply