Start your pan preheating between 11 AM and 3 PM for maximum sun intensity. Position your cookware in direct sunlight with a dark, heat-absorbing surface coating. Use glass covers to trap heat while allowing sunlight entry, and maintain proper airflow around the pan's base. Enhance thermal mass with thicker pots or multiple stacked pans. Adjust your reflectors to concentrate sunlight, and tilt the cooker to match seasonal sun angles. Keep the pan centered at the focal point, and reposition every 30 minutes to track the sun. Control temperature zones by moving pans between direct and indirect heat areas. These fundamentals will set you up for efficient solar cooking success.
Dark Surface Treatment Methods
Three essential methods can effectively darken your solar cooking pots for ideal sun absorption.
First, apply flat-black spray paint that's specifically designed for high temperatures, like barbecue grill paint, guaranteeing it's non-toxic when heated. Make sure you coat the surface evenly to maximize sunlight absorption.
Second, you can use black tempera paint as an alternative coating method for your pots and trays. Converting light energy into heat is the fundamental principle behind effective solar cooking.
Third, if you don't have access to specialized paints, you can darken metal surfaces using soot from a fire.
When treating your pots, don't use aluminum foil as it reflects sunlight instead of absorbing it.
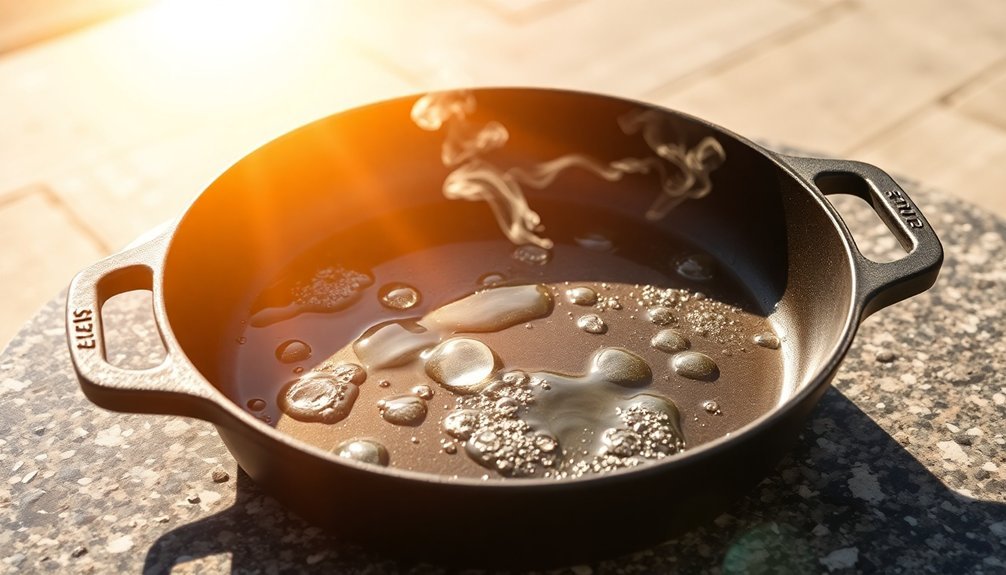
Choose thin, shallow metal pots that can withstand high temperatures, and guarantee they've dark, tight-fitting lids to retain heat and moisture effectively.
Direct Sunlight Positioning
While successful sun cooking depends on many factors, proper positioning in direct sunlight is essential for achieving ideal cooking temperatures.
You'll want to place your cooker between 11:00 AM and 3:00 PM when sun intensity peaks, though you can start earlier around 10:00 AM during winter months. This timing allows you to reach temperatures up to 250°F on bright sunny days.
Position your cooker at an angle that captures maximum sunlight, with the shorter front panel facing east for noon meals or west for evening cooking.
Check and adjust the cooker's position every 20-30 minutes to track the sun's movement.
You'll know you've achieved proper alignment when the shadow falls directly behind the cooker and shadows are even on both sides.
For best results, verify the sun is at least 45 degrees above the horizon and directly in front of the oven halfway through cooking time.
Thermal Mass Enhancement
Beyond proper sun positioning, enhancing your solar cooker's thermal mass can dramatically improve its cooking performance and temperature stability.
You'll want to use materials like brick or concrete inside your cooker, as they excel at storing the sun's energy throughout the day. For even better results, opt for thicker cooking pots that can retain heat longer. Stainless steel sheets provide exceptional durability for your cooking setup.
Consider incorporating phase change materials (PCMs) like acetanilide or stearic acid into your setup. These substances can boost your energy storage by up to 31% when combined with thermal oil, allowing you to cook even after sunset.
To maximize these benefits, make sure you've got proper insulation using materials like cardboard, wood, or high-temperature resistant foam. Don't forget to use glass or plastic lids to trap the accumulated heat inside your cooker.
Reflector Angle Optimization
Since proper reflector angles can make or break your solar cooking success, you'll need to understand how to maximize them effectively. Aim for a ±15° angular tolerance to guarantee uninterrupted cooking for up to two hours without constant adjustments.
You'll want to position your reflector to cuddle around your cookware, as this increases angular tolerance where it matters most. Deeper parabolic reflectors tend to provide superior performance compared to shallow ones. Don't assume a circular rim shape is best – extend the rim facing the pot cover and trim it where it faces the bottom.
When using booster mirrors, adjust their inclination based on your latitude and the sun's declination angle.
Keep your reflector aligned with the sun's path throughout the day. You can use a simple template to aim the reflector ahead of time, maintaining ideal focus as the sun moves across the sky.
Glass Cover Heat Trapping
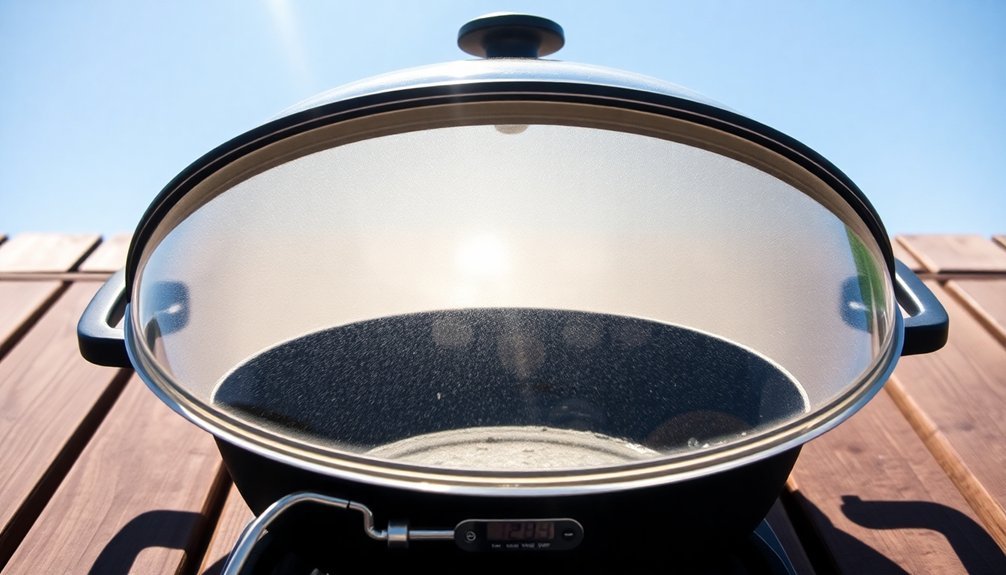
Understanding your solar cooker's glass cover system is critical to achieving perfect cooking temperatures. The glass cover works by allowing sunlight to enter while trapping the converted infrared heat inside your cooker.
While you can use plastic alternatives, glass remains the most efficient material for heat retention and maintaining consistent cooking temperatures.
To maximize your glass cover's heat-trapping effectiveness:
- Confirm the glass is properly sealed to prevent heat escape
- Keep the glass clean and clear for best sunlight penetration
- Consider using multiple glass layers for enhanced heat retention
- Position the cover at the correct angle relative to the sun's position
Your glass cover creates a greenhouse effect, converting incoming sunlight into trapped heat energy. This mechanism mirrors Earth's natural atmospheric processes, making it an environmentally friendly cooking solution when properly maintained and positioned.
Heat Retention Layer Techniques
When building an effective solar cooker, proper heat retention layers serve as the foundation for maintaining stable cooking temperatures. You'll want to start with materials that have high specific heat capacity like bricks, salt, or ceramic tiles. Place these materials with small air gaps between them to optimize heat transfer.
| Material | Benefit |
|---|---|
| Bricks | Affordable & widely available |
| Table Salt | Non-toxic & heat resistant |
| Ceramic Tiles | Excellent thermal mass |
| Sandstone | Natural heat retention |
For best results, layer your thermal mass materials at the base of your oven, ensuring they're dark-colored or painted black to maximize heat absorption. Don't forget to insulate around these materials using foam trays or newspaper to prevent heat loss. You'll need to seal the edges tightly with gaskets or weatherstripping to maintain consistent cooking temperatures.
Dual Pan Stacking
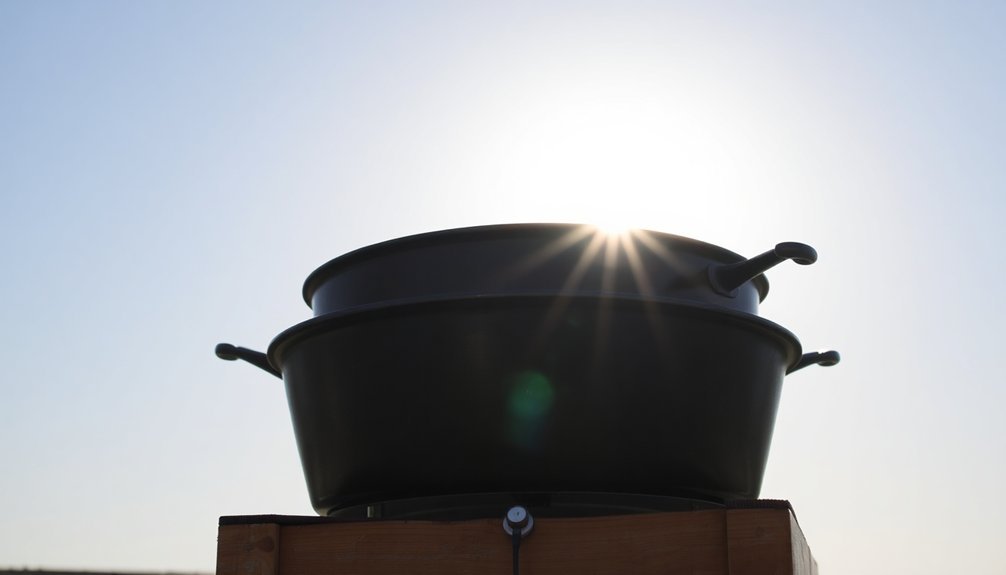
You'll find dual pan stacking in your Sun Oven maximizes cooking efficiency by allowing heat to distribute evenly between multiple vessels.
By stacking your pots and pans strategically on the leveling tray or trivet, you can cook complete meals with different components simultaneously.
The stacking configuration not only makes the most of your oven's limited space but also guarantees consistent cooking temperatures throughout the chamber, whether you're preparing rice, vegetables, or baked goods.
Heat Distribution Benefits
Stacking two pans in your solar cooker creates remarkable improvements in heat distribution and cooking efficiency.
You'll notice faster cooking times as multiple reflectors direct sunlight onto both pans simultaneously, while transparent heat traps maintain ideal temperatures. This setup maximizes your cooker's potential by eliminating hot spots and ensuring even heat distribution.
- Dark-colored pots and lids enhance heat absorption, while the air gap between pans acts as natural insulation.
- You can cook multiple dishes at once, from grains and legumes to meats and vegetables.
- The system works effectively with both parabolic and panel cookers, adapting to various weather conditions.
- Your cooking options expand to include baking, steaming, and even frying when using parabolic cookers with high focal point temperatures.
Efficient Space Usage
Smart pan stacking takes the heat distribution benefits a step further by maximizing your solar cooker's limited space. You'll get the most from your Sun Oven by using dark, stackable pots with glass lids on a leveling tray or trivet.
| Setup Method | Benefits | Best For |
|---|---|---|
| Cross-stacking | Multiple layers | Cookies, granola |
| Double pot | Simultaneous cooking | Rice and vegetables |
| Single large | Maximum capacity | Turkey, roasts |
| Trivet placement | Even heat flow | All cooking types |
Remove the leveling tray when you need extra space for larger pots, but don't forget to use a trivet to maintain proper air circulation. For longer cooking sessions, you'll want to reorient your oven every couple of hours to maintain ideal temperature. Place your setup on a level surface and use stones for stability on windy days.
Air Flow Control
Proper air flow control plays an essential role in achieving ideal cooking results with solar ovens.
You'll need to verify air circulates evenly around your pots while maintaining the heat-retention properties of your cooker. Using a leveling rack that allows air to flow underneath the pot will improve cooking efficiency and prevent direct contact with the oven floor.
For maximum air circulation in your solar cooker:
- Position your pot on a dual-purpose leveling rack or stones to create space for air movement
- Enclose pots in transparent, heat-resistant plastic bags, leaving a small insulating air layer
- Keep vents clear and adjustable to control natural air flow through the cooking chamber
- Check that there's adequate space between multiple pots to allow proper heat distribution
Monitor and adjust the cooker's position every 30 minutes to maintain consistent heating as the sun moves.
Temperature Zone Placement
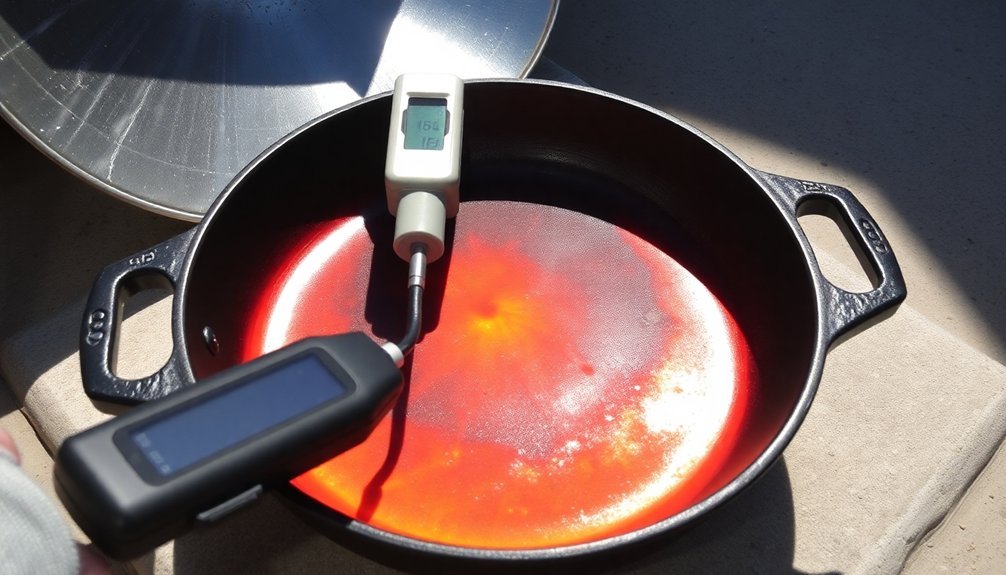
You'll find the hottest cooking zones in your solar oven where direct sunlight hits the center of your pan, making this area perfect for searing and high-heat cooking.
The edges of your pan typically maintain lower temperatures due to indirect heat, which you can use strategically for gentler cooking or keeping foods warm.
Understanding these distinct temperature zones lets you position different foods most effectively – placing items needing higher heat in the center while moving nearly-done items to the cooler edges.
Direct Sun Sweet Spots
Understanding where to position your cookware in a solar oven can make the difference between a successful meal and underwhelming results.
You'll want to place your pans in direct sunlight between 11:00 am and 3:00 pm when the sun's rays are strongest and most concentrated. Keep your cookware at the focal point, especially if you're using a parabolic cooker, and adjust the position every 1-2 hours to follow the sun's path.
- Position reflective surfaces to concentrate sunlight and achieve temperatures between 200°F and 300°F
- Use double glazing or vacuum tubes to maintain consistent heat
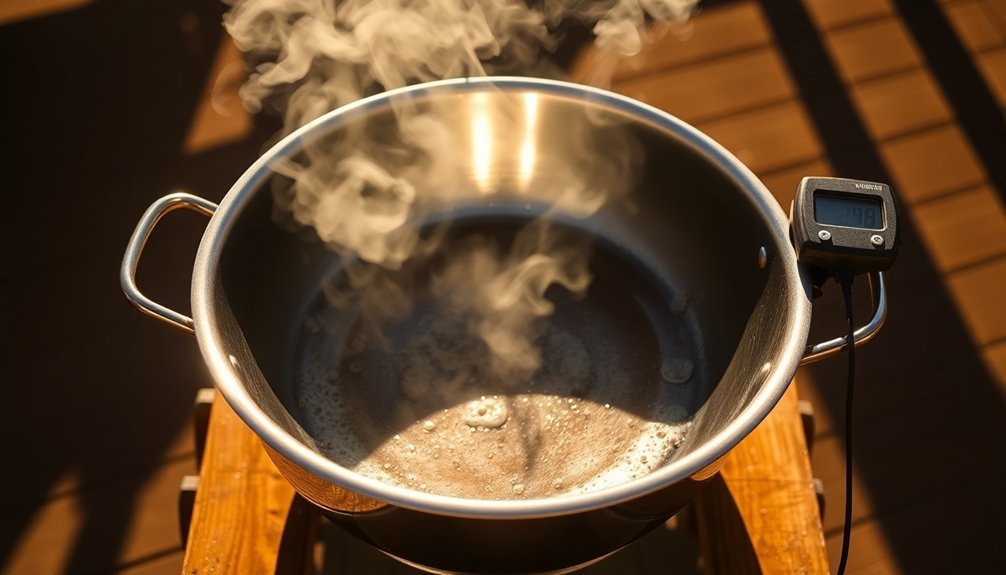
- Confirm your pan reaches at least 140°F before adding food
- Place dark-colored cookware at the center point for maximum heat absorption and retention
Indirect Heat Zones
While direct sunlight provides intense heat for quick cooking, mastering indirect heat zones allows for greater temperature control and versatility in your solar cooking setup.
You'll want to divide your cooking area into distinct zones, similar to a traditional grill setup.
Position your pans strategically by placing quick-cooking items in areas receiving full sun exposure, while moving dishes requiring gentler heat to partially shaded spots.
You can create these indirect zones by using reflectors or positioning your cookware at different angles.
This two-zone approach lets you cook multiple dishes simultaneously, each at its ideal temperature.
For best results, monitor your zones carefully and adjust pan placement as needed.
You'll find this method especially useful when cooking foods that require different heating intensities or cooking times.
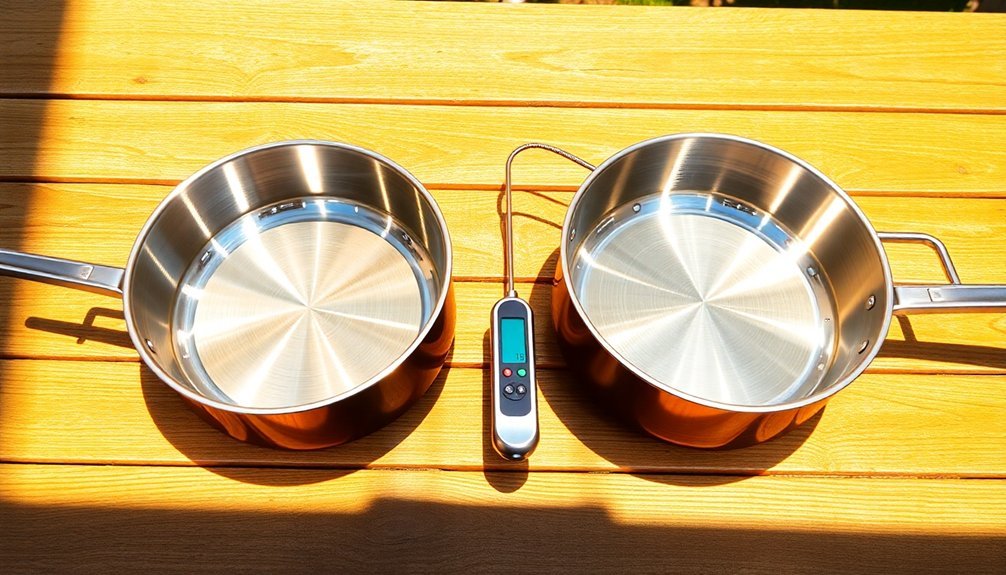
Edge Vs Center Heat
Building on the concept of heat zones, proper temperature distribution between the edge and center of your pan can make or break your solar cooking success.
You'll need to pay close attention to heat patterns, as edges often heat faster than centers, especially in stainless steel pans. To achieve ideal results, start with low heat and gradually increase it while monitoring both zones with a thermometer.
- Edge heat tends to create hotspots that can burn food if not managed properly.
- Center heat provides more consistent temperatures, making it ideal for delicate foods.
- Different pan materials affect heat distribution – thick-bottomed pans heat more evenly.
- You'll want to preheat gradually and use the water test to check temperature uniformity.
Use stirring and rotating techniques to compensate for any temperature variations between zones.
Seasonal Angle Adjustments
Since the sun's position varies considerably throughout the year, you'll need to adjust your solar cooker's angle to maintain ideal cooking efficiency.
In winter, tilt your cooker more steeply to catch the sun's lower angle, and expect shorter cooking windows of about 5 hours. Summer offers up to 13 hours of cooking time with less extreme angles needed.
You'll want to reposition your cooker every 30-45 minutes to track the sun's movement, especially during winter months.
Box cookers and parabolic designs often include built-in adjustment mechanisms, but be careful with panel cookers as they can tip if angled too sharply.
For best results, focus your cooking between 11:00 am and 3:00 pm, when the sun's rays are strongest, and use covered black pots to maximize heat retention.
Frequently Asked Questions
Can I Preheat Multiple Pans at Once in a Solar Cooker?
You can preheat multiple pans in larger solar cookers like the SUNGOOD XL, but it's not recommended for smaller models. You'll need to guarantee proper spacing and heat distribution for effective cooking.
How Long Should I Preheat if Cooking on a Partially Cloudy Day?
You'll need to preheat your solar oven for at least 30-40 minutes on partially cloudy days, instead of the usual 15-20 minutes. Keep monitoring the temperature and adjust the oven's position frequently.
Does Wind Speed Affect the Pan Preheating Time Significantly?
Yes, wind speed will considerably impact your pan preheating time. You'll need to add 10-15 minutes extra time in windy conditions since the wind strips away heat and reduces your cooker's overall temperature.
Should Preheating Time Change Based on Different Food Types?
No, you don't need to adjust preheating time for different foods. You'll always want to preheat your solar cooker for 15-20 minutes, regardless of what you're cooking. The food type only affects cooking time.
Can I Use Different Colored Pans Together During Preheating?
You shouldn't use different colored pans together during preheating since they'll heat at varying rates. Dark pans absorb heat faster than light ones, which can lead to inconsistent cooking temperatures in your dishes.
In Summary
You've now learned the key methods for preheating pans in solar cooking. By combining dark surfaces, ideal positioning, and thermal mass with proper reflector angles and temperature control, you'll achieve better cooking results. Remember to adjust your setup seasonally and use glass covers effectively. With these techniques, you're well-equipped to make the most of sun cooking's sustainable potential.


Leave a Reply