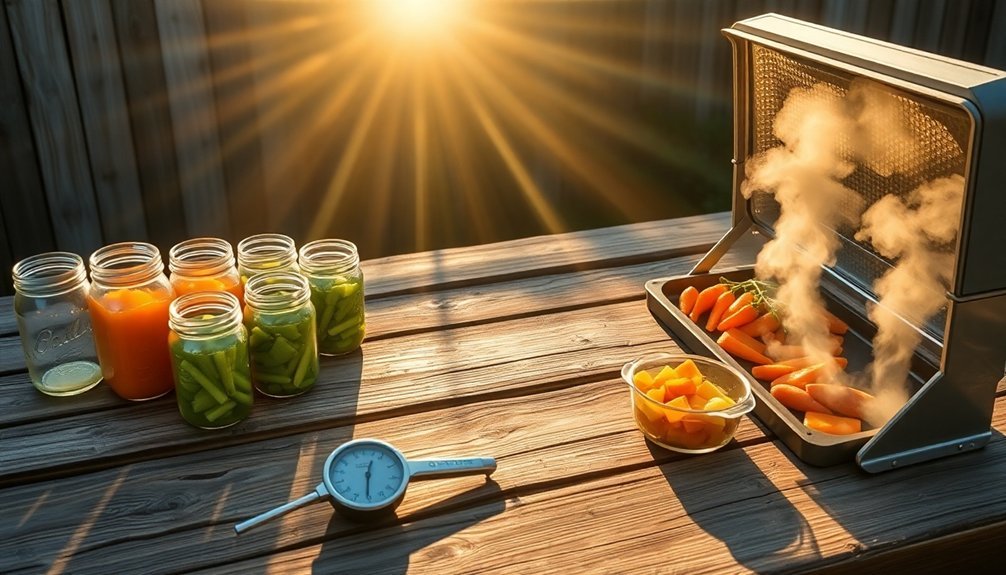
To plan sun-powered meals like a pro, start your prep early in the morning by checking weather forecasts and positioning your solar cooker for maximum sunlight exposure. You'll want to gather essential equipment including dark, thin-walled pots, a reliable thermometer, and proper insulation materials. Schedule your cooking between 10 AM and 2 PM when UV rays are strongest, and remember that solar cooking typically takes twice as long as conventional methods. Focus on moisture-rich recipes like stews and grains, rotating your cooker every hour to track the sun's movement. These basics will set you up for successful solar cooking, but there's much more to master in this sustainable culinary adventure.
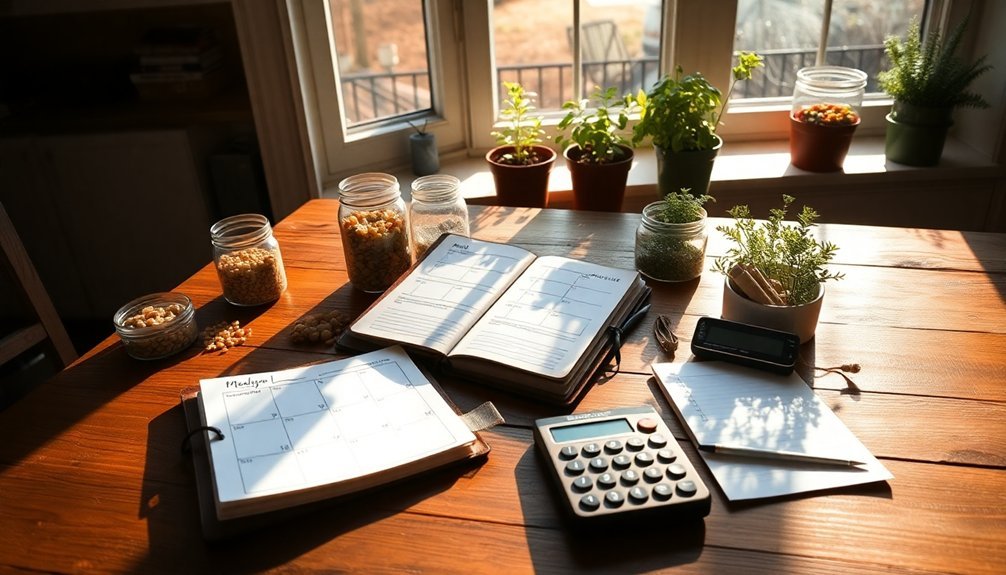
Early Morning Prep Steps
When you're planning to cook with solar power, starting your preparations early in the morning is essential for success.
Begin by checking your solar oven's cleanliness and positioning your reflectors to capture the maximum sunlight. While your oven preheats, measure and portion your ingredients according to your chosen recipe. Dark, thin-walled pots work best for solar cooking since they efficiently convert sunlight to heat energy.
Select appropriate containers that'll distribute heat evenly, and prepare your ingredients by chopping, slicing, or marinating as needed.
Don't forget to take into account seasonal ingredients and any dietary restrictions when finalizing your menu. If you're making dishes like stews or enchiladas, make sure you've got proper lids to retain moisture.
Set up your cooking station with all necessary utensils and equipment, and keep your thermometer handy to monitor temperatures throughout the day.
Weather Check Before Cooking
Review the day's weather forecast early to plan your solar grilling window, paying special attention to cloud cover patterns and temperature trends.
You'll want to aim for peak sunlight hours, typically between 10 AM and 2 PM, when solar intensity is strongest for efficient cooking.
Remember to factor in wind conditions, as strong gusts can affect your grill's temperature control and cooking performance. Consider placing your grill in areas with proper ventilation to prevent overheating and maintain optimal cooking efficiency.
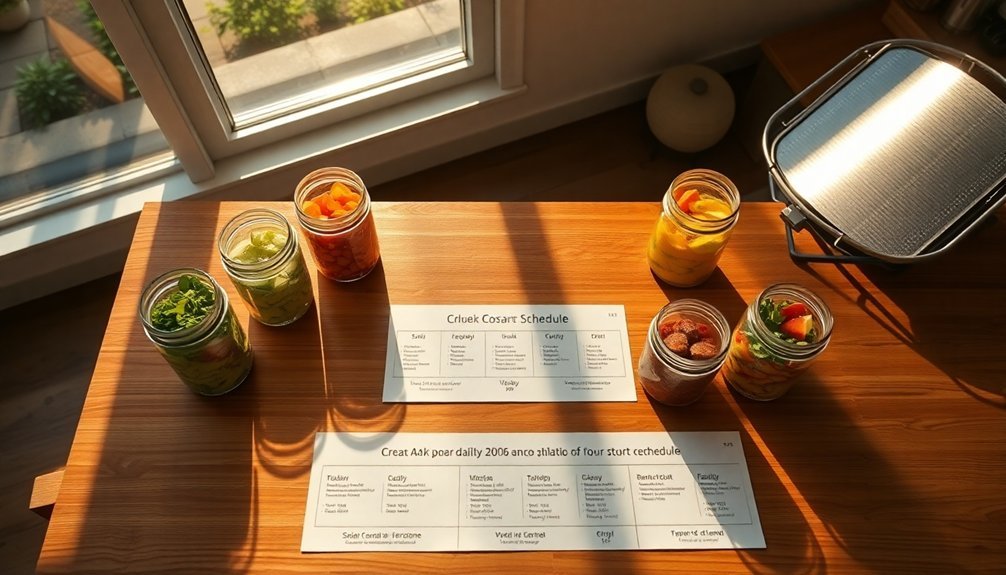
Forecasting Your Solar Schedule
Before starting your solar cooking journey, checking the weather forecast becomes an essential daily ritual. You'll need to plan your meals around sunny days and have backup cooking methods ready for cloudy or rainy weather.
Since seasonal changes affect cooking times, it's vital to adjust your schedule according to shorter winter days and the sun's lower position. Areas above the 40th parallel experience shorter cooking windows and less intense sunlight throughout the year.
Consider these key factors when planning your solar cooking schedule:
- Check weekly forecasts to identify the best sunny days for solar cooking, especially if you live in regions like Oregon or Washington.
- Plan slow-cooking recipes during peak sunlight hours, typically between 10 AM and 2 PM.
- Keep alternative cooking methods handy, like charcoal or firewood stoves, for unexpected weather changes.
Remember to be flexible with your meal planning and consider breaking down complex recipes into manageable steps across sunny days.
Best Times For Cooking
Successful solar cooking depends heavily on selecting the right time of day to harness the sun's energy. You'll get the best results between 11:00 am and 3:00 pm when the sun is directly overhead. During this window, UV rays are strongest, making it perfect for baking bread or simmering stews. For food safety, always ensure dishes reach minimum safe temperatures to eliminate harmful bacteria.
| Time of Day | Best For | Temperature |
|---|---|---|
| 11:00 AM | Preheating | Medium-High |
| 12:00 PM | Baking | Maximum |
| 1:00-2:00 PM | Main Dishes | High |
| 2:00-3:00 PM | Slow Cooking | Medium |
Consider your location and season when planning. If you're in sunny regions like Arizona or Texas, you'll enjoy consistent cooking times year-round. For cloudier areas, double your cooking time and use a Lazy Susan to track the sun's movement. Remember, summer offers longer cooking windows, while winter requires more attention and adjustments.
Essential Equipment Checklist
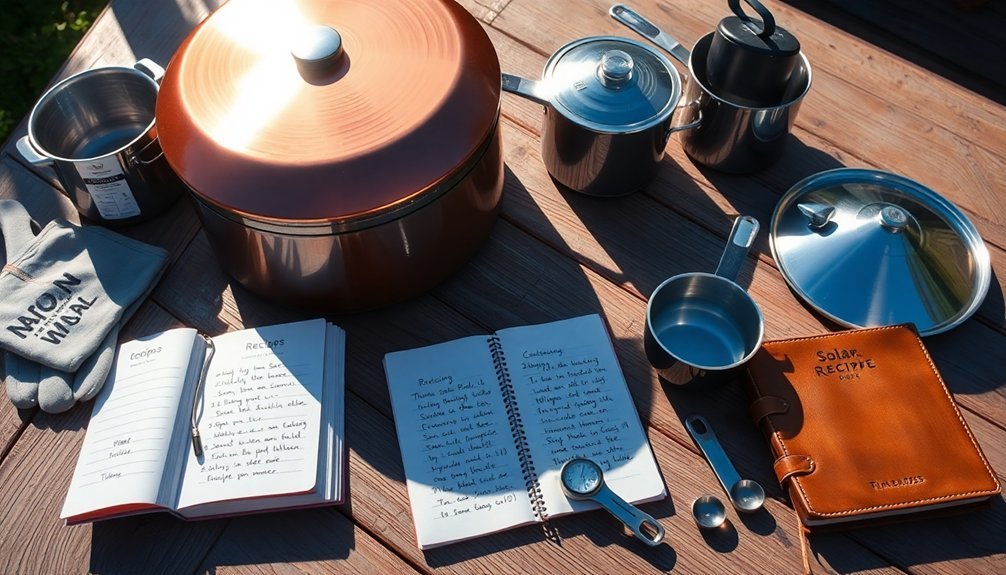
When building a solar cooker, you'll need several essential components to effectively capture and retain the sun's heat. Start with a large box as your base and gather aluminum foil for reflective surfaces.
You'll also need clear plastic wrap or turkey cooking bags to create a heat trap, along with black construction paper to absorb heat.
For proper insulation and safety, don't forget these vital items:
- A reliable thermometer to monitor cooking temperatures
- Newspapers or similar materials for insulation
- Strong tape to secure all components
Remember to collect all your materials before starting construction. This preparation will make assembly smoother and guarantee you won't have to pause mid-project.
Having the right tools ready means you'll be able to focus on building an efficient solar cooker that's both safe and effective.
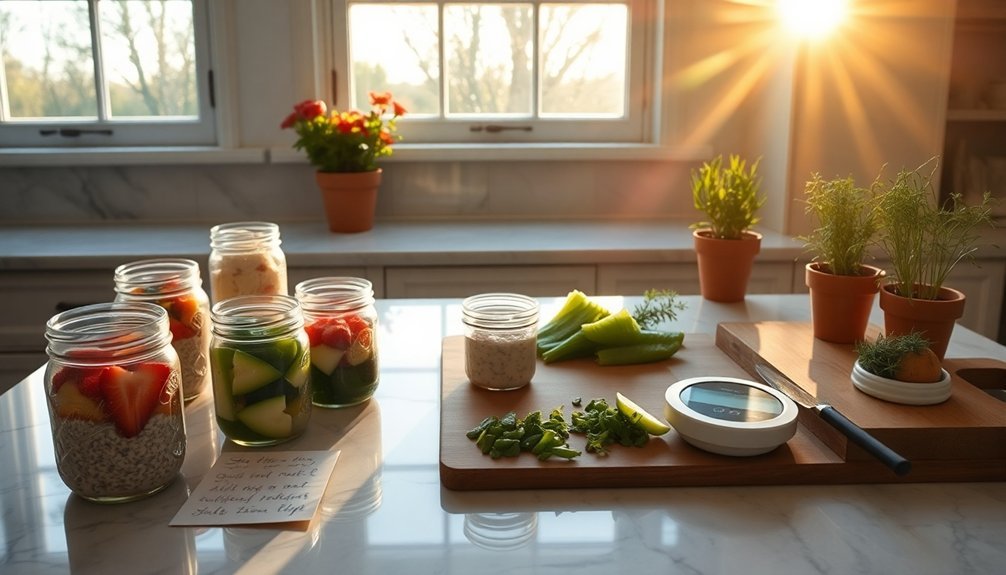
Choosing Your Solar Cooking Recipe
Selecting the right recipes for solar cooking can transform your outdoor culinary experience. Start by choosing ingredients that are in season and work well with lower temperatures, like grains, legumes, and fresh vegetables.
You'll want to take moisture content carefully – ingredients should retain enough liquid to prevent drying out during the extended cooking time.
Remember that solar cooking typically takes twice as long as conventional methods, so plan accordingly. For best results, schedule your cooking between 10:00 a.m. and 2:00 p.m. when sunlight is strongest.
Adapt your recipes by adjusting liquid amounts and using spices that enhance flavor during slow cooking. Layer your ingredients strategically for even heat distribution, and don't forget to use dark-colored pots to maximize heat absorption.
Always check internal temperatures with a meat thermometer to verify food safety.
Optimal Sun Position Schedule
Maximizing your solar cooking results depends heavily on proper sun positioning throughout the day. Position your cooker between 11:00 AM and 3:00 PM when the sun's intensity peaks, and adjust it every 20-30 minutes to track the sun's movement.
During winter months, start earlier around 10:00 AM and monitor more frequently.
- Tilt your cooker to match the sun's elevation, ensuring direct rays hit both the oven and reflectors with minimal shadow cast.
- Clean your reflector surfaces regularly and use polished aluminum or mirrored materials for maximum efficiency.
- Check local solar insolation maps to determine the best angle for your location, typically equal to your latitude.
Remember to stabilize your cooker with stones or bricks on windy days, and position additional wind barriers when needed.
Solar Temperature Tracking Guide
Temperature monitoring forms the backbone of successful solar cooking. You'll need a reliable thermometer to track your oven's internal temperature, which should stay between 150°F and 300°F for ideal results.
Keep in mind that these temperatures will fluctuate throughout the day based on sun position and weather conditions. To get the most accurate readings, check your temperatures regularly and log the data. This will help you understand your oven's performance patterns.
The best cooking window is when the UV index reaches 7 or higher, typically between 10 a.m. and 4 p.m. If you notice sudden temperature drops, check for clouds, wind interference, or unwanted shade.
Consider using a digital thermometer for precise measurements, and always wear protective gear when checking temperatures to avoid burns.
Cooking Time Adjustment Chart
When you're cooking with solar power, understanding timing adjustments becomes critical for perfect results.
You'll need to take into account both weather conditions and food types to plan your meals effectively. While a half-cake might take just 30 minutes on a sunny day, larger items like whole chickens require 3 to 3.5 hours of cooking time.
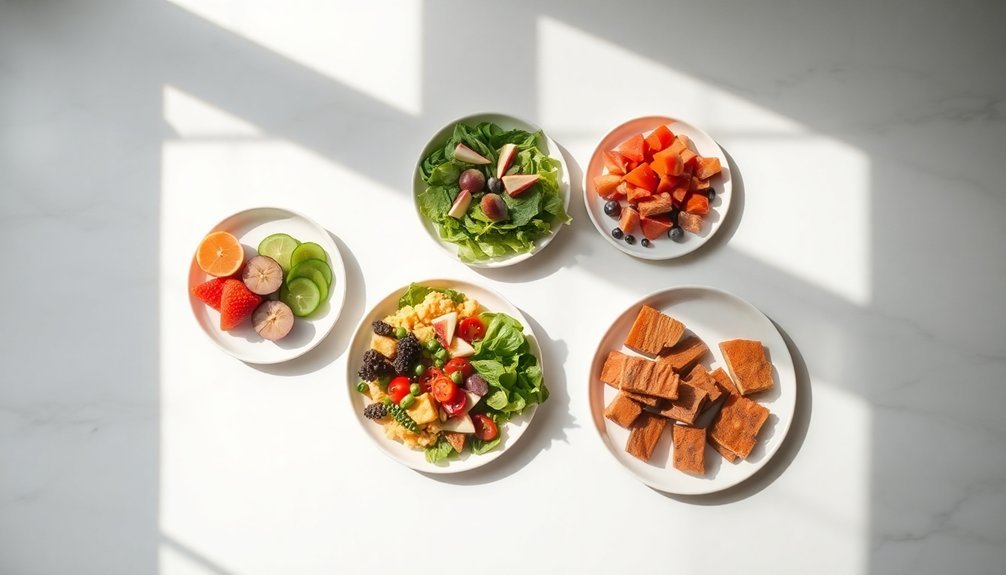
- Quick items (under 1 hour): You can prepare eggs, melted chocolate, or toasted coconut
- Medium-length items (1-1.5 hours): Try cookies, cut vegetables, or fish
- Long-cooking items (4+ hours): Plan ahead for dried beans, stews, or large cuts of meat
Remember to preheat your solar oven for at least an hour and keep adjusting its position to maintain direct sunlight.
On partially cloudy days, stick to faster-cooking items like white rice or potatoes.
Food Safety While Sun Cooking
Safe food handling practices become even more essential when cooking with solar power. You'll need to monitor temperatures carefully to prevent bacterial growth. Pre-heat your solar oven above 140°F, though it's safer to reach 200°F to account for heat loss when adding food.
Keep raw ingredients properly refrigerated until you're ready to cook. Once cooking begins, use an oven thermometer to guarantee food reaches safe internal temperatures. Don't let items remain in the danger zone (50°F-125°F) for more than four hours.
After cooking, serve food promptly or cool it quickly for storage below 50°F. Handle raw and cooked foods separately to prevent cross-contamination. When reheating leftovers, bring them to at least 165°F.
If you're unsure about food safety at any point, it's better to discard the item than risk foodborne illness.
Efficient Solar Meal Rotation
Maximizing your solar cooking efficiency requires strategic meal planning and rotation throughout the day. Time your dishes according to peak sun hours, typically around noon, when your solar cooker performs at its finest. You'll get exceptional results by preheating your cooker and positioning it where the sun will be highest.
For the most efficient meal rotation, consider these timing strategies:
- Start slow-cooking dishes like stews or beans early in the day, letting them cook unattended for several hours.
- Schedule quick-cooking items like vegetables during peak sunlight when temperatures are highest.
- Plan baked goods for mid-afternoon when your cooker has already built up significant heat.
Unlike traditional cooking, you won't need to stir or check your food frequently – just adjust the cooker's position every hour or two to maintain proper sun alignment.
Frequently Asked Questions
Can Solar Ovens Work Effectively in Winter Months?
Yes, you'll find solar ovens work well in winter with clear sunshine, even below 10°F. You can cook efficiently by tracking the sun's position, minimizing heat loss, and using snow's reflective properties.
What Happens if Clouds Appear Halfway Through Cooking?
If clouds appear mid-cooking, you'll need to extend your cooking time. You can use heat-retention baskets or insulated containers to maintain temperature, or consider transferring your food to an alternative cooking method if clouds persist.
How Do Different Colors of Cookware Affect Solar Cooking Efficiency?
You'll get the best results with dark or matte black cookware since it absorbs sunlight efficiently. Don't use light-colored or shiny pots as they'll reflect sunlight away, reducing your cooking efficiency considerably.
Can Solar Ovens Be Used to Sterilize Water?
Yes, you can sterilize water in solar ovens. When your oven reaches 70°C-75°C, it'll effectively pasteurize water, killing harmful pathogens. Just make sure you're using clear containers for proper heat absorption and distribution.
Why Do Some Foods Cook Faster in Solar Ovens Than Others?
You'll find that foods cook faster in solar ovens when they're smaller, less dense, or contain more moisture. Dark-colored items also absorb heat better, while larger, denser foods take longer to cook through.
In Summary
Now you're ready to commence your solar cooking journey! Remember to plan ahead with a weather check, keep your essential tools handy, and follow the temperature guidelines carefully. Don't forget to rotate your meals based on the sun's position and always prioritize food safety. With these strategies, you'll be confidently preparing delicious sun-powered meals that harness nature's energy while reducing your carbon footprint.


Leave a Reply