
For successful solar cooking, you'll need precise portion control and timing. Use a digital kitchen scale to measure ingredients accurately, keeping containers no more than 2/3 full for ideal results. Plan your meals between 10:00 a.m. and 2:00 p.m. when sunlight's strongest, and adjust portions based on weather – smaller on cloudy days, larger on bright ones. For protein, calculate 7 grams per 20 pounds of body weight, and balance your plate with half vegetables, quarter protein, and quarter complex carbs. Track cooking times, which typically double compared to conventional ovens, and reposition your solar cooker every 30-45 minutes. The more you understand these fundamentals, the better your sun-powered meals will become.
Measuring Your Solar Cooking Portions
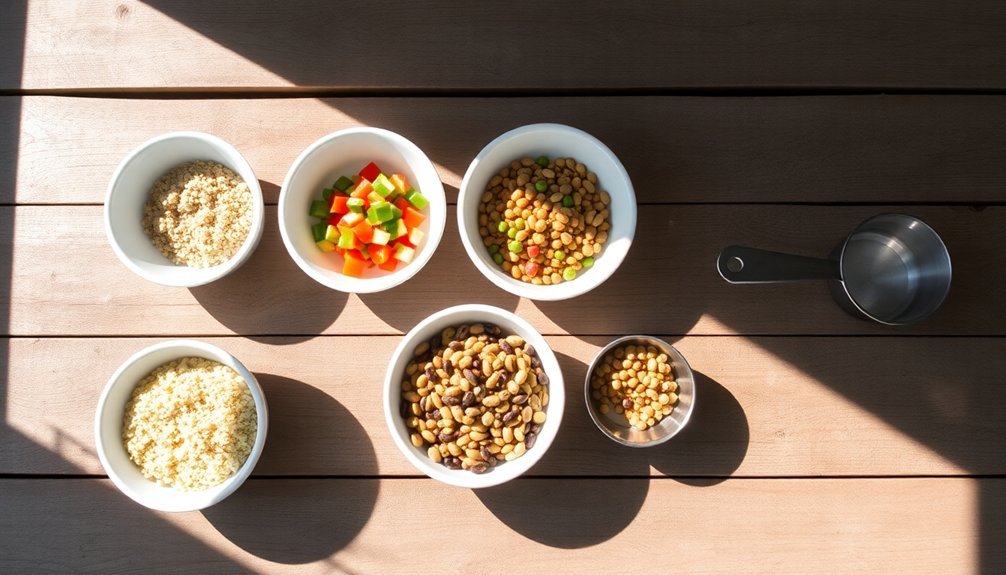
To measure effective portions, start with dark, shallow pots that have tight-fitting lids.
Fill your pots no more than 2/3 full for best cooking results.
You'll want to cook between 10:00 a.m. and 2:00 p.m. when sunlight is strongest.
Adjust your portions based on weather conditions – bright, cloudless, and windless days allow for larger portions, while cloudy or windy conditions mean you should cook smaller amounts.
Track your cooking times and temperatures to fine-tune portion sizes.
Essential Kitchen Scale Guidelines
Your digital kitchen scale offers the most accurate way to measure ingredients, with precision down to a single gram that helps you nail recipes consistently.
To get reliable measurements, you'll need to place your scale on a completely level surface away from vibrations or tilted countertops that could affect readings. For maximum accuracy when measuring small quantities, consider that coffee scales outperform standard kitchen scales below 10 grams.
Setting up proper scale placement isn't just about stability – you'll also want to guarantee the display remains visible when using larger mixing bowls or containers.
Precision Through Digital Measurement
Digital kitchen scales serve as the cornerstone of precise portion control, offering accuracy that traditional measuring cups and spoons simply can't match.
You'll find digital scales provide superior precision, measuring ingredients within one gram for consistently perfect results.
To get started, place your scale on a stable surface and select your preferred unit of measurement.
Before adding ingredients, don't forget to use the tare function to zero out your container's weight. As you measure, add ingredients gradually until you reach the desired weight, and press tare between additions for multiple-ingredient recipes.
Choose a scale with at least a 10-pound capacity and clear, physical buttons for ease of use.
Converting measurements becomes effortless since most scales allow you to switch between ounces and grams instantly.
Look for helpful features like an elevated platform or pull-out display to read measurements easily when using large bowls.
Proper Scale Placement Tips
Having the right digital scale is just the beginning – proper placement sets the foundation for accurate measurements every time. You'll want to position your scale on a firm, level surface away from other appliances to prevent vibrations and guarantee steady readings.
| Essential Step | Your Action |
|---|---|
| Surface Check | Place on stable, flat area |
| Area Prep | Clear surroundings of clutter |
| Power Status | Check/replace batteries |
| Tare Function | Zero scale with empty container |
Before weighing ingredients, make certain your scale's display is clear and functioning properly. Don't forget to remove any packaging materials or battery pull-tabs if you're using a new scale. When you're ready to measure, press the tare button with your empty container to reset to zero – this guarantees you're only measuring what goes inside.
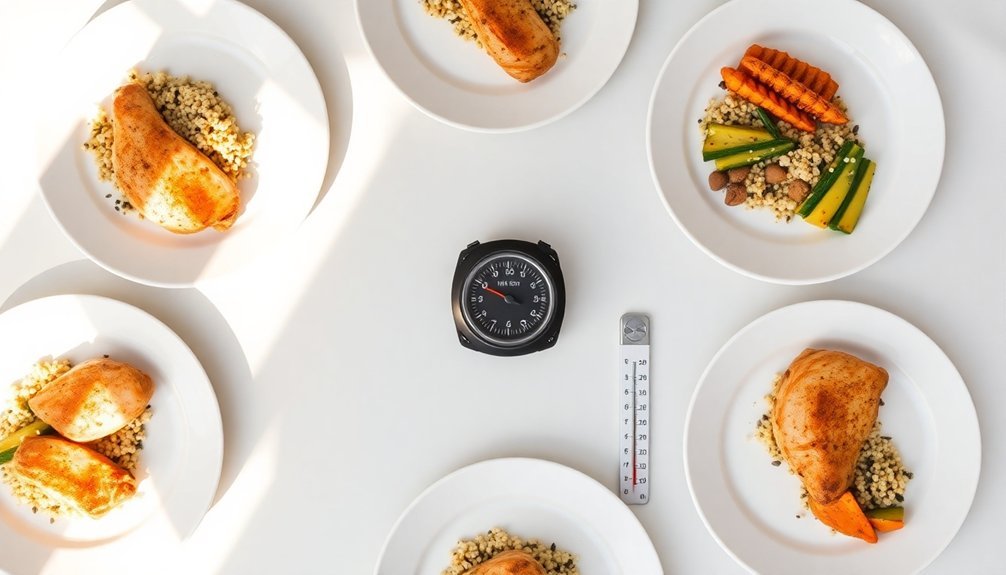
Protein Per Person
Your daily protein needs can range from 0.36 to 0.7 grams per pound of body weight, depending on your age, activity level, and dietary preferences.
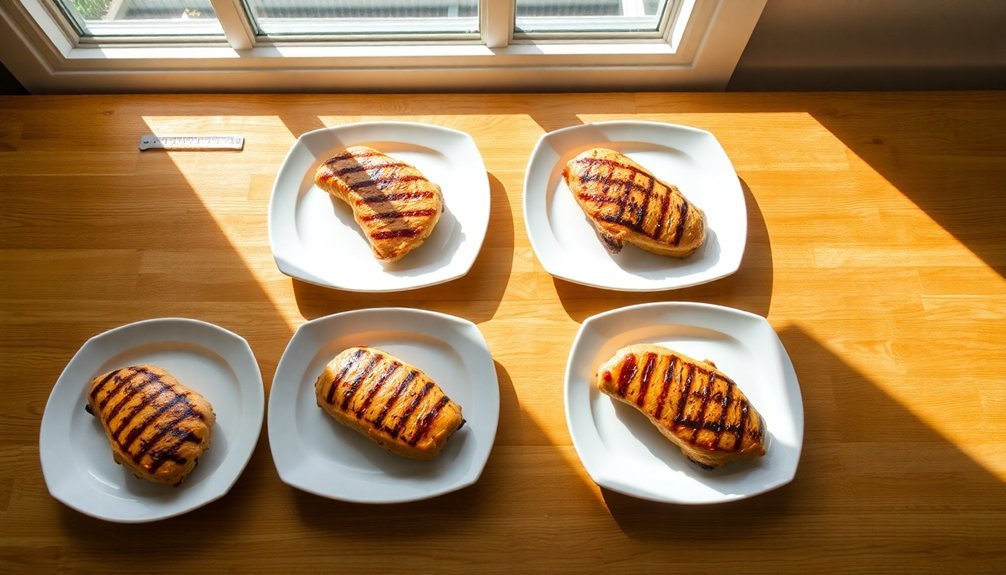
For most adults, this translates to about 7 grams of protein per 20 pounds of body weight, spread across your meals throughout the day.
You'll want to adjust your portions based on whether you're following a standard, vegetarian, or athletic diet plan, aiming for protein to make up 10-35% of your daily calories.
Matching Goals By Diet
While protein requirements vary widely among individuals, matching your dietary goals starts with understanding your specific needs based on weight, activity level, and lifestyle factors.
You'll need to adjust your intake depending on your situation: if you're an endurance athlete, aim for 1.2-1.4 grams per kilogram of body weight, while strength training demands 1.2-1.7 grams.
Calculate your baseline needs by dividing your weight in pounds by 2.2046, then multiply by 0.8 grams – that's your minimum.
If you're pregnant, increase your intake to 75-100 grams daily. For those over 60, target 0.5-0.7 grams per pound.
Fill your plate with lean proteins like fish, poultry, or plant-based options such as legumes and nuts, ensuring protein makes up 25% of each meal.
Daily Requirements By Meal
To meet recommended protein targets, adults over 50 should consume between 1.2 and 1.6 grams of protein per kilogram of body weight each day.
You'll want to spread this across three main meals, aiming for about 0.4 grams per kilogram at each sitting.
For a 165-pound person, this means consuming roughly 30 grams of protein per meal. You can achieve this through various combinations: try a breakfast of Greek yogurt with a banana and hard-boiled egg (19g), followed by an egg and bean burrito with milk for lunch (28g), and a chicken breast with rice for dinner (25g).
You're not limited to animal products—incorporate plant-based options like lentils, tofu, and chickpeas.
Adding dairy to each meal can help you reach your protein goals while ensuring balanced nutrition.
Carbohydrate Balance For Solar Meals
Maintaining balanced carbohydrates throughout your meals is essential for sustained energy and better blood sugar control.
You'll want to distribute your daily carb intake across breakfast, lunch, dinner, and snacks, focusing on whole grains and fiber-rich options.
Start your day with balanced options like oatmeal topped with berries and nuts. For lunch, combine non-starchy vegetables with lean protein and a modest portion of whole grains.
At dinner, fill half your plate with vegetables, quarter with lean protein, and quarter with complex carbs like quinoa or sweet potatoes. Choose smart snacks like fruit paired with nuts to maintain stable blood sugar between meals.
Monitor your body's response and adjust portions as needed, especially if you're managing diabetes or weight goals.
Remember to limit processed carbs and added sugars.
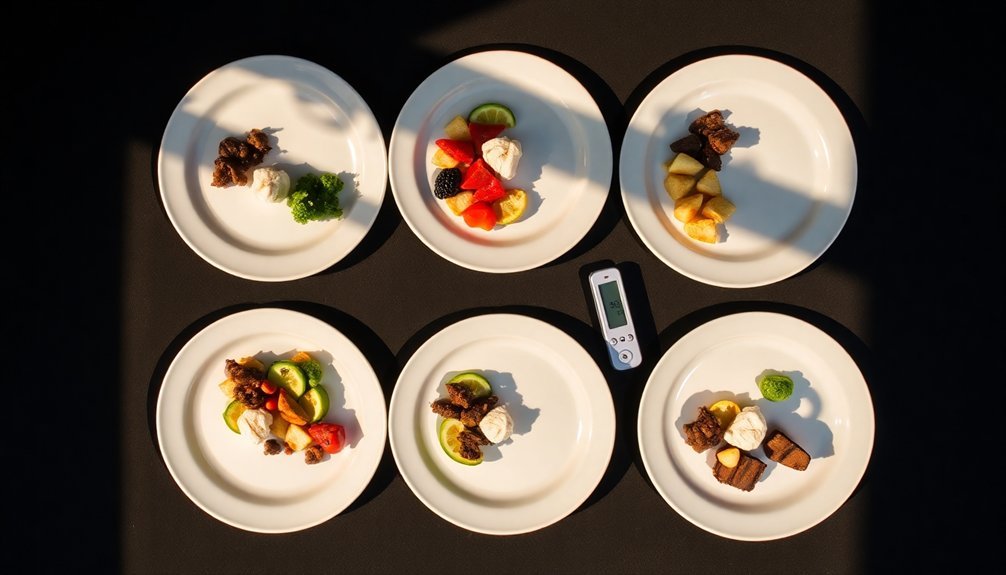
Vegetable Sizing Standards
Understanding vegetable sizing standards helps you make informed choices for both growing and serving portions.
When container gardening, you'll need specific depths and spacing: bush beans require 8-10 inches deep with 6-8 inches between plants, while pole beans need 12-18 inches depth and 3-4 inches spacing.
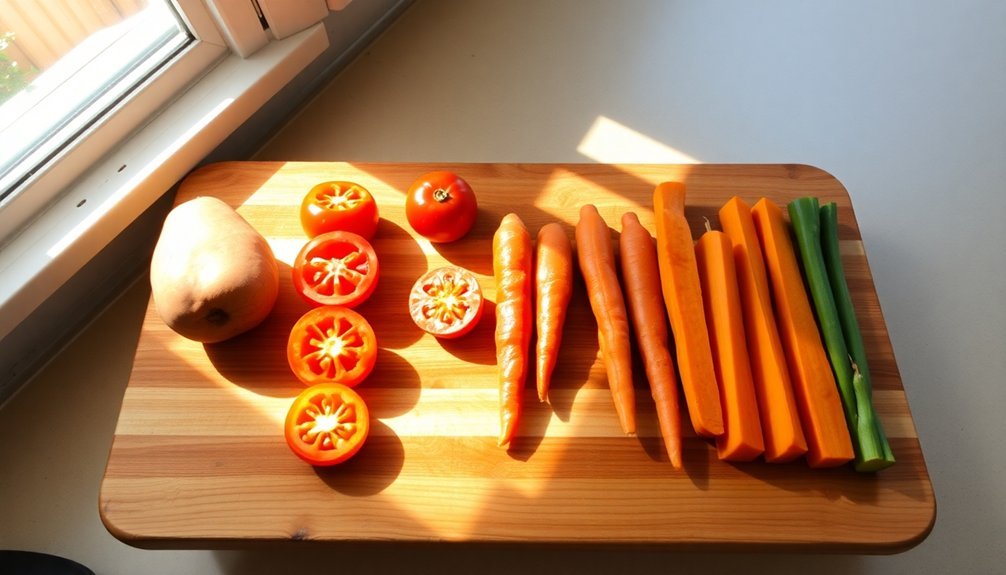
For daily servings, you'll want to measure raw leafy vegetables at 2 cups per portion, while other vegetables require 1 cup.
Root vegetables follow specific size categories – for example, fresh carrots range from 1.5 to 6 inches, while beets and turnips are classified as petite (dime size) or baby (golf-ball size).
If you're planning institutional meals, follow weekly requirements: include 5¼ cups total vegetables, with ½ cup dark greens, ¾ cup red/orange vegetables, and ½ cup each of legumes and starchy vegetables.
Grain And Rice Ratios
Three essential ratios form the foundation of cooking grains and rice properly. The standard water-to-rice ratio is 1:2, meaning you'll need two cups of water for every cup of rice you're cooking.
When planning portions, remember that one cup of uncooked rice typically yields three cups when cooked.
For ideal serving sizes, follow these key measurements:
- Main course: 1/2 to 1 cup cooked rice per person
- Side dish: 1/4 cup cooked rice per person
- Brown rice main: 3/4 cup cooked per person
- Brown rice side: 1/3 cup cooked per person
You'll want to adjust these amounts based on your specific rice variety. While white rice maintains the 1:2 cooking ratio, brown rice might require slightly more water for perfect results.
Bean And Legume Measurements
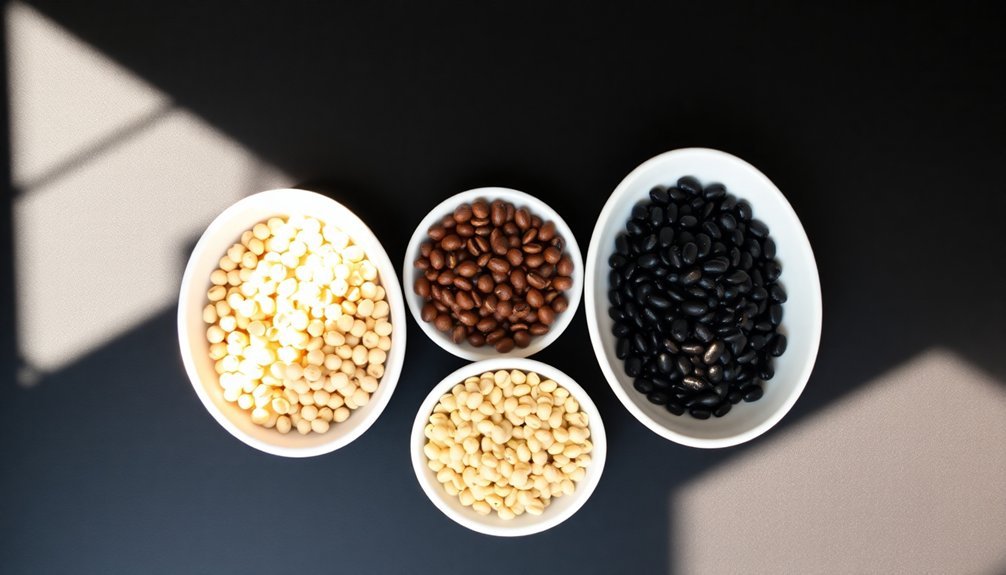
Just as rice expands during cooking, beans and legumes follow their own distinct measurements and yields. When you're cooking dry beans, expect them to triple in size, while peas and lentils will double.
One pound of dry beans yields about 6 cups cooked, while 1 cup dry transforms into 3 cups cooked.
For accurate portion control, remember that 1/2 cup of cooked legumes counts as one serving. When planning family meals, calculate 1 1/3 cups of dry beans to get four 1-cup portions once cooked.
You can store extra cooked legumes in your freezer using airtight containers. When reheating, add two tablespoons of water and heat until steaming (165°F).
To meet weekly nutrition goals, aim for 2-3 cups of legumes, incorporating them into various meals throughout the day.
Liquid Components For Success
Success in the kitchen often depends on mastering liquid measurements and ratios. When working with innovative ingredients like Solein, you'll want to understand how these liquid components interact in your recipes.
This sustainable protein source is produced through a remarkable bioprocess where microbes grow in a liquid medium, combining CO2 and hydrogen.
You're fundamentally working with a versatile ingredient that's 65-70% protein and can enhance various dishes without altering their familiar taste.
When incorporating Solein into your recipes, remember these key liquid ratios:
- Mix it seamlessly into alternative dairy products and beverages
- Blend it into pasta and bread doughs
- Incorporate it into spread consistencies
- Add it to meat alternatives for protein enrichment
The liquid nature of this bioprocess makes it incredibly adaptable to your cooking needs.
Oil And Fat Quantities
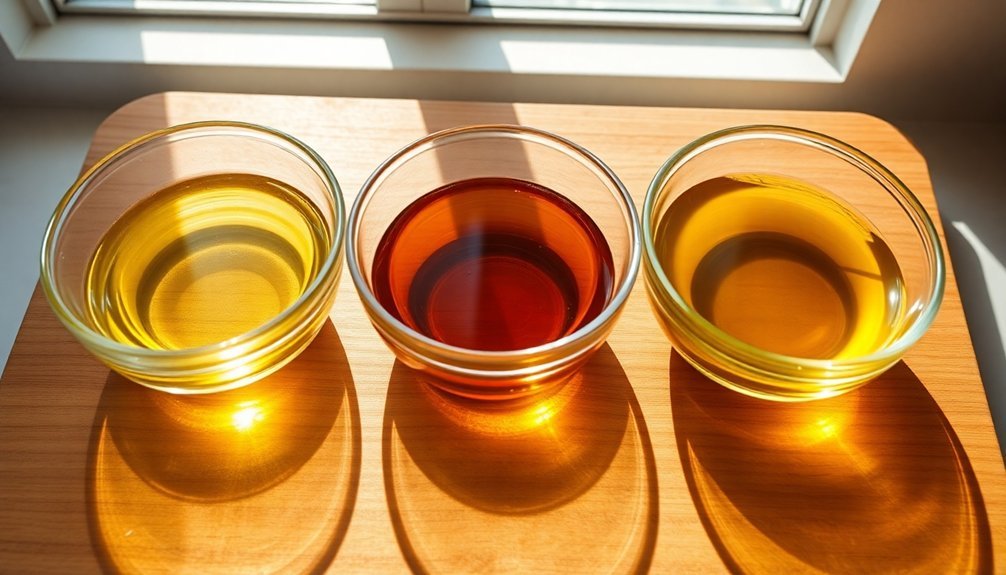
Understanding oil and fat portions is essential for both health and culinary success. When using sunflower oil, stick to one teaspoon (7 grams) per serving, as it packs 124 calories per tablespoon. You'll want to balance your intake between different types of sunflower oils to maximize their benefits while maintaining a healthy omega-6 to omega-3 ratio.
| Oil Type | Best Use | Daily Limit |
|---|---|---|
| High-Oleic | High-heat cooking | 2-3 tsp |
| High-Linoleic | Cold dressings | 1-2 tsp |
| Mid-Oleic | All-purpose | 2-3 tsp |
For ideal health benefits, incorporate sunflower oil as part of your daily five serves of healthy fats. Remember that high-heat cooking is safe up to 440°F, making it versatile for various cooking methods while maintaining its nutritional properties.
Sauce And Seasoning Portions
Proper sauce and seasoning portions can transform your solar cooking from bland to extraordinary. When preparing solar pasta, you'll need 16 ounces of tomato sauce and a balanced mix of garlic powder, basil, and black pepper.
For solar lasagne serving four, use 2 cups of sauce with your favorite Italian seasonings.
Your success with solar-cooked sauces depends on these key ratios:
- 1 cup yogurt for tandoori chicken marinade
- 2 tablespoons tandoori seasoning per cup of yogurt
- 1/4 cup plus 2 tablespoons salsa for 6 servings of stuffed potatoes
- 1 teaspoon garlic powder per 8 ounces of sauce
Don't forget to adjust seasonings to your taste.
Dark sauces like Alfredo work particularly well in solar cooking as they absorb more sunlight, enhancing the cooking process.
Solar Cooking Time Adjustments
To maximize your solar cooking success, you'll want to track peak sun hours between 10:00 a.m. and 2:00 p.m., when sunlight intensity is strongest.
Your cooking schedule needs adjusting throughout the year as seasonal changes affect available daylight and sun angle.
When cloud cover moves in, expect longer cooking times and plan accordingly by starting meals earlier in the day.
Monitor Peak Sun Hours
Successful solar cooking depends heavily on monitoring and utilizing peak sun hours, which typically occur between 10:00 a.m. and 3:00 p.m. The sun's position overhead during these hours provides maximum intensity for efficient cooking, making it the perfect time to prepare your meals.
To enhance your cooking schedule during peak hours:
- Start preheating your solar oven by 9:00 a.m. for lunch or 1:00 p.m. for dinner
- Adjust the cooker every 30-45 minutes to maintain direct sunlight alignment
- Position your cooker facing east for noon meals and west for evening meals
- Check that shadows fall directly behind the cooker for best positioning
Remember that cooking times are typically double those of conventional ovens, so plan accordingly.
You'll need to extend cooking durations in winter and make more frequent adjustments to maintain proper sun exposure.
Season-Based Timing Changes
Solar cooking times fluctuate considerably throughout the year, requiring careful adjustments to your cooking schedule based on seasonal changes.
You'll find the fastest cooking times between 10:00 a.m. and 2:00 p.m., when sun intensity is highest. In summer, you can extend this window until 4:00 p.m., while winter requires longer cooking periods due to lower sun angles.
For best results, check that your shadow is shorter than your height before cooking. Position your cooker eastward for noon meals and westward for evening meals.
You'll need to reposition it every couple of hours to track the sun. Keep in mind that altitude affects cooking times – at higher elevations, extend your cooking duration and add more liquid to recipes to compensate for lower boiling points.
Cloud Cover Impacts Cooking
When clouds roll in during solar cooking, you'll need to make significant timing adjustments to guarantee your food cooks properly. On partially cloudy days, expect to double your usual cooking time, while heavy cloud cover may require even longer.
You'll want to enhance your setup to maximize available sunlight and retain heat effectively.
For best results during cloudy conditions:
- Use thin, shallow, non-reflective pots to heat food faster
- Position your cooker at the ideal angle for maximum sun exposure
- Rotate the cooker every 20 minutes to follow the sun's path
- Monitor food temperature with a meat thermometer rather than relying on time
Choose recipes that don't need frequent stirring and cook well in their own juices. Using lids or high-temperature baking bags will help maintain heat, making your solar cooking more successful despite challenging weather conditions.
Container Size Requirements
Three essential container sizes define modern cold storage requirements: the 40ft standard, 40ft side-by-side, and 20ft compact units.
You'll find the 40ft standard offers impressive storage with interior dimensions of 32.5ft x 6.8ft x 8.0ft, while the side-by-side version splits this space into a freezer (11ft) and refrigerator (21.5ft) compartment for versatile temperature control.
If you're working with limited space, consider the 20ft compact unit. It provides interior dimensions of 13.8ft x 6.8ft x 7.3ft, perfect for smaller operations.
When deployed, it expands to 20'1" x 23'7" x 9'6". You can easily transport any of these units by road, rail, or sea, and they're designed for quick setup – just 15 minutes for one person to deploy or pack up.
Temperature Control Measurements
Because food safety depends heavily on proper temperature control, you'll need reliable measurement systems to monitor and maintain specific ranges. Always use accurate digital thermometers to check food temperatures, and verify they're properly calibrated for precise readings.
Keep these critical temperature limits in mind:
- Store cold TCS foods at 41°F or below
- Maintain hot TCS foods at 135°F or above
- Don't let foods stay in the danger zone (41-135°F) for more than 4 hours
- Keep freezer temperatures between -4°F and 39°F
Track temperature data consistently and implement immediate corrective actions if you notice any deviations.
Your monitoring devices should be well-maintained and regularly checked for accuracy. Consider using automated systems that can alert you when temperatures fall outside safe ranges.
Frequently Asked Questions
How Do Food Portions Change When Cooking for Children Versus Adults?
You'll need to serve smaller portions to children based on their age and size. Use their hand as a guide – their palm for protein, fist for grains, and fill half their plate with vegetables.
Can I Substitute Ingredients While Maintaining the Same Nutritional Balance?
Yes, you can substitute ingredients while keeping nutrition balanced. Focus on matching macronutrients, using similar food groups, and checking labels. Try swapping Greek yogurt for sour cream or whole wheat for white flour.
How Do Altitude Differences Affect Portion Sizes in Solar Cooking?
At higher altitudes, you'll need to increase portions by 15-20% since food loses more moisture. You should also add extra liquid to your recipes to maintain proper serving sizes and nutritional content.
What's the Best Way to Store Leftover Portions From Solar-Cooked Meals?
You'll want to immediately transfer solar-cooked leftovers to airtight containers and refrigerate them. Use insulated containers if you're eating soon, or freeze portions in moisture-proof containers for longer storage.
How Do Seasonal Temperature Variations Impact Portion Sizing for Solar Cooking?
You'll need smaller portions in winter due to reduced cooking times and temperatures. During summer, you can cook larger portions efficiently, while spring and fall require moderate serving adjustments based on available sunlight.
In Summary
You've learned how to measure and portion your solar-cooked meals with precision and care. Whether you're weighing proteins, balancing carbs, or adjusting cooking times, you'll now be able to create perfectly portioned sun-powered dishes. Remember to keep your temperature measurements consistent and your container sizes appropriate. By following these portioning guidelines, you'll master the art of solar cooking and serve satisfying meals every time.


Leave a Reply