
The best time to heat your food outdoors is between 10 a.m. and 2 p.m., when sunlight intensity peaks and provides ideal cooking conditions. You'll get the fastest results during midday hours, while morning cooking requires longer heat buildup. For solar cooking, position your setup facing south and adjust it every 30 minutes to track the sun. Keep hot foods above 140°F and cold foods below 40°F for safety, and don't let food sit in the danger zone (40-140°F) for more than 2 hours. Weather plays an essential role too – expect 10-15% longer cooking times on cloudy days. Understanding these timing factors will help you master the art of outdoor food preparation.
Ideal Solar Cooking Hours
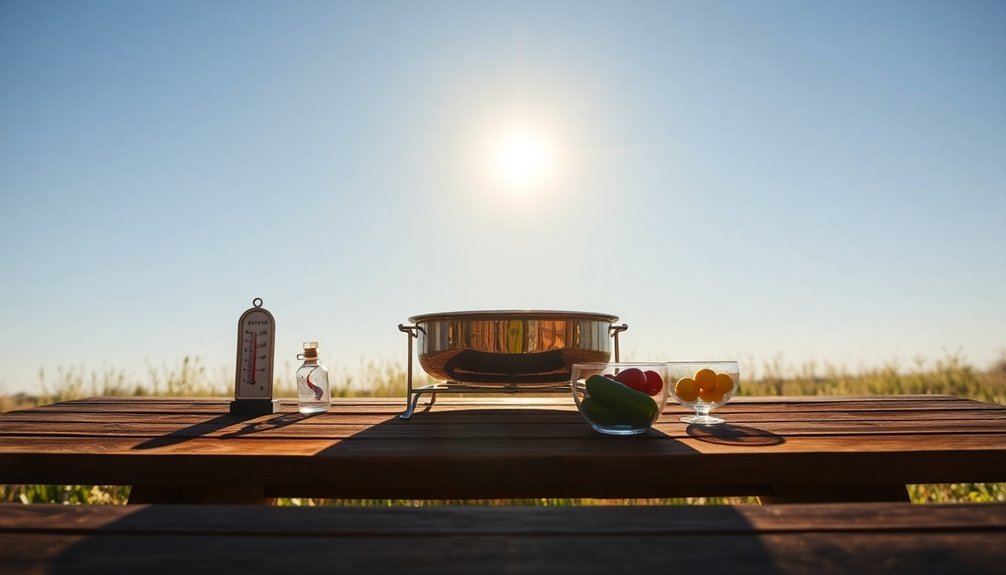
When you're planning to cook with solar power, timing is everything. You'll get the best results between 10 a.m. and 2 p.m., when the sun reaches its highest point in the sky. This window provides maximum sunlight intensity, which helps maintain ideal cooking temperatures in your solar oven.
While you can extend your cooking time until 3 p.m., you'll find the most efficient cooking occurs during the peak hours around midday.
To make the most of these prime hours, it's crucial to track the sun's movement. You'll need to adjust your oven's position periodically to maintain consistent heat. For optimal food safety, ensure you have consistent sunshine every hour to prevent any risk of food spoilage.
Remember that seasonal changes affect this timeframe – winter months have shorter cooking windows, while summer offers extended opportunities for solar cooking success.
Morning Vs Afternoon Performance
Understanding the difference between morning and afternoon solar cooking can help you plan your meals more effectively.
In both periods, you'll find the sun sits lower in the sky compared to midday, resulting in longer cooking times and lower temperatures.
Morning cooking starts from scratch, requiring more time to build up heat in your solar cooker. You'll need to position your reflectors carefully to maximize the available sunlight. Traditional solar cookers use reflective panels or mirrors to concentrate sunlight into a small cooking area.
During afternoon sessions, you'll benefit from residual heat built up throughout the day, which can help maintain cooking temperatures. However, you'll still need to adjust your reflectors to track the sun's changing position.
While both times require longer cooking periods than midday, you can still achieve good results by planning ahead and using your reflectors strategically.
Seasonal Cooking Windows
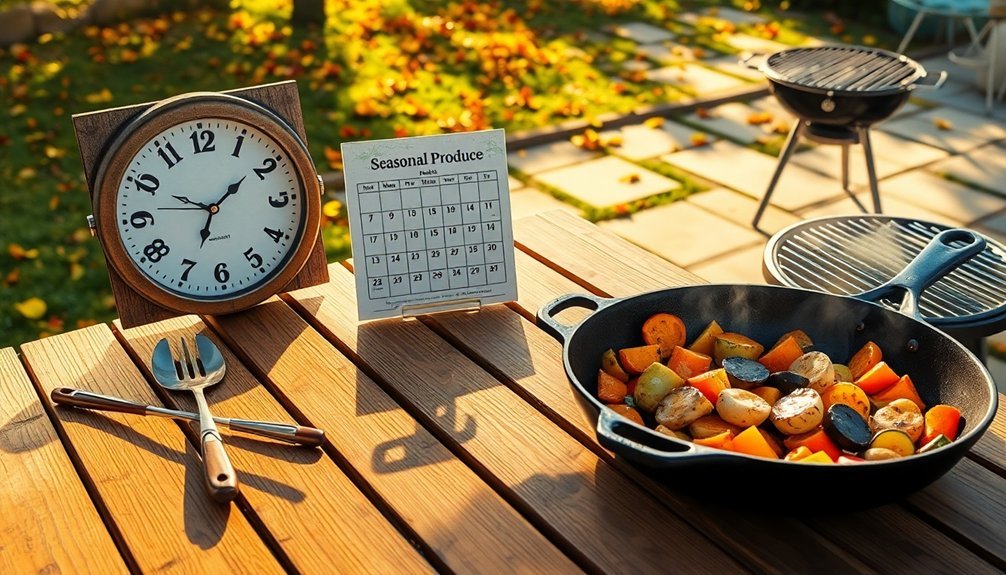
Each season presents unique opportunities and challenges for outdoor food preparation, transforming how you'll approach cooking throughout the year. Spring's milder temperatures and blooming gardens offer ideal conditions for fresh herb-infused meals, while summer's peak warmth creates perfect grilling weather. Autumn brings comfortable temperatures and harvest bounty, and winter requires strategic planning with heated spaces and covered areas. Installing servery windows can create a seamless connection between indoor and outdoor cooking spaces, making seasonal meal preparation more convenient.
| Season | Key Considerations |
|---|---|
| Spring | Longer daylight hours, fresh herbs, pest management |
| Summer | Peak grilling time, abundant produce, shade necessity |
| Autumn | Harvest ingredients, festive events, evening heating |
| Winter | Covered cooking areas, heating solutions, cold safety |
| Year-round | Weather protection, food safety, temperature control |
You'll want to adjust your cooking schedule and setup based on these seasonal patterns, ensuring both comfort and food safety throughout the year.
Weather Impact on Timing
Weather conditions directly influence your outdoor cooking schedule and timing.
You'll need to adjust your cooking times based on temperature extremes, as high heat speeds up cooking while cold weather requires longer periods. Watch out for humidity levels – they'll affect how quickly moisture evaporates from your food. High humidity means faster cooking times, while low humidity requires slower cooking.
Your altitude matters too. If you're cooking at higher elevations, you'll need lower temperatures and longer cooking times since water boils at lower temperatures.
On hot days above 90°F, don't leave food out for more than an hour. Keep cold foods at or below 41°F to prevent bacterial growth. Regular maintenance checks of your outdoor cooking equipment will ensure consistent heating and optimal performance.
When grilling in direct sunlight, monitor your propane tank temperature to avoid dangerous overheating.
Food Preparation Time Differences
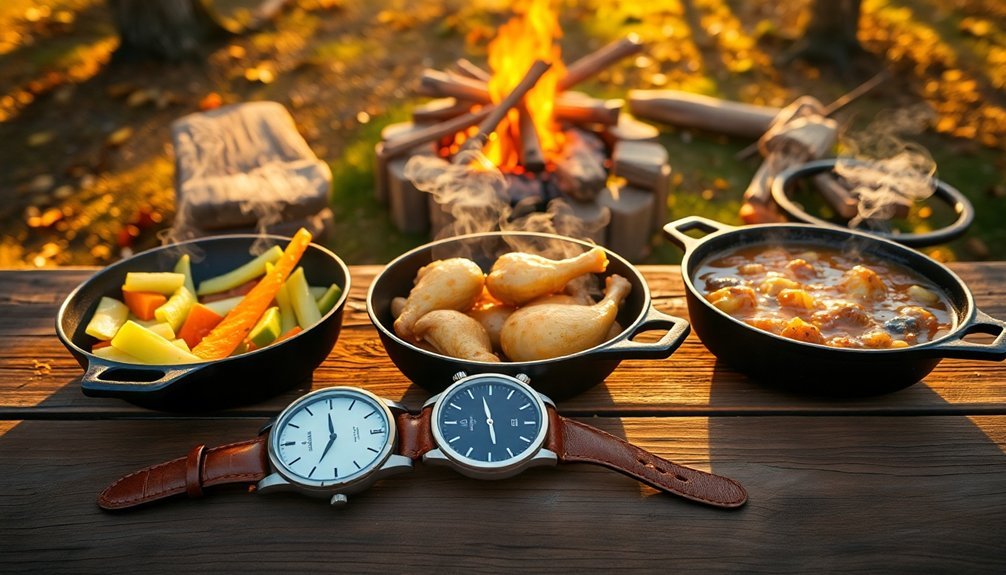
Different outdoor cooking methods demand unique preparation times and temperatures for ideal results.
When you're grilling, you'll need just 3-10 minutes per side at high temperatures above 500°F for items like burgers and steaks.
Barbecuing, however, requires patience – you'll cook at lower temperatures between 250-300°F for several hours, perfect for larger cuts like ribs and whole chickens.
If you're using an outdoor oven, you can maximize efficiency by cooking multiple dishes as temperatures rise and fall. Start with pasta dishes at lower temps, move to pizzas at peak heat (up to 750°F), then use the cooling phase for bread.
For smoking, plan on up to eight hours at 250-300°F, maintaining steady heat with charcoal and wood chips while monitoring internal temperatures with a food thermometer.
Safe Temperature Holding Periods
Maintaining safe food temperatures outdoors requires vigilant monitoring and proper timing. You'll need to keep hot foods at or above 140°F and cold foods below 40°F to prevent bacterial growth.
Don't let your food sit in the danger zone (40-140°F) for more than 2 hours, or 1 hour if it's above 90°F outside.
When cooling hot food, you must bring it from 135°F to 70°F within two hours, then down to 41°F or below within six hours.
If you're reheating food made in-house, bring it to 165°F within two hours and hold it there for at least 15 seconds.
Remember that if food stays in the danger zone longer than recommended, you'll need to throw it out – it's not worth the risk of foodborne illness.
Adjusting for Cloud Coverage
When heating food outdoors, you'll need to account for cloud coverage's significant effect on temperature, as clouds can block up to 90% of direct sunlight and alter heating times.
You'll heat food faster in direct sunlight than in shade or under cloud cover, so adjust your timing accordingly and consider using a food thermometer for accuracy.
If you notice changing weather patterns, particularly incoming cloud formations, it's smart to either start heating earlier or move to a more controlled environment to maintain safe food temperatures.
Cloud Cover Temperature Impact
Understanding cloud cover's impact on outdoor cooking temperatures can greatly affect your meal preparation success. When there's high cloud cover, you'll notice that heat gets trapped closer to the ground, which can speed up your cooking times and maintain higher humidity levels. This means you'll need to monitor your food more carefully to prevent overcooking.
- Watch for temperature stability during cloudy conditions – you won't experience extreme fluctuations that could affect cooking times.
- Expect faster cooking on cloudy days due to trapped moisture and heat, especially if you're using covered cooking methods.
- Consider that nighttime cooking under cloud cover will maintain higher temperatures than clear skies, requiring adjustments to your usual timing.
Remember to adapt your cooking approach based on cloud conditions to achieve the best results.
Shade Versus Direct Sunlight
Beyond cloud coverage, the choice between shade and direct sunlight profoundly affects your outdoor dining experience.
While you might be tempted to set up your meal in direct sunlight, you'll find that shade offers significant advantages for both comfort and food quality.
You'll want to take into account that surface temperatures in direct sunlight can soar to 150 degrees, while shaded areas maintain more moderate temperatures.
This difference isn't just about comfort – it affects your food's freshness too. When you're planning to heat food outdoors, remember that official temperature readings are taken in the shade, so you'll need to adjust your timing accordingly.
Whether you choose natural tree coverage or portable sunshades, you'll protect yourself from UV rays while creating a more enjoyable dining atmosphere.
Weather Pattern Safety Tips
Successful outdoor cooking requires careful attention to shifting weather patterns and cloud coverage.
You'll need to monitor cloud formations as they directly impact your cooking temperature and timing. When thick clouds roll in, they can noticeably reduce heat levels and affect your food's cooking process.
- Watch for sudden temperature changes when clouds move in, and be prepared to adjust your cooking time – you may need to extend it by 10-15% in heavily clouded conditions.
- Keep an eye on humidity levels, as clouds often bring moisture changes that can affect how quickly your food cooks.
- Check weather forecasts before starting, and have a backup plan if storm clouds approach, as they can create unsafe cooking conditions.
Remember to maintain consistent heat by adjusting your grill settings to compensate for cloud-induced temperature fluctuations.
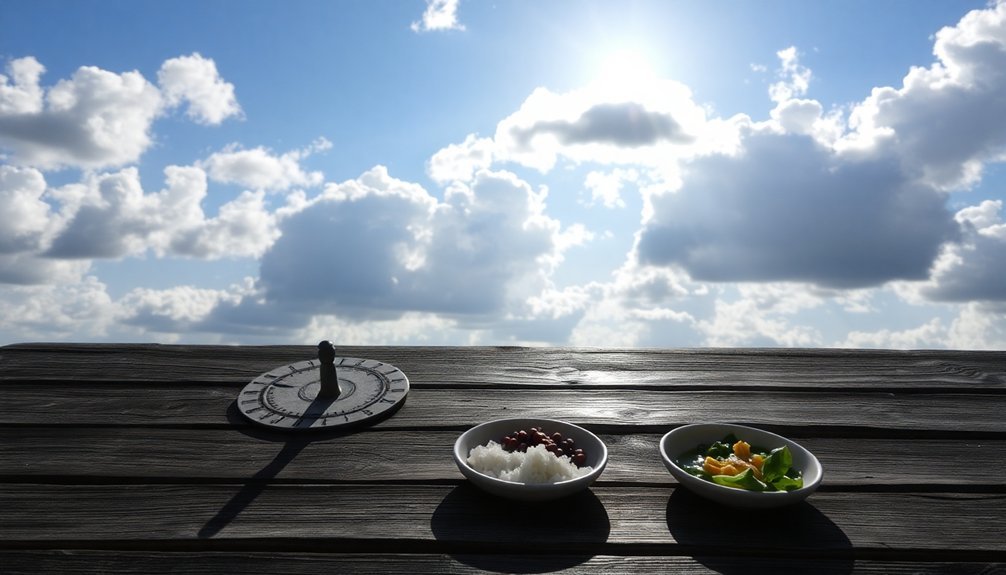
Solar Position and Duration
To achieve the best results with outdoor solar cooking, proper positioning and timing are essential.
You'll need to place your solar oven in a spot with unobstructed sunlight, ideally between 11:00 am and 3:00 pm. Choose a stable, level surface like a paving stone or concrete patio, away from children and pets.
For maximum performance, point your oven southward for all-day cooking, or face it directly at the sun for quicker results.
You'll want to adjust its position every 30 minutes to maintain alignment. Remember that solar cooking takes longer than conventional methods – plan for 2-4 hours per dish.
To speed up the process, cut food into smaller pieces and use dark, non-reflective cookware. Keep in mind that weather conditions will notably impact your cooking time.
Frequently Asked Questions
How Do Insects Affect Outdoor Food Heating During Different Times of Day?
You'll face more insect activity during warmer daytime hours, but they'll seek your food in cooler periods too. They're most active at dawn and dusk, so you should protect food consistently throughout the day.
Can Wind Direction Impact the Effectiveness of Outdoor Cooking Methods?
Yes, wind direction strongly affects your outdoor cooking. You'll need to position your grill perpendicular to wind flow, use windbreaks, and keep the lid closed to maintain temperature and prevent flame disruptions.
What Altitude Considerations Should Be Made When Timing Outdoor Food Heating?
You'll need to add 1-2 minutes per 1,000 feet elevation to your cooking times. Water boils at lower temperatures up high, so you'll need longer heating times and should keep food covered to retain moisture.
How Does Humidity Influence Outdoor Food Heating Duration and Temperature Maintenance?
You'll need to cook longer in low humidity as moisture evaporates quickly. In high humidity, your food will cook faster but requires careful monitoring since it's harder to maintain consistent temperatures during outdoor heating.
What Types of Cookware Materials Work Best for Different Daylight Periods?
You'll want carbon steel for early morning cooking, titanium or aluminum for midday's intense heat, and cast iron for late afternoon meals. Each material's heat retention matches the day's temperature patterns perfectly.
In Summary
You'll find the most success with outdoor solar cooking between 10 AM and 2 PM when the sun's intensity peaks. Always adjust your timing based on seasonal changes, cloud cover, and local weather patterns. Remember, you're cooking in a dynamic environment, so you'll need to allow extra preparation time and monitor food temperatures closely. Keep your solar cooker positioned ideally as the sun moves across the sky.


Leave a Reply