
You'll love how solar cooking transforms your camping meals into eco-friendly culinary adventures. Using a well-insulated box with reflective surfaces, you can whip up delicious one-pot wonders like spaghetti and meatballs, sweet potato peanut stew, or red beans and rice – all while saving fuel and preserving nature. Plan to cook between 11 am and 3 pm for the best results, and remember that cooking times typically double compared to conventional methods. With proper equipment and timing, you'll create nutritious meals that retain their flavors and juices. Discover how this sustainable cooking method opens up a whole new world of outdoor cuisine possibilities.
Why Solar Camp Cooking Works
Solar cooking technology transforms your outdoor camping experience by harnessing the sun's free energy to prepare meals safely and efficiently. You'll find that solar cookers work similarly to slow cookers, providing consistent heat that prevents burning while preserving nutrients and natural flavors. By cooking food in its own juices, you'll need less liquid and maintain more nutritional value. These innovative devices can reach temperatures of 400°F, making them just as capable as traditional camping stoves.
What makes solar cooking particularly effective for camping is its versatility and practicality. You can bake, boil, steam, or roast a variety of foods, adapting your favorite crock-pot recipes for solar preparation. When you're at your campsite, you'll appreciate how the cooker keeps your vehicle's interior cool by moving meal preparation outside. This also helps conserve your vehicle's power and propane supplies.
The efficiency of solar cooking is remarkable – these devices convert a high percentage of solar energy into heat, making them ideal for extended camping trips. You won't need to worry about fuel costs or gathering traditional cooking materials. Instead, you'll simply adjust the cooker's position to maximize sun exposure, letting nature's energy do the work while you enjoy your outdoor adventures.
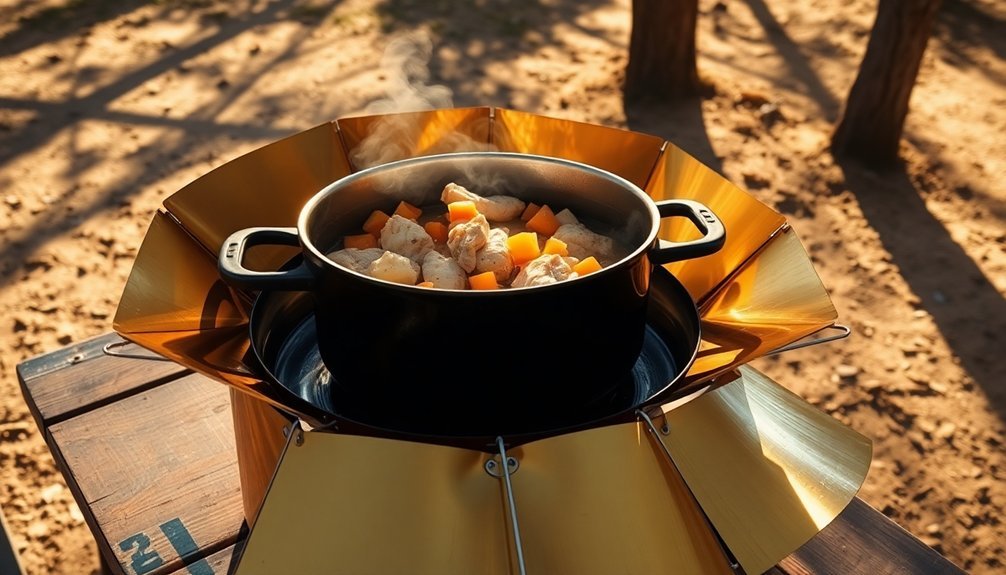
Essential Solar Cooking Equipment
You'll need a well-insulated box or container lined with reflective surfaces as your basic solar oven, along with a clear glass or plastic lid to trap heat inside.
Your cooking vessels should be dark-colored or black to maximize heat absorption, and it's best to use containers with tight-fitting lids to retain moisture and heat. For effective insulation, fill any gaps in your solar oven with rolled-up newspapers to maintain consistent cooking temperatures.
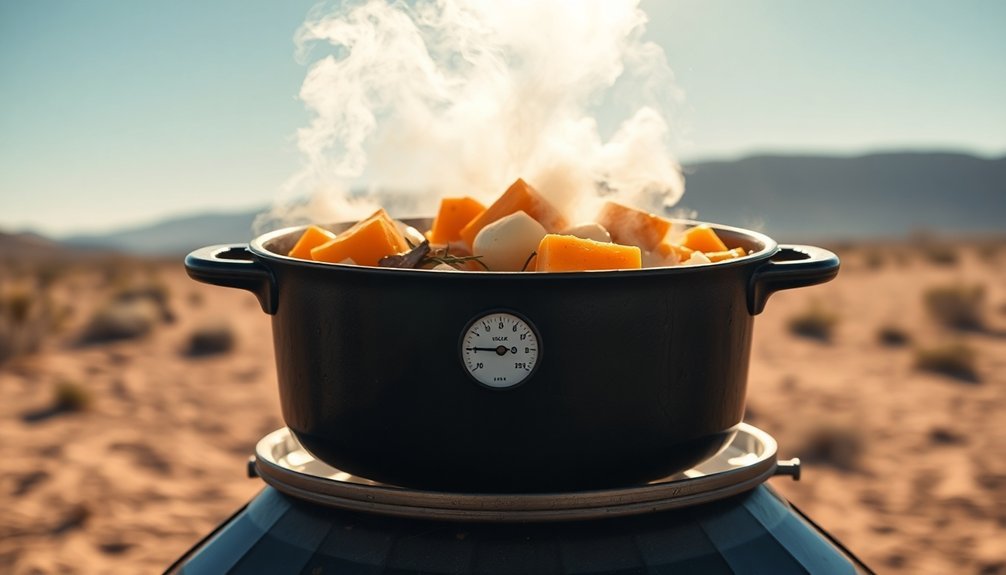
Don't forget essential tools like oven thermometers, pot holders, and sturdy utensils that can handle the extended cooking times typical of solar cooking.
Basic Solar Oven Components
A basic solar oven consists of four essential components that work together to harness and trap the sun's energy for cooking. The insulated box, typically made of wood or metal with black interior paint, forms the foundation of your solar oven. Your solar oven can achieve temperatures up to 400°C depending on its design and configuration.
You'll want this box to be well-sealed and properly insulated to maintain consistent cooking temperatures.
The reflective surfaces are important for directing maximum sunlight into your cooking chamber. You can use materials like aluminum foil tape, Mylar, or reflective plastic sheets positioned at specific angles to concentrate solar energy.
Your reflecting panels will greatly boost the oven's heating capacity.
Proper insulation is necessary for temperature control. You'll need materials like Styrofoam, foam board, or high-performance insulators to prevent heat loss and protect your food from external temperatures.
Make sure you create airtight seals to maintain ideal cooking conditions.
The transparent lid completes your solar oven setup. It allows sunlight to enter while trapping heat inside, creating a greenhouse effect.
You'll want to pair this with black-surfaced cooking vessels that efficiently convert sunlight into heat energy, ensuring your meals cook thoroughly and evenly.
Cooking Utensils and Containers
Three essential types of utensils and containers form the backbone of successful solar cooking: black pots and pans, heat-resistant containers, and specialized vessels.
You'll want to prioritize black cookware since it maximizes sunlight absorption and converts it into thermal energy more efficiently than lighter-colored alternatives.
For your containers, opt for heat-resistant glass or heavy-duty plastic that can withstand prolonged sun exposure. Clear containers are particularly useful as they let you monitor your food without opening the cooker and releasing precious heat.
If you're cooking soups or stews, heavy plastic zip-lock bags can work surprisingly well.
Your specialized vessels should include double-layered options that reduce heat loss and maintain consistent cooking temperatures. Look for moisture-retentive designs to prevent your food from drying out during the cooking process.
Don't forget to pack essential accessories like non-mercury thermometers to monitor temperatures, reflective flaps to direct more sunlight into your cooker, and heat-resistant spatulas or tongs for safe food handling.
For better insulation, you can use common materials like newspaper around your cooking vessels to retain heat more effectively.
Best Times For Solar Meals
Successfully timing your solar meals depends heavily on the sun's position and intensity throughout the day. You'll find the most effective cooking window between 11:00 am and 3:00 pm when the sun is directly overhead, providing maximum UV intensity and ideal temperatures between 200°F and 300°F.
You can start preheating your solar cooker as early as 10:00 am and maintain warmth until 4:00 pm. Remember to adjust your cooker every 1-2 hours to track the sun's movement and maintain consistent heat.
While solar cooking works year-round, you'll need to adapt your approach during different seasons. Fall, winter, and early spring require more frequent adjustments and longer cooking times due to shorter daylight hours.
Clear skies are vital for efficient cooking – even thin clouds can extend your cooking time considerably. Don't let cold temperatures discourage you; as long as the sun's shining brightly, you can cook effectively even in snowy conditions.
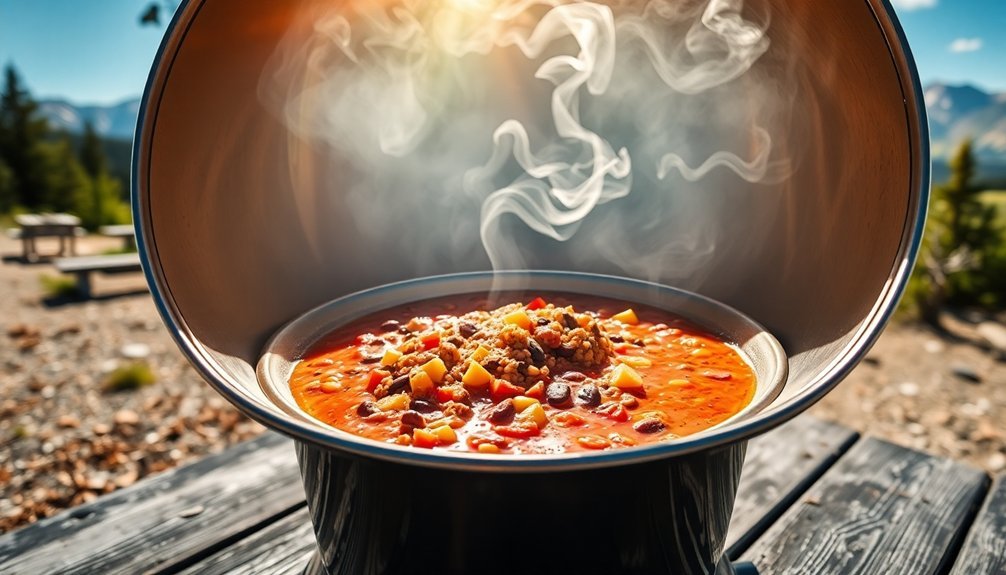
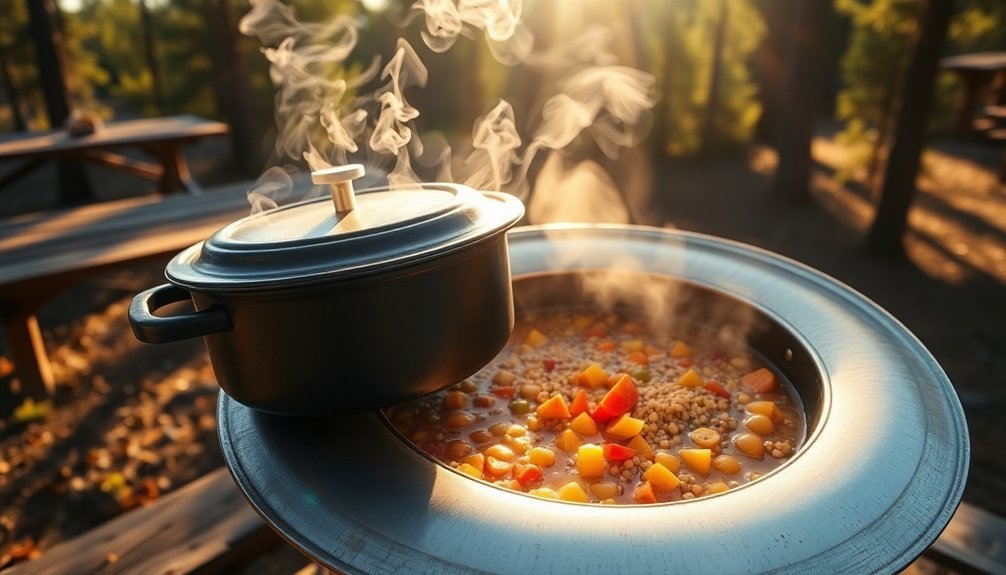
Position your cooker where it'll have unobstructed sunlight for several hours, and expect cooking times to be roughly double those of conventional methods. One-pot meals like stews and chili are ideal choices, as they can simmer throughout the day.
Perfect One-Pot Solar Recipes
Your family will love trying solar-cooked favorites like spaghetti and meatballs or one-pot lasagna, which require minimal prep and create fewer dishes to wash.
You'll find the most success with these recipes during peak sunlight hours, typically between 10 AM and 2 PM, when solar ovens reach their ideal cooking temperatures.
To enhance your seasonal cooking results, you can add dehydrated vegetables in winter months or fresh, locally-sourced ingredients during summer and fall.
Easy Family-Friendly Favorites
Making delicious family meals while camping doesn't have to be complicated, especially when you're equipped with a solar oven.
You'll find that solar cooking offers a safe, efficient way to prepare meals that everyone will love, without worrying about open flames or fuel consumption.
Your family will appreciate these crowd-pleasing options that cook perfectly in a solar oven:
- Tender barbecued ribs that fall right off the bone – perfect for meat lovers who appreciate slow-cooked goodness
- One-pot lentil sloppy joes that offer a healthy, protein-rich twist on a classic favorite
- Cheesy asparagus orzo that combines quick-cooking pasta with vegetables and melted cheese
- Sweet potato peanut stew that delivers comfort food with a nutritious West African flair
- Red beans and rice with smoky flavors that'll satisfy hungry campers
The best part about solar cooking is that you won't need to hover over your meal – just set it up with a clear view of the sun and let it cook for 2-4 hours.
Your food will retain its nutrients and flavors while cooking evenly, and there's no risk of burning, making it perfect for busy families enjoying the outdoors.
Seasonal Recipe Success Tips
The key to perfect one-pot solar recipes lies in choosing ingredients that align with each season's natural bounty. You'll want to select fresh, local vegetables and fruits that are at their peak, guaranteeing ideal flavor and texture in your solar-cooked meals. When planning your recipes, consider hearty ingredients like pumpkins in fall or fresh tomatoes in summer.
To maximize your solar cooking success, chop all ingredients into uniform, smaller pieces for even cooking. You'll need to account for varying sun intensity throughout the day, so plan your prep time accordingly – aim to start early when the sun is strongest.
Using dark or black cooking pots will help absorb heat more effectively, while proper insulation guarantees consistent cooking temperatures.
For the best results, focus on versatile recipes that can easily scale up or down. One-pot meals like lentil stews or vegetable curries work exceptionally well in solar cookers.
Don't forget to match your seasonings to your ingredients – Provence herbs complement summer vegetables perfectly, while warming spices work well with autumn root vegetables. Remember to preheat your solar cooker before adding food to guarantee safe and efficient cooking.
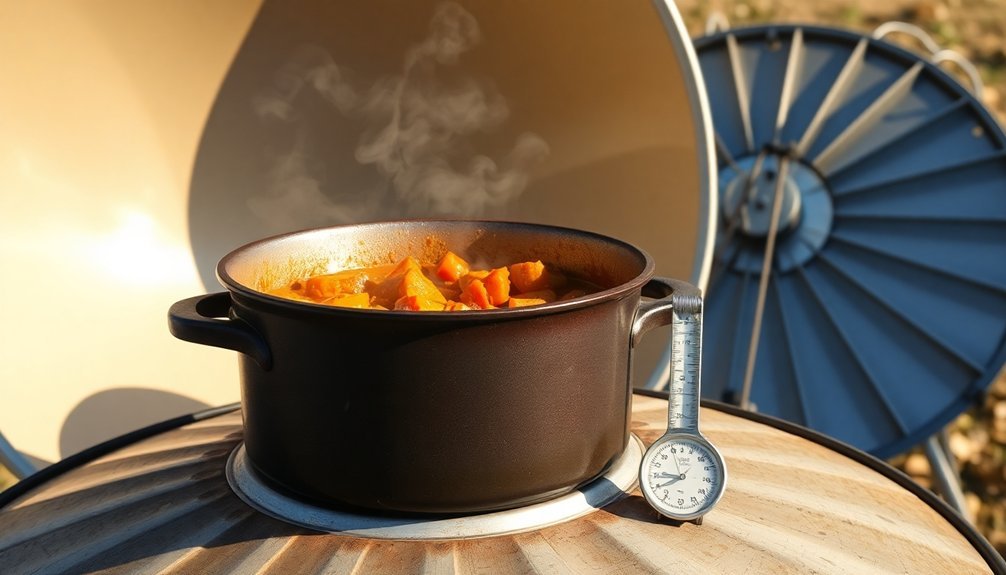
Mastering Solar Cooking Temperatures
Successfully mastering solar cooking temperatures requires understanding how different cooker types work and respond to sunlight. Each solar cooker design offers unique temperature ranges and cooking capabilities that you'll need to take into account when planning your camp meals.
- Box cookers reach 160°C and work best for gentle cooking – they're perfect for your rice dishes and baked beans, but you'll need to preheat them and keep the lid closed.
- Panel cookers operate at lower temperatures around 120°C, making them ideal for slow-cooking quinoa and small baked goods like cupcakes.
- Parabolic cookers deliver high heat for grilling and frying, but you'll need to adjust them frequently to track the sun.
- Tubular cookers can hit 240°C and store heat for after-sunset cooking, rivaling conventional ovens.
You can control your cooking temperature by adjusting reflectors, repositioning the cooker throughout the day, and managing lid placement.
For best results, use black pots to maximize heat absorption, and guarantee proper insulation.
Remember that environmental factors like cloud cover, time of day, and altitude will affect your cooker's performance, so you'll need to adapt your cooking strategy accordingly.
Meal Planning For Solar Success
Proper meal planning forms the backbone of successful solar cooking adventures. You'll want to start by selecting simple recipes that mirror slow-cooking methods and can be easily adjusted for different skill levels. Think one-pot combinations of protein, vegetables, and starches that come together effortlessly in your solar cooker.
Create detailed ingredient lists and gather your equipment, focusing on dark cookware and thin metal baking dishes that enhance heat absorption. You'll need to factor in seasonal variations and weather conditions when planning your meals.
| Meal Type | Best Solar Options | Cooking Time |
|---|---|---|
| Breakfast | Oatmeal & Fruits | 1-2 hours |
| Lunch | Bean Stews | 2-3 hours |
| Dinner | Rice & Curry | 3-4 hours |
| Sides | Roasted Veggies | 1-2 hours |
| Desserts | Solar Cookies | 1.5 hours |
Position your solar oven facing south and allow 15-20 minutes for preheating. You'll need to monitor internal temperatures with a thermometer to guarantee food safety and consistent results. Remember to organize your menu using a template or spreadsheet, planning ahead for batch cooking when conditions are ideal for maximum efficiency.
Common Solar Cooking Mistakes
While meal planning sets you up for success, knowing what not to do can help you avoid common setbacks in solar cooking. The biggest mistakes often involve improper alignment, inadequate insulation, and poor maintenance practices.
You'll need to adjust your cooker every 20 minutes to track the sun's movement, and in winter months, position it more vertically to catch the lower sun angle.
Don't skip these essential steps to guarantee ideal cooking results:
- Preheat your solar oven for at least 30 minutes before adding food
- Clean reflectors regularly and check cooking bags for opacity
- Use proper insulation materials like sawdust or fiberglass batting
- Avoid reflective cookware that can bounce sunlight away from food
- Monitor and maintain consistent heat throughout the cooking process
Remember to treat your solar cooker with the same respect you'd give a conventional oven – it can get extremely hot.
On cloudy days, expect cooking times to double, and always use protective gear when handling hot cookware. Adding thermal mass, like a brick, can help maintain steady temperatures, while a Lazy Susan makes sun tracking easier throughout the day.
Seasonal Solar Cooking Tips
Solar cooking's effectiveness changes dramatically with the seasons, requiring you to adapt your techniques throughout the year.
During prime summer months, you'll find the best cooking window between 11:00 am and 3:00 pm, when the sun's directly overhead. You'll need to adjust these times in fall and winter, when the sun's path is lower and shorter.
In winter, you'll want to increase your preheating time by about 15 minutes and track the sun more frequently as it moves across the sky.
Don't let winter discourage you – snow reflection can actually speed up cooking times, and clearer winter air can work to your advantage. For challenging weather, you can clip on reflectors to enhance cooking power and keep the stove indoors until you're ready to use it.
Year-round, you'll get the best results by following a few key practices: place your cooker in direct sunlight, minimize opening the lid, and use steam as your cooking indicator.
If you're dealing with limited sunlight, try breaking meal preparation into steps over multiple days. Remember to plan for 2-4 hours of cooking time, similar to using a slow cooker.
Eco-Friendly Solar Cooking Benefits
Beyond mastering seasonal techniques, understanding the broader impact of solar cooking reveals its remarkable environmental advantages. When you choose to cook with solar power, you're actively preventing over 30 million metric tons of CO2 emissions and saving approximately one ton of wood per year.
You'll not only reduce your carbon footprint but also contribute to preserving natural habitats and protecting biodiversity.
The eco-friendly benefits of solar cooking extend far beyond environmental impact. You're making a choice that delivers multiple advantages:
- You'll save considerably on utility bills by harnessing free solar energy instead of paying for conventional fuel.
- Your cooking method will generate zero emissions, improving air quality and reducing respiratory health risks.
- You'll help preserve forests and wildlife habitats by eliminating the need for firewood.
- Your switch to solar cooking prevents 5.8 million metric tons of CO2 annually – equivalent to removing 1.25 million cars from roads.
- You're supporting sustainable living practices while promoting local economic growth through solar cooker manufacturing.
Frequently Asked Questions
Can Solar Ovens Be Used on Cloudy or Overcast Days?
Yes, you can use solar ovens on cloudy days, though they'll work slower and reach lower temperatures. You'll need to extend cooking times and focus on foods that don't require high heat, like fish or soups.
How Do You Prevent Food From Drying Out in a Solar Oven?
Use a well-fitted lid on your cooking pot to trap moisture, add extra liquid to recipes, and choose naturally moist foods. You'll want to keep your solar oven properly sealed to prevent steam from escaping.
What Happens if Animals Are Attracted to the Cooking Smells?
If animals are attracted to cooking smells, you'll need to stay vigilant, cook far from your camp, store food in bear-proof containers, and keep your site clean. Don't leave food unattended while cooking.
Is It Safe to Leave Food in Solar Ovens Overnight?
No, you shouldn't leave food in solar ovens overnight. You'll risk food poisoning since temperatures drop into the danger zone. Always cool your food quickly below 50°F and store it properly in insulated containers.
Can Frozen Ingredients Be Used Directly in Solar Cooking?
Yes, you can use frozen ingredients directly in your solar oven without thawing them first. Just remove any plastic wrapping, place them in a dark cooking dish, and let the solar oven thaw and cook simultaneously.
In Summary
You'll find solar cooking transforms ordinary camping into an eco-conscious adventure that's worth sharing with friends and family. Once you've mastered temperature control and timing, you're set to create delicious one-pot meals using nothing but sunshine. Pack your solar cooker, plan your recipes, and let nature's power fuel your outdoor cuisine. It's a sustainable cooking method that makes every camping meal special.


Leave a Reply