Seven effective methods to preheat your outdoor cookware start with strategic coal banking, where you'll create hot and cool zones for temperature control. You can position a tripod over an open fire, adjusting the chain length for perfect heat exposure. Try solar preheating by placing dark cookware in direct sunlight, enhanced with reflective surfaces. Use wind shields to maintain consistent heat while protecting your setup. Manage charcoal distribution with single or stacked layers, depending on your cooking needs. Control airflow through vent adjustments, and arrange briquettes in specific patterns for ideal heating. Master these techniques, and your outdoor cooking will reach new heights.
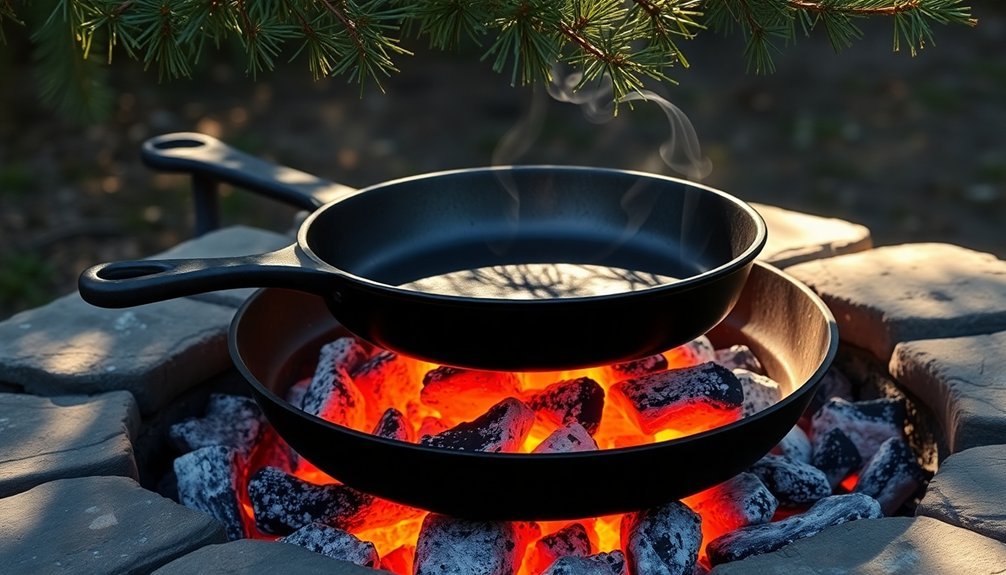
Heat Control Using Hot Coals
Four essential factors control heat when cooking with hot coals: oxygen flow, vent positions, coal placement, and heat zones.
You'll need to manage oxygen flow through the bottom vents to control your coal's temperature. Opening them increases heat, while closing them reduces it. Always ensure vents remain partially open to prevent the fire from going out.
Adjust the top vents to create proper convection and manage smoke flow.
For precise temperature control, you can arrange your coals strategically. Mound them on one side for a hot searing zone while keeping the other side cooler for indirect cooking.
If you need to lower the temperature, spread the coals out or add unlit ones to the mix.
Create a two-zone setup by concentrating coals on one side. This gives you flexibility to move your cookware between hot and cool zones as needed.
Tripod Placement Over Open Fire
You'll get the most control over your cookware's temperature by adjusting your tripod chain length while maintaining stability on uneven terrain with pointed leg tips.
For maximum stability against wind, position your tripod legs at equal distances while pressing them firmly into the ground and testing their steadiness before hanging any cookware.
You can shield your setup from strong gusts by positioning one tripod leg toward the prevailing wind direction, creating a more aerodynamic configuration. The bail handle design on your pot ensures secure attachment when suspending it from the tripod's chain system.
Height Adjustments For Heat
Once you've assembled your tripod over the fire pit, mastering height adjustments becomes essential for controlling cooking temperatures.
You'll need to manipulate the chain system to position your cookware at the ideal distance from the flames.
Lower the grill closer to the fire when you need intense heat for searing or boiling. Raise it higher when you want gentler heat for simmering or keeping food warm.
Since most tripods don't have locking mechanisms, you'll need to wrap the chain around the top to secure your desired height position. The shock cord technology ensures stable leg positioning during these adjustments.
Remember to maintain balance as you adjust the height. Center your cookware and distribute weight evenly to prevent tipping.
Keep monitoring the cooking process and make height adjustments as needed to achieve the perfect temperature for your outdoor cooking needs.
Stability On Uneven Ground
Setting up a stable tripod on uneven terrain requires careful attention to ground conditions and proper leg placement.
You'll need to clear the area of any flammable materials and choose a spot that's free from underground roots that could catch fire.
Position your tripod's legs firmly in the ground, using their pointed ends to grip the surface effectively.
When you're dealing with uneven terrain, adjust each leg individually to create a level cooking platform.
Make sure you've spread the legs wide enough to maximize stability, especially if it's windy.
Balance your cookware's weight evenly on the chain or hook system to prevent tipping.
Remember to maintain a 15-foot distance from tents and other structures, and consider the wind direction to keep smoke away from your camp area.
Wind-Resistant Tripod Setup
When setting up a tripod over an open fire, proper wind consideration becomes essential for both safety and cooking efficiency. Position your tripod so the wind doesn't blow sparks toward flammable items like tents, trees, or camping gear.
You'll want to keep at least 15 feet of distance from any structures or vegetation.
Spread the tripod legs wide for maximum stability, and make certain they're firmly planted on flat, clear ground. Adjust the chain length to maintain your cookware at the ideal height above the flames while accounting for wind conditions.
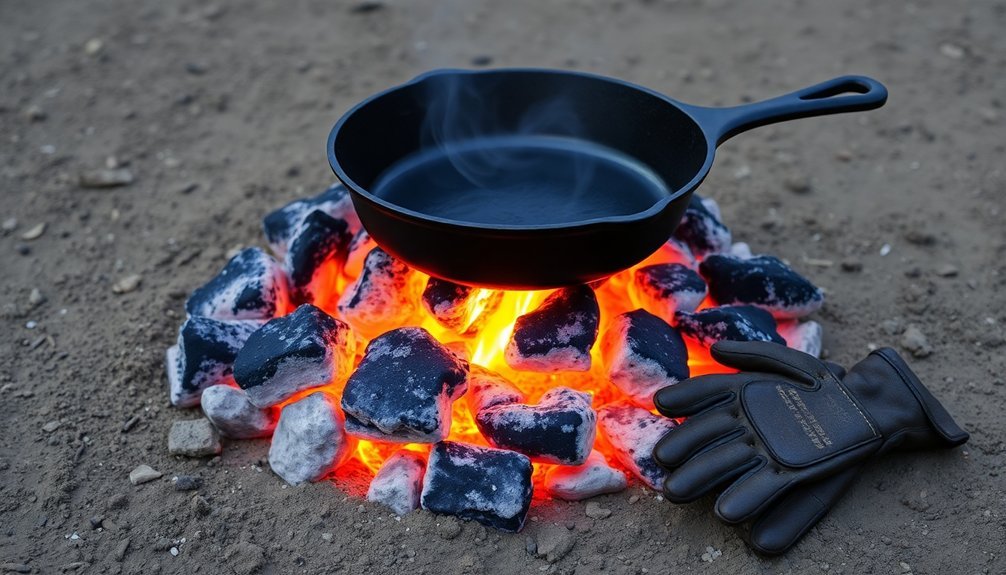
When securing your pots or pans, distribute their weight evenly and don't overfill them. You'll need heat-resistant gloves and long-handled utensils to safely manage your cookware, especially when strong gusts kick up.
Direct Sunlight Solar Preheating
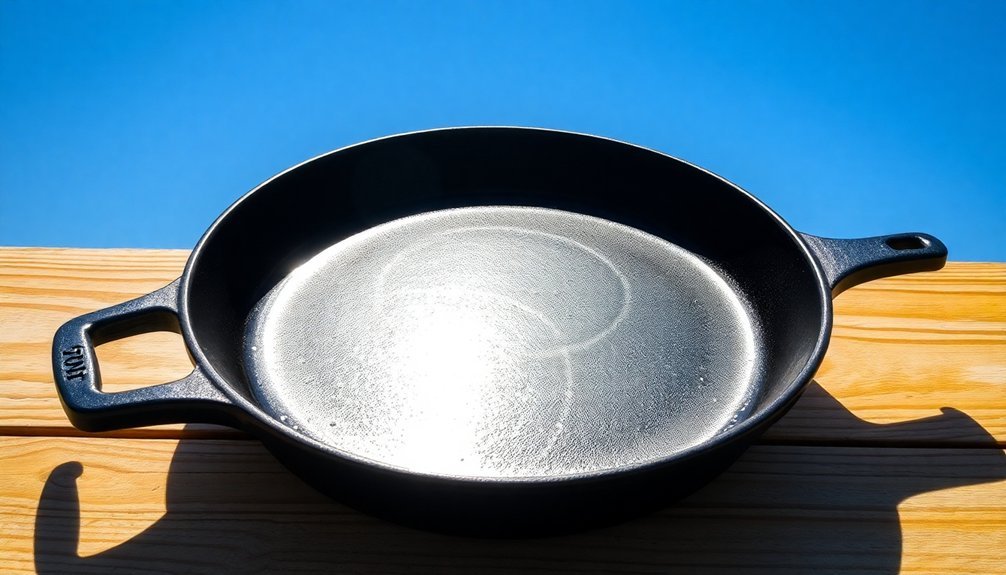
You'll get the best solar preheating results by placing your cookware in direct sunlight during peak hours, ideally around midday when the sun's rays are strongest.
To maximize heat retention, line your preheating area with reflective surfaces like aluminum foil and cover your cookware with a clear, heat-trapping material such as plastic wrap.
The time needed for effective solar preheating depends on factors like ambient temperature, sun intensity, and your cookware's material composition.
Solar Heating Setup Tips
Successful solar preheating of cookware requires careful attention to location and setup details. Position your cookware in a south-facing spot with direct sunlight, ideally on a sturdy, level surface like a patio corner.
You'll need to adjust the position every 30 minutes to maintain ideal sun exposure throughout the preheating process.
- Dark, non-reflective pots absorbing sun's rays while positioned at the focal point
- Reflective sides angled precisely to concentrate sunlight onto the cookware
- Protected cooking area away from children and pets, yet conveniently close to your house
Remember to use pot holders when handling the preheated cookware, as it can become extremely hot.
If needed, place a support behind your setup to maintain the correct angle toward the sun, ensuring consistent heat absorption throughout the preheating period.
Heat Retention Time Factors
Several key factors determine how long your preheated cookware maintains its temperature during solar heating.
You'll get the best heat retention when you use dark, thin-walled pots with tight-fitting lids that efficiently absorb and trap solar energy. Proper insulation around your cookware is essential, as it prevents heat loss and maintains cooking temperatures.
Environmental conditions greatly impact heat retention time. You'll need to protect your setup from wind, which can quickly cool your cookware.
The ambient temperature and humidity levels also affect how well your preheated pots maintain their heat. To maximize retention, place your cookware in an area with consistent direct sunlight and use transparent glazing materials like oven bags or glass covers.
These act as heat traps, keeping the thermal energy from escaping.
Wind Shield Positioning Method
Proper positioning of a wind shield can make or break your outdoor cooking experience. You'll want to set up your shield on the windward side of your cookware while ensuring there's enough clearance to prevent fire hazards.
Position your cooking station near existing structures like walls or fences for additional wind protection.
For ideal performance, consider these key placement strategies:
- Place the shield perpendicular to the prevailing wind direction, creating a protective barrier.
- Maintain adequate space between the shield and cookware for proper air circulation and smoke ventilation.
- Adjust the shield's height to fully cover your cooking area without restricting airflow.
If you're using a DIY solution, secure it firmly to prevent tipping, and always check that it's stable before starting to cook.
Remember to keep flammable materials away from your setup.
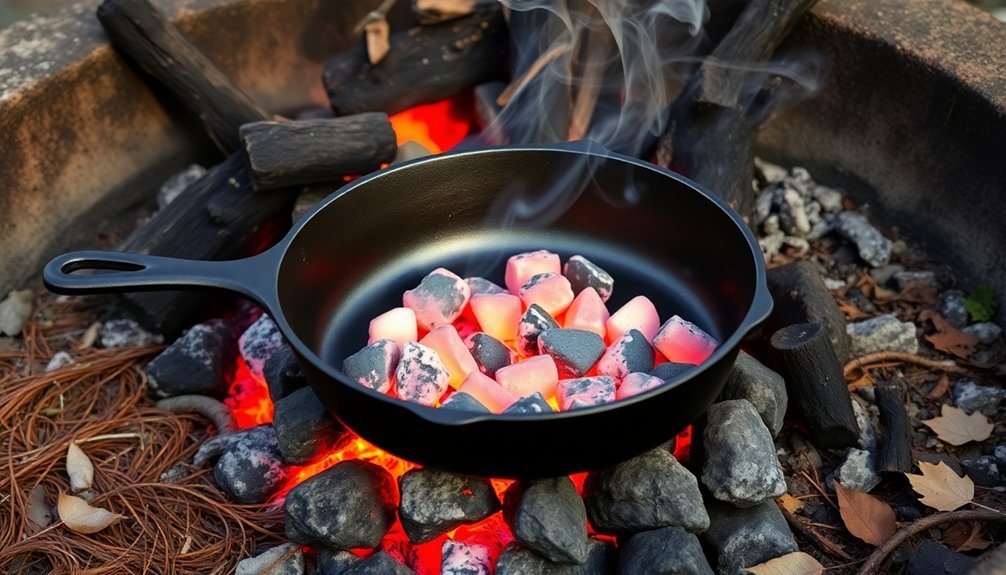
Briquette Placement and Timing

With your wind shield ideally positioned, mastering briquette placement and timing becomes your next key focus.
For a standard 12-inch dutch oven at 350°F, you'll need 15 briquettes on top and 9 underneath using the "Rule of 3." Adjust this placement based on your cooking method – use 3/4 on top for baking, or move all coals underneath for frying and boiling.
Your first batch of coals will last 30-45 minutes, so check them every 20-30 minutes. You can fine-tune the temperature by removing alternate briquettes to reduce heat to 300°F or adding a second ring on top to reach 400°F.
Remember to maintain airflow by placing the oven legs on flat bricks, and brush away ashes from the lid every 45 minutes when replacing spent briquettes.
Charcoal Distribution Temperature Management
Temperature mastery begins with understanding charcoal distribution patterns and their direct impact on heat levels.
You'll need to match your charcoal amount to your desired cooking temperature: 100 briquettes for high heat (450-550°F), 50 for medium heat (350-450°F), and 25 for low heat (250-350°F).
For ideal temperature control, consider these proven distribution methods:
- Create a single layer across the grill bottom for direct, high-heat cooking
- Stack coals to one side for indirect grilling, leaving the other side empty
- Arrange coals in a ring configuration, adding lit ones to one end for slow-roasting
Remember to manage your vents – open them wider for higher temperatures, and restrict them for lower heat.
Your bottom vent should be ¼ open for low-heat cooking, while barely cracking the top vent prevents overheating.
Proper Coal Banking Techniques
Building on your charcoal distribution knowledge, coal banking takes temperature control to the next level.
Start by lighting your coals in a charcoal chimney until they're ashen gray, then carefully move them to one side of your grill using a metal rake or shovel while wearing heat-resistant gloves.
Create a barrier using aluminum foil or heat-resistant bricks to keep the coals contained on one side. This setup gives you two distinct cooking zones – a hot area for searing and a cooler section for slow cooking.
You'll want to adjust the amount of charcoal based on your cooking needs. Whether you're preparing a tender brisket or searing a steak, you can now move your food between zones to achieve the perfect balance of char and tenderness.
Frequently Asked Questions
Can I Use River Rocks to Create a Makeshift Cooking Surface Outdoors?
You can use river rocks as a cooking surface, but choose smooth ones about 1-inch thick. Heat them gradually on coals, test with water droplets, and oil the surface before cooking your food.
How Do Weather Conditions Affect Preheating Time in High-Altitude Environments?
You'll notice longer preheating times at high altitudes due to lower temperatures, decreased air pressure, and increased wind exposure. Lower boiling points and reduced humidity will also affect how quickly your cookware heats up.
What's the Best Way to Preheat Cookware During Heavy Rain?
You'll need to maintain consistent heat indoors during heavy rain. Use a surface thermometer for accuracy, and give your pan 5-8 minutes to heat evenly, adjusting the temperature as needed.
Is It Safe to Preheat Cookware Directly on Volcanic Hot Springs?
No, you shouldn't preheat cookware on volcanic hot springs. It's extremely dangerous due to unpredictable temperatures, risk of material damage, potential chemical contamination, and safety hazards. Use proper cooking equipment and heat sources instead.
Can I Use Fallen Pine Needles as Kindling for Preheating?
You can use pine needles as kindling to start your fire, but don't cook directly over them. Switch to hardwood once the fire's established to avoid toxic smoke affecting your food's taste and safety.
In Summary
You've now learned practical methods for preheating your cookware outdoors. Whether you're using hot coals, tripod setups, solar power, or charcoal, you'll find these techniques invaluable for outdoor cooking success. Remember to monitor your heat sources carefully and adjust as needed. With these seven approaches in your outdoor cooking toolkit, you're ready to create perfectly preheated surfaces for your next wilderness meal.


Leave a Reply