To fix your sun box effectively, start by gathering essential tools like a compatible screwdriver, canned air, and clean cloths while wearing protective gloves. You'll want to identify heat loss areas by checking walls, seals, and connection points for wear or damage. Next, apply UV-resistant silicone sealant in neat layers around edges and junction boxes to prevent moisture intrusion. Don't forget to maintain your repairs with regular cleaning using a slightly damp cloth and periodic inspections of the power cord and seals. These basic steps will get you started, but there's much more to keeping your sun box running at peak efficiency.
Tools and Safety First

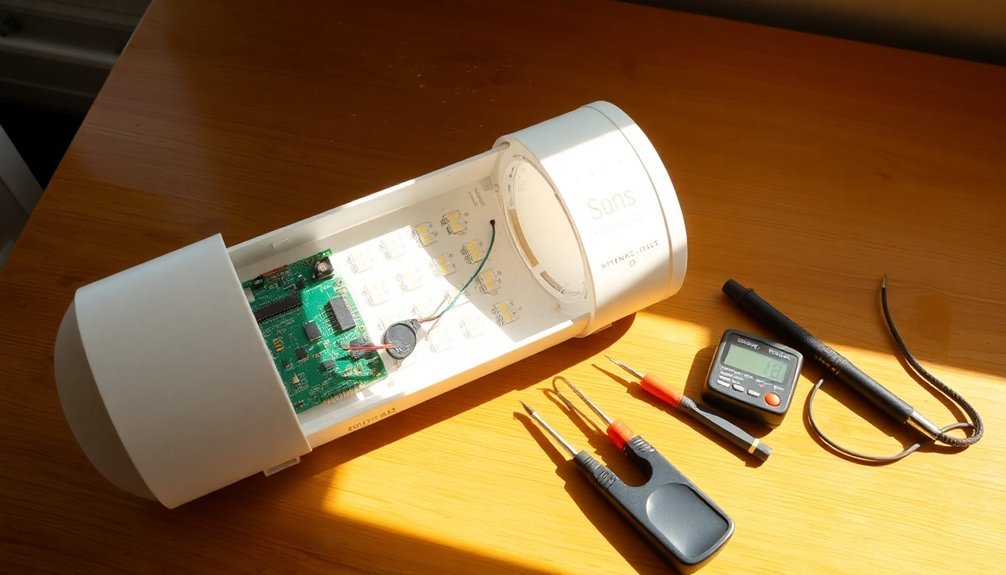
Before attempting any repairs on your SunBox, gathering the right tools and following proper safety protocols is essential for both your protection and the device's longevity.
You'll need a compatible screwdriver, canned air or a cool-setting blow dryer, and clean cloths for the job. Be sure to wear protective gloves while handling repair materials.
Always start by turning off and unplugging your device. Don't place the SunBox near water or in direct sunlight, and make certain it's on a stable surface using a proper stand.
When handling electrical components, verify that your outlet works and the power cord isn't damaged or twisted. Keep the unit away from heavy objects that could damage it.
For cleaning, don't use liquids directly on LED lights. Instead, use canned air for the lights and a slightly damp cloth for the exterior, followed by drying with a lint-free towel.
Locating Heat Loss Points
When troubleshooting your SunBox, understanding where heat escapes is vital for maintaining ideal performance.
You'll need to check three key areas for heat loss: conduction through materials, convection through gaps, and radiation through the cover.
Start by examining the walls and floor where heat conducts through materials. Look for worn insulation or damaged thermal barriers. Adding extra aluminum foiled baffles can significantly reduce heat loss through the walls.
Next, inspect for convection losses by finding cracks or gaps around the lid and door – these let hot air escape and cool air enter, especially on windy days.
Finally, check the cover's condition, as it's important for trapping radiant heat. Pay special attention to the seals, edges, and corners where the cover meets the box.
You'll often find the biggest losses at these connection points.
Sealing Your Solar Box

Properly sealing your solar box is essential for maintaining ideal performance and preventing heat loss. Start by selecting a high-quality silicone sealant that offers both UV resistance and flexibility, as it'll withstand temperature changes while maintaining a tight seal.
Apply the sealant in a layered approach, focusing on the edges and junction boxes where moisture typically infiltrates. You'll want to guarantee complete coverage while maintaining a neat, uniform application.
Use a vacuum sealer to remove any trapped air that could compromise the seal's effectiveness. Consider using Sylgard material for superior encapsulation that won't degrade over time.
Don't forget to regularly inspect your seals for signs of wear or damage. If you spot any deterioration, clean the area thoroughly and reapply sealant promptly.
Frequently Asked Questions
How Long Does a Repaired Junction Box Typically Last Before Needing Replacement?
You'll get about 5-10 years from a properly repaired junction box, but it depends on the environmental conditions, material quality, and your maintenance routine. Watch for signs of deterioration to know when replacement's needed.
Can I Replace Diodes Without Replacing the Entire Junction Box?
Yes, you can replace individual diodes without changing the entire junction box. You'll need to carefully desolder the old diode, clean the connections, and solder in a new compatible diode while maintaining proper polarity.
What Temperature Changes Indicate a Failing Junction Box?
You'll notice hotspots above 20°C higher than surrounding areas near your junction box. If you're seeing significant temperature differences or consistent overheating, it's likely indicating diode failure or wiring issues.
Is It Possible to Upgrade Junction Box Capacity During Repairs?
Yes, you can upgrade your junction box's capacity during repairs. You'll need to select a larger box with adequate cubic inches, guarantee proper wire configuration, and follow local electrical codes for installation.
How Often Should Junction Boxes Be Inspected for Preventive Maintenance?
You'll need to inspect your junction boxes every 6 months if outdoors or in industrial settings, annually if indoors, and every 3-6 months in harsh environments or critical systems like medical facilities.
In Summary
You'll save significant energy and money by maintaining your solar box regularly. If you've followed these repair steps carefully, you're now equipped to spot heat loss, seal gaps, and keep your system running efficiently. Remember to check your work seasonally and replace damaged materials promptly. When in doubt, don't hesitate to consult a professional for complex repairs beyond basic DIY fixes.


Leave a Reply