You'll get perfectly tender black beans outdoors with three essential techniques. First, sort and rinse your beans thoroughly, removing any debris, then soak them overnight in plenty of fresh water to reduce cooking time and guarantee even tenderness. Second, use a dark, shallow metal pot with a tight-fitting lid inside a clear plastic bag or under a glass bowl to create an effective solar heat trap. Third, layer your aromatics strategically – start with spices like cumin during cooking, then add fresh garlic near the end for maximum flavor impact. These fundamentals just scratch the surface of mastering outdoor bean preparation.
Preparing Your Black Beans
Before diving into outdoor cooking, proper black bean preparation sets the foundation for perfectly tender results.
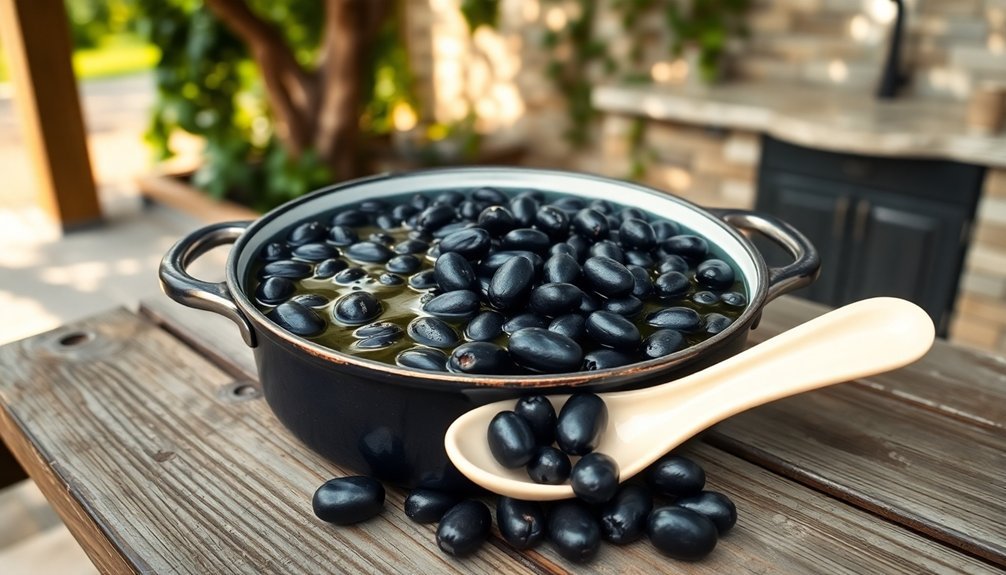
Start by thoroughly sorting through your beans, removing any stones or debris that could ruin your meal. You'll need to rinse them in a fine mesh colander under fresh water until it runs clear.
While soaking isn't mandatory, it's worth considering when cooking outdoors. You've got options: either soak them overnight using 4 cups of water per cup of beans, or try the quick-soak method by microwaving them in water for 15 minutes. Soaking will reduce your cooking time and help guarantee even tenderness throughout.
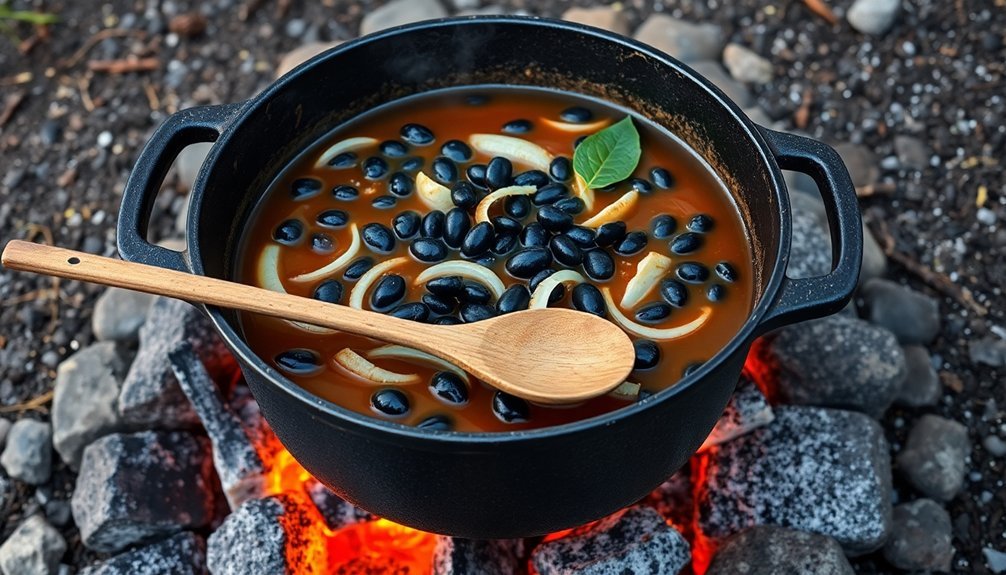
Select a sturdy pot or Dutch oven that's large enough to accommodate your beans with plenty of room for water. Fresh black beans typically cook faster and produce better results than older ones, so check your bean age carefully. You'll want to cover the beans with cold water by 3-4 inches.
Before starting the cooking process, add your aromatics like garlic, onion, and bay leaves. A drizzle of olive oil and basic seasonings like salt and cumin will enhance the flavor from the start.
Solar Cooking Setup
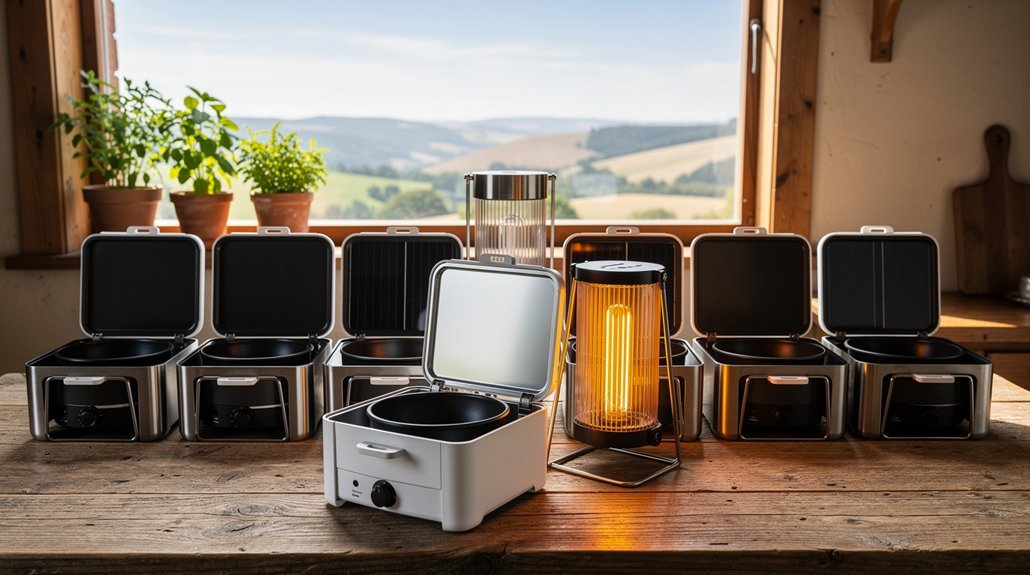
Setting up for solar cooking requires careful attention to your equipment and positioning. You'll need dark, shallow metal pots with tight-fitting lids to maximize heat retention.
Place your pot inside a clear, heat-resistant plastic bag or under an inverted glass bowl to create a heat trap, guaranteeing there's a small air layer around the container.
Assemble your solar cooker in a shaded area before positioning it in direct sunlight. The best cooking time is between 10:00 a.m. and 2:00 p.m. when the sun's rays are strongest.
You'll want to align your cooker with the sun and adjust it every couple of hours to maintain ideal exposure. A solar oven with mirrors will help concentrate the sun's energy for more efficient cooking. If it's windy, secure the cooker with large stones or bricks.
For black beans specifically, you can reduce cooking time by soaking them overnight. Expect soaked beans to cook in about 1 to 1½ hours under continuous sunlight.
Seasoning For Maximum Flavor
While solar cooking creates the perfect environment for tender beans, proper seasoning transforms them into a memorable dish. Start by rinsing your beans thoroughly, then add a generous drizzle of extra-virgin olive oil to enhance their texture and flavor. Adjust water levels periodically to ensure beans remain fully submerged during the entire cooking process.
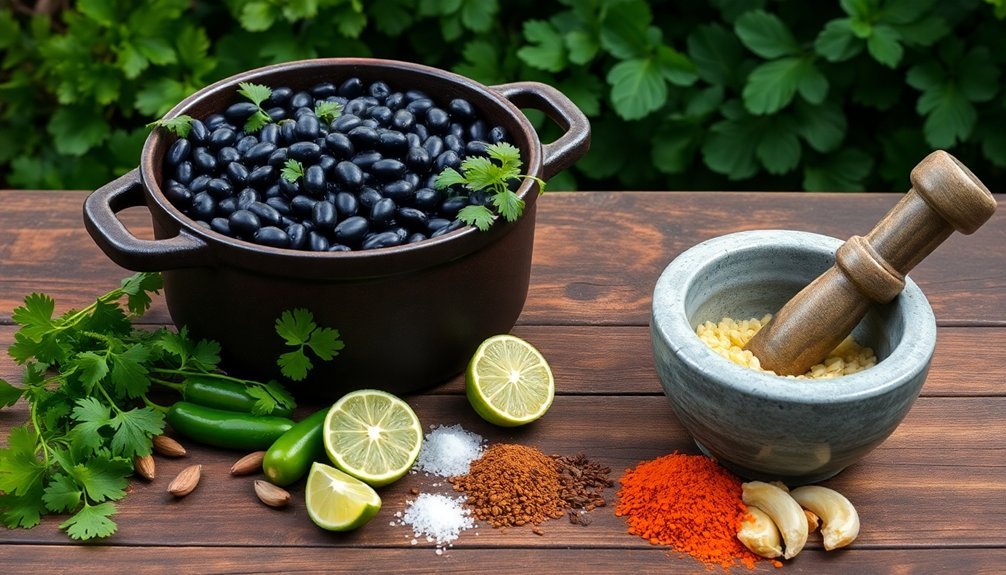
You'll want to layer your seasonings strategically, beginning with aromatic spices like cumin, oregano, and bay leaves during the cooking process.
Create depth in your outdoor-cooked beans by incorporating these essential flavor elements:
- Fresh garlic added towards the end of cooking, allowing its sharp notes to shine
- A combination of smoked paprika and chili powder for rich, complex heat
- Bright citrus elements like lime juice or orange zest to balance the earthiness
Don't forget to taste and adjust your salt levels throughout cooking, especially if you're using canned beans. When the beans are nearly tender, stir in fresh cilantro and a splash of acidity – either lime juice or vinegar will work well.
If you're using canned beans, you can incorporate some of the liquid from the can for added flavor, but be mindful of the salt content in your final seasoning adjustments.
Frequently Asked Questions
How Do You Prevent Black Beans From Foaming While Cooking Outdoors?
You can prevent black bean foaming by soaking overnight, rinsing well, adding a splash of oil, cooking at a gentle simmer, and skimming foam regularly. Don't forget to leave the pot uncovered.
Can Black Beans Be Safely Stored Overnight at a Campsite?
Yes, you can store black beans safely overnight at your campsite if you use bear-resistant containers, odor-proof bags, or properly hang them. Don't forget to follow local regulations and keep them away from wildlife.
What's the Best Container Material for Cooking Black Beans Outdoors?
You'll get the best results using thick-walled steel or enamel-coated cast iron containers. They're durable, retain heat well, and won't react with your beans. Plus, they'll withstand outdoor cooking temperatures safely.
How Do Weather Conditions Affect Black Bean Cooking Times?
When you're cooking black beans outdoors, high humidity can slow cooking times, while wind may affect your heat source. Indoor cooking methods aren't substantially impacted by weather, so you'll get more consistent results.
Should Black Beans Be Covered or Uncovered When Cooking Over Campfire?
You'll want to cook your black beans covered when using a campfire. It helps maintain consistent heat, prevents excessive water evaporation, and protects against ash contamination while requiring less monitoring and water additions.
In Summary
You'll find these outdoor black bean cooking techniques revolutionize your camping meals. Whether you're soaking them overnight, using a solar oven setup, or perfecting your seasoning blend, you've now got the skills for tender, flavorful beans in the great outdoors. Don't forget to adjust cooking times based on altitude and sunlight conditions. Your next outdoor feast awaits with these foolproof methods.


Leave a Reply