You'll find that bulk bean preparation thrives in outdoor settings due to several key advantages. By utilizing natural sunlight, you can reduce electricity costs by up to 11% while taking advantage of solar cooking methods that reach temperatures up to 350°F. The spacious environment allows you to set up distinct zones for sorting, washing, and drying, making the process more efficient. Your outdoor setup can incorporate sustainable practices like water conservation and steam capture, while providing better ventilation and temperature control. There's much more to discover about maximizing your outdoor bean preparation experience.
Natural Light Energy Benefits
While many outdoor cooking activities focus on the process itself, preparing beans in natural daylight offers remarkable energy-saving advantages.
You'll notice an immediate reduction in your electricity usage since you won't need artificial lighting to sort, clean, and prepare your beans.
Natural sunlight provides ideal visibility for inspecting beans thoroughly, helping you spot any imperfections or debris. By using natural daylight instead of indoor lighting, you could reduce your home's energy consumption by 11% typically used for artificial illumination.
Outdoor Space Management
Because effective bean preparation requires thoughtful organization of your outdoor space, establishing distinct functional zones will streamline your workflow.
You'll want to create separate areas for sorting, washing, and drying your beans, using durable materials like stone or composite surfaces that can withstand water exposure and heavy use. A carefully designed flow and accessibility between stations ensures maximum efficiency during busy prep times.
Balance your workspace by incorporating both hardscape elements for practical tasks and softscape features that provide shade and natural comfort.
Consider installing permeable surfaces for water drainage and implement efficient irrigation systems to manage waste water from bean washing.
You'll also benefit from creating clear pathways between zones to guarantee smooth movement while carrying heavy containers of beans.
Remember to position your prep area where it won't interfere with existing landscaping or damage root systems of nearby trees.
Solar Cooking Equipment Setup
Since proper solar cooking depends on reliable equipment, setting up your outdoor kitchen starts with assembling the essential components.
You'll need a heat-trapping glazing like an oven bag, insulation materials such as newspapers, and reflective surfaces made from aluminum foil. When constructing your setup, creating a proper flap opening is crucial for directing sunlight. Choose dark-colored pots that absorb solar radiation effectively.
Position your solar cooker in direct sunlight and use a support structure to adjust its angle for maximum sun exposure. You'll want to protect it from wind while maintaining a clean, safe setup area.
For bulk bean preparation, a box solar cooker works well, reaching temperatures up to 150°C. Remember to rotate your cooker every 10-15 minutes to follow the sun's path, and always use protective gear when handling hot containers.
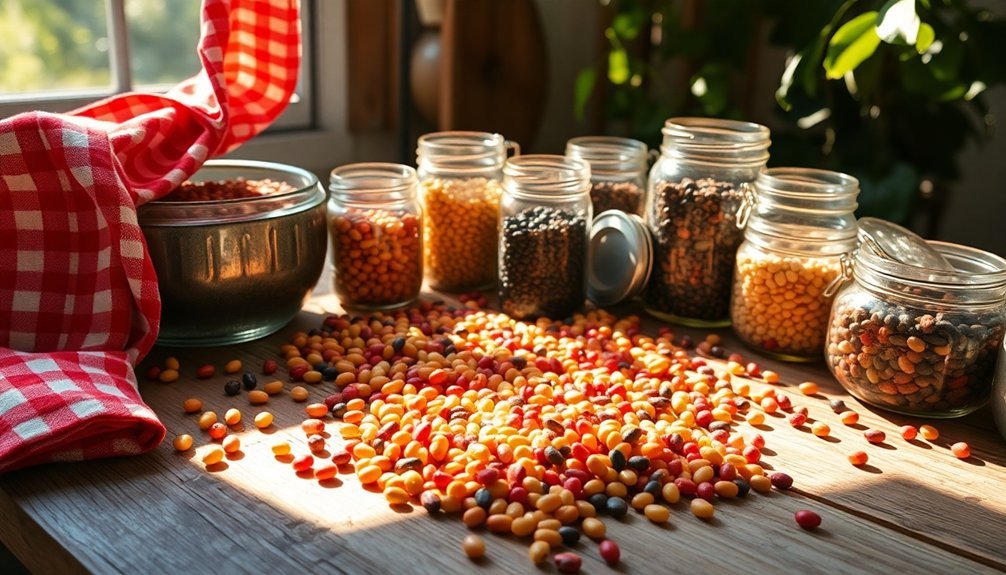
Bean Selection For Outdoor Cooking
When planning your outdoor bean feast, choosing between dried and canned beans will greatly impact your cooking process. Canned beans offer convenience since they're pre-cooked, requiring only draining and rinsing.
However, dried beans provide superior texture and absorb flavors better as they cook.
You'll find pinto beans work exceptionally well for campfire cooking, while kidney and Great Northern beans excel in outdoor soups and stews. The recipe typically serves 6-8 people when prepared as a side dish.
To enhance your beans' flavor, you can add BBQ sauce, liquid smoke, or aromatics like sweet onion and garlic. Don't forget to contemplate using ground meat or bacon for smokier notes.
For best results, cook your beans in a dutch oven or cast iron skillet. If you're using dried beans, remember to salt early and check the harvest date.
You'll also want to adjust cooking times based on your chosen method.
Weather Planning Essentials
Before setting up your outdoor bean cooking station, understanding weather conditions will make or break your culinary success.
You'll need a covered area with heat-resistant countertops made of granite or concrete to withstand your cooking pots. Install a sturdy pergola or retractable awning to shield your workspace from sudden rain and intense sun.
Consider wind direction when positioning your cooking station – you don't want smoke blowing into your face while stirring those beans.
Install windbreaks or privacy screens to maintain steady cooking temperatures. For year-round bean prep, add outdoor heaters or a fire pit nearby.
Don't forget proper drainage for your sink area and slip-resistant flooring. Store your cooking equipment in weather-resistant cabinets made of marine-grade polymer to protect them from humidity and temperature changes.
Temperature Control Methods
When preparing beans outdoors, you'll need a shaded workspace to protect yourself and maintain consistent cooking temperatures throughout the process.
Your prep area should include a wind-protected zone where you can organize ingredients and monitor cooking progress without direct sun exposure affecting temperature control.
Setting up a simple tarp or canopy creates an ideal workspace that shields you from the elements while allowing proper ventilation for your chosen cooking method.
Shaded Prep Spaces Matter
Since outdoor bean preparation requires careful attention to temperature control, establishing a properly shaded workspace is essential for peak results.
You'll want to set up reflective shade materials rather than absorptive ones, as they're 30% more effective at reducing heat gain. This choice prevents your workspace from becoming a heat radiator that could compromise your beans' quality.
When you're creating your shaded prep area, focus on materials that reflect rather than absorb sunlight. This approach will keep your workspace 4-7°F cooler than standard shade solutions.
You'll also benefit from the natural air circulation while maintaining ideal temperatures for handling your beans. By controlling the amount of direct sunlight hitting your prep space, you're ensuring consistent conditions that protect both your comfort and your coffee's quality.
Outdoor Heat Management Tips
Managing outdoor temperatures effectively requires a combination of active and passive cooling methods for your bean preparation area.
You'll want to start with natural airflow strategies by positioning your prep station to take advantage of existing air currents. When natural ventilation isn't enough, consider using filtered fans with thermostats to regulate temperatures on warmer days.
For more precise control, you can install adjustable air dampers to manage airflow through your prep space. Keep the bottom dampers fully open and use the top damper for fine-tuning.
If you're working in particularly hot conditions, you might need to supplement with portable air-to-air heat exchangers or small enclosure air conditioners.
Don't forget to maintain clean airflow paths and regularly check your ventilation equipment for ideal performance.
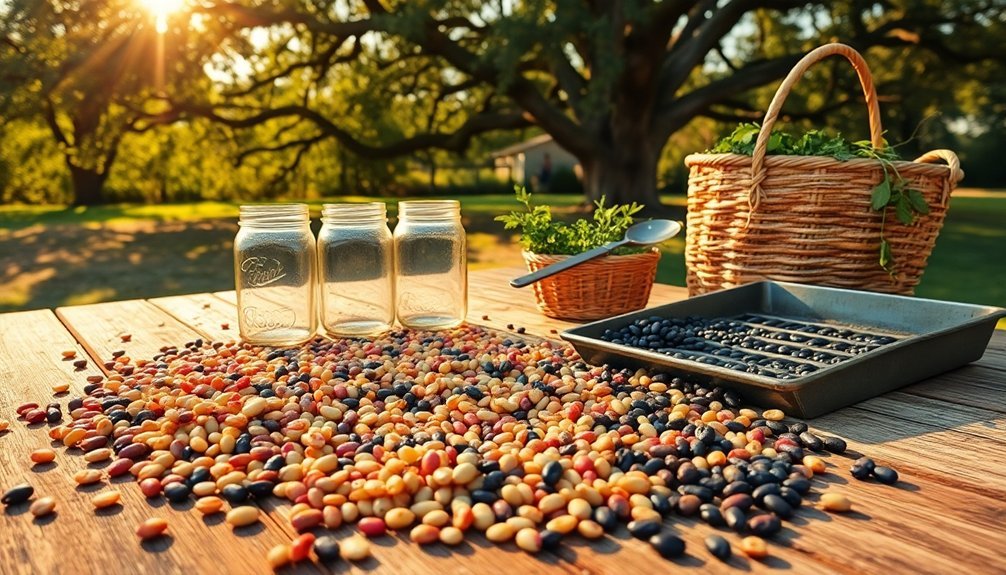
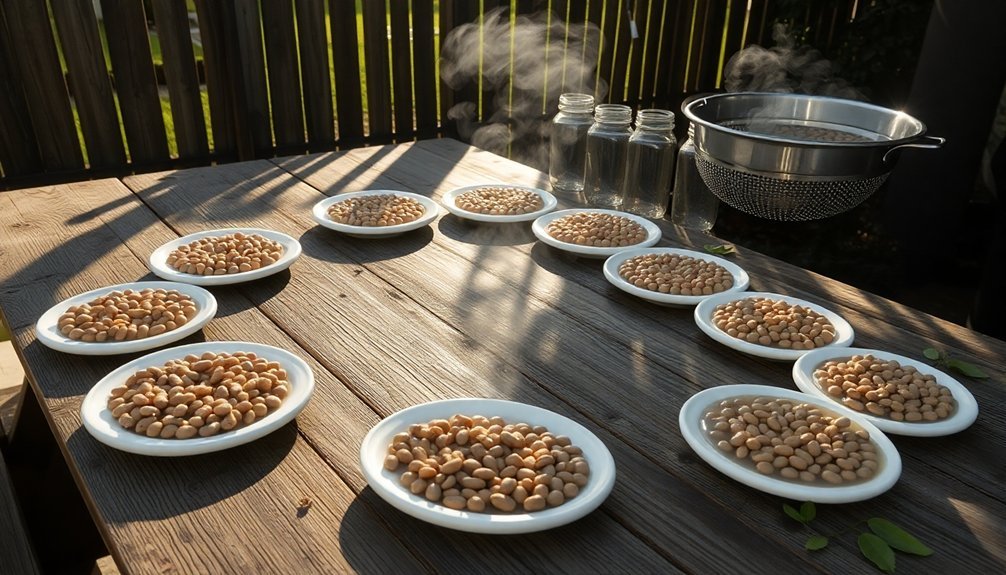
Batch Sizing Guidelines

Proper batch sizing forms the foundation of successful bean canning.
You'll need to match your dry bean quantities to your jar capacity for ideal results. For a standard batch of 9 pints, start with about 3 pounds of dry beans, while 7 quarts require 5 pounds.
Remember that a pound of beans equals roughly 2 cups, so you'll want to measure 1/2 cup per pint jar or 1 cup per quart jar.
When preparing your beans outdoors, it's easier to work with larger batches – a 14-quart canner load needs approximately 8 pounds of dry beans.
Before loading your jars, you'll need to soak the beans for 12 hours and simmer them for 30 minutes. This pre-cooking step guarantees your beans will reach their proper size in the jars.
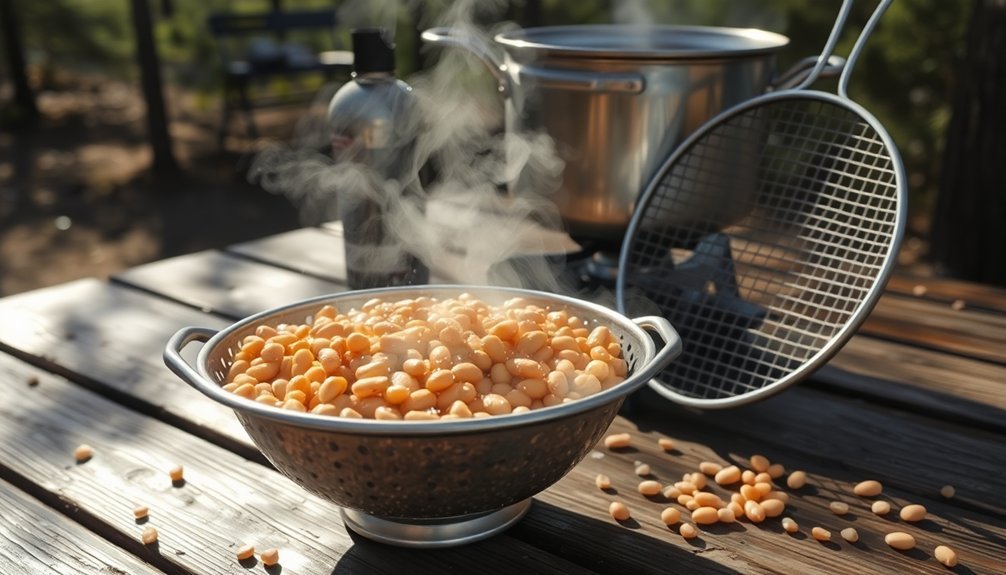
Water Conservation During Cooking
You'll save precious water by placing a large, tilted lid over your cooking pot to capture steam and redirect condensation back into the beans.
While soaking water must be discarded, you can collect and reuse the nutrient-rich cooking liquid for soups or stews later.
Keep a clean container nearby to store the filtered bean water, which adds depth to future dishes while conserving resources during your outdoor cooking session.
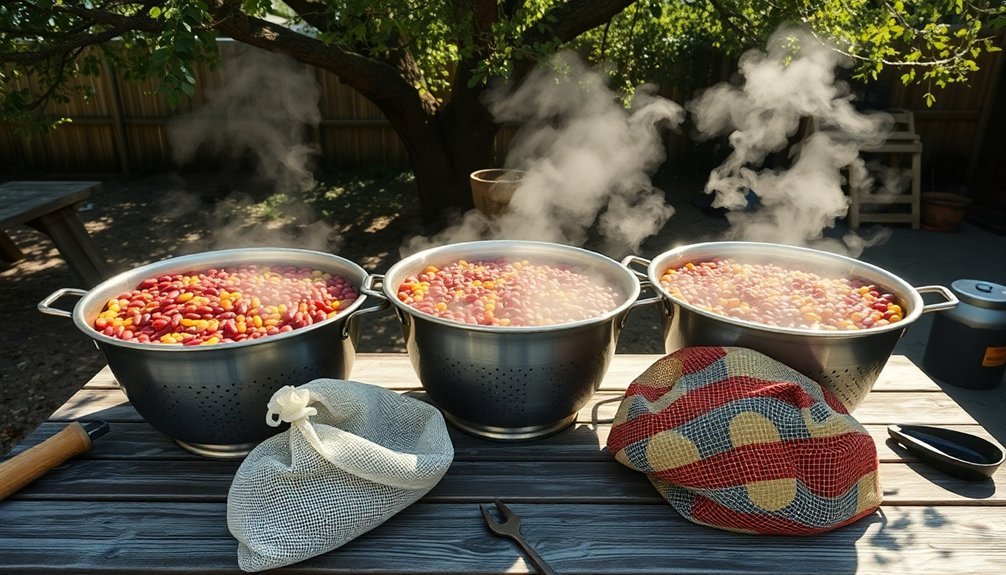
Steam Capture Methods
Effective steam capture serves as the cornerstone of water-efficient bean cooking outdoors.
You'll want to use either a large pan with a tight-fitting lid or a traditional steamer basket setup to trap valuable steam. When using a pan method, add just ½ inch of water and arrange your beans in a single layer, keeping them covered throughout cooking.
For traditional steaming, position your steamer basket above boiling water, ensuring it doesn't touch the water's surface.
You'll know your steam capture is working when condensation forms on the lid's underside. Monitor cooking time carefully – 3 to 5 minutes is typically sufficient for tender, vibrant beans. Remember to test with a fork to prevent overcooking.
Both methods maximize water efficiency while delivering perfectly cooked beans in your outdoor setup.
Reusing Bean Water
Bean water, often discarded after cooking, contains valuable nutrients and proteins that can enhance future dishes. When you're cooking beans outdoors in bulk, you'll want to save this liquid gold for multiple purposes.
You can freeze it for later use as a thickener or stock base, making your outdoor cooking session even more productive. The liquid, known as aquafaba, works well in recipes like minestrone soup and can even substitute for egg whites in meringues.
While some people worry about gassy carbohydrates, extended cooking helps break these down. You're also practicing sustainable cooking by conserving water and reducing waste.
When you're prepping beans outdoors, set up a collection system for the cooking liquid – it's worth the extra effort for both environmental and culinary benefits.
Solar Heat Distribution Tips
When harnessing solar energy for bean preparation, proper heat distribution makes all the difference. You'll achieve ideal results by positioning your solar cooker between 10 AM and 2 PM, when the sun's intensity peaks.
Choose dark, shallow metal pots with dark lids, and keep them covered with 1-2 inches of water. To maximize heat concentration, set up reflective surfaces around your cooker to direct additional sunlight onto the pot.
You'll need to adjust the cooker's position throughout the day to follow the sun's path. Consider your altitude and weather conditions, as they'll affect cooking times considerably. At higher elevations, you'll experience better results due to less atmospheric interference.
For consistent temperatures around 350°F, use transparent heat traps and insulated boxes to maintain steady cooking conditions.
Time Management Strategies
After mastering your solar setup, proper time planning becomes your next priority for successful outdoor bean preparation.
You'll need to establish predictable routines and clear expectations for each cooking session. Break down your bean prep into manageable tasks and set specific time limits for each step.
Create a flexible schedule that accounts for weather changes and unexpected situations. Assign roles to everyone involved – perhaps someone manages equipment while another tracks cooking times.
Keep alternate plans ready in case conditions shift. During longer cooking sessions, use the Pomodoro Technique by working in focused intervals with short breaks to maintain efficiency.
Don't forget to integrate quick activities during waiting periods. Keep a journal handy to track cooking times and recipe adjustments while your beans simmer in the solar cooker.
Bean Storage After Cooking
After your outdoor bean cooking session, you'll need to let your beans cool completely before storing them in airtight containers.
You can keep cooked beans in your refrigerator for up to a week, making sure to cover them with their cooking liquid to maintain moisture.
For longer storage, freeze your beans in portion-sized containers for up to three months, leaving enough headspace for expansion.
Cool Storage Methods
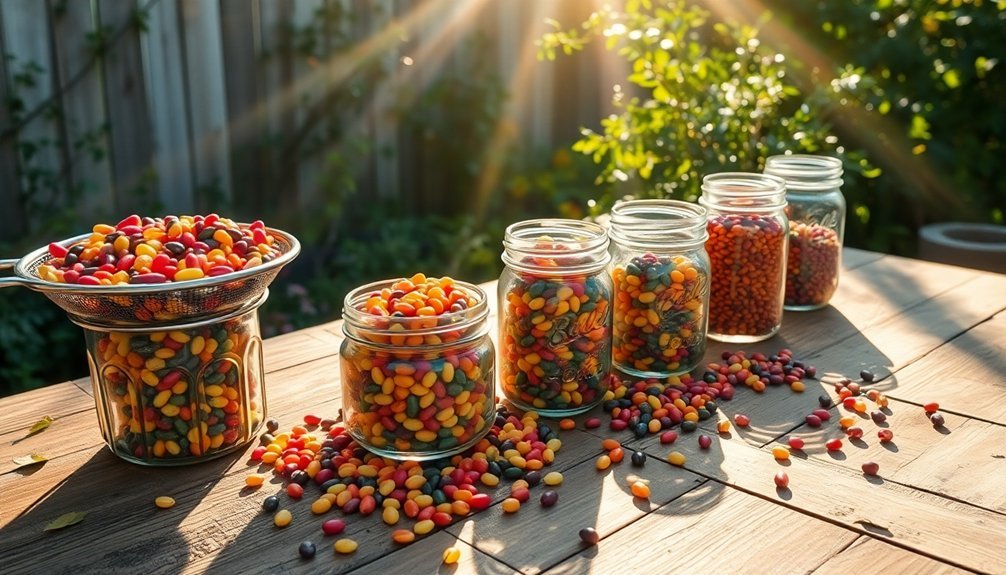
Storing cooked beans properly guarantees they'll stay fresh and ready for your next meal.
You'll want to pack them in airtight glass containers, covering them with their cooking liquid to prevent drying. Remember to leave headspace if you're planning to freeze them.
For freezer storage, let your beans cool completely before portioning them into 1-2 cup servings. You can use freezer bags laid flat for easy stacking, and they'll keep well for up to three months.
When you're ready to use them, thaw overnight in your fridge or use warm water for quicker results.
Keep your stored beans in a cool, dark place with good ventilation.
If you're storing long-term, check periodically for moisture or mold.
You'll get the best results by using the first-in, first-out method to maintain freshness.
Refrigeration Time Limits
While long-term storage methods keep your beans safe for months, you'll need to know specific time limits for refrigerated beans to maintain food safety. Once you've cooked your beans outdoors, cool them to room temperature within 2 hours, then transfer them to airtight containers for refrigeration.
| Storage Type | Time Limit | Temperature | Key Requirements |
|---|---|---|---|
| Refrigerator | 3-5 days | Below 40°F | Airtight container |
| Room Temp | 2 hours | Cooling | Clean container |
| Freezer | 6 months | Below 0°F | Freezer bags |
| Original Can | Not recommended | Any | Transfer to new container |
Watch for signs of spoilage like unusual odors, white liquid, or mold. If you're not planning to use your beans within 5 days, consider freezing them in portion-sized containers for extended storage.
Environmental Impact Considerations
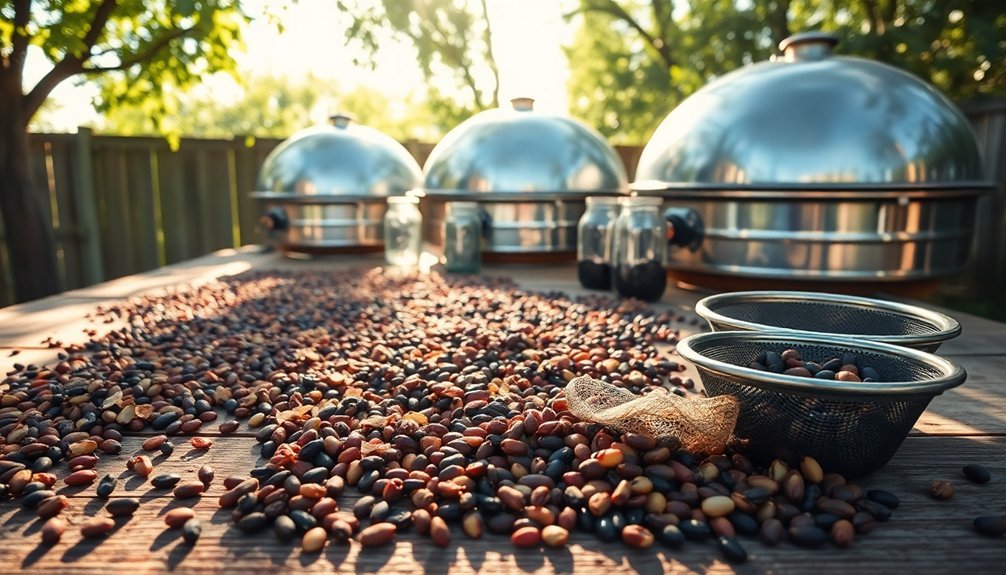
Before diving into bulk bean preparation outdoors, it's essential to understand the environmental consequences of different cooking methods.
While charcoal grilling releases significant CO2 emissions, you'll find more sustainable alternatives for cooking your beans in bulk outside.
Consider these eco-friendly cooking options for your outdoor bean prep:
- Set up a solar oven that can reach 250-350°F, perfect for slow-cooking beans without any emissions.
- Build a rocket stove using dry, fallen wood for efficient combustion and minimal environmental impact.
- Create a traditional pit oven using hot coals and dirt insulation to trap heat while cooking large batches.
Safety Measures For Outdoor Cooking
Since outdoor bean cooking involves open flames and varying heat sources, implementing proper safety measures is essential for preventing accidents and injuries.
You'll need to position your cooking setup on flat, stable ground away from buildings, overhanging branches, and foot traffic. Keep a fire extinguisher or water source nearby for emergencies.
When managing your heat source, don't let flames get too high – steady embers work best for bean cooking. If it's windy, create a windbreak with stacked wood on the upwind side.
Always use long-handled utensils and wear protective clothing, including closed-toe shoes and long pants. Keep children and pets at least three feet away from the cooking area.
Never leave your fire unattended, and maintain clear separation between raw ingredients using different cutting boards and utensils.
Frequently Asked Questions
How Do Neighborhood Animals Affect Outdoor Bean Preparation Stations?
You'll need to protect your outdoor bean stations from neighborhood animals, as they'll contaminate your beans, damage your equipment, and eat your produce if left unguarded. They're attracted to beans' nutritional value.
Can Bean Prep Activities Attract Unwanted Insects to My Garden?
Yes, your bean preparation activities can attract grain beetles, weevils, and flour moths. These pests are drawn to the scent of legumes, and they'll seek out both stored beans and your garden's growing plants.
What Noise Levels Should I Expect During Large-Scale Outdoor Bean Processing?
You'll experience noise levels between 80-90 dBA during outdoor bean processing, similar to farm machinery. Electric grinders and sorting equipment can reach up to 93 dBA, comparable to typical agricultural processing equipment.
Does Outdoor Bean Preparation Affect the Flavor Differently Than Indoor Methods?
You won't notice flavor differences between outdoor and indoor bean preparation. The taste primarily depends on your cooking method, seasonings, and bean variety rather than location, as long as you maintain proper cleanliness.
How Does Outdoor Bean Prep Impact Relationships With Close Neighbors?
You'll find outdoor bean prep can either strengthen or strain neighbor relationships. It's a chance to share food and connect, but noise, odors, and visual impacts might create tensions if you're not considerate.
In Summary
Take your bean prep outdoors to transform a routine task into an eco-friendly cooking adventure. You'll save on energy costs, make the most of natural sunlight, and avoid heating up your kitchen. With proper planning and the right equipment, you're not just preparing food – you're embracing sustainable practices. Remember to check the weather forecast and maintain safety protocols for the best bulk bean cooking experience.


Leave a Reply