
Solar cooking ancient grains lets you harness Earth's purest energy source while preparing nutritious, traditional ingredients. You'll need a black cooking pot, reflective surfaces, and proper insulation to create an effective solar oven setup. Ancient grains like quinoa, amaranth, and Kamut offer superior nutrition with high protein, omega-3s, and essential minerals. For best results, position your solar cooker between 11 am and 3 pm, when sunlight is strongest, and maintain temperatures between 200-300°F. Each grain requires specific water ratios and cooking times – from quick-cooking quinoa to heartier Kamut. There's much more to discover about this sustainable cooking method that connects you to ancient traditions.
Understanding Ancient Grains Today
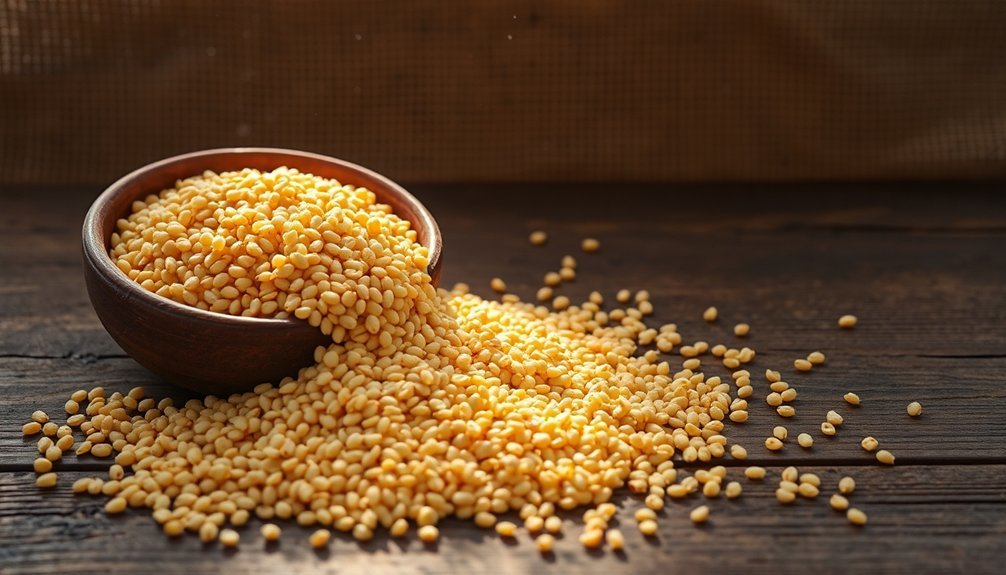
Ancient grains have burst back onto the food scene, but they're far from being a new trend. These remarkable grains and pseudocereals have remained virtually unchanged for thousands of years, unlike modern wheat, corn, and rice that have undergone extensive breeding and genetic modifications.
You'll find a diverse family of ancient grains that includes varieties like spelt, Khorasan wheat, einkorn, and emmer, along with popular options such as quinoa, amaranth, and buckwheat.
What sets them apart is their exceptional nutritional profile – they're packed with protein, omega-3 fatty acids, B vitamins, and zinc, nutrients often stripped from modern grains. Many ancient grains like quinoa and amaranth are naturally gluten-free options for those with celiac disease or gluten sensitivity.
When you're looking to boost your diet's nutritional value, ancient grains deliver impressive benefits. They're rich in dietary fiber, essential vitamins, and minerals like iron, magnesium, and manganese.
You'll particularly benefit from their ability to regulate blood sugar levels and improve digestion. For example, if you choose teff, you're getting a rare grain that's high in vitamin C and iron, while barley provides heart-healthy beta glucans.
These grains are becoming increasingly available in stores and online, making it easier to incorporate them into your daily meals.
Preparing Your Solar Cooking Setup
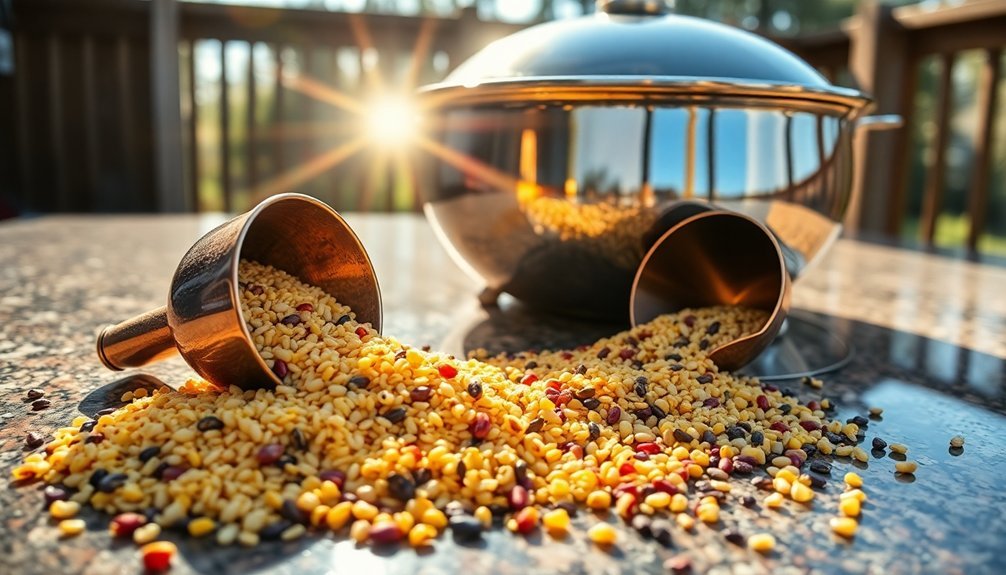
Getting started with solar cooking requires careful setup to guarantee successful results. You'll need to choose a spot that gets direct sunlight between 11 am and 3 pm, and position your oven to maximize sun exposure. For cooking ancient grains, it's essential to have all necessary components ready: a black cooking pot, reflective surfaces, and proper insulation materials. The reflective materials concentrate sunlight directly onto your cooking vessel for maximum heat generation.
| Component | Purpose | Setup Tips |
|---|---|---|
| Dark Pot | Absorbs sunlight | Use tight-fitting lid |
| Reflectors | Directs more sunlight | Angle toward sun |
| Heat Trap | Retains warmth | Use clear plastic/glass |
| Trivet | Prevents heat loss | Center in oven |
| Insulation | Maintains temperature | Layer newspapers/glass |
Before adding your ancient grains, preheat the solar oven for up to an hour. You'll want to monitor the internal temperature using a thermometer and adjust the oven's position as the sun moves. Remember to stir your grains every 10 minutes for even cooking. Keep the reflectors properly aligned throughout the cooking process, and don't forget to use safety precautions – avoid looking directly at the sun and use protective gear when handling hot surfaces.
Ancient Grain Water Ratios
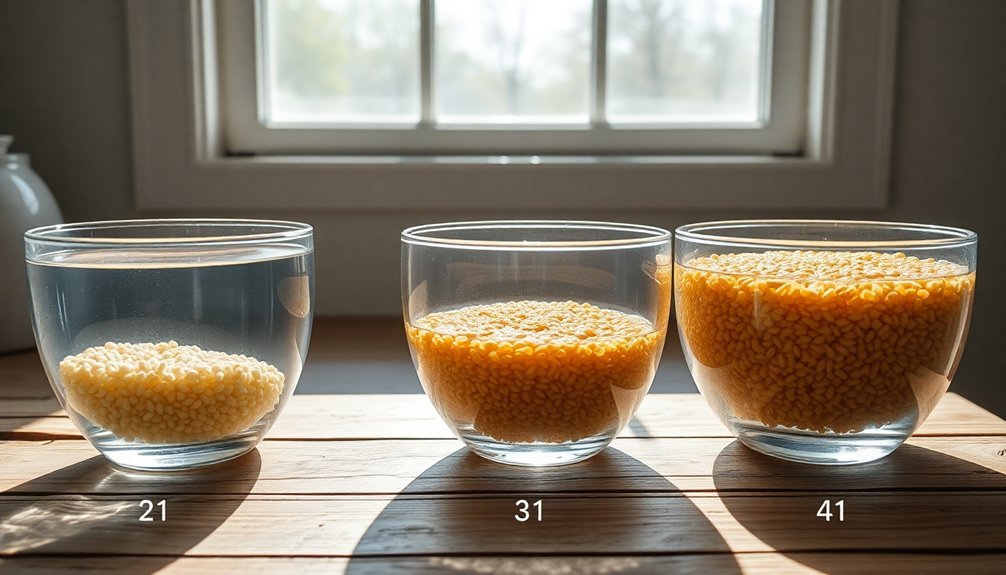
For successful solar cooking of ancient grains, proper water ratios are essential to achieve the perfect texture and consistency. You'll find that different grains require varying amounts of water, with some needing considerably more than others.
High-water-ratio grains like Kamut and farro need 3-4 cups and 3 cups of water per cup of grain, respectively. For amaranth and hulled barley, you'll want to use 2-3 cups of water per cup of grain.
Moderate-ratio grains include brown rice and quinoa, requiring about 2 cups of water per cup of grain, while bulgur and buckwheat need 1.5-2 cups. The tight-fitting lid during simmering helps maintain proper moisture levels for perfectly cooked grains.
You can adjust these ratios based on your preferred texture and cooking method. Pre-soaking harder grains like Kamut and barley will reduce cooking time and may affect your water needs.
For enhanced flavor, try substituting broth for water. You might also consider adding a splash of vinegar or lemon juice during soaking to improve digestibility and nutrient absorption.
Remember that these ratios aren't set in stone – factors like grain age and desired consistency can influence the amount of liquid needed. Start with these basic ratios and adjust as needed for your solar cooking setup.
Best Times for Solar Cooking
During peak sunlight hours between 11:00 am and 3:00 pm, you'll achieve the best results with your solar cooker. The sun's most direct rays and highest UV intensity during this window create ideal cooking conditions for your ancient grains.
If you're cooking during fall or spring, start preheating your cooker as early as 10:00 am to compensate for the sun's lower intensity.
Your location plays an essential role in solar cooking success. If you're in sunny regions like Southern Arizona or Texas, you'll find it easier to maintain consistent cooking temperatures. However, if you're in cloudy areas like Oregon or Minnesota, you'll need to plan more carefully and perhaps extend cooking times.
- Position your cooker where sunlight hits it directly, using built-in sun dials
- Check your thermometer regularly to maintain temperatures between 200°F-300°F
- Adjust the cooker's position every 30 minutes during winter months
- Keep the cooking chamber sealed to maintain steady heat
During summer, you'll enjoy longer cooking windows with fewer position adjustments, but in winter, you'll need to be more attentive as the sun's path is lower and shorter.
Always use a cooking thermometer to verify your grains reach safe temperatures.
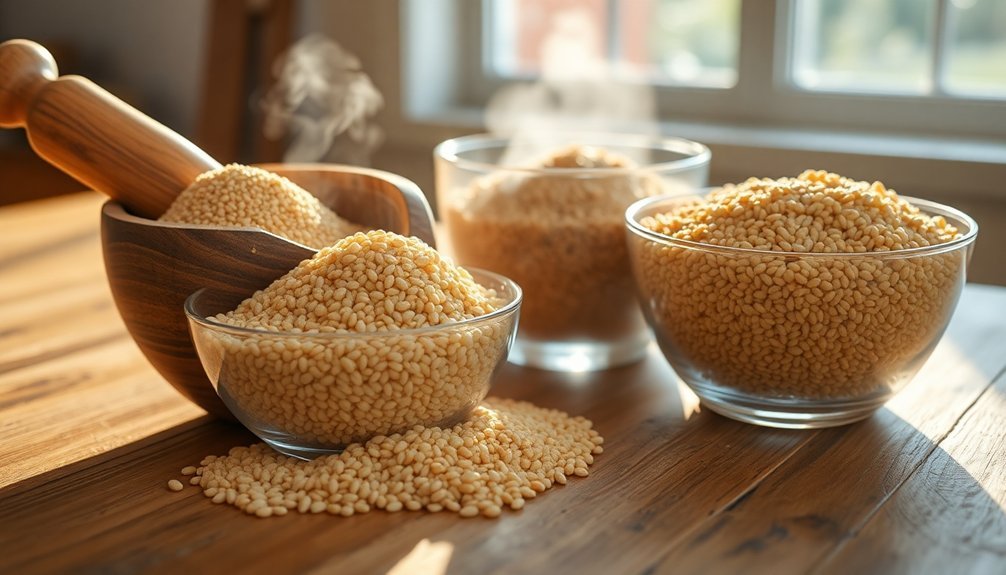
Essential Solar Cooking Equipment
You'll need fundamental tools like heat-resistant glass or metal containers, dark-colored cooking pans, and thermal gloves to successfully cook ancient grains using solar power.
A well-constructed solar oven with reflective surfaces, clear plastic or acrylic windows, and proper insulation materials serves as your primary cooking vessel.
Temperature gauges and airtight storage containers help you monitor cooking progress and preserve your prepared grains effectively.
Basic Tools for Success
Successfully cooking ancient grains with solar power requires the right equipment and tools.
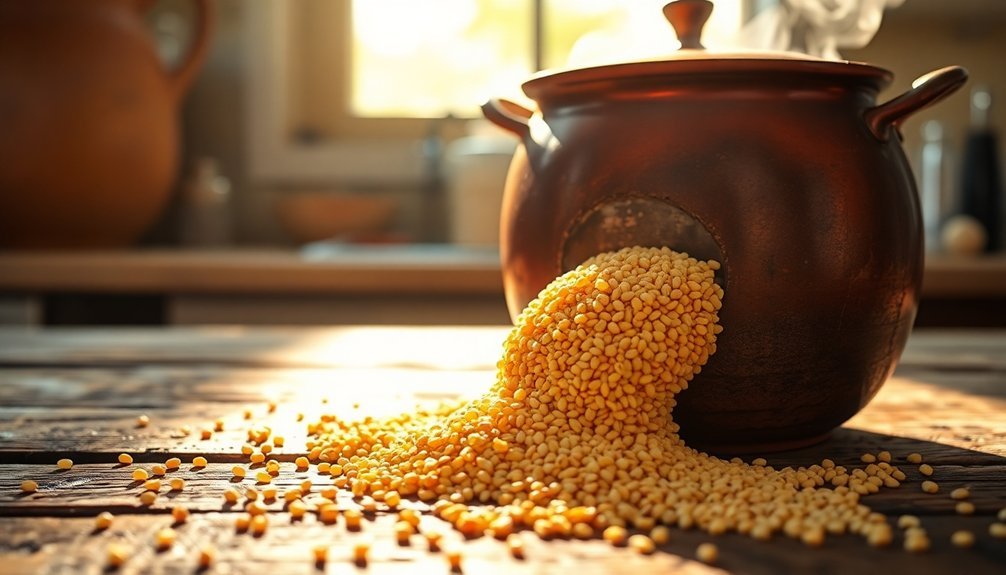
You'll need to choose cookware that maximizes solar energy absorption and heat retention while ensuring even cooking of your grains. Black or dark enamel pots with tight-fitting lids work best, as they efficiently capture and maintain heat throughout the cooking process.
For ideal results with ancient grains, make sure you have:
- A thin-walled black cooking pot with lid – ideally 2-3 quarts for most grain portions
- A heat-resistant clear glass bowl or cover to create a greenhouse effect
- Dark-colored steamer inserts for multi-level cooking capabilities
- Temperature-safe handling mitts and tools for adjusting your setup
Your choice of solar cooker type will influence cooking times and methods.
Box cookers provide steady, moderate heat perfect for most grains, while parabolic cookers can bring water to a boil quickly. If you're using a panel cooker, you'll want to position your pot in the focal point and adjust it periodically to track the sun.
Remember to use appropriate insulation to maintain consistent temperatures, especially when cooking longer-cooking ancient grains like spelt or kamut.
Solar Ovens and Cookers
Solar cooking equipment varies considerably in design and functionality, with four main types of solar ovens and cookers available for preparing ancient grains.
You'll find panel cookers that use reflective surfaces for simmering and steaming, box cookers that create an airtight heat trap reaching up to 400°F, parabolic cookers that concentrate intense heat for high-temperature cooking up to 700°F, and tube cookers that excel at heat retention.
When you're cooking ancient grains, box cookers offer the most versatility. They're equipped with insulation layers, clear glass or plexiglass covers, and black interiors that create an excellent environment for consistent cooking temperatures.
You'll need to position your solar cooker in direct sunlight and adjust the reflectors throughout the day to maintain maximum heat.
For successful grain preparation, consider that cooking times will vary based on your chosen cooker type. Box and tube cookers maintain heat even during cloudy periods, while parabolic models require constant sunlight.
Remember to use proper safety precautions: never look directly at reflective surfaces, and always monitor internal temperatures to guarantee your ancient grains cook thoroughly and evenly.
Measurement and Storage Essentials
Precise measurements and proper storage equipment form the foundation of effective solar cooking with ancient grains. You'll need to measure solar irradiance using a pyranometer positioned perpendicular to direct beam radiation, guaranteeing accurate readings that account for the sun's altitude and daily variations.
For temperature monitoring, sealed lids and reliable thermometers are essential to maintain consistent heat levels for proper grain cooking.
To maximize your solar cooking efficiency with ancient grains, you'll want these key measurement and storage components:
- A calibrated pyranometer with sun tracker to monitor solar intensity and enhance cooking times for different grain varieties
- Heat-resistant storage containers with phase change materials to maintain cooking temperatures during cloudy periods
- Sealed cooking vessels with integrated temperature gauges to monitor internal temperatures for perfect grain consistency
- Thermal mass elements and insulation materials to extend cooking capabilities into evening hours
Remember to take time-averaged measurements over 10-minute intervals to account for atmospheric variations, and utilize phase change materials for heat storage.
This approach guarantees your ancient grains cook thoroughly while retaining their nutritional value, even when sunlight isn't at its best.
Temperature Control and Monitoring
Proper temperature control stands at the heart of cooking ancient grains successfully. You'll need a heavy-bottom pot for even heat distribution, and it's vital to avoid high temperatures that can lead to burning or boiling over. If you notice grains starting to stick, immediately lower the heat to its lowest setting or move the pot to a smaller burner.
Using a tight-fitting lid is essential for maintaining consistent steam and heat during cooking. While pans with small steam vents can work effectively, you shouldn't intentionally leave the lid loose, as this promotes sticking.
If you're using a combi-oven, you can reduce your cooking stock by about 20% due to its steam efficiency.
For the pilaf method, you'll want to sauté your grains in oil before adding hot stock. When using a convection oven, set it to 325°F for grains like millet.
Pressure cookers offer a time-saving alternative, cooking ancient grains in just 5 minutes with a 10-minute steam release. You'll find that gas ranges provide better temperature control than electric ones, though both can yield excellent results with proper monitoring.
Quick Versus Slow Methods
Your choice between quick and slow cooking methods for ancient grains will greatly impact both preparation time and final texture.
You'll find modern appliances like pressure cookers and Instant Pots dramatically reduce cooking times compared to traditional soaking and simmering techniques, while hot methods such as the pilaf technique offer a middle ground between speed and flavor development.
Whether you opt for a quick 30-minute pressure cook or commit to overnight soaking followed by gentle steaming, each approach produces distinct results regarding texture and taste absorption.
Soaking Versus Direct Cooking
Between soaking and direct cooking ancient grains, you'll find significant differences in preparation time, nutritional benefits, and final results.
When you soak grains for 7-8 hours in warm water with vinegar or lemon juice, you'll neutralize phytic acid and break down enzyme inhibitors, making them more digestible. Your cooking time will be cut nearly in half, and you'll need less water during the cooking process.
- Picture quinoa bubbling gently in a pot, ready in just 10 minutes when pre-soaked, compared to 20 minutes unsoaked.
- Envision brown rice transforming from firm to tender in 40 minutes after soaking, rather than taking a full 50 minutes.
- See barley softening to perfection in 30-40 minutes when pre-soaked, instead of requiring 45-60 minutes.
- Imagine your grains absorbing flavorful stock during the soaking process, enhancing their taste naturally.
While direct cooking doesn't require pre-planning, you'll miss out on key benefits. Your grains won't be as nutrient-accessible, and they'll take longer to cook.
Plus, you won't get the same level of anti-nutrient reduction that soaking provides, potentially making the grains harder to digest.
Hot Versus Cold Methods
Choosing between hot and cold cooking methods for ancient grains can greatly impact your meal preparation strategy and final results. Hot methods like absorption, simmering, and steaming offer quick solutions when you're short on time, while cold methods provide flexibility and convenience for meal planning.
| Method Type | Best For | Time Investment |
|---|---|---|
| Hot Methods | Quick meals, immediate serving | 15-60 minutes |
| Cold Methods | Meal prep, batch cooking | 8+ hours |
| Hybrid Methods | Balanced approach, pre-soaking | 2-4 hours |
You'll find hot methods work well when you're cooking smaller portions for immediate consumption. The absorption method's particularly effective for quinoa and teff, taking just 12-20 minutes, while the pasta method suits firmer grains like wheatberries. For longer-term planning, cold methods shine. You can use a slow cooker overnight for hands-off cooking, or pre-soak grains to reduce their cooking time later. Batch cooking and freezing let you store grains for up to several months, making weeknight meals easier. By understanding these methods, you'll master the art of cooking ancient grains efficiently while preserving their nutritional benefits.
Traditional Versus Modern Timing
The evolution of cooking methods has transformed how we prepare ancient grains, offering both traditional techniques and modern alternatives. While stovetop cooking and overnight soaking represent time-honored approaches that can take up to an hour, modern appliances like the Instant Pot and pressure cooker can slash cooking times by more than half.
Traditional methods often yield superior texture and depth of flavor, particularly when you're using techniques like the pilaf method, which involves toasting grains in oil before cooking. However, modern methods offer convenience without greatly compromising quality. You'll find that an Instant Pot can cook farro in 20 minutes compared to the traditional 45-60 minutes.
- Stovetop quinoa bubbling gently for 15 minutes as aromatic steam rises
- Rice cooker's steady hum while perfectly timing your grain's doneness
- Pressure cooker's whistle signaling your accelerated cooking progress
- Instant Pot's digital display counting down to your perfectly cooked grains
Whether you choose traditional or modern methods depends on your priorities – time versus texture, convenience versus control. Both approaches can produce excellent results when you follow the proper grain-to-water ratios and cooking times.
Common Solar Cooking Mistakes
Successfully cooking ancient grains using solar power requires careful attention to detail and avoiding common pitfalls. A frequent mistake is inadequate solar alignment – you'll need to adjust your cooker every 15-20 minutes for ideal heat.
Parabolic cookers demand even more frequent adjustments, requiring repositioning every 10-15 minutes to prevent overheating your grains.
Your choice of cookware greatly impacts success. Don't use light-colored or reflective pots, as they'll reduce heat absorption. Instead, opt for dark, thin metal baking dishes or black pots that quickly capture and retain heat.
You'll want to pre-heat your solar cooker for 15-20 minutes before adding your ancient grains, and always use a thermometer to verify safe cooking temperatures.
Environmental factors can derail your cooking process. You won't achieve success on cloudy days or when the sun's position is too low.
Strong winds can disrupt cooking, so choose a sheltered location. Confirm your cooker's seams are properly sealed with aluminum tape, and the plexiglass glazing fits snugly to maintain consistent temperatures.
When covering your grains, avoid aluminum foil – it reflects heat away from your food.
Seasonal Solar Cooking Tips
You'll find summer's intense sunlight perfect for cooking ancient grains in your solar oven, especially during peak hours between 10 AM and 3 PM.
To prepare grains like quinoa or amaranth, soak them overnight and use slightly less water than conventional cooking methods while ensuring your dark cookware faces due south for maximum sun exposure.
Remember to adjust your solar oven's position throughout the day to maintain ideal 90-degree sunlight contact with the cooking vessel, which helps achieve consistent temperatures for thorough grain cooking.
Summer Grain Cooking Methods
During the peak of summer, solar cooking offers an efficient and eco-friendly approach to preparing ancient grains. You'll find that positioning your solar cooker to face the Sun directly, while using a pot stand, creates the best cooking environment.
Remember to wear sunglasses when working with parabolic cookers, as the reflected sunlight can be intense.
Various grains adapt well to solar cooking, especially when you follow these essential steps:
- Pre-soak dense grains like wheatberries and farro to reduce cooking time.
- Place your covered pot at the cooker's focal point for maximum heat retention.
- Adjust the cooker's position every 30 minutes to track the Sun's movement.
- Cook grains in boiling water, similar to pasta, for better absorption.
You'll achieve the best results with quick-cooking grains like quinoa, though brown rice, black rice, and other ancient varieties work equally well.
Sunlight Prep Best Practices
To maximize your solar cooking success throughout the year, understanding seasonal sunlight patterns and ideal cooking windows is crucial.
Plan your grain cooking between 11:00 am and 3:00 pm when the sun's position provides peak heat. You'll want to start preheating your solar cooker by 10:00 am to guarantee maximum efficiency during peak hours.
Position your cooker to capture direct sunlight, and remember you'll need more frequent adjustments during winter months when the sun's angle is lower.
If you're cooking in snow conditions, use this to your advantage – the reflective surface can actually enhance your cooking power.
When preparing ancient grains during shorter seasonal days, consider breaking up your cooking process over multiple days.
Don't open your cooker unnecessarily, as this releases valuable heat. Instead, watch for steam as an indicator of cooking progress.
You'll need to double conventional cooking times for most grains, so plan accordingly. Always use a cooking thermometer to verify proper temperatures are reached.
For indoor prep, placing your cooker near a sunny window can work, though UV-coated windows may extend cooking times considerably.
Storage and Preservation Techniques
Ancient civilizations developed various ingenious methods for storing and preserving grains, from sophisticated granaries to underground storage pits. You'll find that these time-tested techniques focused on protecting grain from moisture, pests, and theft while maintaining proper ventilation.
The Romans built impressive granaries with thick walls and raised, column-supported floors, creating void spaces underneath for air circulation. In contrast, Iron Age Britons preferred underground pits with beehive-shaped cross-sections, where the grain's outer layer would germinate and create a protective, oxygen-free environment for the remaining contents.
To visualize these ancient storage methods, consider these key features:
- Circular mud-brick silos with multiple internal levels, allowing grain to stay cool through natural airflow.
- Underground pits lined with protective straw layers to keep moisture at bay.
- Elevated granaries with strategic windows and openings for cross-ventilation.
- Maze-like storage facilities designed to confuse potential thieves.
You'll want to note that these civilizations didn't rely on a single storage method but diversified their approach by using multiple facilities. This strategy helped prevent total loss if one storage area became compromised by pests, moisture, or theft.
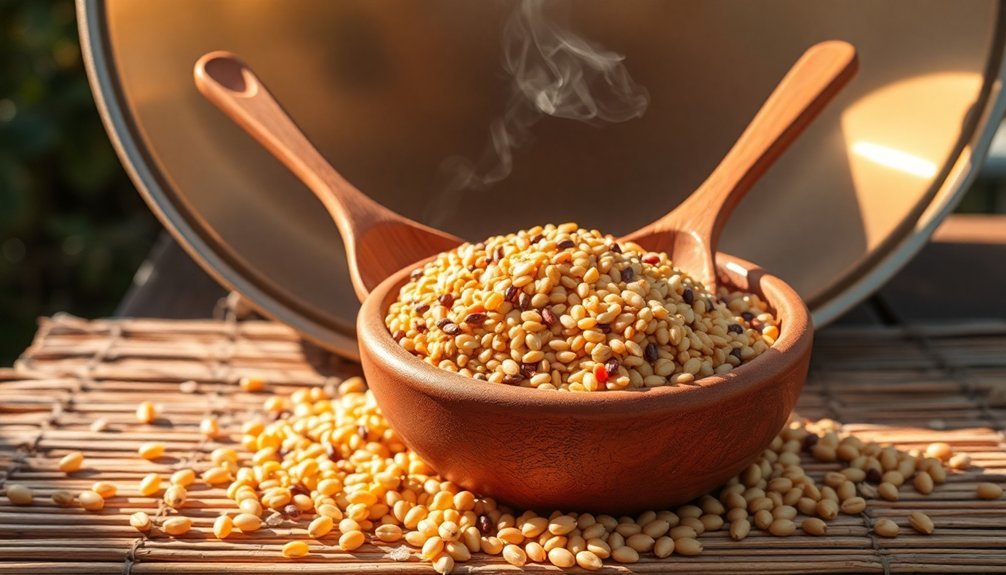
Recipes for Solar Success
While ancient storage methods kept grains preserved, modern solar cooking techniques offer exciting ways to prepare these nutritious ingredients.
You'll find that solar cooking aligns perfectly with the gentle cooking requirements of ancient grains, particularly when using the pilaf or simmer method.
To create a solar-cooked grain dish, start by combining your choice of grains – try a mixture of quinoa, millet, and teff for ideal nutrition and texture.
You'll want to toast these in olive oil with aromatics like ginger and garlic in your solar cooker once it reaches 375°F. Then, add hot stock using the appropriate water ratios: 1:1.75 for quinoa, 1:2 for millet, and 1:1 for teff.
Cover your solar cooking vessel and let the grains absorb the liquid, which typically takes 15-20 minutes depending on your grain selection.
Enhance flavors by incorporating herbs de Provence or turmeric during cooking.
This method not only preserves the grains' nutritional benefits but also supports sustainability – you're using renewable energy to prepare foods that already have a strong environmental profile through regenerative agriculture practices.
Frequently Asked Questions
Can Ancient Grains Help With Weight Loss and Portion Control?
Yes, you'll find ancient grains help with weight loss through their high fiber and protein content. They'll keep you fuller longer, naturally controlling portions and reducing your overall calorie intake throughout the day.
How Do Ancient Grains Affect Gut Bacteria and Microbiome Health?
Your gut bacteria thrive on ancient grains' fiber and nutrients. They'll increase beneficial bacteria, reduce inflammation, and produce healthy short-chain fatty acids. You'll see improved digestive health and a more balanced microbiome.
Are Ancient Grains More Expensive Than Conventional Grains?
Yes, you'll find ancient grains are more expensive than conventional grains due to lower crop yields, labor-intensive organic farming practices, and higher production costs. You're typically paying double or more for these premium products.
Do Ancient Grains Have a Shorter or Longer Shelf Life?
You'll find that ancient grains typically have a longer shelf life than modern grains, especially when stored properly. They can last decades in airtight containers with oxygen absorbers and proper temperature control.
Can Ancient Grains Be Sprouted for Additional Nutritional Benefits?
Yes, you can sprout ancient grains to boost their nutritional value. You'll get increased bioavailability of vitamins, minerals, and antioxidants, plus better digestibility. The process also enhances flavors and reduces antinutrients.
In Summary
You'll find that solar cooking ancient grains connects you deeply to traditional food preparation methods while reducing your carbon footprint. By following proper ratios, timing, and equipment guidelines, you're set up for consistent results year-round. Don't forget to store your cooked grains correctly to maintain their nutritional benefits. With practice, you'll master this sustainable cooking technique that brings out the best in these timeless ingredients.


Leave a Reply