Transform your outdoor baking game with these essential cookie sheet hacks. Season your sheets with neutral oil and bake at 425°F for peak sun resistance. Double-stack your sheets to prevent scorching and guarantee even heat distribution. Create a DIY solar heat box using cardboard, foil, and plastic wrap for eco-friendly baking. Add reflective edges with aluminum foil to enhance sun exposure. Invest in a portable sheet stand for easy transport and stability. Weather-proof your setup with covered structures and water-resistant materials. Master batch rotation timing by checking every 5-10 minutes. These proven techniques just scratch the surface of outdoor baking possibilities.
Season Your Sheet For Sunlight
Before taking your baking sheet outdoors, you'll need to properly season it just as you'd for indoor use. Start by applying an extremely thin layer of neutral oil like canola or grape seed to both sides of your sheet, including the edges.
If it feels greasy, you're using too much – wipe off the excess with a paper towel until it's barely visible.
Place your sheet upside down in a 425°F oven for an hour, then flip it right side up for another hour. This prevents oil from pooling and guarantees even seasoning.
Let it cool completely; if it feels sticky, continue baking. You might need to repeat this process several times. A properly seasoned sheet is essential when working with solar heat exposure during outdoor baking experiments.
The result will be a durable, non-stick surface that performs better in sunlight and resists warping when exposed to outdoor temperature variations.
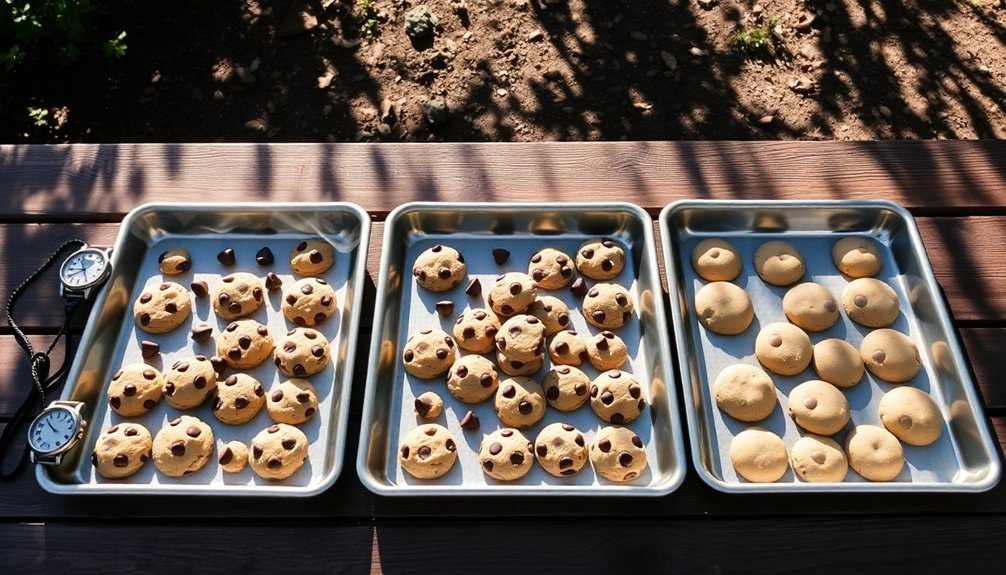
Double Stack For Temperature Control
You'll gain better control over heat distribution when you stack two cookie sheets together during outdoor baking.
Double stacking creates a buffer zone that slows down heat transfer, preventing your cookies from developing scorched bottoms.
This method works especially well for recipes containing ingredients like brown sugar or honey, which tend to burn more easily in outdoor conditions. Remember to extend baking time slightly when using the double-pan technique.
Heat Distribution Benefits
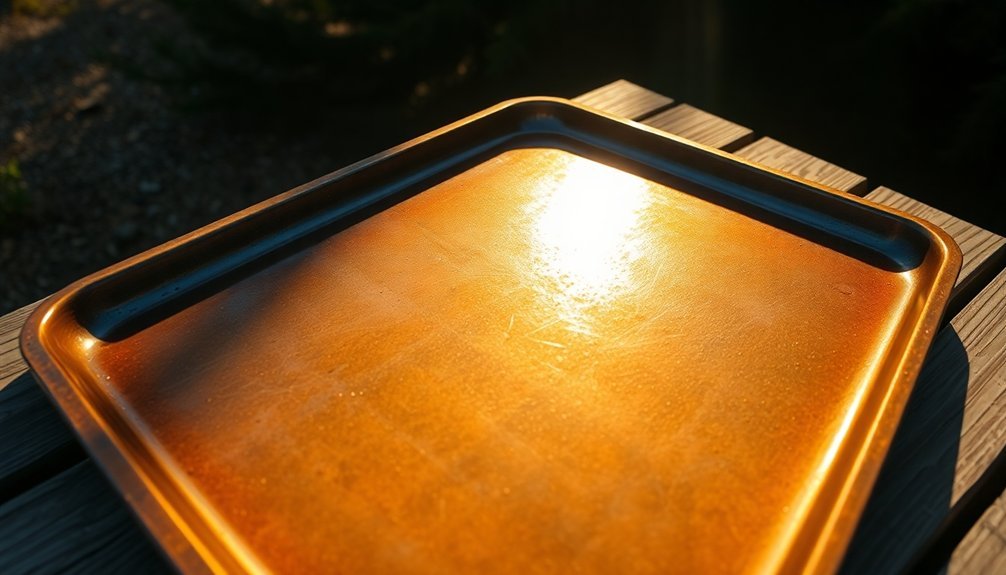
When baking outdoors, understanding heat distribution can make or break your results. You'll find that lighter-colored baking sheets are your best allies, as they distribute heat more efficiently than darker ones. If you're using pure aluminum sheets, you'll benefit from superior heat conductivity, while carbon steel options will help reduce your baking time through excellent heat retention. Using heavy-gauge construction helps maintain shape during outdoor baking and prevents warping from temperature fluctuations.
| Material Type | Heat Properties | Best Uses |
|---|---|---|
| Pure Aluminum | Quick & Even | Cookies/Pastries |
| Carbon Steel | High Retention | Breads/Pizza |
| Aluminized Steel | Fast Heat/Cool | General Baking |
| Nonstick Coated | Lower Threshold | Delicate Items |
| Dark-Toned | Quick Absorption | Heavy Duty |
To prevent burning, you can stack two baking sheets together – this method's particularly effective when working with recipes containing brown sugar, honey, or molasses. You'll need to add a few extra minutes to your baking time, but you'll get more consistent results.
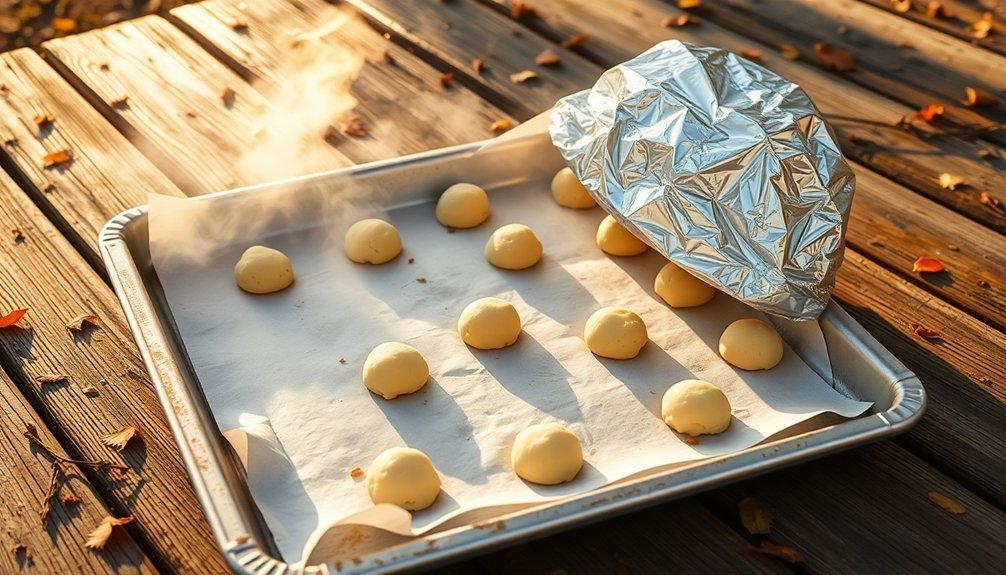
Preventing Bottom Scorching
Since bottom scorching can ruin even the most carefully prepared outdoor cookies, mastering temperature control through double-stacking techniques is essential.
You'll find that placing two cookie sheets together creates an effective insulation barrier that protects your cookies' bottoms from excessive heat.
For ideal results, you can layer kitchen paper or towels under aluminum foil on your baking sheet.
This multi-layer approach gives you flexible control over heat distribution. If you're baking thin cookies, one layer might suffice, while moist cookies may need up to three layers of protection.
You can also place parchment paper on top for additional insulation. Consistent heat distribution is crucial for achieving evenly browned tops and bottoms while maintaining proper texture.
Remember to take into account your sheet material – lighter-colored aluminum sheets work best as they heat and cool quickly, reducing the risk of burned bottoms.
Create A Solar Heat Box
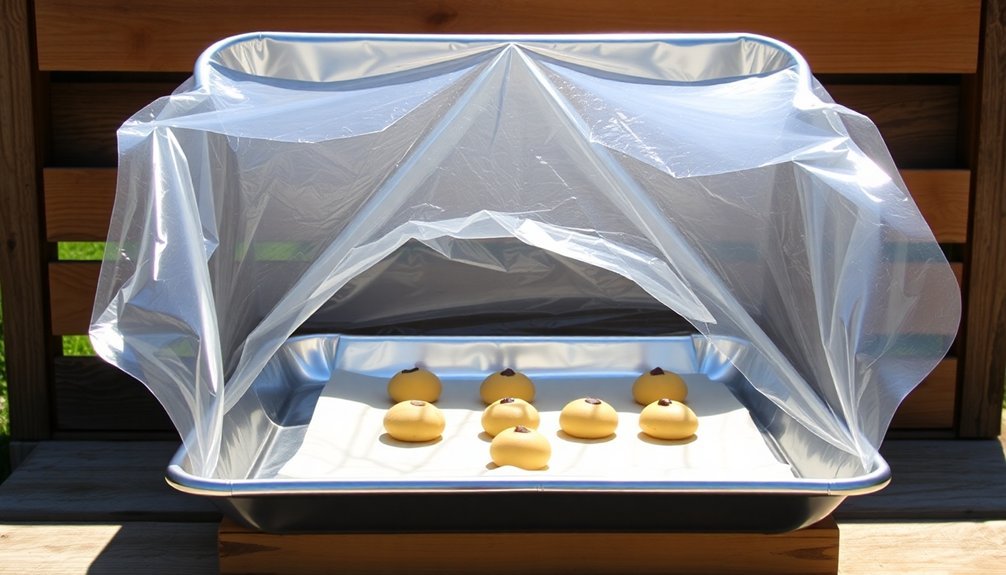
Building a solar heat box transforms an ordinary cardboard container into a surprisingly effective outdoor oven that harnesses the sun's energy. You'll need a cardboard box, aluminum foil, plastic wrap, black construction paper, and basic tools to get started.
| Item | Purpose |
|---|---|
| Aluminum foil | Reflects sunlight to maximize heat |
| Black paper | Absorbs solar energy efficiently |
| Plastic wrap | Creates greenhouse effect |
| Support stick | Maintains ideal angle |
Cut a three-sided flap in the box lid, then line the interior with foil. Add black paper to the bottom and seal the flap's opening with double-layered plastic wrap. Position your solar box in direct sunlight when it's at least 85°F outside, and let it preheat for 30-60 minutes. Your treats will cook slowly but surely – s'mores take about an hour to achieve that perfect gooey consistency.
Reflective Edges Maximize Sun Exposure
Set up a border of aluminum foil around your cookie sheet's edges to create a powerful reflective surface that directs more sunlight onto your food.
You'll want to angle small mirrors strategically at each corner of the sheet, positioning them to bounce additional rays toward the center of your baking surface.
This dual approach with foil borders and mirror placement can boost your solar cooking temperature by creating a concentrated heating zone that maximizes sun exposure.
Aluminum Foil Border Setup
To maximize sun exposure while outdoor baking, creating a reflective border with aluminum foil around your cookie sheet can greatly boost heating efficiency.
Start with heavy-duty aluminum foil to guarantee durability and tear off a piece large enough to extend beyond your pan's edges.
Turn your cookie sheet upside down and mold the foil over its exterior first, smoothing out any creases.
Then flip the pan right-side up and carefully press the foil into the interior, paying special attention to corners and edges.
You'll want to avoid using pans with sharp edges that might tear the foil.
Make certain your foil border is even and wrinkle-free for peak results.
If needed, spray the foil with nonstick cooking spray to prevent your baked goods from sticking.
Strategic Mirror Placement Tips
While positioning mirrors for outdoor baking requires careful attention, proper placement can dramatically boost your cooking efficiency. To maximize sunlight capture, you'll need to adjust your mirrors based on the sun's position. Use a protractor to set your top mirror at a steeper angle and the bottom mirror at a shallower angle for consistent reflection.
| Sun Position | Mirror Adjustments |
|---|---|
| Morning Low | Top: 65°, Bottom: 25° |
| Midday High | Top: 45°, Bottom: 45° |
| Evening Low | Top: 25°, Bottom: 65° |
| Overcast | Both at 55° for diffuse light |
Remember to "eyeball" your setup by pretending your eye is the sun – this helps verify proper reflection angles. Position your cookie sheet slightly in front of the mirrors to increase the capture area, and tilt the entire setup to face the sun's path for ideal baking results.
Portable Cookie Sheet Stand
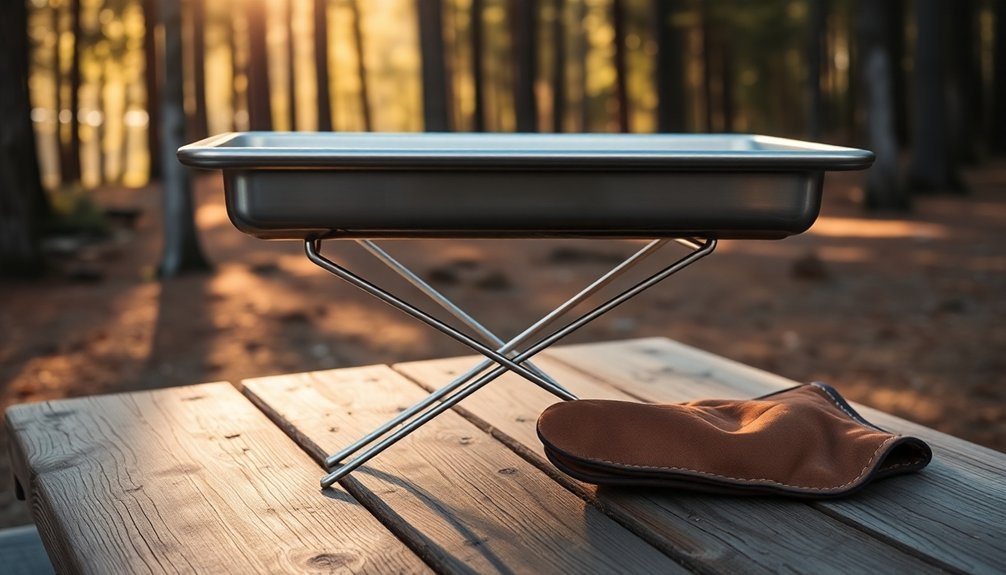
Creating a reliable outdoor baking station begins with a well-designed portable cookie sheet stand. You'll want a lightweight, foldable model with adjustable dividers to accommodate various sheet sizes.
Look for stands made from corrosion-resistant stainless steel or heavy-duty plastic that can withstand outdoor conditions while remaining easy to clean.
When selecting your portable stand, prioritize these essential features:
- Multiple tiers with proper ventilation spacing to cool baked goods efficiently
- Non-slip base and sturdy frame to prevent wobbling on outdoor surfaces
- Built-in handle or grip for easy transport, plus quick assembly mechanisms
Remember to keep your stand clean and dry between uses to prevent rust.
Store it in a folded position to save space, and always check the dividers' stability before loading your cookie sheets.
Weather-Proof Your Baking Setup
Successfully weatherproofing your outdoor baking setup demands careful consideration of both structural elements and environmental factors.
Position your baking area under a covered space, like a pergola or tiki hut, to shield it from direct rain exposure. If that's not possible, keep it close to your house for natural protection.
Choose cookie sheets made from water-resistant materials like aluminum or steel, and avoid those with nonstick coatings that can deteriorate in outdoor conditions.
You'll want to elevate your baking surface to prevent water accumulation and guarantee proper drainage. For longevity, use non-combustible materials like concrete or stainless steel for the main structure.
Don't forget to implement proper ventilation and regularly inspect for weather-related damage.
When not in use, protect your setup with waterproof covers, especially during winter months.
Timing Outdoor Batch Rotations
Mastering outdoor batch rotations requires precise timing and coordinated coal management to achieve consistent results.
You'll need to rotate your cookie sheets every 10 minutes while adjusting coal placement to maintain even heat distribution between 350°F and 400°F.
For ideal results when managing multiple batches, follow these essential steps:
- Place 3/4 of your coals on top and 1/4 underneath, creating a base ring formation around your baking setup.
- Check browning progress every 5-10 minutes, quickly replacing spent coals with fresh ones to maintain steady temperature.
- Add a second ring of coals on top to reach 400°F, or remove alternate bottom coals to lower heat to 300°F.
Keep the lid closed between checks to retain heat and guarantee your cookies develop that perfect crispy exterior while baking through completely.
Frequently Asked Questions
Can Outdoor-Baked Cookies Achieve the Same Crispy Texture as Oven-Baked Ones?
Yes, you'll achieve crispy cookies outdoors by maintaining consistent heat, using quality baking sheets, and following proper techniques. You can match oven-baked results if you're careful with temperature control and timing.
How Does Humidity Affect Cookie Sheet Placement During Outdoor Baking?
You'll need to elevate your cookie sheets to allow airflow underneath, preventing moisture buildup. In high humidity, place sheets on raised racks and space them apart to let excess moisture escape during baking.
Which Cookie Recipes Work Best for Outdoor Sheet Baking?
You'll find sheet pan chocolate chip cookie bars work best for outdoor baking since they're quick to prepare, require minimal handling, and bake evenly. Oatmeal and trail mix variations also hold up well outdoors.
Are Ceramic Cookie Sheets Better Than Metal Ones for Outdoor Baking?
You'll find metal cookie sheets are better for outdoor baking than ceramic ones. They're more durable, resist temperature changes, and distribute heat evenly. Plus, you won't risk breaking them if they're accidentally dropped.
What's the Maximum Safe Temperature for Outdoor Cookie Sheets in Direct Sunlight?
You shouldn't expose cookie sheets to direct sunlight, as they're not designed for outdoor use. Even though they can handle 450°F in ovens, direct sun exposure can cause unpredictable temperatures and damage your sheets.
In Summary
You'll find outdoor baking transforms your cookie sheets into versatile tools for sun-powered treats. With these seven hacks, you're equipped to handle everything from temperature regulation to weather challenges. Don't forget to monitor your batches closely and adjust timing based on sun intensity. Whether you're camping or hosting a backyard baking session, these sheet tricks help you harness solar heat for delicious results.


Leave a Reply