
To make a flaky pie crust in your sun-powered oven, you'll need precise measuring tools, chilled ingredients, and a preheated solar oven reaching 300-350°F. Start by mixing cold butter with flour, salt, and sugar, then gradually add ice water until the dough forms. Chill your dough for at least 30 minutes before rolling it to 1/8-inch thickness. Position your solar oven in direct sunlight between 11 AM and 3 PM, rotating every 30 minutes for even baking. Look for a golden-brown crust with crisp edges to signal doneness. Master these basics, and you'll reveal the secrets to perfectly flaky, sustainably baked pie crusts.
Essential Baking Tools and Equipment
With any baking project, having the right tools on hand makes the difference between success and frustration. For your solar-baked pie crust, you'll need precise measuring tools, including measuring spoons and cups. A digital scale will give you the most accurate measurements, ensuring your ingredients are perfectly balanced.
You'll require an aluminum pie pan that's specifically suitable for solar oven use, along with mixing bowls for combining your ingredients. Don't forget a whisk and silicone spatula for thorough mixing and scraping. Heat-resistant silicone spatulas are particularly valuable when working with hot surfaces.
A rolling pin is essential for achieving an even, well-rolled crust, while parchment paper will prevent sticking and make cleanup easier.
For handling and preparation, you'll want a chef's knife and serrated paring knife to manage your ingredients efficiently. Once your pie crust is ready, a cooling rack will help it maintain its flaky texture.
If you're transporting your finished pie, make sure you've got insulated bags or trays to keep it protected. Keep your workspace organized with these tools within reach, and you'll find the process of making a solar-baked pie crust much more manageable and enjoyable.
Perfect Temperature for Solar Baking
Success in solar baking hinges on achieving and maintaining the right temperature range. For a flaky pie crust, you'll want your solar oven to reach between 300°F and 350°F, which is achievable on sunny days with a standard box-style solar oven.
If you're using a smaller portable oven, you might need to adjust your baking time as these typically reach only 210°F to 260°F.
You'll need to position your oven in a wind-protected area and keep it properly aligned with the sun throughout the baking process. As you track the sun's movement, make regular adjustments to maintain consistent temperatures.
Clean reflective surfaces are essential – wipe them regularly with a vinegar-water solution to guarantee maximum heat retention. Using blue enamel cookware can help distribute heat more evenly throughout your baking.
Remember that your location and the season will affect your baking temperature. If you're baking during winter months, expect temperatures between 250°F and 300°F, which means you'll need to extend your baking time.
For best results, bake during peak sunlight hours and be prepared to rotate your oven every 30 minutes. Think of solar baking as similar to using a slow cooker – it requires patience and attention to timing.
Preparing Your Sun Oven
Before baking your first pie crust, proper preparation of your sun oven guarantees excellent performance and food safety. Start by removing the protective film from the reflectors and positioning your oven directly facing the sun. Close and latch the glass door, allowing the oven to sit for about 25-30 minutes.
While you're preparing your pie crust ingredients, let your sun oven preheat. On a clear day, it'll reach approximately 300°F in just 20 minutes. You'll need to realign the oven periodically to maintain ideal sun exposure throughout the preheating process.
Before your first baking session, you must thoroughly clean the oven. Place a pot of water mixed with dish soap inside the heated oven and let it sit for 90-120 minutes, realigning every 30 minutes.
Using oven mitts, carefully remove the pot and clean the entire chamber, paying special attention to the area where the glass meets the black gasket. Scrub thoroughly to guarantee all surfaces are completely clean. When working in windy conditions, use the T-Leg with stakes to ensure your oven stays secure during cleaning and baking.
Don't forget to keep the glass door latched during both preheating and cleaning processes. This initial preparation guarantees your sun oven is ready for baking the perfect pie crust.
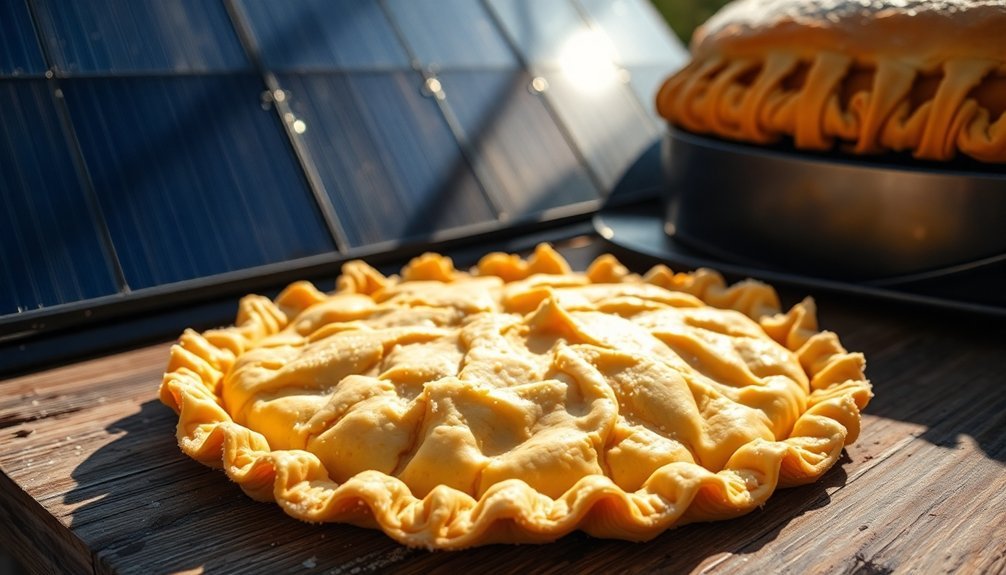
Mixing Your Pie Dough
Creating a perfect pie crust in your sun oven begins with proper dough preparation. Start by combining your flour, salt, and sugar in a chilled, large bowl, whisking them thoroughly to guarantee even distribution.
You'll want to keep your tools and ingredients cold throughout the process for the best results.
Next, you'll need to work your cold, cubed butter into the dry ingredients. Use your fingers or a pastry cutter to break the butter into irregular pieces, ranging from walnut to peanut size.
Create some butter sheets by smearing flour-coated pieces between your palms until the mixture resembles coarse meal.
When it's time to add water, form a well in the center of your bowl. Pour 4 tablespoons of ice water into the middle and sprinkle 2 tablespoons around the edges.
Using your hands, toss the mixture from the bottom up to incorporate the water. Add 1-2 more tablespoons if needed to bring the dough together.
Finally, turn your dough onto a clean surface and form it into a rectangle. Knead briefly, then shape into a disk.
Don't overwork the dough – stop as soon as it holds together.
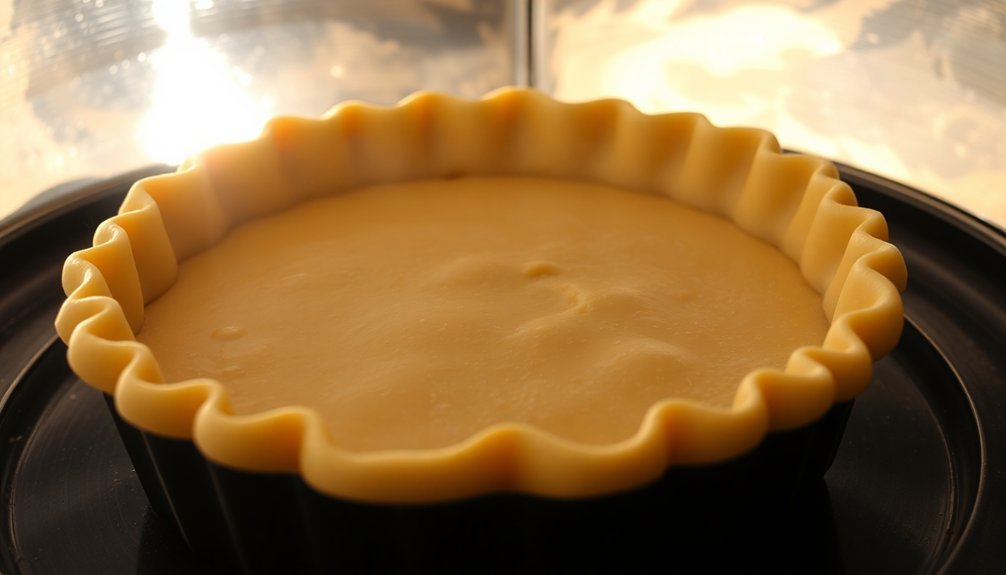
The Chilling Process
A properly chilled pie dough sets you up for success when using your sun-powered oven. You'll need to wrap your dough in plastic or reusable storage wrap and refrigerate it for at least 30 minutes, though 24 hours will give you the best results. This vital step hardens the fat and relaxes the gluten, making your dough easier to handle and ultimately more flaky.
During the rolling process, you'll want to maintain that cold temperature. If your dough starts warming up, don't hesitate to pop it back in the fridge for 5-10 minutes. Use gentle, smooth strokes to avoid overworking the dough and generating unnecessary heat.
Here are three significant chilling phases for perfect solar-baked pie crust:
- Initial chill after mixing – 30 minutes minimum, up to 24 hours
- Quick chills during rolling – 5-10 minutes whenever dough warms
- Final chill after shaping – 30-60 minutes before baking
Once you've shaped your crust in the pan, that final chill is essential. It allows the gluten to relax completely and keeps the fat cold, ensuring those coveted flaky layers when your sun-powered oven works its magic.
Rolling Out Your Crust
You'll want to start by generously flouring your rolling surface to prevent any sticking while working with the dough.
For consistently even results, mark the flour with light lines to track your rotations as you roll the dough to a 1/8-inch thickness.
Make sure your rolling surface is large enough to accommodate the final 12-inch diameter you're aiming for, giving you plenty of space to work comfortably.
Rolling Surface Prep Tips
Successful pie crust rolling starts with a properly prepared work surface.
You'll want to choose a cool, stable surface that's at least 12 to 14 inches square. A stone countertop works perfectly, but you can also use a silicon mat or parchment paper. If those aren't available, wax paper can serve as an alternative.
Keep your workspace and room temperature cool to prevent the butter in your dough from melting. Before you begin rolling, generously dust your surface with about 1/4 cup of flour to prevent sticking. You'll need to maintain this flour coating throughout the rolling process.
For the best results, follow these essential prep steps:
- Let your chilled dough warm up for 30-60 minutes before rolling
- Lightly flour both your dough and rolling pin
- If your dough is very cold, gently pound it with the rolling pin to soften
Remember to keep checking for sticking as you work, adding more flour when needed.
Use a dry pastry brush to remove excess flour from your dough's surface, ensuring your final crust won't have a dusty, raw flour taste.
Proper Rolling Thickness Guide
When rolling out pie dough, maintaining the proper thickness is crucial for achieving a perfectly flaky crust in your sun-powered oven. You'll want to aim for 1/8 inch thickness, which is about the same as two pennies stacked together. If you're using a thinner 3/32 inch thickness, you'll need to adjust your recipe portions accordingly.
| Rolling Step | Key Action |
|---|---|
| Direction | Roll in one direction only |
| Rotation | Turn dough 1/8 after each pass |
| Pressure | Use body weight, avoid excess force |
| Size Goal | Aim for 12-inch diameter |
| Thickness Check | Use pie wands or paper stack |
To guarantee proper thickness, you'll need to roll with consistent pressure while rotating the dough after each pass. Don't rush this process – let your chilled dough rest for 10-15 minutes if it starts to crack. You can verify your thickness using pie dough wands or by stacking 28-29 sheets of standard paper as a reference guide. Remember to lift and rotate your dough frequently to prevent sticking and maintain an even circle shape. This attention to detail will help your sun-powered oven produce the perfect pie crust.
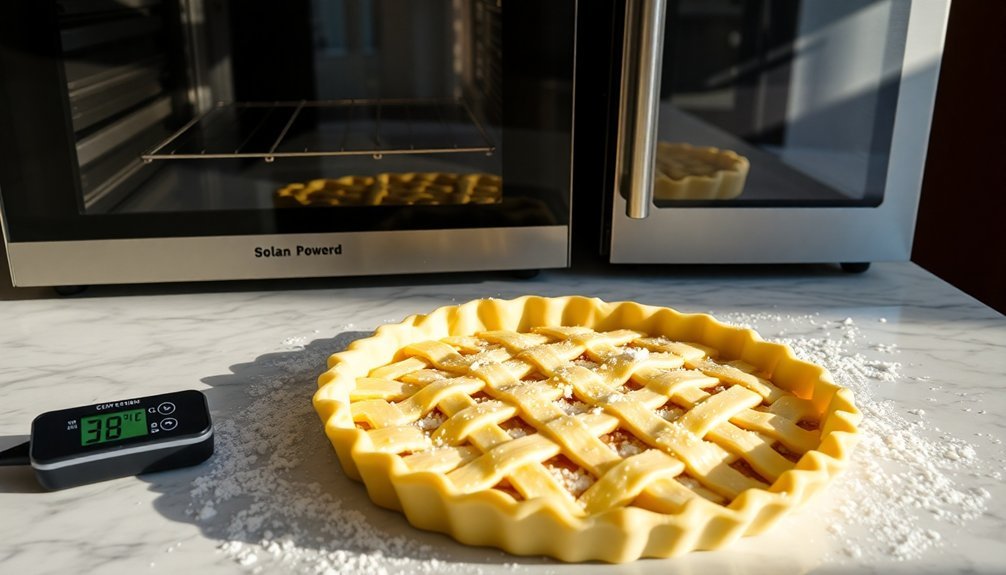
Solar Baking Time Management
Managing time effectively is essential for solar baking success, especially since cooking times can be double that of conventional ovens.
You'll want to start your pie crust between 11:00 am and 3:00 pm when the sun's position is ideal for maintaining consistent temperatures. Begin preheating your solar oven at least 30 minutes before you plan to bake, aiming for an internal temperature of 300-350°F on a sunny summer day.
To achieve the best results for your flaky pie crust, follow these vital timing steps:
- Position your oven at a 30-degree angle in summer (60 degrees in winter) and rotate it every 30 minutes to maintain direct sunlight exposure.
- Add thermal mass like bricks or rocks to help maintain steady temperatures throughout the baking process.
- Keep track of internal temperature using an oven thermometer, ensuring it stays above 200°F for proper cooking.
If you're baking during shorter winter days, you'll need to make more frequent adjustments to track the sun's position.
Remember to use reflectors covered with aluminum foil or Mylar tape to maximize sunlight capture and maintain consistent heating throughout your baking session.
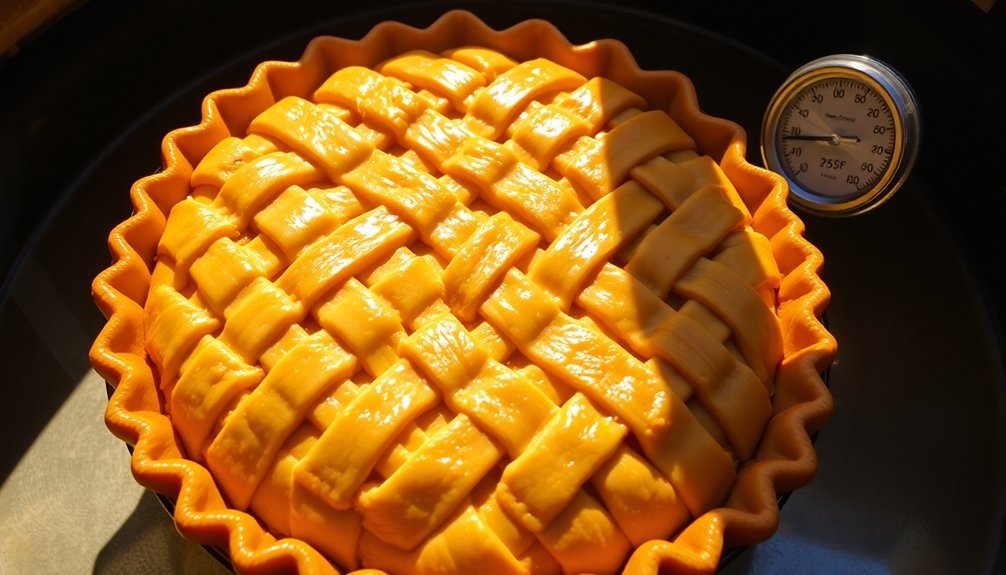
Visual Cues for Doneness
Identifying the perfect doneness of your solar-baked pie crust relies on three key visual indicators. First, you'll want to observe the crust's color and texture. Your crust should be golden-brown throughout, with slightly darker, crisp edges. When you tap it gently, it should feel firm with a slight give, and you'll notice a pleasant, baked aroma.
For blind baking in your solar oven, watch for specific pre-baking signs. The crust should achieve a light golden color and maintain its shape without collapsing. You'll know you're on the right track when you see steam escaping during the baking process, indicating proper moisture release.
When you're baking filled pies, focus on both the crust and filling interaction. Your filling should bubble gently and thicken as it cools, while the crust remains sturdy without drooping. The center should have a slight jiggle when shaken, but the edges must stay firm.
If you notice the edges browning too quickly, cover them with foil to prevent over-baking. Remember, your crust shouldn't hang over the pan's edge, as this can lead to melting in the solar oven.
Storage and Serving Tips

For ideal freshness, your solar-baked pie crust requires proper storage techniques. After your crust has completely cooled from the sun-powered oven, wrap it tightly in plastic wrap or place it in an airtight container.
You'll get the best results by storing it in the coldest part of your refrigerator, where it'll stay fresh for 3-5 days.
If you're planning for longer storage, freezing is your best option. Wrap your crust tightly in plastic wrap, then place it in a freezer-safe bag, removing as much air as possible.
It'll keep for up to 6 months at 0°F (-18°C) or below.
Here are three essential tips for maintaining your sun-baked crust's quality:
- Label your wrapped crust with the storage date for easy tracking
- Check for any signs of spoilage like odd smells or discoloration before using
- Thaw frozen crusts overnight in the refrigerator for the best texture
For leftover baked crusts, be sure to refrigerate within two hours of baking.
When you're ready to use them again, reheat to 165°F (74°C) for food safety, and they'll taste just as flaky as when they first came out of your solar oven.
Frequently Asked Questions
Can I Substitute Coconut Oil for Shortening in a Solar-Baked Pie Crust?
Yes, you can directly substitute coconut oil for shortening in your pie crust. You'll get a light, flaky texture, and it's healthier too. Just work it into the flour mixture like you'd use regular shortening.
How Does Humidity Affect Pie Crust Baking in a Sun-Powered Oven?
You don't need to worry about humidity affecting your pie crust. It won't absorb enough moisture to make a difference. Focus instead on keeping your butter cold and maintaining consistent temperature in your sun-powered oven.
Should I Adjust Salt Content When Baking Pie Crust at Higher Altitudes?
You don't need to adjust salt content when baking pie crust at high altitudes. Salt's primary role is flavor enhancement, not structural integrity. Keep using the same amount as specified in your original recipe.
Will Cloudy Weather Affect the Flakiness of My Solar-Baked Crust?
Yes, cloudy weather will affect your crust's flakiness. You'll experience inconsistent heat, which disrupts proper fat distribution. The extended cooking time can lead to overworked dough, making your crust less flaky than desired.
Can I Freeze Unbaked Pie Crust After Rolling It for Solar Baking?
Yes, you can freeze your rolled-out pie crust! Just wrap it tightly in plastic wrap and place it in a freezer bag. You'll want to use a metal pie plate and can store it for up to 3 months.
In Summary
You'll find that solar baking creates an amazingly flaky pie crust when you follow these temperature and timing guidelines. Remember to chill your dough thoroughly and monitor your sun oven's temperature closely. Don't worry if it takes longer than conventional baking – the results are worth the wait. Store your finished crust in an airtight container, and you'll have a perfectly golden, crisp base for any pie filling.


Leave a Reply