
To make fluffy dinner rolls in your solar oven, you'll need to start with a sturdy box lined with aluminum foil and insulated with newspaper. Mix your dough using all-purpose flour, yeast, sugar, salt, warm milk, and an egg, then let it rise until doubled. Shape your rolls and place them in a greased pan for a second rise. Position your solar oven to face the sun directly, using reflective flaps to concentrate heat. You'll need to maintain temperatures between 150-225°F and bake for 30-45 minutes, adjusting the oven's position every 30 minutes. With proper temperature control and timing, you'll master the art of creating perfectly golden-brown, tender rolls that'll impress your whole family.
Solar Oven Setup Essentials
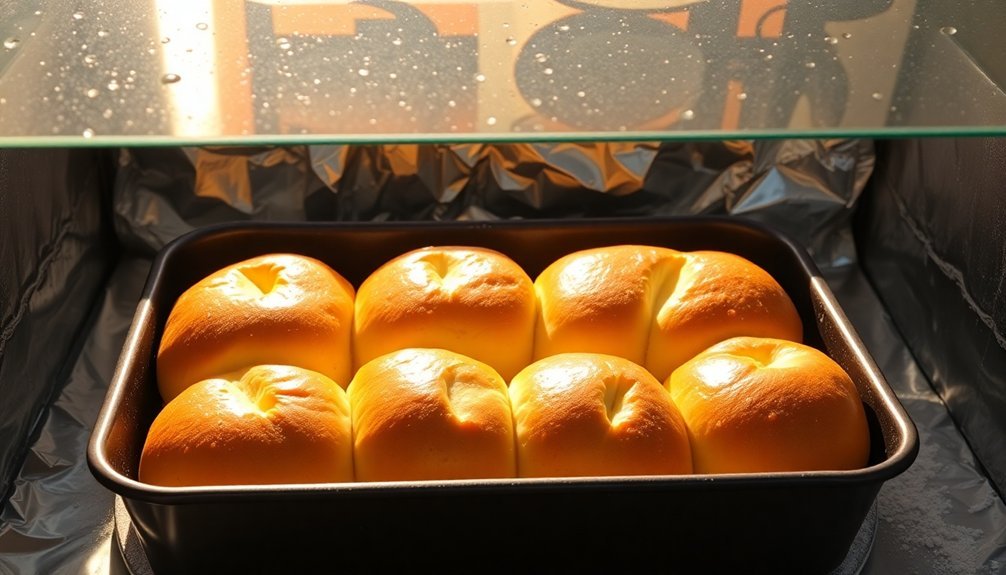
Every successful solar-baked dinner roll starts with a properly constructed solar oven. You'll need a sturdy cardboard or wooden box with a lid that includes a three-sided flap. Cover the box's opening with clear plastic wrap or glass, using double layers for better heat retention, and line the flap with aluminum foil to reflect sunlight into your cooking area.
Insulation is essential for maintaining consistent baking temperatures. Line the interior walls with newspaper, hay, or sawdust, and cover the bottom with black construction paper to absorb heat. Add cotton padding or crumpled newspapers around your baking area to prevent heat loss and create a stable cooking environment. Using hybrid solar ovens can provide additional flexibility when sunlight conditions are less than ideal.
Your solar oven's efficiency depends on proper sunlight reflection. Position the foil-lined flap to directly face the sun, and adjust it as the sun moves across the sky. Make sure the reflective surface remains smooth and clean for maximum heat reflection.
The black surface inside your oven will convert the reflected sunlight into heat, while the sealed clear cover traps it inside, creating the perfect environment for baking fluffy dinner rolls.
The Perfect Dough Recipe
Mastering the dough recipe is essential for creating light, airy dinner rolls in your solar oven. Start by warming your milk to 108-110°F and combining it with water. Add an egg for extra richness, then dissolve 1-2 teaspoons of active dry yeast in this warm liquid mixture. Sprinkle in a small amount of sugar to activate the yeast and let it proof until bubbly.
In a separate large bowl, combine your measured all-purpose flour with 1-1.5 teaspoons of salt. Create a well in the center of your dry ingredients and pour in your proofed yeast mixture. Add softened butter or vegetable oil for moisture and richness. Your Sun Oven baking time should be between 30 to 45 minutes for perfectly browned rolls.
You'll want to start with 3-4 cups of flour, adding more gradually as needed while mixing. Mix your ingredients thoroughly, then knead the dough for 3-5 minutes until it becomes smooth and elastic.
Don't overwork the dough or add too much flour, as this can make your rolls dense. You're looking for a consistency that's soft and slightly tacky but not sticky. The dough should feel light and springy when properly mixed.
First Rise and Shaping
Throughout the first rise, your dough needs a warm, draft-free environment of at least 23°C to develop properly. Place your dough in a lightly greased bowl and cover it with a clean cloth to prevent it from drying out.
You'll need to wait about 1-1.5 hours for the dough to double in volume, so keep an eye on it to avoid over-rising. Divide the dough into two 600g pieces before proceeding with shaping individual rolls.
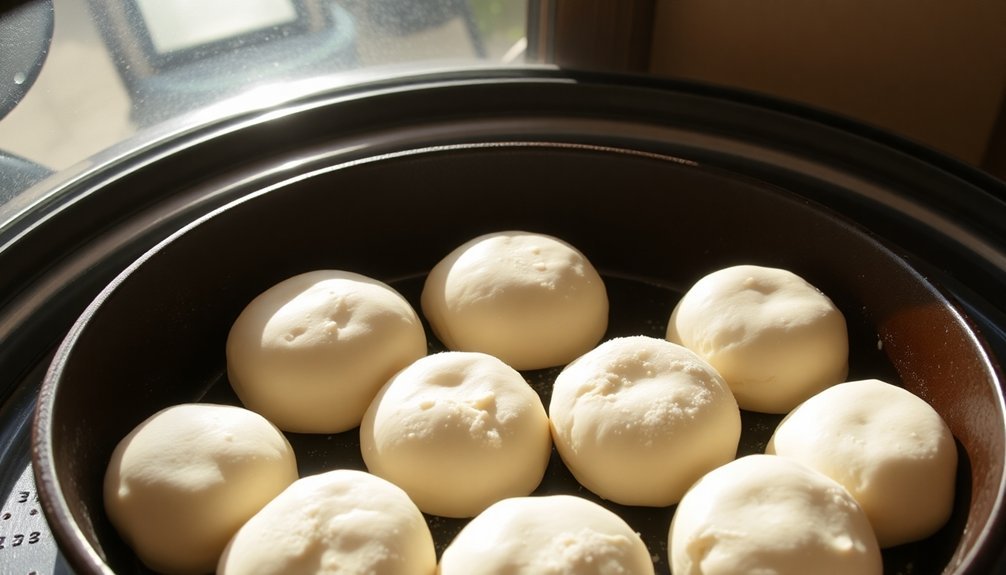
Once your dough has doubled, it's time to shape your dinner rolls. Punch down the dough to release air bubbles, then divide it into equal portions of about 3 ounces each. Shape each portion into smooth balls and arrange them in a greased 9×13-inch pan, leaving space for expansion.
Key steps for successful shaping and second rise:
- Space your rolls evenly in the pan to guarantee uniform baking
- Cover the shaped rolls with a cloth to maintain moisture
- Let them rise again for 45 minutes to 1.5 hours until puffy
- Monitor the rolls to prevent over-proofing
During the final minutes of the second rise, start preheating your solar oven to 180°C. This timing guarantees your oven will be ready when your rolls are perfectly proofed.
Positioning Your Solar Oven
Proper positioning of your solar oven can make the difference between perfectly fluffy rolls and undercooked dough. Position your oven to face directly into the sun, ensuring there's little to no shadow cast on your rolls. You'll know you've found the right spot when sunlight is clearly visible on the dough inside.
Choose a sheltered location that protects your oven from strong winds while maintaining direct sunlight exposure. Adjust the reflector's angle using a ruler to concentrate maximum sunlight onto your rolls. If needed, prop up one edge of the oven to achieve the ideal tilt for your location and time of day.
Don't forget to prepare your oven with proper insulation and reflective materials. Line the inside with black construction paper and crumpled newspapers for heat retention, then seal the top with clear plastic wrap, carefully removing any bubbles or creases.
Make sure your aluminum foil reflectors are smooth and shiny to direct more sunlight onto your rolls.
You'll need to monitor and adjust the oven's position as the sun moves. Plan for at least 30-45 minutes of good sunlight per hour during the baking process.
Temperature Control Tips
Keep a close eye on your heat gauge throughout the baking process, ensuring your solar oven maintains temperatures between 150-225°F for perfect dinner rolls.
You'll want to adjust your oven's position every 30 minutes to track the sun's movement and maximize heat absorption using your dark, lidded cookware.
If temperatures climb too high, you can quickly cool things down by turning the western reflector away from the sun or briefly opening the glass lid.
Monitoring Your Heat Gauge
Success in solar baking hinges on mastering your heat gauge's data. You'll need to monitor real-time temperature readings to guarantee your dinner rolls bake evenly and achieve that perfect fluffy texture.
Keep track of temperature gradients across different zones of your solar oven, as hot spots can lead to uneven baking. Use a reliable thermocouple or data logger to record precise measurements at regular intervals.
To maintain consistent heat levels while baking your rolls:
- Set up mobile app alerts to notify you when temperatures drop below 325°F or exceed 375°F
- Check solar irradiance levels using services like Solcast to anticipate temperature fluctuations
- Position your oven's reflectors to compensate for changing sun angles throughout the baking process
- Monitor heat retention rates using your gauge to guarantee proper insulation effectiveness
Verify your heat gauge is properly calibrated before each baking session.
When clouds pass overhead, you'll need to adjust cooking times based on temperature variations. Use insulation materials like newspaper or cotton balls around your baking pan to help maintain steady temperatures, and keep track of temperature data to improve your results with each batch.
Position For Maximum Warmth
Now that you're tracking temperature data carefully, optimizing your solar oven's position will maximize heat production for those perfect dinner rolls. Face your oven directly toward the sun and adjust the reflective flap's angle to direct maximum sunlight onto the plastic-covered window. Use a sturdy stick or ruler to prop the flap, and remember to rotate the oven periodically as the sun moves across the sky.
Maximize your heat retention by ensuring all reflective surfaces are clean and wrinkle-free. Cover the inner flap with smooth aluminum foil, shiny side out, and position additional reflective surfaces to minimize shadows on your cooking area.
You'll want to line the oven's bottom with black construction paper to absorb heat effectively.
For the best baking conditions, set up your oven during mid-day hours when sunlight is strongest. Place it on level ground away from wind exposure, and pack insulating materials like rolled newspapers or cotton balls around the cooking chamber.
Even on partly cloudy days, you can still achieve successful results – just extend your cooking time and maintain proper positioning throughout the baking process.
Maintaining Steady Cooking Heat
Temperature control is the cornerstone of successful solar baking, especially when crafting delicate items like dinner rolls. You'll need to maintain a steady temperature between 150-225°F for your rolls to rise and bake properly. Use reflective materials like aluminum foil or mirrors to direct additional sunlight toward your cooking surface, positioning them carefully to minimize shadows and maximize heat absorption.
To keep the heat consistent, insulate your solar oven properly and manage moisture effectively. Line the bottom with black construction paper and surround your cooking area with crumpled newspapers or other insulating materials. Use dark pots with tight lids, as they're better at retaining heat than shiny ones.
- Monitor the internal temperature using a digital probe thermometer
- Adjust the oven's position throughout the day to maintain consistent heat
- Regulate temperature by opening the latch or adjusting the glass lid when needed
- Layer insulating materials strategically to prevent heat loss
Remember that solar baking typically takes twice as long as conventional methods, so plan accordingly.
Keep the oven sealed to retain moisture, which is essential for achieving that perfect, fluffy texture in your dinner rolls.
Baking Time Adjustments
You'll need to monitor your dinner rolls' baking time carefully, as solar ovens require 1.5 to 3 times longer than conventional ovens and temperatures can fluctuate between 250-350°F depending on weather conditions.
Keep track of both time and temperature using an oven thermometer, adjusting your total baking duration based on current readings – warmer days will need less time while cooler or cloudy conditions demand longer bakes.
For consistent results, maintain a temperature log and note how different weather patterns affect your baking times, which will help you develop reliable time charts for future bakes.
Temperature-Based Time Charts
Successfully baking dinner rolls in a solar oven requires understanding how temperature affects cooking times. When your solar oven reaches 350°F on a hot, sunny day, you'll experience cooking times similar to a conventional oven. However, you'll need to adjust your timing considerably when temperatures drop below this ideal range.
To help you plan your baking schedule, here's a temperature-based timing guide for dinner rolls:
- At 350°F: Expect cooking times similar to conventional ovens (about 16-20 minutes)
- At 300°F: Plan for approximately 1-1.5 hours of baking time
- At 275°F: You'll need about 1.75-2 hours for complete baking
- At 250°F: Allow up to 2-2.5 hours for fully cooked rolls
Remember that these times aren't fixed – they'll vary based on weather conditions and your specific solar oven model.
You'll want to check your rolls regularly, especially during the first few times you bake them.
Keep in mind that while solar ovens maintain moisture well, you won't get the same browning on top as you'd in a conventional oven, but the texture inside will be similarly fluffy.
Weather Impact on Duration
Weather conditions play an essential role in determining how long your dinner rolls will take to bake in a solar oven. You'll achieve the best results between 11:00 am and 3:00 pm when UV rays are most direct. During this peak window, your rolls should bake in 2-3 hours under ideal conditions.
| Weather Type | Impact on Baking Time | Required Adjustments |
|---|---|---|
| Cloudy Days | Add 1-2 hours | Position oven for maximum exposure |
| Windy Days | Add 30-45 minutes | Find sheltered location |
| High Humidity | Add 45-60 minutes | Reduce recipe moisture by 10% |
You'll need to adapt your baking schedule based on seasonal changes. Summer offers more flexibility, but winter requires careful planning and frequent adjustments to maintain consistent temperatures. If you're baking during fall or spring, position your solar oven where it won't be affected by sudden wind gusts, which can greatly reduce internal temperature. During humid conditions, you might notice your rolls take longer to achieve that golden-brown crust. If rain threatens, it's best to postpone your baking, as precipitation will interrupt the cooking process and affect your rolls' texture.
Monitoring Methods and Tools
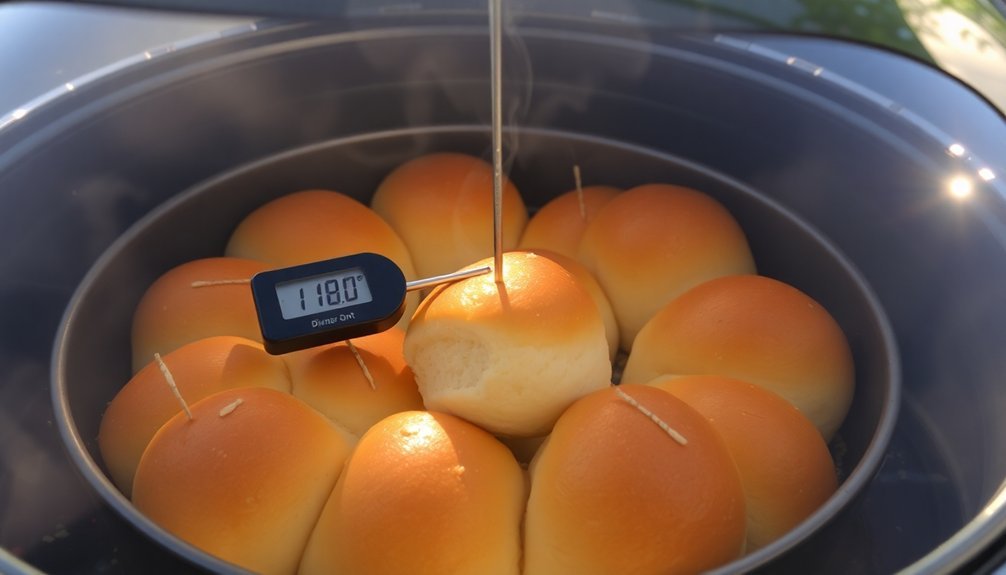
Accurate monitoring tools help overcome the unpredictable nature of solar baking. You'll need a reliable meat thermometer as your primary tool since timing alone won't guarantee perfectly baked rolls. Track the internal temperature of your rolls rather than relying on a timer, and keep a close eye on your solar oven's temperature gauge throughout the baking process.
To maintain consistent results with your dinner rolls, use these essential monitoring tools:
- A high-quality meat thermometer to check the internal temperature of your rolls
- A dedicated oven thermometer to track the cooking chamber's temperature
- A solar irradiance monitoring app on your phone to track sun intensity
- Temperature data loggers to record heat distribution patterns
Position your thermocouples strategically within the oven to identify hot and cold spots. You'll want to maintain temperatures between 300-350°F for peak results, similar to conventional oven baking.
If you notice temperature fluctuations, adjust your reflectors accordingly and reposition the oven to maintain a 90-degree angle with the sun. Remember to calibrate your monitoring tools regularly to guarantee accuracy in your readings.
Testing for Doneness
Testing your dinner rolls for proper doneness in a solar oven requires different techniques than conventional baking. Since solar ovens don't brown food as quickly as conventional ovens, you can't rely solely on visual cues. Instead, you'll need to focus on texture and internal temperature to determine when your rolls are fully baked.
When checking your rolls, gently press the top with your finger – it should feel soft yet spring back. You'll want to minimize opening the oven to prevent heat loss, so time these checks carefully.
If your solar oven has reached ideal temperature (250-300°F on sunny days), your rolls will typically take 2-4 times longer than a conventional recipe suggests.
To guarantee even baking, you'll need to rotate the rolls every 10-15 minutes and reposition your solar oven to follow the sun's movement.
Don't worry if your rolls don't achieve the golden-brown color you're used to – they can be fully cooked without significant browning. If you're uncertain, use a digital probe thermometer to check the internal temperature of the rolls. They should be heated through completely and feel light and fluffy when broken apart.
Serving and Storage Methods
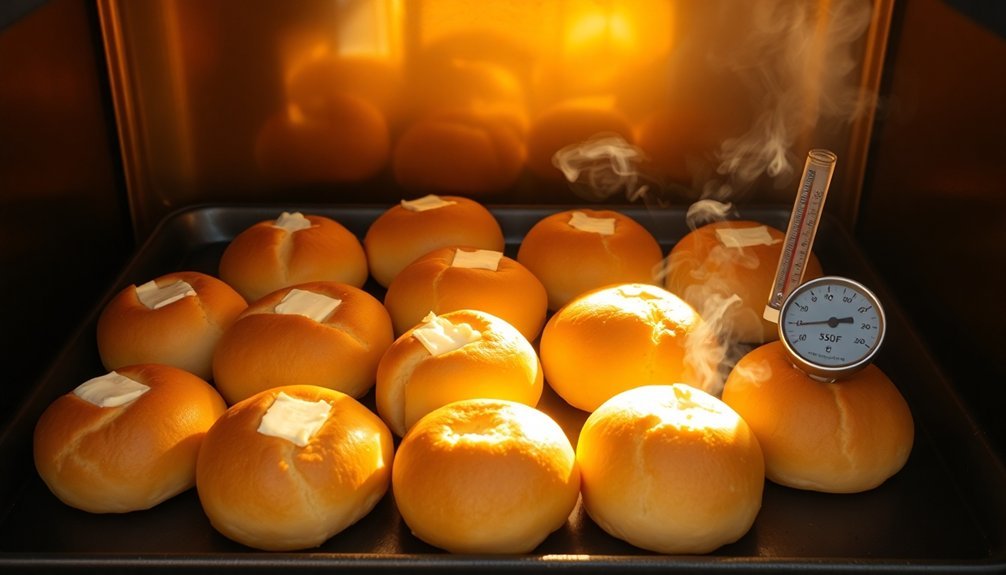
Once your solar-baked dinner rolls have passed the doneness tests, you'll want to know the best ways to serve and store them. For immediate serving, brush the warm rolls with melted butter and serve alongside your main course. They're perfect for special occasions like holiday meals, and you can pair them with soups, stews, or enjoy them with honey at breakfast.
To maintain freshness, cool your rolls on a wire rack before storing. You've got several storage options depending on your timeline. For short-term storage, keep them in an airtight container at room temperature for up to two days.
If you need longer storage, you can refrigerate them for 24 hours or freeze them for up to a month.
When you're ready to use frozen rolls, follow these essential steps:
- Place frozen rolls in a greased baking dish
- Cover with a clean dish towel
- Allow 3-4 hours for thawing and rising
- Monitor until they've doubled in size before reheating
For the best results when reheating, warm them briefly in your solar oven or conventional oven to restore that fresh-baked taste and texture.
Frequently Asked Questions
Can I Use Different Flours Instead of All-Purpose Flour?
Yes, you can use Better Batter, Authentic Foods Multi-Blend, Gluten-Free Mama's Almond blend, King Arthur measure-for-measure, or Pillsbury gluten-free flour. Just verify they contain xanthan gum for proper structure and texture.
What Happens if Clouds Appear During the Baking Process?
If clouds appear, your baking temperature will drop considerably. You'll need to extend cooking time or pause until it's clear again. Clouds can prevent proper rising and browning of your bread.
How Do I Prevent My Rolls From Sticking to the Pan?
You'll prevent sticking by greasing your pan well, dusting it with flour, and using parchment paper. Don't forget to maintain proper dough hydration and let your rolls cool slightly before removing them.
Should I Pre-Heat the Solar Oven Before Adding the Rolls?
Yes, you'll definitely want to preheat your solar oven. It helps achieve proper baking temperature quickly, guarantees even cooking, and prevents your rolls from staying too long in unsafe temperature zones. Don't skip this step!
Can I Freeze Unbaked Dough and Bake It Later?
Yes, you can freeze unbaked dough! Shape it after the first rise, freeze until solid, then wrap it tightly. When you're ready to bake, thaw overnight in the fridge and let it complete its second rise.
In Summary
You'll find these solar-baked dinner rolls rival any oven-baked version when you follow these tips and techniques. Be patient with the longer baking time – it's worth the wait for that perfect golden crust and fluffy interior. Don't forget to store your rolls in an airtight container if you're not serving them immediately. Now you've mastered a sustainable way to bake delicious rolls using just the sun's power.


Leave a Reply