Your solar cooking success depends heavily on adapting to seasonal weather patterns. In summer, you'll achieve ideal temperatures up to 400°F between 11 AM and 3 PM, while winter requires steeper angles and more frequent adjustments every 15-30 minutes. Spring offers reliable 300°F cooking temperatures, and fall works best for slow-cooking dishes at 140-160°F. You'll need to monitor food safety by keeping temperatures above 125°F and adjust your insulation strategy based on local conditions. Position your cooker on level ground, use reflectors effectively, and maintain your equipment regularly. The more you understand these seasonal nuances, the better your sun-powered meals will turn out.
Choosing Your Solar Cooking Season
While solar cooking is possible year-round, understanding seasonal differences will help you maximize your sun-powered culinary success.
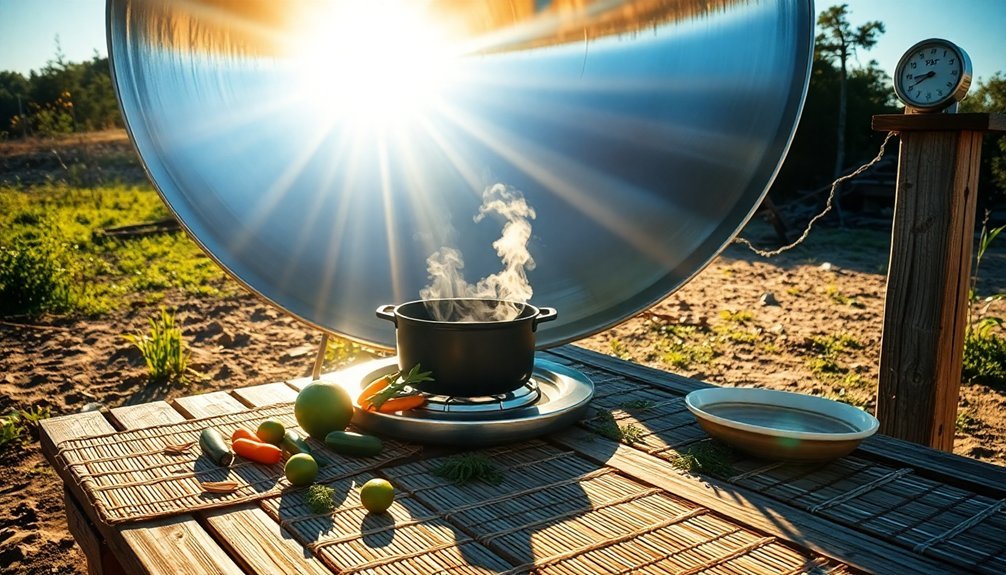
Summer offers ideal conditions with temperatures reaching up to 400°F during peak hours, making it perfect for most dishes. You'll need minimal adjustments to your cooker's position and can rely on consistent cooking times.
Spring provides reliable temperatures up to 300°F, perfect for quick-cooking items like eggs.
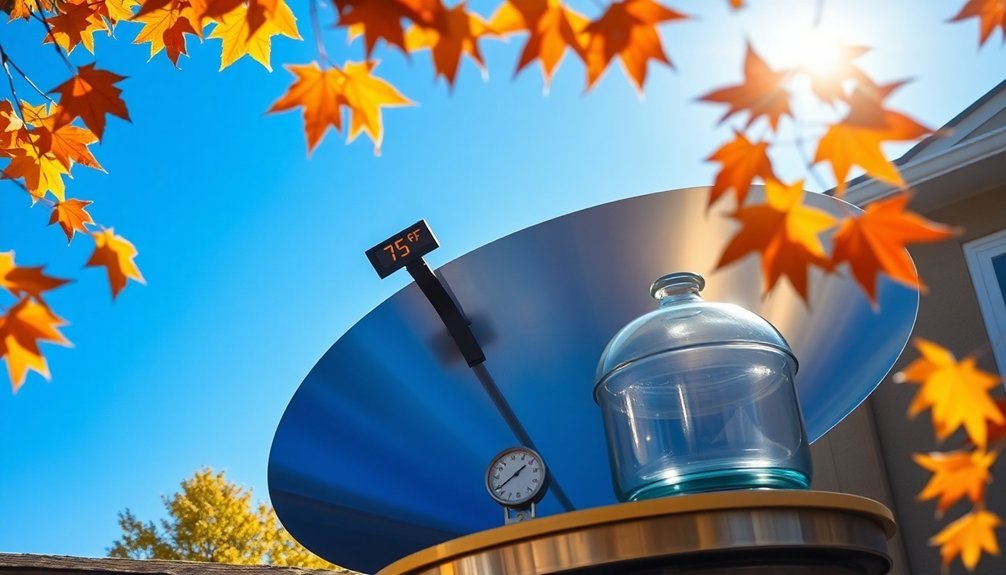
Fall and winter require more patience and planning. In fall, expect temperatures between 140-160°F, making it better suited for slow-cooking stews and soups. Using cast iron cookware can help maintain consistent temperatures during these cooler months.
Winter demands the most attention – you'll need to reposition your cooker more frequently and use heat-retention techniques like thermal mass.
For best results across all seasons, plan your cooking between 11:00 AM and 3:00 PM when UV rays are strongest.
Weather Planning for Solar Meals
Building on your seasonal solar cooking knowledge, smart weather planning can make or break your sun-powered meals.
Start by checking weather forecasts for days with consistent sunshine and minimal cloud cover. You'll need at least 30-45 minutes of good sun each hour for effective cooking.
Position your solar oven in a spot that'll maintain direct sunlight throughout the cooking process, and be ready to adjust its placement as the sun moves. The best solar cooking generally happens between 10 am and 4 pm during summer months.
While passing clouds won't ruin your meal, you'll want to avoid days with prolonged overcast conditions.
Don't let wind derail your plans – find a sheltered location to protect your setup.
Summer Solar Cooking Tips
Start your summer solar cooking day by prepping ingredients and positioning your oven at sunrise, when the air is still cool and you'll have maximum daylight hours ahead.
You'll find the most effective cooking window between 10 AM and 2 PM, when the sun's intensity peaks and temperatures inside your solar oven can reach 350°F or higher. For optimal results, place your oven on a flat, sunny surface away from any trees or structures.
To capture ideal heat during these prime hours, angle your cooker directly south and adjust it every 30-45 minutes to track the sun's movement across the sky.
Early Morning Prep Steps
Successful solar cooking begins with essential morning preparations during summer months.
You'll need to start by selecting your cooking spot, ensuring it faces the path of the sun throughout the day. Clean your solar cooker thoroughly and set it on level ground where it won't be disturbed.
Next, prepare your ingredients with solar cooking in mind. Choose dark-colored pots and plan dishes that work well with longer cooking times.
You'll want to chop vegetables, marinate meats, and organize your ingredients before the sun reaches its peak. Position your thermometer inside the cooking chamber and adjust the reflectors to maximize sunlight concentration.
Don't forget to check the UV index forecast – it'll help you determine if you need to extend cooking times or use a heat-trapping plastic bag.
Best Temperature Time Windows
While solar cooking requires patience, knowing the ideal temperature windows can dramatically improve your results. You'll get the best performance between 11:00 am and 3:00 pm when UV rays are strongest, allowing temperatures to reach 300-400°F in well-designed ovens.
For best cooking, position your solar oven to maximize sun exposure during these peak hours. You'll find that summer months offer more flexibility, as longer daylight hours mean you won't need to adjust your cooker's position as frequently.
Your oven can maintain temperatures between 150-400°F during summer days, perfect for most recipes.
Remember that weather conditions matter – clear, sunny days are essential. Choose dark-colored cookware to absorb heat more efficiently, and make certain your cooker has proper insulation to maintain consistent temperatures throughout the cooking process.
Position For Maximum Heat
Four key positioning elements can make or break your solar cooking success during summer months.
First, you'll need to face your solar oven directly into the sun, adjusting it every 30 minutes to maintain peak heat as the sun moves. Guarantee there's even shadow distribution on both sides of your oven.
Choose a dry, level spot that's protected from wind and gets continuous sunlight throughout your cooking time. Use stones or bricks for stability if needed.
Set up your reflective panels to bounce extra sunlight onto your pot from multiple angles, keeping them clean and securely fastened.
Finally, elevate your dark, thin-walled pot inside the oven using a bracket, and seal it with a heat-resistant plastic bag or insulated box. This setup maximizes heat retention while allowing sunlight to reflect underneath.
Winter Solar Oven Adjustments
Making your solar oven work efficiently during winter requires strategic adjustments to combat the season's unique challenges.
Extend your oven's inclining leg to its maximum during the shortest days, and stabilize it with bricks or wood blocks to prevent tipping from winter breezes.
You'll need to position your cooker on its narrowest side and adjust to steeper angles – typically 60 degrees in winter compared to 30 degrees in summer.
While cooking times may increase by 15 minutes, you can speed up the process by preheating indoors.
Don't let cold temperatures discourage you – winter's dry air often provides more intense sunlight, and snow can actually boost your cooking efficiency by reflecting additional light into the oven.
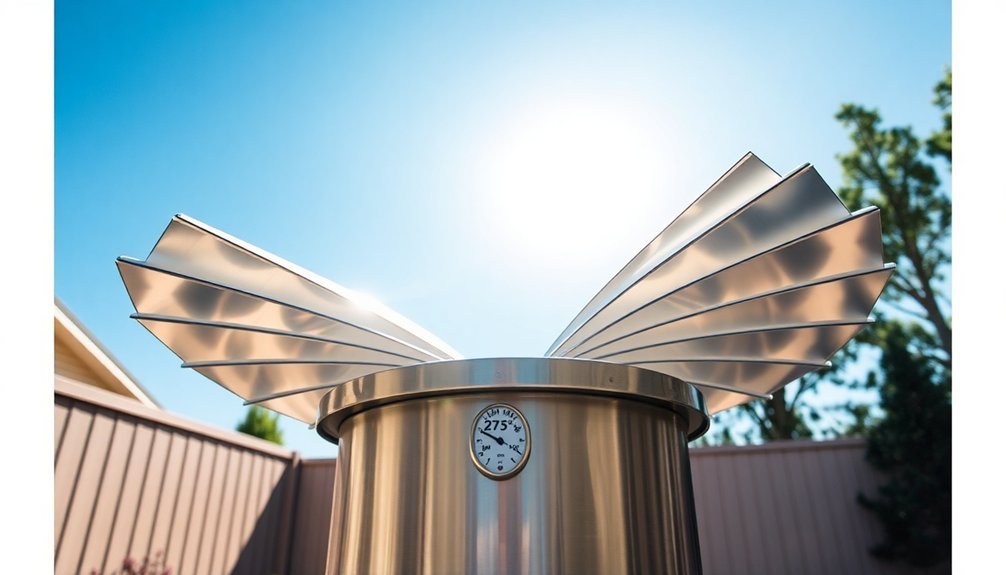
For best results, use well-insulated models with vacuum tube technology or added booster panels.
Positioning Based on Sun Path
To maximize your solar cooking efficiency, proper positioning relative to the sun's path is essential. You'll need to take into account the sun's altitude and your latitude, as these factors directly impact cooking performance. Use online calculators from sources like the University of Nebraska-Lincoln to determine ideal angles for your location.
- Place your cooker on a level surface with unobstructed sunlight, using the shadow method to verify alignment.
- Adjust your reflectors or panels hourly to maintain ideal sun exposure throughout cooking.
- Tilt the cooker according to seasonal variations, especially during winter months when sun angles are lower.
- Secure your cooker with stones or bricks on windy days while maintaining proper orientation.
Remember to use transparent heat traps around dark pots and additional reflective surfaces to enhance cooking performance in challenging conditions.
Seasonal Recipe Modifications
Once you've positioned your solar cooker correctly, you'll need to adapt your recipes based on the changing seasons.
In winter, opt for root vegetables and cured meats, allowing longer cooking times due to reduced sun intensity. You'll want to start cooking between 11 AM and 3 PM when sunlight is strongest.
During spring and summer, take advantage of seasonal produce like zucchinis, squash, and fresh artichokes. You can prepare diverse dishes from simple melted cheese to complex vegetable tartiflettes.
Don't forget to monitor temperatures with a thermometer to guarantee food safety. For best results, preheat your cooker and adjust cooking times according to the season.
When using proteins, consider alternatives like smoked bacon in colder months, and incorporate melting cheeses like reblochon to enhance flavor year-round.
Temperature Control Through Seasons
You'll need to make key adjustments to your solar cooker's heat collection as the seasons change, including more frequent position changes during winter months and fewer in summer.
To maintain steady cooking temperatures year-round, you can add or remove reflectors and adjust insulation materials like foam trays based on the outdoor conditions.
Your cooker's temperature control becomes more manageable when you combine proper positioning with seasonal insulation strategies, whether you're cooking on a cold winter day or during peak summer heat.
Seasonal Heat Adjustments Needed
Successful solar cooking requires different temperature control strategies as the seasons change.
You'll need to make more frequent adjustments during winter months when the sun sits lower in the sky. Clear, cold air actually intensifies sunlight, making winter cooking possible with proper adaptations.
- Monitor cooking temperatures closely using thermometers to maintain 150-225°F range, adjusting your cooker's position every 30-45 minutes.
- Extend preheating time by up to 15 minutes during colder months, using dark-colored cookware to maximize heat absorption.
- Position your cooker to take advantage of natural reflective surfaces like snow, multiplying available light.
- Keep your solar cooker in a wind-protected area and utilize a Sunsight device for precise sun alignment.
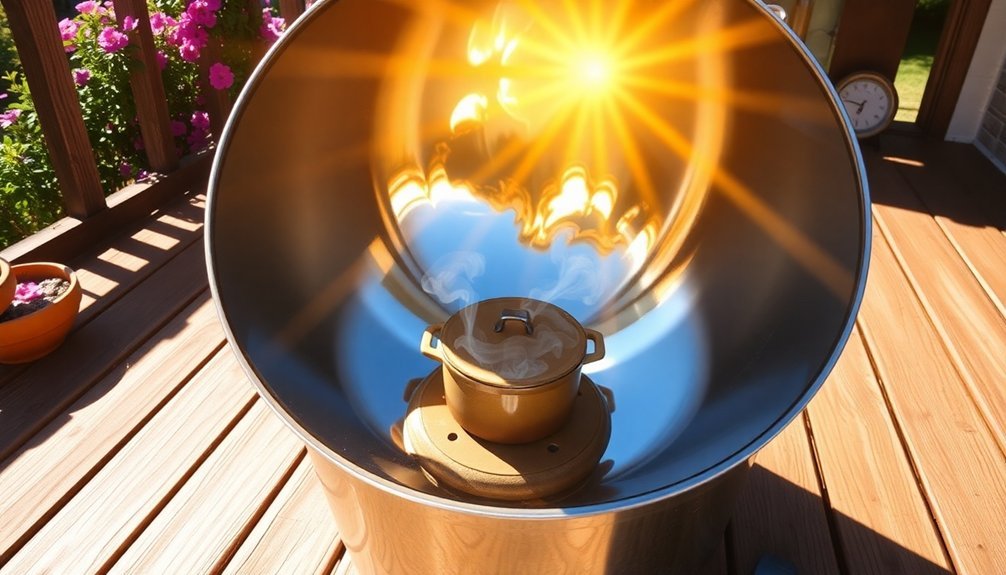
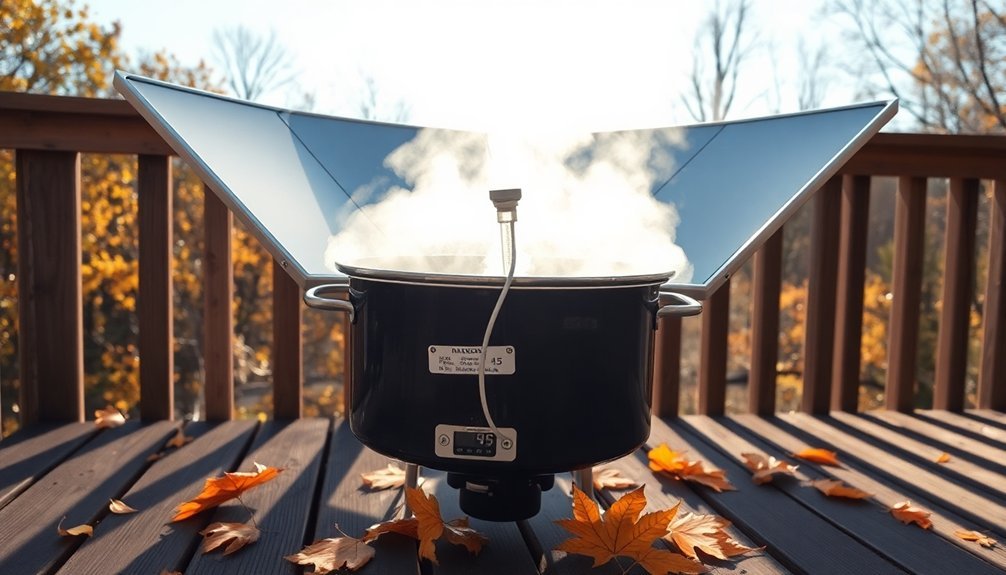
Remember to watch for steam as a cooking progress indicator without opening the cooker, which helps maintain consistent temperatures.
Insulation For Different Climates
Proper insulation in your solar cooker serves as the cornerstone of temperature control across different climate zones.
You'll need to adapt your insulation strategy based on your local weather patterns to maximize cooking efficiency.
For cold climates, you'll want multiple layers of thermal insulators like foam or fiberglass to combat freezing temperatures.
In humid regions, make sure your cooker has an airtight seal to maintain steady temperatures despite moisture.
If you're in a cloudy area, focus on materials that excel at heat retention, such as packed newspaper or cotton balls.
Desert dwellers should prioritize insulation that can handle extreme temperature swings, while coastal residents need moisture-resistant materials that perform well in foggy conditions.
Position Changes By Season
Beyond insulation, seasonal sun patterns greatly affect your solar cooking success. You'll need to adapt your positioning strategy as the sun's path and intensity change throughout the year.
In summer, you can enjoy longer cooking windows with less frequent adjustments, while winter requires more attentive monitoring and position changes.
Here's what you need to know for ideal positioning:
- Track your cooker's shadow in all seasons – it should fall directly behind the unit for best performance.
- Adjust more frequently during winter months (every 15-30 minutes) between 10 AM and 2 PM.
- Take advantage of summer's peak hours (10 AM to 4 PM) when the sun is directly overhead.
- Use seasonal cooking windows strategically – consider multi-day cooking in winter and early starts in spring/fall.
Optimal Cooking Time Selection
Selecting the right cooking time for solar cooking depends on several key factors, including the time of day, season, and type of food you're preparing. You'll get the best results between 10 AM and 4 PM in summer, while winter cooking works best from 11:30 AM to 2:30 PM.
| Food Type | Cooking Duration |
|---|---|
| Quick Items | Under 1 hour |
| Light Dishes | 1-1.5 hours |
| Standard Meals | 2-2.5 hours |
| Whole Foods | 3-3.5 hours |
| Large Items | 4-7 hours |
For ideal results, use a food thermometer and keep your cooker pointed directly at the sun. Remember to reduce liquids in recipes by ¼ to ½ cup since there's minimal evaporation. Your cooking time may vary based on weather conditions and the efficiency of your solar cooker.
Dealing With Seasonal Wind
While wind poses a significant challenge for solar cooking enthusiasts, you can take several steps to maintain ideal cooking temperatures in blustery conditions. Strong winds can quickly drop your cookware's temperature from 700°F to below 300°F, making it difficult to bake or fry effectively.
You'll need to adapt your setup, especially if you're using a panel-style cooker.
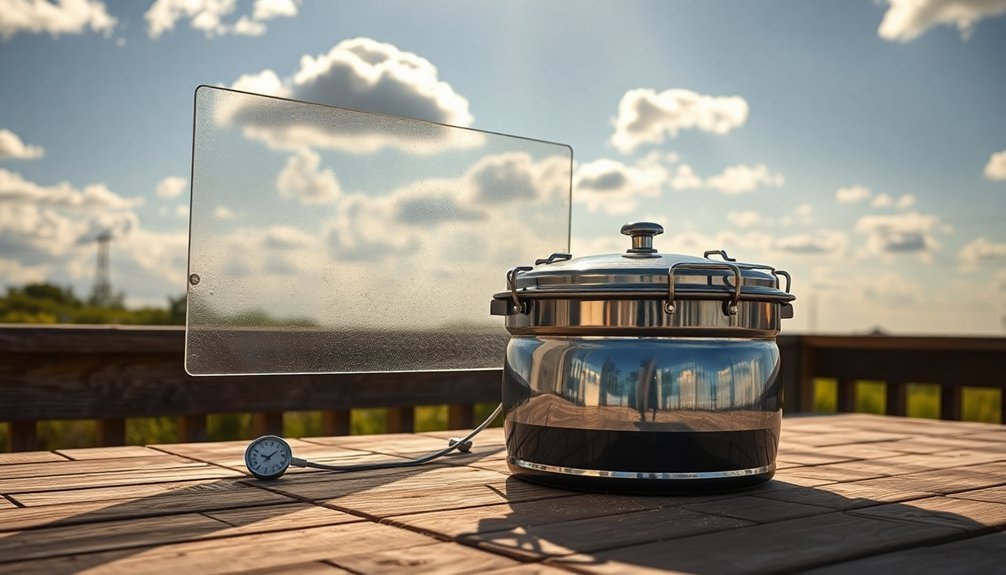
- Position your cooker behind a windbreak, like recycled glass panels, or on the leeward side of a building.
- Add thermal mass objects such as bricks to help retain heat during gusty periods.
- Choose thicker pots and pans that maintain temperature longer in windy conditions.
- Consider upgrading to a vacuum tube or parabolic cooker if you live in consistently windy areas.
Seasonal Equipment Care Guide
Your solar oven's longevity depends on proper protection during rainy months and winter, so you'll want to store it in a dry, covered location and use a protective bag or towel to shield it from moisture and dust.
When winter arrives, it's essential to bring your solar oven indoors and check that all components, including the reflective surfaces and windscreen, are intact and properly assembled.
After each cooking session, clean the oven's surfaces with a soft cloth or sponge to maintain its efficiency and prevent damage to the reflective coating.
Storage During Rainy Months
Proper storage of your solar cooker during rainy months guarantees its longevity and maintains peak cooking performance throughout the year.
You'll need to thoroughly clean and dry all components before storage, paying special attention to reflective surfaces and metal parts. Apply a thin layer of silicone or wax to protect against rust, and use desiccants to combat moisture.
Choose a well-ventilated, dry location away from direct sunlight and humidity.
Here's what you'll need to check regularly:
- Inspect seals and gaskets for signs of wear
- Look for any water damage or rust spots
- Test the cooker's heating performance after storage
- Verify that insulation remains intact and undamaged
Store your cooker upright in a protective cover, and keep it easily accessible for your next sunny cooking day.
Winter Protection Essentials
During harsh winter months, protecting your solar cooker requires specific preventive measures to maintain its functionality and extend its lifespan.
When using your cooker in cold temperatures, make certain it's positioned in a wind-protected area to prevent tipping and heat loss.
Keep your cooker's reflective surfaces clean and well-maintained for peak performance, even in challenging conditions.
You'll want to use double-walled glass tubes or similar insulation features to retain heat effectively.
Don't forget to preheat your cooker for an hour before use, and consider using dark-colored, thin metal pots with tight-fitting lids to maximize heat absorption.
While your cooker can function in temperatures as low as 10°F (-12°C), you'll need to adjust cooking times accordingly.
Plan your meals around available sunlight, and use the device for slower-cooking dishes during winter months.
Cleaning After Each Use
Maintaining a spotless solar oven isn't just about cleanliness—it's essential for peak performance and longevity. Your solar oven's efficiency depends on clean, reflective surfaces that can capture maximum sunlight.
After each use, wipe down the tank with a soft sponge and a natural solution of 50/50 vinegar and hot water, being careful to avoid abrasive materials that could damage the paint.
- Clean all utensils and work surfaces immediately after use to prevent cross-contamination.
- Inspect reflective surfaces for fingerprints or smudges, wiping them with a soft cloth.
- Check for signs of wear or damage while cleaning, especially on painted surfaces.
- Store your oven in a dry place with a protective cover when you're done cleaning.
Remember to sanitize any tools that have touched food before switching between different ingredients.
Solar Safety By Season
Safe and effective solar cooking requires different approaches throughout the year, as seasonal changes dramatically affect both cooking times and safety considerations.
In summer, you'll find ideal cooking between 11 AM and 3 PM, when UV rays are strongest. Keep your reflectors clean and use dark-colored pots to maximize heat absorption.
During winter, you'll need to adapt to shorter days and colder temperatures by starting earlier and using well-insulated equipment.
Fall and spring bring variable conditions that require more frequent adjustments. You'll want to pre-heat your oven and monitor its alignment with the sun more often.
Regardless of season, always make certain food reaches safe temperatures above 125°F to prevent bacterial growth, and don't leave food in the danger zone between 50°F and 125°F for extended periods.
Seasonal Storage Solutions
Successful solar cooking depends on having a reliable system for storing seasonal ingredients and preserving your sun-cooked foods.
You'll want to match your storage methods with each season's harvest to maximize your solar cooking potential year-round. By preserving summer's bounty through fermentation, dehydration, and canning, you'll have ingredients ready for solar cooking even during winter months.
- Store root vegetables like potatoes, carrots, and beets in damp sand or a root cellar to maintain freshness.
- Turn summer fruits into jams, jellies, and fruit leathers using your solar dehydrator.
- Preserve herbs by freezing them in ice cube trays with olive oil or water.
- Ferment cabbage, cucumbers, and green beans in mason jars with brine for long-term storage.
Make sure you're storing your preserved foods in cool, dark places to maintain their quality and extend shelf life.
Frequently Asked Questions
Can Solar Ovens Be Used to Sterilize Medical Equipment?
Yes, you can sterilize medical equipment using solar ovens that reach temperatures above 180°C. They're particularly effective in rural clinics, achieving multiple sterilization cycles daily when there's direct sunlight available.
Do Solar Ovens Work Differently at Different Altitudes?
Yes, your solar oven will work better at higher altitudes due to increased solar radiation intensity. You'll experience faster cooking times and higher temperatures since there's less atmosphere to block the sun's rays.
How Do Solar Ovens Affect the Vitamin Content of Cooked Foods?
You'll notice significant vitamin loss in solar-cooked foods, especially vitamin C. Your vegetables can lose up to 87% of their vitamin C content due to prolonged cooking times compared to conventional cooking methods.
Can Solar Ovens Be Used to Desalinate Water?
Yes, you can use solar ovens to desalinate water. They'll work like a solar still, using the sun's heat to evaporate seawater and collect the condensed freshwater, leaving salt behind in the collection tray.
Will Cooking With Solar Ovens Attract Wildlife to My Yard?
Your solar oven itself won't attract wildlife, but the food smells from cooking can. Keep your cooking area clean, store food in airtight containers, and properly dispose of waste to minimize wildlife attraction.
In Summary
You've now got all the tools needed to cook with the sun year-round. Remember, it's not just about having the right equipment – it's about working with nature's patterns. Keep tracking the weather, adjusting your setup seasonally, and maintaining your gear properly. With these weather-smart strategies, you'll transform sunlight into delicious meals whether it's the height of summer or depths of winter.


Leave a Reply