To achieve maximum cooking heat with reflectors, you'll want to position them between 60 and 80 degrees, with 60 degrees serving as your ideal starting point. The angle of reflection equals the angle of sunlight incidence, so avoid angles above 90 degrees (which block sunlight) or below 45 degrees (which reduce efficiency). You can fine-tune your setup using an oven thermometer – aim for temperatures where food browns in 7-10 seconds at 200°F. Remember to adjust angles seasonally, tilting more in winter for lower sun elevation and less in summer. These fundamentals will set you up for mastering advanced heat capture techniques.
Basic Reflector Angle Science

When designing a solar cooker, understanding reflector angles is essential for maximizing heat concentration. You'll want to keep your reflector angle between 45 and 90 degrees for ideal performance.
Most successful designs use an angle around 60 degrees, which provides an effective balance of sunlight capture and practical functionality. Remember that the angle of reflection will equal the angle at which sunlight hits your reflector surface.
Don't set your angle at 90 degrees, as it won't engage the sun properly. Similarly, angles under 45 degrees will reflect light parallel to the window or back toward the sun, reducing your cooker's efficiency.
The exact ideal angle depends on your box length and panel type. Research shows that angles closer to 80 degrees can achieve temperature increases up to 34°C, while lower angles around 40 degrees only reach about 21°C.
You'll need to adjust these angles throughout the day as the sun moves.
Finding Your Optimal Angle
Although finding the perfect reflector angle requires some trial and error, you can start with proven ranges that work well for most solar cookers. For ideal performance, you'll want to keep your reflector angles between 45 and 90 degrees, with 60 degrees being a reliable starting point.
When selecting your angle, consider the length of your reflector and cookware shape. If you're using a longer reflector, opt for a more acute angle. For shorter ones, a shallower angle will work better. To boost efficiency, multiple reflector panels can be positioned at different angles when the sun is lower in the sky.
You'll know you've found a good angle when sunlight from the upper edge of the reflector touches the far side of the glazing. Remember to build in some flexibility – your design should tolerate a ±15-degree variance to accommodate the sun's movement throughout the day.
Temperature Control Through Positioning

Mastering temperature control in your solar cooker depends largely on precise positioning and distance management. You'll need to move your oven closer to or further from the fire to achieve your target temperature. Use an oven thermometer on the food shelf and the hand test to gauge heat levels accurately.
| Time (seconds) | Temperature (°F) | Position |
|---|---|---|
| 7-10 | 200 | Far |
| 6 | 300 | Medium |
| 1-2 | 500 | Close |
Check your food every five minutes and adjust accordingly. If the top browns faster than the bottom, your fire's too large; if the bottom browns faster, it's too small. Remember to take into account environmental factors like wind and air temperature when positioning your oven. The slanting surfaces inside your reflector oven help direct heat evenly for optimal cooking results. For best results, build your teepee fire to match the height of your cooking shelf.
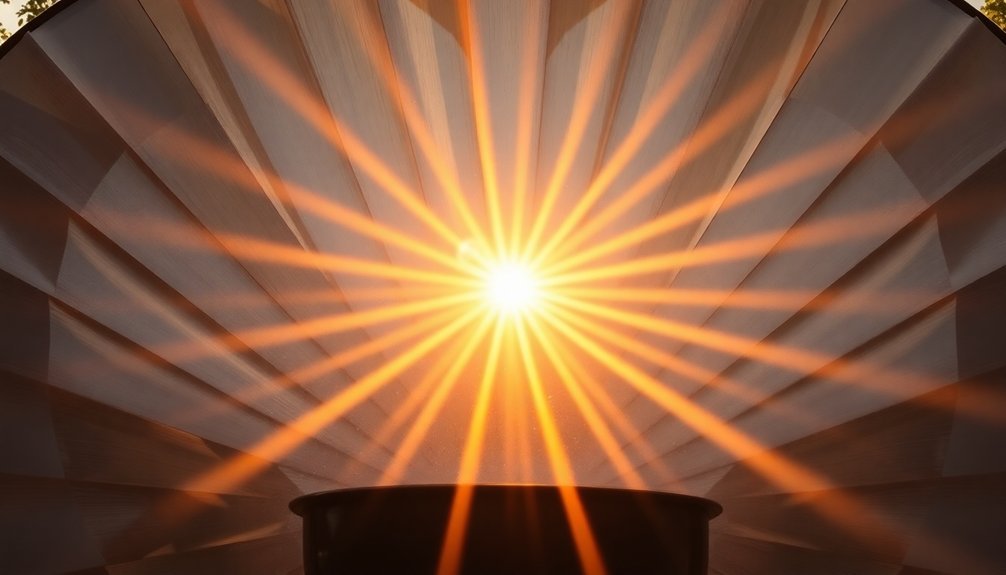
Multiple Reflector Setup Tips
Three key components make up an effective multiple reflector setup: external panels, interior reflectors, and proper angle positioning.
You'll want to combine these elements strategically to maximize heat concentration on your cooking vessel.
Position your external panels to capture and direct sunlight toward the cooking area, while slanting interior reflectors slightly to focus light onto the food.
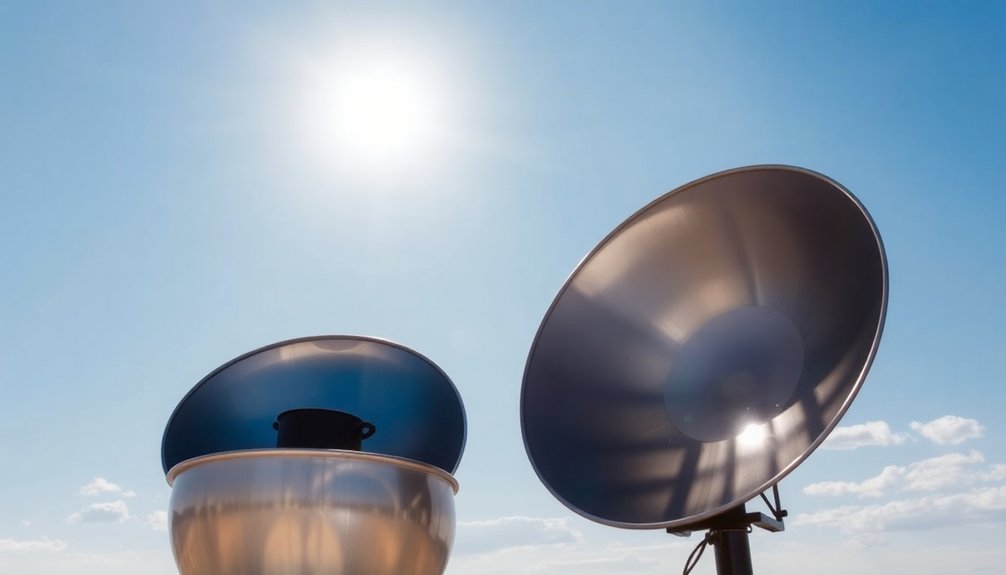
Use reflective materials like aluminum foil for adjustable intensity, and make certain your cookware is dark-colored for ideal heat absorption.
You can adapt your setup by adjusting reflector angles based on sun position and cooking needs.
For deep vessels, position interior reflectors to minimize shadows and maintain even heat distribution.
Don't forget to balance reflective and absorptive surfaces – a black bottom prevents light from escaping while reflective sides concentrate heat where you need it most.
Seasonal Angle Adjustments

Since the sun's position changes dramatically throughout the year, you'll need to adjust your solar cooker's reflector angles to maintain ideal cooking temperatures.
In winter, you'll want to increase your reflector's incline to compensate for the sun's lower elevation. Box and parabolic cookers work best during these months, as panel cookers risk tipping at steeper angles.
During summer, you can set your reflectors at less extreme angles since the sun sits higher in the sky. This makes panel and funnel cookers particularly effective.
Your geographical location also impacts these adjustments – if you're at higher latitudes, you'll need more significant angle changes between seasons.
Remember to take into account your cookware too; deep, dark pots offer better tolerance for varying angles than shallow ones, making them more forgiving as you adjust your reflectors.
Measuring Heat Reflection Patterns
While heat reflection patterns might seem complex, you can measure and optimize them using basic techniques.
Start by placing an oven thermometer on the food shelf to monitor exact temperatures. You'll also want to use the hand-test method: if you can hold your hand in front of the oven for 7-10 seconds, it's around 200°F; 6 seconds indicates 300°F; 3-4 seconds means 400°F; and 1-2 seconds suggests 500°F.
Watch for uneven browning patterns, as they'll tell you if your fire needs adjusting. If the top browns faster than the bottom, reduce your fire size. If the bottom browns more quickly, build up your fire.
Check your food every five minutes and adjust the oven's distance from the fire to fine-tune your cooking temperature.
Common Angle Mistakes
You'll encounter three critical mistakes when setting up cooking reflectors: tilting beyond 90 degrees blocks sunlight, while using a fixed angle ignores seasonal sun changes and environmental factors.
Your reflector's height placement matters just as much as its angle, since improper positioning can create uneven heating zones and reduce overall efficiency.
Setting your reflector between 45 and 90 degrees (ideally around 67.5 degrees) and adjusting it based on conditions will help you maintain ideal heat reflection throughout your cooking session.
Too Much Tilt
Common mistakes with reflector angles can greatly reduce a solar oven's effectiveness. When you position your reflectors too upright (beyond 90 degrees), they'll actually shade your oven window and reflect sunlight away from it rather than towards it. This considerably decreases the amount of solar energy captured for cooking.
You'll achieve the best results by keeping your reflectors between 45 and 90 degrees, with 60 degrees often being ideal for box-type ovens. If you're aiming for precision, studies show 59.6 degrees as the best angle.
Remember to adjust these angles based on seasonal sun positions. Having your reflectors too vertical will waste solar energy and lead to longer cooking times. The key is finding that sweet spot that maximizes sunlight concentration on your oven window.
Fixed Angle Syndrome
Many solar oven users fall into the trap of setting their reflectors at a fixed angle and leaving them there indefinitely. This "set it and forget it" approach greatly reduces your cooking efficiency, as the sun's position changes both daily and seasonally.
| Time Period | Required Action | Impact on Cooking |
|---|---|---|
| Daily | Track sun path | Even heat distribution |
| Seasonal | Adjust inclination | Maximum energy capture |
| Morning | Orient east | Initial heat buildup |
| Midday | Face true south | Peak performance |
| Evening | Tilt westward | Extended cooking time |
You'll need to regularly adjust your reflectors to maintain ideal performance. Consider using a heliodon to test different angles, and don't forget to account for your geographical location. In tropical regions, you'll need more frequent adjustments due to considerable variations in the sun's position. Keep your cooking site free of shade and protect against wind disruption.
Improper Height Positioning
While finding the perfect cooking angle is essential, incorrect height positioning can severely impact your cooking results.
In kamado grills, placing deflectors too high reduces energy absorption and creates uneven heat distribution. You'll notice temperature differences up to 200°F when deflectors aren't positioned correctly.
For range hoods, height placement is equally critical. You'll need to mount gas stovetop hoods 24-30 inches above the cooking surface, while electric and induction cooktops allow 28-36 inches.
Installing them higher considerably reduces their effectiveness at capturing smoke and grease.
To achieve ideal results, you'll need to evaluate your specific equipment. Different kamado models require unique deflector heights, and your range hood's CFM rating affects ideal positioning.
Always consult manufacturer guidelines and test temperatures to verify proper placement.
Tools for Perfect Alignment
Proper alignment of cooking reflectors depends on four essential tool categories that guarantee precise positioning and ideal heat reflection. You'll need a calibrated laser level to project straight lines and grids, ensuring perfect alignment with adjustable brightness for various conditions. For secure positioning, use durable alignment clips and clamps that won't obstruct reflective surfaces during adjustments.
| Tool Category | Primary Function |
|---|---|
| Laser Levels | Projects guide lines |
| Clips/Clamps | Secures position |
| Angle Tools | Measures precision |
| Test Mirrors | Verifies alignment |
For precise angles, digital protractors and angle gauges offer superior accuracy with memory functions for consistent measurements. Complete your toolkit with testing mirrors or beam splitters to verify alignment through real-time feedback, allowing you to make immediate adjustments until you achieve ideal reflection patterns for maximum cooking heat.
Advanced Heat Capture Techniques
When you're working with multiple heat reflectors, you'll need to carefully position each one to create overlapping zones of concentrated heat.
You can optimize these positions by using an infrared thermometer to measure and map out the heat distribution patterns across your cooking surface.
Adjusting the angles in small increments while tracking temperature changes will help you find the sweet spots where radiation converges most effectively.
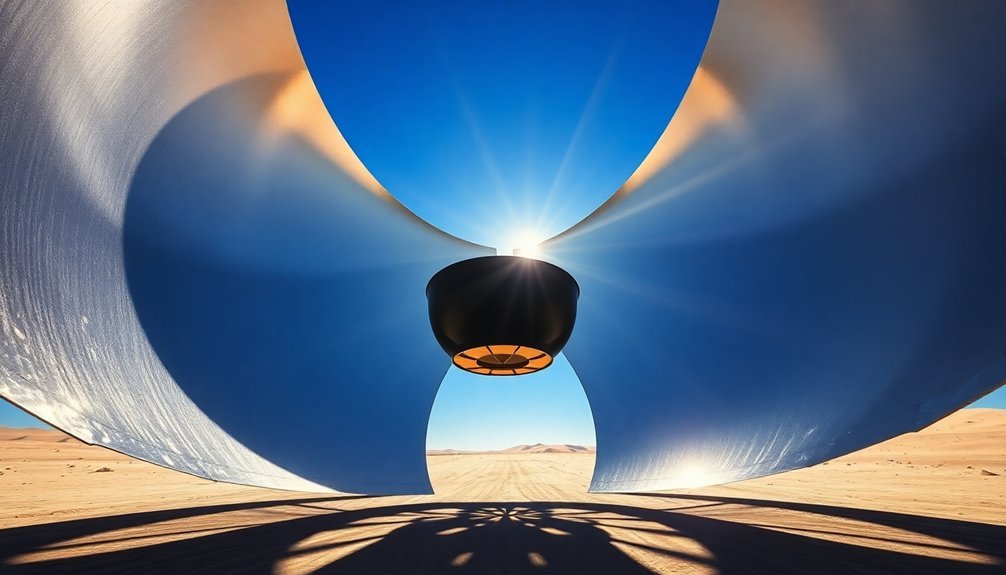
Optimizing Multiple Reflector Positions
To maximize cooking heat capture, sophisticated reflector systems employ multiple reflecting surfaces working in tandem.
You'll want to position your primary parabolic reflector on a north-south axis, allowing it to track the sun's movement efficiently. Add a secondary reflector to distribute heat more evenly around your receiver tube, reducing harmful hot spots.
When you're setting up a double-reflector system, focus on optimizing the geometric relationships between components. Use Monte Carlo ray-tracing to analyze your setup and adjust reflector positions accordingly.
While secondary reflectors may create some shading, they'll greatly improve heat flux uniformity. Consider incorporating phase change materials like Solar Salt in your heat storage unit, and guarantee your conducting fins effectively transfer heat from the absorber plate.
Tools like Dymola® and Zemax® can help you fine-tune your reflector configurations.
Measuring Heat Distribution Patterns
Heat distribution patterns reveal critical insights about your reflector system's performance.
You'll need to understand how conduction, convection, and radiation work together to maximize heat capture. By monitoring these patterns, you can optimize your reflector angles for efficient cooking.
To measure heat distribution effectively, you'll want to observe how different materials and surfaces interact with your reflectors. Metal surfaces with high thermal conductivity will distribute heat more evenly, while ceramic surfaces can absorb and re-emit radiation.
You can enhance heat transfer by ensuring proper air movement around your cooking vessel.
Watch for hot spots and adjust your reflectors accordingly. Remember that forced air movement, like in convection systems, will affect how heat spreads across your cooking surface.
Use heavy pans with good heat retention to maintain consistent temperatures.
Frequently Asked Questions
How Does Humid Weather Affect Optimal Reflector Angles?
You don't need to adjust your reflector angles for humidity, as it doesn't directly affect them. The ideal angles are determined by the sun's position and local solar irradiance, not by moisture levels.
Can Reflector Surfaces Become Less Effective Over Time?
Yes, your reflector surfaces can become less effective over time. You'll notice decreased performance due to weathering, scratches, oxidation, dirt buildup, and material fatigue. Regular cleaning and maintenance will help preserve their reflective properties.
What Emergency Materials Can Substitute for Standard Reflective Surfaces?
You can use aluminum foil tape, Mylar emergency blankets, or mirrors as effective substitutes. They're readily available and highly reflective. For quick solutions, you'll find these materials in most emergency kits.
Do Different Food Types Require Different Reflector Angle Adjustments?
Yes, you'll need different angles for various foods. Dense meats require higher heat concentration with steeper angles, while delicate items like vegetables need gentler heat from wider angles to prevent burning.
How Do Varying Altitudes Impact the Ideal Reflector Positioning?
You'll need to adjust your reflectors more frequently at higher altitudes due to thinner air. At lower altitudes, you can maintain broader angles, while mountain locations require precise, steeper positioning for ideal heat capture.
In Summary
You've now mastered the key principles of reflector angles for ideal cooking heat. By applying the proper positioning techniques, measuring tools, and seasonal adjustments you've learned, you'll maximize your cooking efficiency. Don't forget to monitor your heat patterns and avoid common angle mistakes. With practice, you'll expertly control temperatures using both single and multiple reflector setups for perfect results every time.


Leave a Reply