Before baking with grains, you'll need to master ten essential steps. Start by selecting your grain mix, considering options like red wheat for crusty breads or white wheat for softer loaves. Calculate precise water-to-grain ratios, typically 2-3 cups of water per cup of grain. Soak your grains in warm, acidic water for 7-8 hours. Test moisture levels using proper tools and adjust temperatures accordingly. Time your fermentation based on room conditions. Check gluten development with the windowpane test. Monitor dough consistency throughout mixing. Create a detailed baking schedule. Follow these fundamentals, and you'll reveal the secrets to perfect grain-based baking.
Selecting Your Perfect Grain Mix
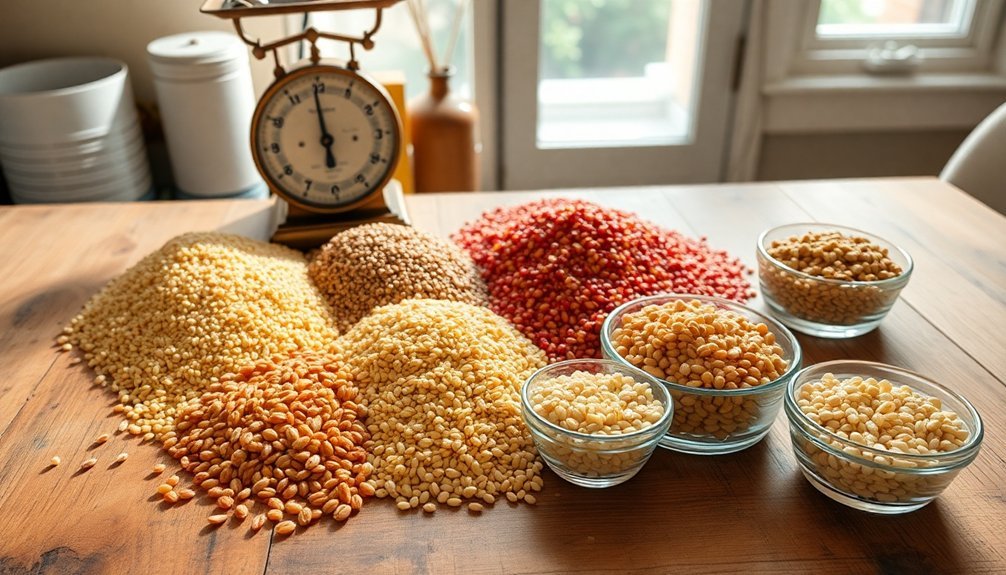
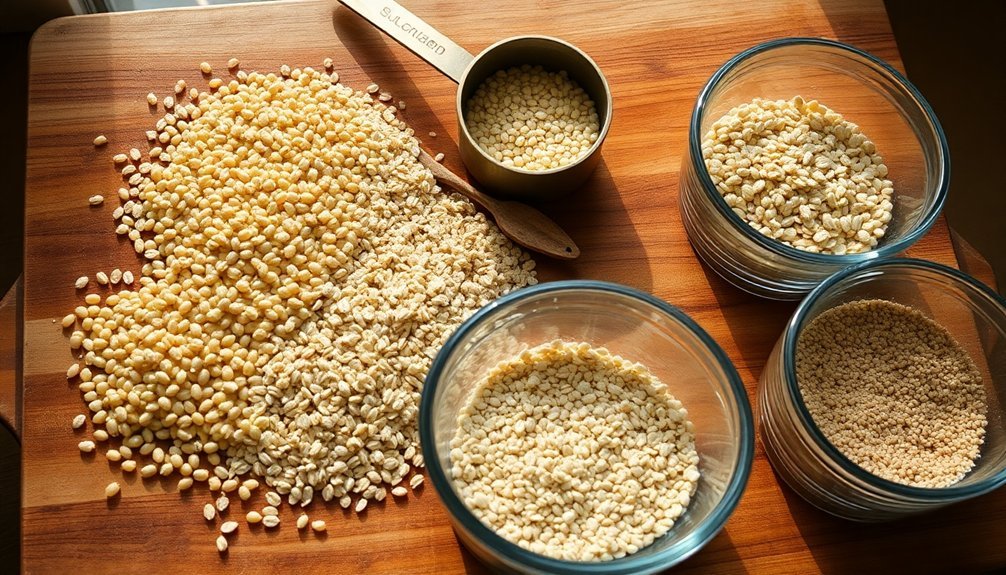
Three key factors determine your perfect grain mix: the desired texture, flavor profile, and nutritional goals.
Start by choosing your base grain. Red wheat delivers robust, crusty breads, while white wheat offers milder flavors ideal for softer loaves. If you're seeking digestibility, consider sprouted wheat for its enzyme activation and smooth texture.
For added complexity, you'll want to explore complementary grains. Mix in rye flour to enhance sourdough, or incorporate quinoa and amaranth for protein-rich, nutty notes. To maximize nutritional benefits, consider that these grains contain essential B vitamins and antioxidants.
For texture elements – cracked wheat adds pleasant chewiness, while polenta or cornmeal contributes welcome crunch.
Remember that most alternative grains work best when combined with bread flour or essential wheat gluten to maintain proper structure and rise in your final bake.
Measure Water-to-Grain Ratios Correctly
Precise water-to-grain ratios form the cornerstone of successful grain cooking and baking.
When you're working with basic grains, you'll need to follow specific ratios: use 2 cups of water for every cup of white or brown rice, and the same ratio applies to quinoa.
For denser grains like barley, farro, and amaranth, increase the water to 3 cups per cup of grain. Steel-cut oats require 2½ cups of water per cup, while bulgur needs just 2 cups.
If you're brewing or mashing, you'll want to use 1.5 to 2.5 liters of water per kilogram of grain. For optimal enzyme activation and starch conversion, maintain a ratio of 2.6 pounds per gallon.
Remember that processing affects absorption rates – cooked grains will absorb less water during baking than raw ones. For best results, consider pre-cooking your grains or using an autolyse period to optimize hydration.
Soak and Drain Properly
To properly soak your grains, let them rest in warm water with an acidic medium like apple cider vinegar or lemon juice for at least 7-8 hours, preferably overnight.
You'll want to use 1 tablespoon of acid per cup of liquid, keeping the soaking environment between 60-90°F for ideal results.
After soaking, drain and rinse the grains if you'd like to reduce sourness, then cook them with fresh water, traditional fat, and sea salt until tender. This process deactivates phytic acid and significantly improves the absorption of nutrients in your baked goods.
Pre-Soak Time Guidelines
Proper soaking of grains stands as a fundamental step in successful baking preparation.
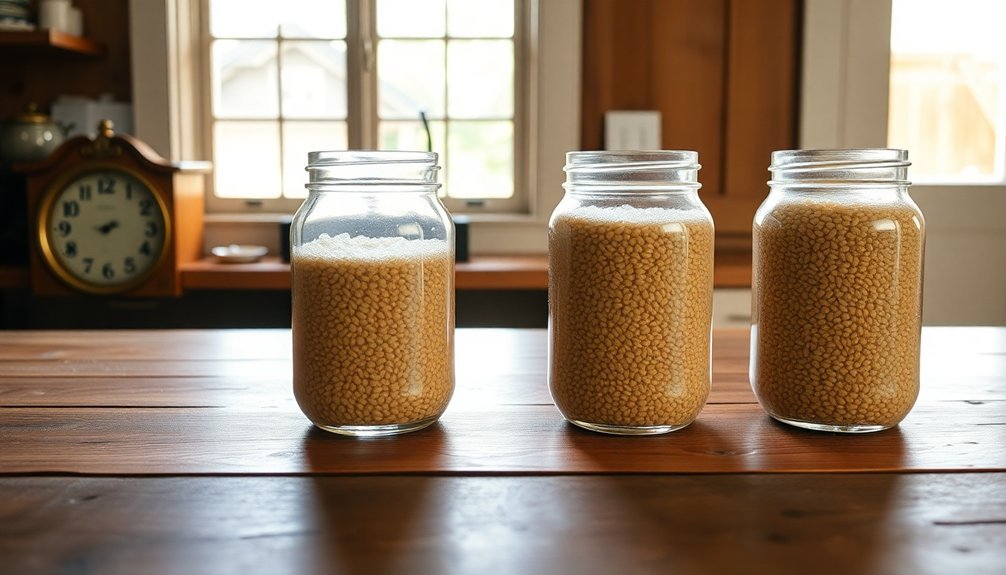
You'll want to soak your grains for at least 7-8 hours, though extending this to 24 hours is acceptable. Keep the grains submerged in warm water and covered to protect from contaminants.
After soaking, you can rinse them to reduce any sour taste or scum that may have developed.
- Place grains in warm water and maintain temperature (try using an oven with the light on)
- Allow for 7-24 hours of soaking time, with overnight being ideal
- Make certain grains remain fully covered with water throughout the process
- Drain and rinse after soaking if you've soaked for longer periods
Acid Selection Tips
When selecting an acidic medium for grain soaking, you'll need to contemplate both effectiveness and flavor impact. Raw apple cider vinegar and lemon juice offer strong acidic properties, while fermented dairy products provide a gentler approach. For dairy-free options, consider kombucha or sourdough starter.
| Acid Medium | Best Used For |
|---|---|
| Apple Cider Vinegar | Strong phytic acid reduction |
| Whey/Kefir | Mild flavor, good enzyme activity |
| Lemon Juice | Quick results, neutral taste |
| Sourdough Starter | Enhanced nutrient availability |
You'll want to use 1 tablespoon of your chosen acid per cup of warm water. For best results, combine your acid with the grains at the start of soaking. If you're working with low-phytase grains like brown rice or oats, consider adding phytase-rich ingredients to boost effectiveness.
Draining Best Practices
Successful grain soaking concludes with proper draining and rinsing techniques that can greatly impact your final dish.
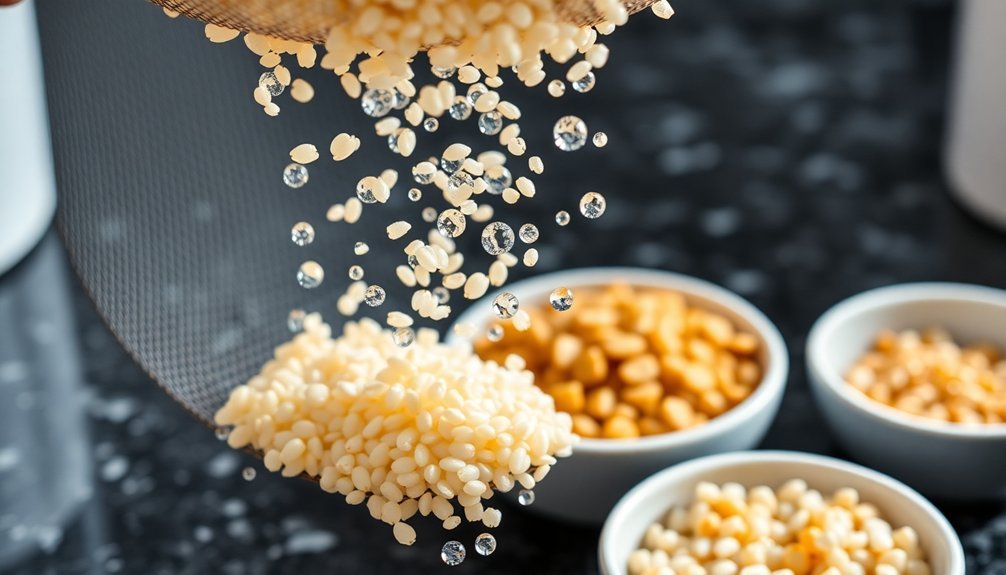
While draining isn't mandatory, it helps reduce sour taste and refreshes your grains before cooking. You'll want to drain after 7-8 hours of soaking, then rinse thoroughly with fresh water to remove any acidic residue.
- Drain your soaked grains through a fine-mesh strainer and rinse until the water runs clear
- Replace the soaking liquid with fresh water according to your recipe's specifications
- Don't skip the rinsing step, as it helps achieve better flavor and texture
- Consider multiple rinses if you've soaked your grains for longer periods
Test Grain Moisture Levels
Testing grain moisture levels accurately determines whether your grains will store well and perform ideally in recipes.
You'll need either a laboratory-style oven test or a reliable moisture meter like the GrainMate GM-101 or Delmhorst G-7.
For the most precise results, gather a sample of at least 100 grams or 400 kernels from your grain batch.
Make certain you're taking samples from different areas and depths, avoiding the center and corners of packaged grains.
Mix the sample thoroughly to guarantee uniformity.
If you're using a moisture meter, insert fresh batteries, connect the probe if needed, and select your specific grain type.
Insert the probe into your grain sample and wait for the reading.
You'll get results within minutes, helping you determine if your grains are ready for baking.
Adjust Temperature Settings

When baking with grains, you'll need to lower the oven temperature to prevent excessive browning on the surface.
You'll want to bake for a longer duration at temperatures between 180-200°F, especially for heavier dough breads containing whole grains.
Lower Heat Bakes Longer
Proper temperature control plays an essential role in achieving the perfect bake with grains. When you're working with lower temperatures, you'll need to extend your baking time to achieve the desired results. This approach helps preserve essential enzymes and nutrients that can degrade at higher temperatures, especially in moist environments.
- Lean-dough loaves need internal temperatures of 190-210°F, while heavier doughs require 180-200°F.
- You'll want to reduce your target temperature by 5°F when baking at high altitudes.
- Rye and gluten-free yeast breads should reach internal temperatures of 205-210°F.
- For ideal fermentation, maintain temperatures between 75-85°F using a damp towel.
Remember that while lower temperatures mean longer baking times, they often result in better enzyme preservation and more consistent results.
Avoiding Surface Over-Browning
Surface over-browning can be prevented by carefully adjusting your temperature settings throughout the baking process.
You'll want to maintain ideal steam levels by using a Dutch oven or baking cloche, which helps prevent the crust from drying too quickly. Place your racks near the bottom of the oven and preheat to 500°F for at least 30 minutes.
If you notice your loaf browning too fast, you can protect the surface by adjusting the temperature and ensuring proper proofing.
Keep your dough between 75-85°F during fermentation, and watch for signs of overproofing, which can affect browning. Score your loaf at a 30-degree angle just before baking, and spray the surface with water to promote even browning.
Remember that proper steam retention and temperature control are key to achieving the perfect crust.
Master Proper Mixing Techniques
Understanding mixing techniques serves as the foundation for successful grain-based baking. You'll need to master different methods depending on what you're making, from pie crusts to bread dough.
When working with grains, proper mixing guarantees even distribution of ingredients and develops the right texture for your baked goods.
- Choose your mixing method based on your recipe: use kneading for bread, cutting for pastries, creaming for cakes, and folding for delicate batters.
- Pay attention to gluten development – overmixing can make your baked goods tough, while undermixing won't provide enough structure.
- Consider using autolyse for bread doughs to improve extensibility and reduce mixing time.
- Select the right tools for each method: dough hooks for kneading, pastry cutters for fats, and rubber spatulas for folding.
Calculate Fermentation Time
Calculating fermentation time is an essential yet often overlooked skill in grain-based baking. You'll need to take into account several key factors to determine the ideal fermentation period for your dough.
Temperature plays the most vital role – warmer conditions speed up fermentation while cooler temperatures slow it down.
To estimate cold fermentation time, use this basic formula: divide room temperature by fridge temperature and multiply by your normal room-temperature fermentation time. For instance, if your dough doubles in 4 hours at 24°C, it'll take about 30 hours at 8°C.
Remember that hydration levels, whole grain content, and preferment amount will affect your timing. You'll also need to account for seasonal changes and dough size, as these factors influence how quickly your dough responds to temperature changes.
Check Gluten Development
Testing gluten development properly guarantees your dough will achieve the right structure and texture in your baked goods.
You'll need to check if your dough has reached ideal gluten formation before moving forward with your recipe. The most reliable way is to combine visual and tactile tests.
- Perform the windowpane test by stretching a small piece of dough – if it forms a thin, translucent membrane without tearing, you've achieved proper development.
- Check if the dough holds its shape and feels elastic when stretched.
- Notice if it's smooth and springs back slightly when poked.
- Observe the dough's consistency – it shouldn't be slack or overly resistant.
If your dough fails these tests, continue kneading or let it rest longer for better gluten formation.
Monitor Dough Consistency
To achieve perfect results in your baked goods, you'll need to carefully monitor your dough's consistency throughout the mixing and fermentation process.
Start by managing your dough's hydration rate, as it directly impacts workability and final crumb structure.
Pay attention to your mixing intensity and duration. While more mixing creates finer air pockets, you don't want to overmix and end up with tough bread.
During fermentation, watch how your dough develops and strengthens. You'll notice that longer fermentation times can compensate for minimal mixing.
Use the right tools to maintain consistency. An instant-read thermometer helps track dough temperature, while visual checks confirm proper development.
For professional results, consider using a rheofermentometer to measure gas production and dough tolerance.
Remember to weigh ingredients accurately for reliable outcomes.
Time Your Baking Schedule
Start your baking preparation by soaking grains at least 7 hours before you'll need them, incorporating vinegar or lemon juice to optimize the process.
You'll need to account for varying cooking times, which can range from just 10 minutes for oats to over an hour for harder grains like sorghum and wheat berries.
Pre-soaking your chosen grains cuts the cooking time in half and breaks down complex starches, making your baking schedule more manageable.
Plan Soaking Hours Ahead
When planning to bake with grains, proper soaking time becomes a critical factor in your success.
You'll need to soak your grains for at least 7-8 hours, though ideal results can take up to 48 hours. Keep the water warm at around 140°F and verify you've added an acidic ingredient like vinegar, lemon juice, or sourdough starter to help break down phytic acid.
- Use one tablespoon of acid per cup of grains
- Keep soaking temperature between 60-90 degrees
- Start soaking the night before your baking day
- Allow 12+ hours for quick breads, adjusting proofing time for yeast breads
Remember to maintain a warm environment by using an oven with the light on, and always keep your grains fully submerged in water throughout the soaking process.
Adjust For Grain Type
Different grains require distinct timing considerations in your baking schedule, as their cooking and absorption rates vary considerably.
You'll need 35-45 minutes for most brown rice varieties, while brown basmati and jasmine rice take up to 50 minutes. Wild rice demands the longest cooking time at 1¼ hours.
When incorporating grains into your dough, you'll want to cook and cool rice, barley, and quinoa completely before adding them.
Quick-cooking grains like oats can go in raw or after a brief hot water soak. If you're working with whole wheat berries, plan for an 18-hour soaking period if you want them to sprout.
Remember that cooked grains have already absorbed their maximum moisture, so you can add ¼ to ½ cup per loaf without major recipe adjustments.
Frequently Asked Questions
Can I Substitute Whole Grains in Recipes That Call for Nuts?
Yes, you can substitute nuts with whole grains like oats, granola, or crisp rice cereal. They'll provide similar texture and bulk, though you'll want to start with smaller amounts and adjust to your taste preferences.
How Long Can I Store Soaked Grains in the Refrigerator?
You can store soaked grains in your refrigerator for up to one week in an airtight container with the soaking liquid. Remember to check daily for mold or off smells and change the water every 24 hours.
Will Adding Vital Wheat Gluten Help With Whole Grain Bread Structure?
Yes, adding essential wheat gluten will help strengthen your whole grain bread's structure. It'll counter the bran's interference with gluten development, creating a lighter, less dense loaf with better rise and texture.
Do Different Brands of the Same Grain Require Different Water Ratios?
Yes, you'll find that different brands of the same grain can need varying amounts of water due to differences in processing methods, moisture content, and grain quality. It's best to adjust ratios through experimentation.
Can I Use Sprouted Grain Flour the Same Way as Regular Flour?
You can't use sprouted grain flour exactly like regular flour. While it's a 1:1 substitute for whole grain flour, you'll need to adjust liquid content and expect denser results in your baked goods.
In Summary
You'll find that mastering grain baking takes practice, but these steps will put you on the right path. Keep track of your successes and failures, and don't be afraid to experiment once you've got the basics down. Whether you're working with ancient grains or modern wheat varieties, remember that each grain has its own personality. Trust your instincts and let the dough guide you.


Leave a Reply