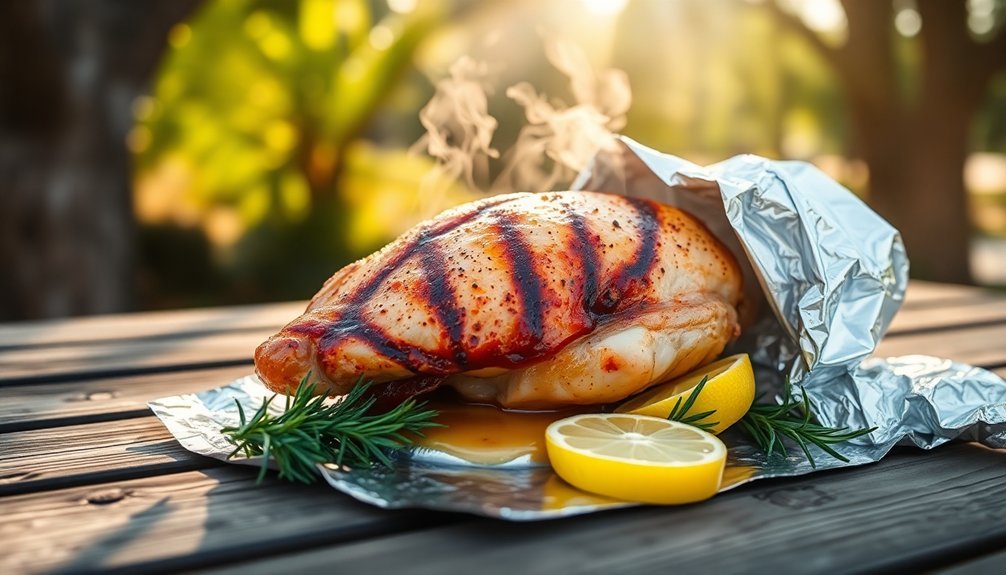
To keep baked food juicy outdoors, you'll need to focus on moisture control and proper heat management. Start by incorporating natural humectants like honey or yogurt into your recipes, and use heavy-duty cookware like Dutch ovens that retain heat effectively. You'll want to maintain consistent temperatures by preheating properly and rotating your cookware every 10 minutes for even distribution. Keep your ingredients stored in airtight containers and adjust your recipes based on humidity and altitude. Brush finished goods with simple syrup and store them between 50°-70°F. These fundamentals will set you up for consistently moist, flavorful results in any outdoor setting.
Understanding Water Content in Ingredients
When baking outdoors, understanding water content in your ingredients becomes essential for achieving consistent results.
You'll need to take into account how water interacts with proteins and starches in your flour, as it's vital for forming gluten networks and activating yeast. Water also dissolves important components like salt, sugar, and baking powder, ensuring they work effectively in your recipe.
You can enhance moisture levels by incorporating ingredients like buttermilk, yogurt, or applesauce, which not only add moisture but also contribute to tenderness and flavor. Natural ingredients like honey and sugar act as natural humectants to help maintain moisture levels in your baked goods.
These moist ingredients help break down sugar and protein structures while distributing flavors evenly throughout your baked goods.
Remember that ingredients containing fat and emulsifiers can create the perception of moisture, even in drier conditions outdoors.
Essential Temperature Management Tips
Temperature management goes hand in hand with water content control in outdoor baking success.
You'll need to maintain temperatures between 68°F to 75°F in your preparation area while keeping ingredients out of the danger zone (40°F to 140°F) to prevent spoilage.
When baking outdoors, you should lower your standard baking temperature by about 25°F to prevent burning.
If you're using charcoal or coals, adjust their placement and quantity based on wind conditions.
Don't forget to use wind screens to protect your heat source and maintain consistent temperatures.
For yeast-based recipes, you'll want cooler temperatures during the proofing process to prevent rapid rise and collapse. Using osmotolerant yeast varieties is crucial when working with high-sugar recipes outdoors.
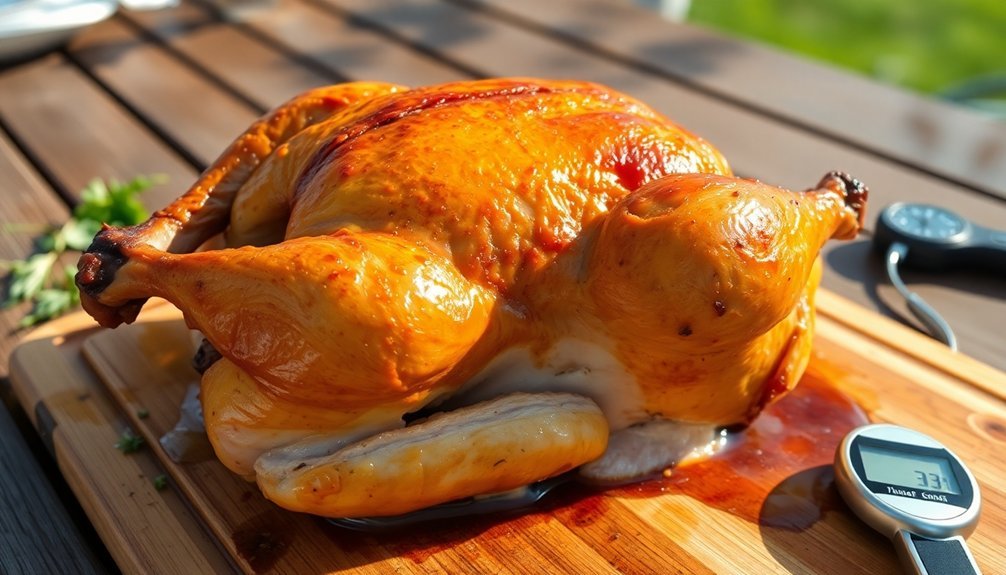
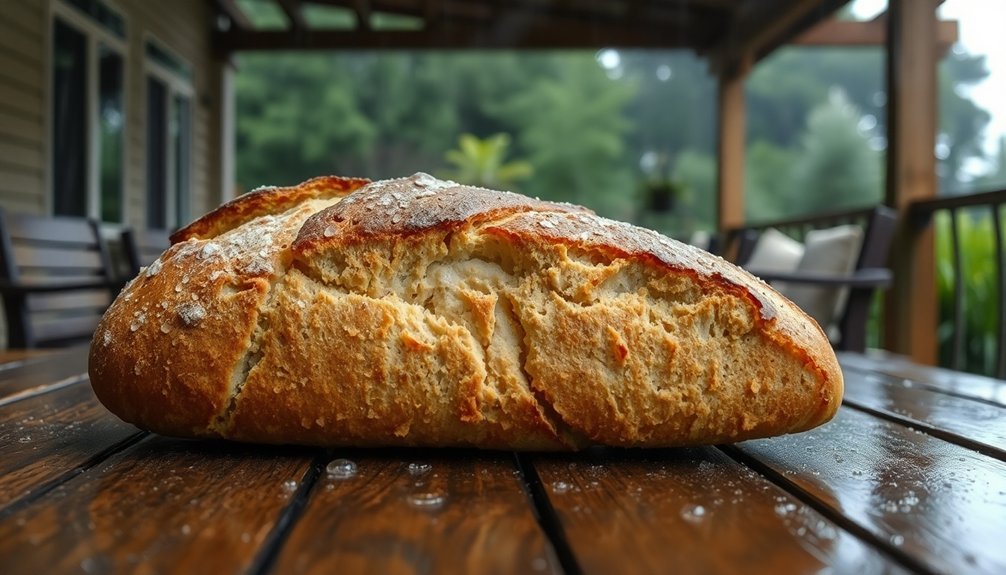
Monitor your food's internal temperature carefully – bread should reach 190°F inside to guarantee it's fully baked while staying moist.
Proper Heat Distribution Methods
Mastering proper heat distribution requires understanding three key transfer methods: radiation, convection, and conduction.
You'll achieve prime results by strategically using each method in your outdoor baking setup. Position your baking vessel to maximize radiation from the coals and surrounding environment, as this directly heats exposed surfaces. Steam condensation effects significantly contribute to keeping your food moist during the baking process.
For effective convection, guarantee proper airflow around your Dutch oven or baking container – this helps distribute heat evenly throughout your food. You'll want to manage conduction by selecting a heavy-duty vessel that maintains consistent contact with the heat source.
To maintain steady heat distribution, divide your fire pit into separate sections: one for active baking and another for preparing fresh coals.
Remember to rotate your vessel periodically and use a laser thermometer to monitor temperature zones, adjusting coal placement as needed.
Moisture Lock Techniques
Maintaining moisture in outdoor-baked goods requires strategic techniques and careful ingredient selection.
You'll want to incorporate MoisturLOK® and humectants like syrups to lock in freshness. Using instant pudding mix and vegetable oil instead of butter will help trap water and keep your baked items tender.
Control humidity during preparation by storing ingredients properly and baking in conditions below 60% relative humidity.
After baking, brush your goods with simple syrup or sugar-free alternatives to enhance moisture retention. You can also soak dried fruits in flavorful liquids before adding them to your recipe.
For best results, opt for recipes that include moisture-promoting ingredients and consider baking in thinner layers to guarantee even moisture distribution.
Don't forget to store your finished products in airtight containers to maintain freshness.
Choosing the Right Cookware
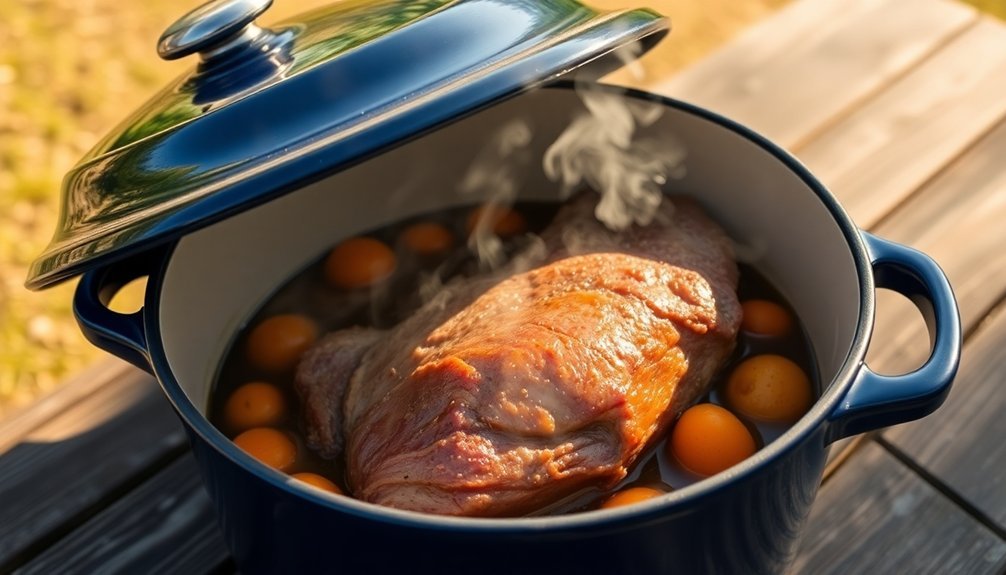
For baking outdoors, you'll find a Dutch oven is your most versatile choice, offering superior heat retention and even distribution through its thick cast iron construction.
Your Dutch oven's tight-fitting lid creates an excellent seal that traps moisture and prevents your baked goods from drying out in outdoor conditions.
You can enhance the moisture-locking capability by selecting a lid with raised edges that hold hot coals, creating an even heat distribution from top to bottom.
Dutch Oven Benefits
When selecting cookware for outdoor baking, Dutch ovens stand out as one of the most versatile and reliable options available.
You'll benefit from their superior heat distribution and retention, which guarantees your food cooks evenly whether you're using a campfire or outdoor stove.
The thick cast iron construction means you can seamlessly shift from searing to baking without changing pots.
You'll find that these ovens excel at keeping your dishes moist, thanks to their tight-fitting lids that lock in moisture.
Whether you're baking bread, slow-cooking stews, or roasting meats, the Dutch oven's durability means it'll serve you for years to come.
Plus, you can choose from various sizes to match your group's needs – from intimate family meals to large gathering feasts.
Moisture-Locking Lid Options
Selecting the right moisture-locking lid can greatly impact your outdoor baking success. When choosing a lid for outdoor cooking, you'll want to focus on stainless steel options that can withstand high temperatures while maintaining a tight seal.
While glass lids let you monitor your food, they're not ideal for outdoor baking due to temperature limitations. Look for lids with secure locking mechanisms that create an effective vapor seal to keep moisture from escaping.
You'll find that multi-layered cookware with compatible lids works best, as they distribute heat evenly while maintaining internal moisture. For versatility, choose lids that work well with both stovetop and oven cooking methods.
If you're planning to move your cookware frequently, opt for designs with sturdy, ergonomic handles that'll make transportation safer and easier.
Smart Ingredient Combinations
The art of combining ingredients for outdoor baking lies in understanding quality, freshness, and flavor harmony.
You'll want to start with high-quality, fresh ingredients, especially butter that hasn't absorbed other flavors. Toast your whole spices to release their essential oils, or use pre-ground alternatives when necessary.
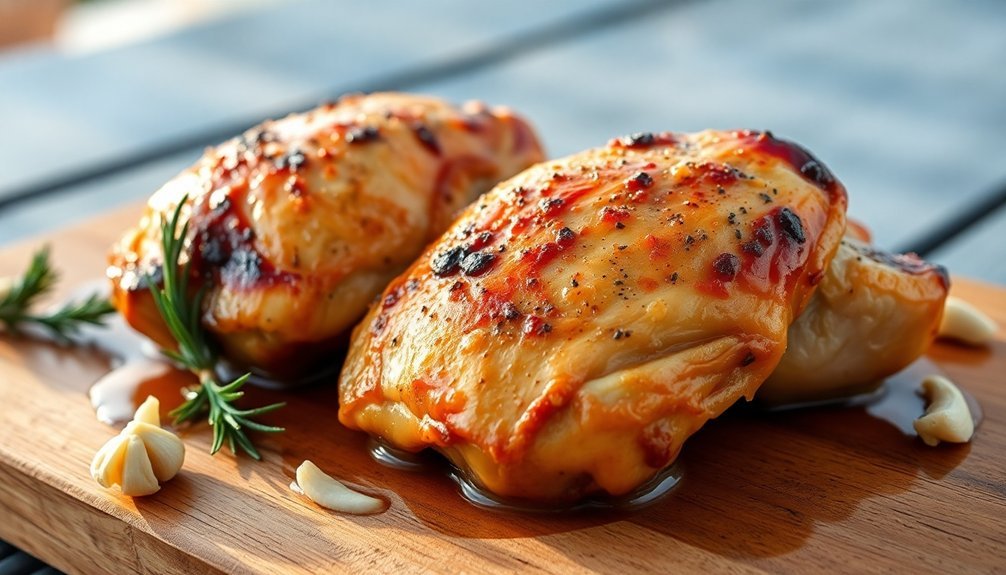
To lock in moisture, combine citrus juices with olive oil in your marinades. You can enhance flavors by massaging spice mixtures directly into the meat, ensuring even distribution.
For the best results, brown your meat in a butter-oil mixture before baking, and maintain uniform thickness for consistent cooking. Don't forget to balance your seasonings with salt and black pepper, and consider adding a touch of sugar to help retain moisture while creating a perfect flavor profile.
Timing Your Outdoor Bakes
When you're baking outdoors, you'll need to watch the heat-time balance carefully, as grills and campfires can cook food faster than conventional ovens.
You can adapt your timing based on seasonal changes, accounting for factors like wind chill in winter or intense summer heat that might affect cooking temperatures.
Start by preheating your outdoor cooking equipment to 25°F above your target temperature, which helps maintain steady heat once you begin baking.
Monitoring Heat-Time Balance
Successfully monitoring heat-time balance while baking outdoors requires a delicate dance between temperature control and timing.
You'll need to master your charcoal placement using formulas like "3 up, 3 down" for consistent temperatures based on your Dutch oven's size.
Keep your eye on heat distribution by rotating your oven every 10 minutes and using more coals on top than bottom.
You'll want to start with a lower temperature, around 325°F, rather than the standard 350°F for indoor baking.
Monitor your food's internal temperature with an instant-read thermometer and remove top coals when you're within 5-10 degrees of your target.
Knowing Seasonal Adjustments
Mastering outdoor baking requires careful attention to seasonal changes that affect your timing and techniques.
You'll need to adjust your recipes based on both humidity and temperature levels throughout the year. During humid summer days, expect longer bake times and watch for moisture absorption in your dry ingredients. You can store them in the fridge to prevent this issue.
When baking at higher altitudes, you'll want to reduce your yeast amounts and increase hydration by 5-10% to compensate for the lower air pressure.
For outdoor grilling, use heat-resistant pans and maintain consistent temperatures.
Remember to choose ingredients that are in season for the best flavor – like fresh berries in summer or apples in fall. This guarantees your outdoor bakes stay moist and flavorful while achieving the perfect texture.
Pre-Heat Before Starting
The foundation of outdoor baking lies in proper preheating, which builds upon your seasonal knowledge.
You'll need to guarantee your outdoor oven reaches the ideal temperature before placing your food inside to achieve consistent, juicy results.
When you preheat correctly, you'll create the perfect environment for caramelization and proper searing, preventing your food from sticking to the cooking surface.
This step is essential for developing those appealing grill marks and enhancing the smoky flavors you're aiming for.
You'll also notice better texture and even browning in your baked goods.
Remember that your preheating time may vary based on your outdoor oven model and weather conditions.
While some recipes might work with a cold start, most will require proper preheating to maintain moistness and achieve the desired outcome.
Storage and Preparation Strategies
When baking outdoors, proper storage and preparation strategies become essential for maintaining food quality and safety.
You'll need to store your baked goods in airtight containers at temperatures between 50° and 70°F, keeping humidity levels below 60%. Use waterproof containers or Mylar-type bags to protect against moisture, and don't forget to add oxygen absorbers to prevent oxidation.
During preparation, control humidity levels carefully to guarantee proper rising and prevent mold.
Test your leavening agents regularly, and store ingredients like salt, baking soda, and yeast in moisture-resistant packaging. You can utilize natural shade and elevated platforms to keep your storage area cool and dry.
For additional cooling, consider using insulated coolers with ice packs or submerging sealed containers in cold-water sources.
Fruit-Based Moisture Enhancement
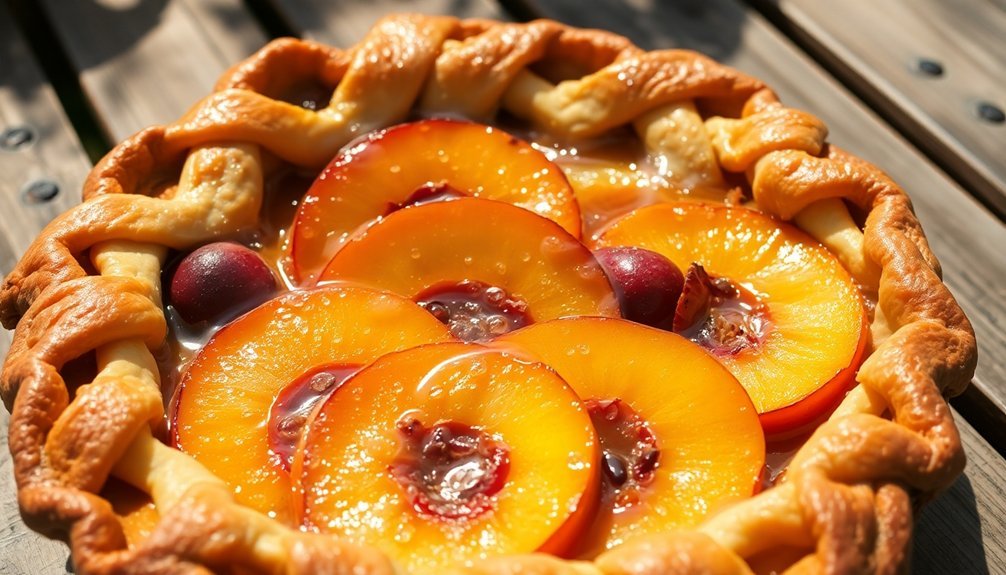
Incorporating fruit purees and dried fruits into outdoor baking provides natural moisture enhancement while boosting nutritional value. You'll find these ingredients particularly effective in keeping your baked goods fresh and moist during outdoor adventures.
When you use fruit purees, you're not just adding natural sweetness – you're also reducing the need for added sugars and fats. The fructose in these purees attracts water, helping your treats stay tender longer. You can replace some butter or oil with purees to cut calories while maintaining moisture.
For extra texture and flavor bursts, add rehydrated dried fruits to your recipes. They'll serve as both flavor enhancers and moisture reservoirs.
Plus, you're getting additional vitamins, minerals, and fiber that'll make your outdoor treats more nutritious.
Equipment Care and Maintenance
Maintaining your outdoor baking equipment properly will extend its lifespan and guarantee consistent results every time you cook.
It's crucial to clean your equipment after each use and schedule regular deep cleaning sessions to prevent buildup of flour, dough, and oils that can impair function.
You'll need to follow the manufacturer's guidelines closely and train all team members on proper equipment usage.
During cleaning, inspect for worn parts that need attention or lubrication.
Don't forget to keep critical spare parts like belts and springs on hand to minimize downtime if something breaks.
Weather Impact on Baking
Weather conditions can dramatically affect your outdoor baking results in three key ways: humidity, air temperature, and altitude.
When humidity is high, you'll need to extend bake times and reduce liquid ingredients to prevent your baked goods from flattening too quickly. Store your dry ingredients in the fridge to protect them from moisture absorption.
Watch your air temperature carefully – warm conditions will make your butter and fats melt faster. You can counter this by using chilled ingredients and keeping your cooking area cool.
If you're baking at higher altitudes, you'll notice your doughs rise more quickly and lose moisture faster. Combat these effects by reducing leavening agents and adjusting your sugar, egg, and flour ratios.
Remember to monitor and adjust your bake times based on these weather factors for the best results.
Cold Weather Baking Adjustments
When temperatures drop, you'll need to make specific adjustments to your outdoor baking process to achieve ideal results.
Start by increasing your yeast or starter quantities – double the amount for sourdough recipes to boost gas production and enhance rise. For baker's yeast doughs, extend the first rise to two or three hours.
Temperature management is essential, so use warm water when mixing and find a protected spot away from drafts. You can place your dough near a heating source or use the oven with just the light on. A bowl of warm water nearby helps maintain consistent temperature.
Don't rush the proofing process. Cold weather naturally slows fermentation, so give your dough extra time to develop.
Monitor it regularly and keep it at a stable temperature, ideally around 77°F, for best results.
Frequently Asked Questions
Can Outdoor Baking Affect the Nutritional Value of Ingredients?
Yes, outdoor baking can affect your food's nutrients. You'll lose more water-soluble vitamins due to heat exposure, but you'll retain most minerals and fat-soluble vitamins if you use moderate temperatures and cooking times.
How Do Different Altitudes Impact Moisture Retention in Outdoor Baking?
At higher altitudes, you'll notice moisture evaporates faster due to lower air pressure. You'll need to increase liquid content in recipes, adjust baking temperatures, and modify cooking times to maintain proper moisture levels.
Which Natural Substitutes Work Best for Eggs in Outdoor Baking?
For outdoor baking, you'll find flax eggs and mashed bananas work exceptionally well. They're heat-stable and maintain binding properties, while aquafaba and applesauce provide reliable moisture even in varying temperatures.
Does Moonlight or Sunlight Affect the Texture of Outdoor-Baked Goods?
While moonlight won't affect your baked goods' texture, direct sunlight can dry them out and change their consistency through heat transfer and moisture evaporation. You'll want to keep your treats shaded when outdoors.
Can Outdoor-Baked Goods Be Safely Reheated Without Losing Moisture?
Yes, you can safely reheat outdoor-baked goods by using an oven at 350°F with foil cover, or an air fryer. To preserve moisture, wrap items in damp paper towels and heat in short intervals.
In Summary
You've learned that keeping baked goods juicy outdoors relies on multiple factors. From managing your ingredients' water content to adjusting for weather conditions, each step plays an essential role. Remember to choose the right cookware, maintain proper temperatures, and use moisture-locking techniques. When you're baking outdoors, don't forget that fruit additions and careful equipment maintenance will help guarantee your treats stay perfectly moist.


Leave a Reply