To master sun oven braising, you'll need to make 10 vital adjustments to your technique. Start by reducing liquid amounts by one-third and positioning your oven directly toward the sun, adjusting every 30-45 minutes. Use dark-colored, lidded cookware and maintain temperatures between 150-225°F with a reliable thermometer. Sear meat thoroughly before placing it in the sun oven, and arrange vegetables in a single layer for even cooking. Keep the meat partially submerged, and monitor weather conditions to adjust cooking times accordingly. Track cloud patterns and use internal reflectors for prime heat efficiency. These foundational shifts will transform your solar braising results from basic to exceptional.
Optimal Temperature Control Tactics

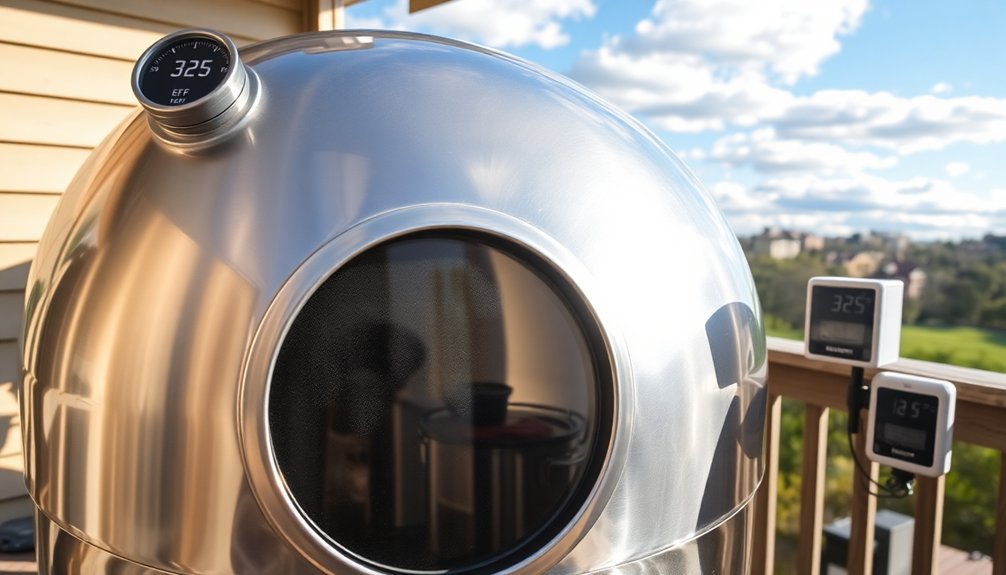
Managing temperature in a sun oven requires careful attention to positioning and monitoring. You'll need to face your oven directly toward the sun and adjust its position every 30-45 minutes to maintain steady heat. Use a reliable thermometer to track temperatures between 150-225°F for consistent cooking results.
Set up your oven in a sheltered spot to minimize wind interference, and make certain your alignment leg is secure for stable positioning. Incorporating dual bases allows for effective seasonal adjustments to maximize sun exposure.
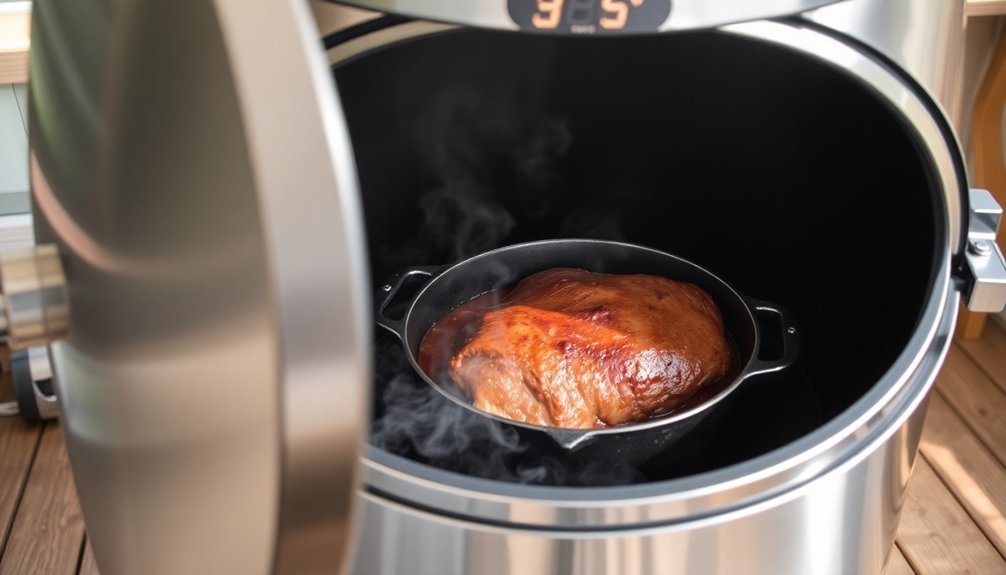
You can enhance temperature control by using dark-colored, lidded cookware and keeping reflective panels clean. Don't cover pots with aluminum foil, as this deflects heat away from your food.
For precise monitoring, consider using a Type-K thermocouple. On partly cloudy days, you'll need to adjust cooking times and reposition the oven more frequently to maintain ideal heat levels.
Liquid Ratios for Solar Success
When braising in your solar oven, you'll need considerably less liquid than conventional recipes call for, typically reducing the amount by one-third to prevent excessive dilution.
You can effectively manage steam and evaporation by using covered pots and dark-colored casseroles, which help maintain peak moisture levels throughout the cooking process. Refocus every 30 minutes to maintain consistent cooking temperatures and prevent liquid from evaporating too quickly.
For the ideal broth-to-meat ratio, start with just enough liquid to cover the bottom third of your meat, as the sun oven's efficient moisture retention will preserve natural juices while creating tender, flavorful results.
Less Liquid Than Normal
Successful solar oven cooking requires considerably less liquid than traditional recipes call for, since these unique ovens excel at retaining moisture.
You'll need to reduce liquids by at least one-third in most recipes, particularly for stews, sauces, and rice dishes. For cakes, cut the liquid content in half.
When cooking beans, start with 2 ½ cups of water per cup of dry beans, which is less than conventional methods require.
You'll find that foods cook perfectly in their natural juices, creating more concentrated flavors and preserving nutrients. For dishes like milk-braised pork, using 2 cups of milk ensures proper braising while maintaining the perfect moisture balance.
Always use covered pans and resist the urge to open the oven frequently, as this helps maintain consistent temperature and moisture levels.
Managing Steam and Evaporation
Solar oven cooking requires precise steam and evaporation control to achieve ideal results.
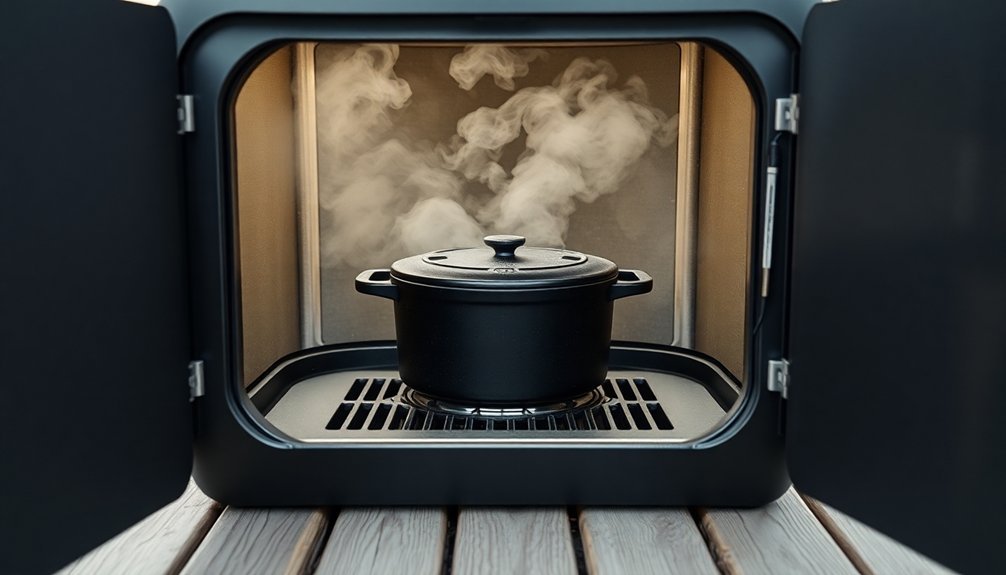
You'll want to use a Dutch oven with a heavy lid and cover it with a dark tea towel, setting the lid slightly ajar to manage steam release. For recipes like Solar Braised Roast, measure exactly 2 cups of whole milk to maintain proper moisture levels throughout the 3-4 hour cooking time. Advanced designs utilizing compound parabolic concentrators significantly improve solar radiation capture and cooking efficiency.
To optimize moisture retention, preheat your solar oven and use internal reflectors to enhance heat efficiency.
Monitor the temperature with a thermometer and adjust reflector angles as needed. Remember that weather conditions will affect evaporation rates, so you'll need to adapt accordingly.
For best results, use cooking liquids with higher fat content and ascertain your oven's glass enclosure is properly sealed to minimize heat loss.
Broth-to-Meat Balance Guidelines
Three key principles govern the broth-to-meat ratio in solar oven braising: use one-third less liquid than traditional recipes, maintain partial meat submersion, and let natural juices contribute to the sauce.
You'll want to reduce your typical braising liquid by at least 33% when cooking in a solar oven. This concentration helps develop a richer sauce without requiring additional reduction.
While the meat's texture doesn't depend on liquid volume, the sauce's consistency does. Aim to keep the meat partially submerged, allowing the exposed surface to brown through the slower but still effective Maillard reaction.
Seasoning and Marinade Modifications
You'll need to double your typical liquid amounts when braising in a Sun Oven, as solar cooking tends to reduce moisture more quickly than conventional methods.
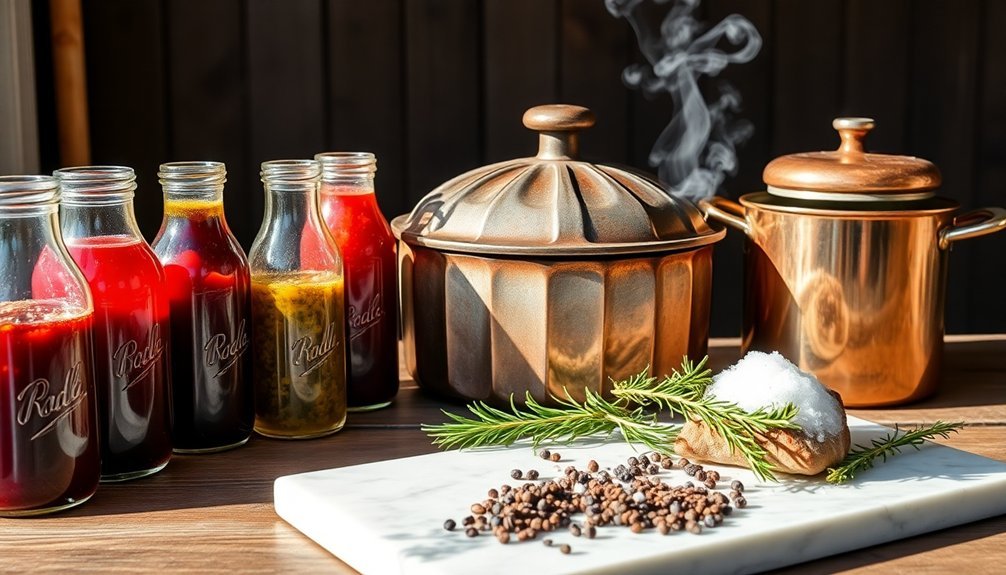
Start by creating concentrated herb infusions, steeping your chosen herbs in hot liquid before adding them to your braise.
These intensified seasonings will help maintain robust flavors throughout the longer, gentler solar cooking process.
Double The Moisture Content
Mastering moisture content in sun oven braising requires careful modification of traditional seasoning and marinade techniques. You'll need to double your marinade's effectiveness while reducing overall liquid content by one-third. Utilize acidic marinades with vinegar or Worcestershire sauce to break down meat tissues, then incorporate these flavorful liquids into your braising process.
| Moisture Method | Technique | Benefit |
|---|---|---|
| Steam Control | 2-3 second venting | Prevents excess condensation |
| Marinade Integration | Include in braising liquid | Continuous flavor infusion |
| Heat Management | 30-minute sun alignment | Maintains ideal temperature |
Remember to use the Sun Oven's natural convection and greenhouse effect to your advantage. Keep the meat covered during cooking, and let it rest afterward to redistribute juices evenly throughout.
Concentrated Herb Infusions First
Concentrated herb infusions serve as the cornerstone of successful sun oven braising, requiring specific modifications to traditional seasoning methods.
You'll need to begin with a warm infusion technique, using a double boiler to simmer your chosen herbs in neutral oil for 2-3 hours. This method guarantees better extraction of herbal constituents, which is essential for sun oven cooking.
For best results, combine 1 cup of dried herbs like rosemary, thyme, or bay leaves with 2 cups of high-quality olive oil.
Once you've strained the infused oil through cheesecloth, you can use it both for browning your meat and as part of your marinade mixture.
Remember to pair your infused oil with acidic components like wine or citrus juice to help tenderize the meat before it goes into your sun oven.
Container Selection and Heat Distribution
Three key factors determine successful braising in a sun oven: proper container selection, strategic positioning, and effective heat distribution.
Choose dark-colored metal or ceramic pots with lids to maximize heat absorption and retention.
You'll want to place your container in an oven bag and position it at the solar oven's focal point, ensuring it's level and secure.
For ideal braising results, create an air gap under your pot using a wire rack.
To maintain consistent temperatures, surround your cooking vessel with thermal mass materials like bricks or stones.
You'll need to adjust your reflectors every 15-30 minutes to follow the sun's path, keeping them clean for maximum efficiency.
Remember to leave a small space between the lid and container to let excess moisture escape while retaining essential heat for proper braising.
Weather-Based Timing Adjustments
You'll find seasonal sun intensity charts essential for planning your solar braising schedule, as they reveal peak cooking hours and ideal alignment angles throughout the year.
When working with cloud cover, use a time calculator to add 30-60 minutes of cooking time for light clouds and up to double the time for dense overcast conditions.
These tools, combined with your local weather patterns, help you precisely adjust cooking durations and maintain consistent results in your sun oven.
Seasonal Sun Intensity Charts
Understanding seasonal sun intensity patterns is essential for successful solar cooking throughout the year. You'll find peak solar intensity between 11:00 AM and 3:00 PM, when the sun's rays are most direct.
In the Northern Hemisphere, June 21st offers maximum intensity, while December 21st peaks in the Southern Hemisphere.
To enhance your solar cooking, you'll need to track these seasonal variations. At higher latitudes, you'll experience more dramatic changes in sun intensity throughout the year.
Adjust your cooking schedule accordingly – plan longer cooking times during winter months when solar intensity is lower. Don't forget to check your local sun intensity charts and reposition your oven every 20-30 minutes for best performance.
Adding booster panels can help compensate for lower intensity periods, especially during winter months.
Cloud Cover Time Calculator
When planning your solar cooking schedule, accurate cloud cover calculations play an essential role in determining realistic cooking times.
You'll need at least 30-45 minutes of good sun per hour for effective cooking, so track cloud patterns using solar monitoring apps to adjust your timeline accordingly.
For intermittent clouds, you'll want to check and reposition your oven more frequently than the standard 30-minute intervals.
Use E-Z Sun-track indicators to maintain perfect alignment as conditions change. When clouds roll in, your cooking temperature will drop, affecting soil temperatures and overall cooking performance.
Don't attempt solar braising on completely overcast days, as you won't achieve adequate temperatures.
Instead, monitor real-time solar position data and local weather updates through services like Solcast to plan your cooking sessions during ideal conditions.
Meat Cut Preparation Techniques
The key to successful braising begins with proper meat preparation techniques that maximize flavor and tenderness.
You'll want to start by searing your meat in a heavy Dutch oven with hot oil until it develops a deep brown crust on all sides. This vital step creates the Maillard reaction, which builds a foundation of rich flavors.
Once you've seared the meat, remove it and add your aromatics – onions, garlic, and herbs – to the same pot. Brown these ingredients while scraping up the flavorful bits from the bottom.
Deglaze with wine or broth, then return the meat to the pot. Add enough liquid to cover the meat halfway, bring to a boil, then reduce to a simmer.
You'll know your meat is ready when it's fork-tender, typically after 1½ to 3 hours of slow cooking.
Vegetable Layering Methods

Proper vegetable layering can make or break your braising results, especially when working with multiple ingredients that cook at different rates.
Start by arranging your vegetables in a single layer, ensuring they don't overlap. You'll want to cut thicker vegetables into uniform sizes for even cooking times.
Before adding your main vegetables, sauté your aromatics like onions, garlic, and ginger until tender, then remove them temporarily.
Once you've browned your vegetables in batches, return the aromatics to the pan, distributing them evenly throughout.
Add your chosen braising liquid – whether it's broth, wine, or coconut milk – until it reaches about one-third up the sides of your vegetables.
Don't forget to include a splash of acid like lemon juice or vinegar to brighten the overall flavor profile.
Heat Retention Solutions
Maintaining consistent temperatures in your sun oven requires strategic insulation and thermal mass placement. Start by surrounding your cooking cavity with crumpled newspaper or dry leaves, keeping them away from direct contact with your cookware.
Create a small air gap between insulation layers for better heat retention.
Position dark-colored stones or bricks at the bottom of your oven to establish a stable heat foundation. You'll want to arrange additional thermal mass pieces around your cookware for even heating.
Complement these elements with reflective panels, using aluminum foil-covered flaps to direct more sunlight onto your cooking surface.
For ideal results, adjust your oven's position every 30-45 minutes, ensuring it faces the sun directly. Use dark-colored, lidded cookware and protect your setup from wind interference.
Moisture Management Strategies
Successful braising in a sun oven depends heavily on effective moisture control techniques. You'll need to master strategic venting and liquid management to achieve perfect results.
Start by reducing your recipe's liquid content by ¼ to ½ cup, as sun ovens retain moisture more efficiently than conventional ovens. When excess steam builds up, quickly open the door for 2-3 seconds or leave one latch loose to allow continuous venting.
You can also drape a dark tea towel over your covered pot to absorb excess moisture.
Don't forget to maintain visibility by wiping condensation from the glass lid when needed. Keep your oven clean by scrubbing the interior glass, especially where it meets the black gasket, and always dry the cooker thoroughly before storage to prevent moisture buildup.
Solar Braising Safety Essentials
Because solar braising involves concentrated sunlight and high temperatures, following vital safety protocols will protect you from potential hazards.
You'll need proper PPE, including heat-resistant gloves, safety glasses, and flame-resistant clothing when handling your solar oven and cookware.
When braising in your sun oven, remember these important safety steps:
- Position your oven in a sheltered spot and maintain its alignment every 30-45 minutes for ideal heat distribution.
- Keep a thermometer handy to monitor temperatures, aiming for 150-225°F for effective braising.
- Use dark, lidded cookware with proper insulation, but don't cover food with aluminum foil as it deflects necessary heat.
Always use oven mitts when checking your braise, and verify all seams are properly sealed to maintain consistent cooking temperatures.
Frequently Asked Questions
Can I Use My Sun Oven During Winter Months?
Yes, you can use your sun oven in winter. You'll need clear skies, proper insulation, and frequent angle adjustments to track the lower sun. It'll take longer to cook, but you'll still reach cooking temperatures.
How Long Does a Sun Oven Typically Last Before Needing Replacement?
With proper care and maintenance, your sun oven can last 15+ years, and potentially a lifetime. Regular cleaning, careful storage, and proper adjustments will help extend its lifespan. You'll get the most durability from quality materials.
Is It Possible to Bake Bread in a Sun Oven?
Yes, you can definitely bake bread in a sun oven! You'll need temperatures around 350°F and clear skies. Your bread will take about 45-60 minutes to bake, resulting in a nicely browned crust.
What Materials Should I Avoid Using in My Sun Oven?
You'll want to avoid shiny or reflective cookware, thin materials with poor insulation, and plastics. Don't use stainless steel, aluminum, or light-colored pots as they reflect sunlight instead of absorbing heat.
Can Multiple Dishes Be Cooked Simultaneously in a Sun Oven?
Yes, you can cook multiple dishes simultaneously in your sun oven. You'll find it's spacious enough to fit several items, and with temperatures reaching 240°C, you can efficiently prepare complete meals together.
In Summary
You'll find solar braising becomes second nature once you've mastered these key adjustments. Remember to monitor your temperatures closely, adapt your liquid ratios to the day's conditions, and always prioritize food safety with proper sealing and temperature checks. Don't let cloudy days discourage you – with these modifications, you can achieve tender, flavorful results worthy of traditional braising methods in your sun oven.


Leave a Reply