To safely cook meat in a solar oven, you'll need to monitor internal temperatures carefully with a reliable meat thermometer. Heat your oven to 300-350°F and guarantee poultry reaches 165°F, while red meats need 145°F minimum. Insert your thermometer into the thickest part, avoiding bone and fat for accuracy. Position your oven to track the sun throughout cooking, which may take up to three times longer than conventional methods. Always let meat rest for 30 minutes after cooking, covered to retain heat. Understanding proper temperature control and timing will transform your solar cooking results.
Essential Solar Oven Equipment
Building a solar oven requires specific equipment to harness the sun's energy effectively.
You'll need two cardboard boxes – an inner box with a 38 cm × 38 cm opening and an outer box with 1.5 cm of airspace between them. For heat retention, line the boxes with aluminum foil and newspaper insulation, securing them with white school glue.
Cover your oven's lid with clear plastic wrap or a Reynolds cooking bag to trap heat.
Paint the inner box's surface black using tempera paint to maximize heat absorption. You'll also need a metal coat hanger and pliers to create an adjustable prop for the lid.
Don't forget a thermometer to monitor cooking temperatures. For best results, use dark-colored, thin-walled cooking pots and consider adding a glass lid with a silicone rim.
Under optimal conditions, these ovens can achieve up to 200°F for effective cooking.
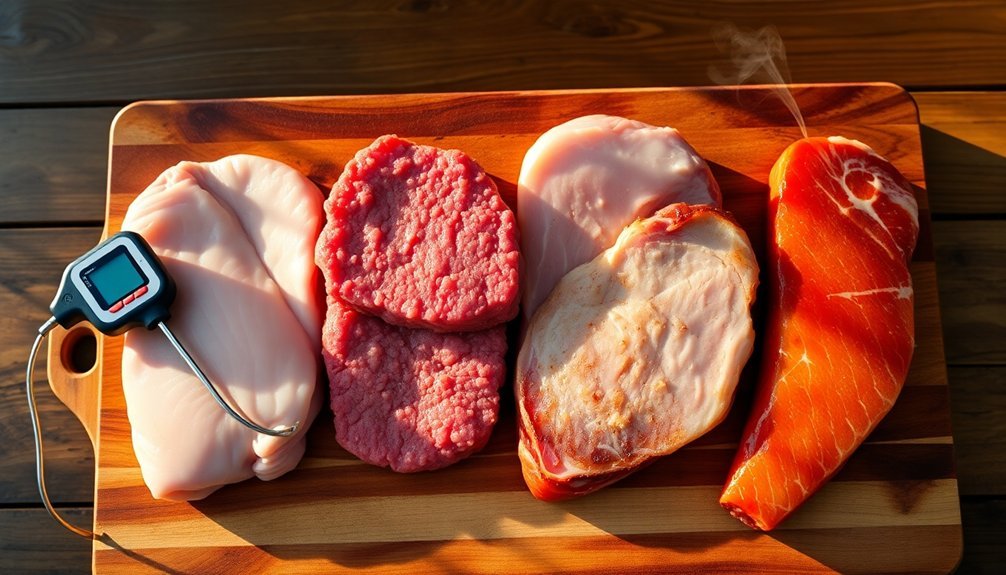
Meat Temperature Safety Basics
You'll need a reliable meat thermometer to guarantee your proteins reach safe internal temperatures, with poultry requiring 165°F and most red meats safe at 145°F.
Insert your thermometer into the thickest part of the meat, avoiding fat, bone, or touching the cooking surface to get an accurate reading.
Remember to clean your thermometer between uses and let large cuts of meat rest for three minutes after reaching their target temperature to allow for carryover cooking and proper temperature distribution.
Always monitor that your meat doesn't stay in the temperature danger zone between 40°F and 140°F for more than 2 hours to prevent bacterial growth.
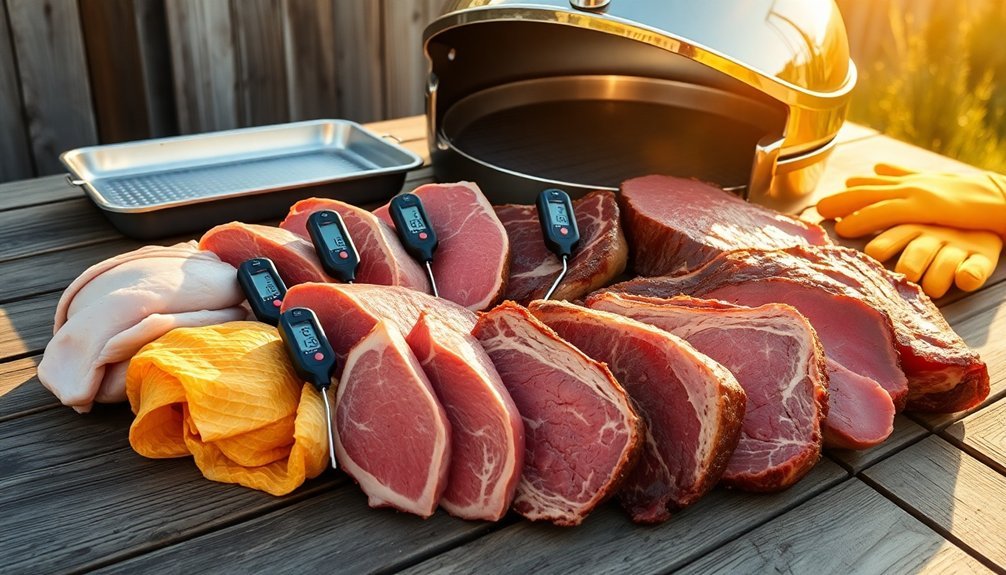
Essential Temperature Checkpoints
Mastering meat temperature safety begins with knowing the essential checkpoints for different types of proteins.
You'll need to cook whole cuts of beef, pork, lamb, veal, and venison to 145°F, while all ground meats require a higher temperature of 160°F to guarantee safety.
For all poultry products, whether it's whole birds, ground meat, white meat, or dark meat, you must reach 165°F. This same temperature applies to stuffing and casseroles containing poultry.
When using your solar oven, preheat it to at least 140°F, but ideally 200°F, before adding your meat. Solar cooking typically requires double the cooking time compared to conventional methods. Always use a reliable meat thermometer to check the internal temperature at the thickest part.
Don't let your food stay in the danger zone (40°F-140°F) for more than 2-4 hours to prevent bacterial growth.
Using Thermometers Correctly
To guarantee food safety in your kitchen, selecting and using the right thermometer is essential. You'll find two main types: digital thermometers with instant readings within 5 seconds, and dial thermometers with their distinctive round faces and long stems.
For accurate readings, insert digital thermometers about ½-inch into the thickest part of your meat, while dial thermometers need to go in about 2 inches. Don't let the probe touch bone, fat, or gristle, as this'll give you false readings. For thin cuts like hamburgers, insert the thermometer from the side.
Always clean your thermometer with hot, soapy water before and after each use to prevent cross-contamination.
Remember to calibrate your thermometer regularly following the manufacturer's instructions to verify you're getting reliable temperature readings.
Proper Searing Techniques
Proper searing techniques begin with thorough preparation and precise temperature control.
You'll need to remove all packaging, rinse your meat under cold water, and pat it dry thoroughly. Season your meat generously and prepare it on a non-porous glass or plastic cutting board.
Heat your roasting pan to medium-high and add high smoke point oil like ghee or canola. Sear the meat fat-side down for 3-4 minutes until browned, then flip and repeat. Add aromatic vegetables for enhanced flavor.
When using a solar oven, transfer your pre-browned meat to a preheated 300-350°F chamber using dark, cast iron cookware. Don't cover with aluminum foil as it deflects heat. Instead, use a proper lid and keep adjusting your solar oven to track the sun's position for consistent temperature.
Solar Cooking Time Adjustments
When you're solar cooking meat, weather conditions like wind and cloud cover can extend your cooking time by up to three times longer than conventional methods.
You'll need to closely monitor your solar oven's temperature and adjust cooking times based on your local weather forecast, particularly between 10 am and 4 pm when sunlight is strongest.
For larger cuts of meat, add an extra 30-45 minutes of cooking time per pound while maintaining proper temperature alignment with the sun's position.
Weather Impact on Timing
Since weather conditions greatly influence solar cooking performance, understanding how to adjust your timing is crucial for food safety.
You'll need to plan for longer cooking times during winter months and cloudy days when UV rays are less intense. Peak cooking hours between 11:00 am and 3:00 pm offer the fastest results.
Wind can considerably impact your cooking time, so choose a sheltered location and use booster panels to maintain consistent temperatures.
You'll want to adjust your oven's position more frequently during winter, while summer allows for longer unattended cooking periods.
If you're cooking on partly sunny days, extend your estimated cooking time and use thermal mass like rocks or bricks to help retain heat.
Remember to monitor temperatures closely and make necessary adjustments to guarantee your meat reaches safe cooking temperatures.
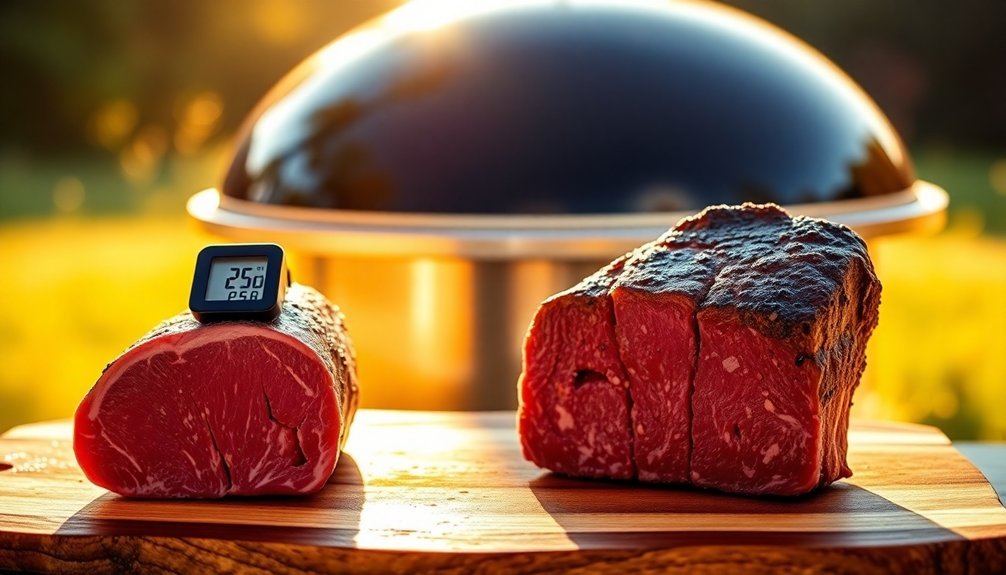
Adjusting for Meat Size
Just as weather affects your solar cooking success, the size of your meat determines how you'll adjust cooking times and temperatures.
When you're cooking small to medium cuts like chicken pieces or thin steaks, plan for 2-3 hours and check them frequently.
Medium to large cuts, such as whole chickens or roasts, need 3-4 hours with position adjustments every 1-2 hours.
For large cuts like beef roasts or turkeys, you'll need 4-7 hours and a well-insulated solar oven.
Ground meats require special attention – cook them for 2-3 hours in dark cookware for better heat retention.
Remember to maintain safe internal temperatures: 165°F for poultry, 160°F for ground meats, and 145°F for whole cuts.
Always use a meat thermometer and avoid leaving food in the danger zone between 40°F-140°F.
Meat Doneness Testing Methods
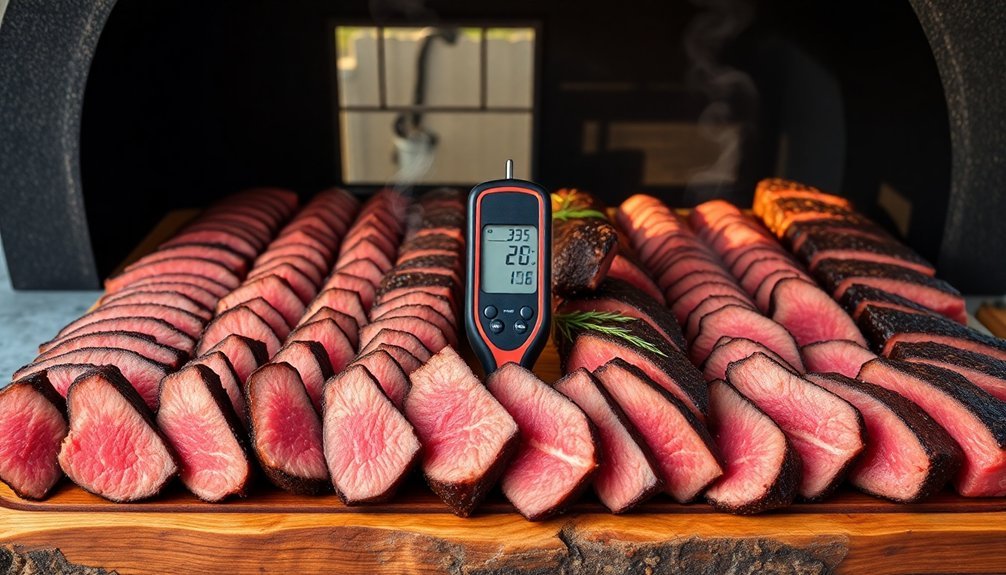
To guarantee your meat is cooked to perfection, you'll need reliable methods for testing its doneness. When using a solar oven, it's essential to monitor internal temperatures carefully since cooking times can vary based on weather conditions.
- Use a digital instant-read thermometer for the most accurate results, inserting it into the thickest part while avoiding bone or fat.
- Check that whole cuts reach at least 145°F, ground meats hit 160°F, and poultry reaches 165°F.
- Try the finger test method for steaks by comparing the meat's firmness to your palm's texture – though this requires practice.
- Consider using oven-safe thermometers that can remain in larger cuts throughout cooking, providing continuous temperature monitoring.
Remember that food shouldn't stay in the danger zone (40°F-140°F) for more than 2-4 hours while solar cooking.
Resting and Serving Guidelines
After achieving the perfect temperature, properly resting and serving your meat is essential for both safety and flavor.
Let your meat rest for at least 30 minutes, covered, to guarantee even heat distribution and juice retention. During this time, the internal temperature may continue to rise slightly, helping eliminate any remaining bacteria.
Once rested, use clean utensils and a sanitized cutting board to carve your meat. Serve it immediately, and if you've got leftovers, refrigerate them promptly below 40°F.
You'll want to keep cooked meat separate from raw meat to prevent cross-contamination. When reheating leftovers, make certain they reach 165°F throughout.
Don't leave cooked meat in the danger zone (40°F-140°F) for more than 2-4 hours. For longer storage, freeze your meat in covered containers, and don't forget to label and date them.
Frequently Asked Questions
Can I Use Aluminum Foil to Cover Meat in a Solar Oven?
No, you shouldn't use aluminum foil to cover meat in a solar oven. It'll reflect heat away instead of absorbing it, reducing cooking efficiency. Use dark-colored cookware like cast iron pots for better heat absorption.
How Do Seasonal Changes Affect Solar Oven Cooking Temperatures?
You'll notice lower cooking temperatures in winter due to reduced solar radiation. While your solar oven can still reach 350°F, you'll need longer cooking times and more frequent adjustments to maintain ideal temperatures.
What Happens if Clouds Appear Halfway Through Cooking?
When clouds appear midway through cooking, you'll experience temperature drops and longer cooking times. It's best to use a lid and extra insulation to retain heat while monitoring food safety temperatures carefully.
Should Meat Be Marinated Differently for Solar Oven Cooking?
You'll want to use lighter marinades for solar cooking since flavors intensify over longer cooking times. Choose marinades with high-smoke-point oils and mild seasonings, and let them penetrate for at least 30 minutes.
Can I Stack Multiple Dishes in a Solar Oven Simultaneously?
You shouldn't stack dishes in your solar oven as it'll reduce efficiency and cause uneven cooking. It's best to cook one dish at a time to guarantee proper heat distribution and ideal results.
In Summary
You'll find solar oven cooking both rewarding and safe when you follow proper temperature guidelines and techniques. Keep your meat thermometer handy, maintain consistent heat levels, and don't rush the process. Remember to let your meats rest after reaching their target temperatures. With practice and patience, you'll master the art of solar cooking while ensuring every dish meets essential food safety standards.


Leave a Reply