
Start your sun oven meal prep journey with basic equipment: a foil-lined cardboard box, clear plastic wrap, and dark-colored pots with glass lids. You'll want to plan your weekly menu around peak sunlight hours and seasonal produce availability. Stock up on versatile staples like rice, lentils, and root vegetables that cook well in solar ovens. Begin by batch-cooking grains and legumes on sunny days, then store them in airtight containers for the week ahead. Don't forget to prep backup meals for cloudy weather. With proper planning and the right tools, you'll discover how easy solar cooking can transform your weekly meal routine.
Essential Sun Oven Equipment
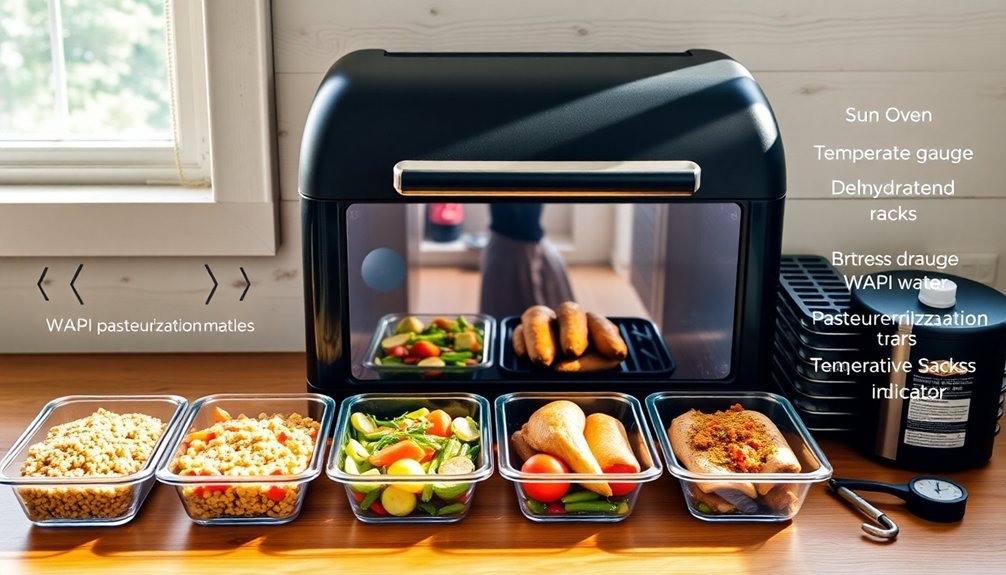
When building a solar oven for meal prep, you'll need a combination of basic materials and specialized cooking equipment to guarantee success.
Start with a sturdy cardboard box, line it with aluminum foil for reflection, and add clear plastic wrap or glass to trap heat. Black construction paper on the bottom will maximize heat absorption. You can achieve optimal heat retention by nesting larger boxes and insulating between them.
Your cooking vessels should include dark-colored pots with glass lids and silicone rims for ideal heat retention. Don't forget stackable containers to make the most of your cooking space.
You'll also need to create reflectors using foil-covered cardboard and prop sticks to position them correctly.
For safety and efficiency, keep a thermometer handy to monitor temperatures, use oven mitts when handling hot cookware, and verify you've properly insulated the cooking area with newspapers or rigid foam.
Weekly Grocery Shopping Guide
Stock your sun oven pantry with versatile staples like root vegetables, legumes, and whole grains that work well in solar cooking.
You'll want to select seasonal produce that matches your region's peak sun hours, ensuring ideal cooking conditions when ingredients are at their freshest and most affordable.
Consider buying these ingredients in bulk from wholesale clubs or local markets, focusing on items that store well and can support multiple sun-cooked meals throughout the week. Creating a detailed meal prep schedule helps ensure efficient use of ingredients while minimizing waste and supporting healthier eating habits.
Essential Sun Oven Foods
Successful sun oven meal prep requires four essential food categories that'll form the foundation of your weekly shopping list.
Start with staple grains and legumes like rice, lentils, and barley, which serve as the base for hearty dishes like dal bhat and pilaf. Organizing by categories will help you navigate the store efficiently and ensure you don't miss essential ingredients.
Stock up on proteins and dairy, including chicken for mixed vegetable dishes, shrimp for quick skewers, and three types of cheese for solar lasagna.
You'll need canned and dried goods such as diced tomatoes, spaghetti sauce, and olive oil to enhance flavors and create sauces.
Don't forget vegetables and herbs – onions, garlic, and mixed vegetables are vital for most recipes.
Fresh herbs like basil and oregano will elevate your dishes, while cabbage adds substance to chicken and rice combinations.
Seasonal Produce Selection
Since sun oven cooking relies heavily on fresh ingredients, planning your weekly grocery trips around seasonal produce will maximize flavor and minimize costs.
You'll find that winter's citrus fruits and hearty vegetables like sweet potatoes make perfect slow-cooked meals, while summer's tomatoes and peppers create vibrant solar-powered dishes. Cruciferous vegetables are especially abundant in winter months, making them an excellent choice for hearty sun oven stews.
- Keep a seasonal produce chart in your phone or kitchen to quickly identify what's naturally available each month.
- Visit local farmers' markets early in the morning for the freshest picks of the season.
- Buy extra seasonal produce when prices are lowest, then preserve them in your sun oven for future use.
- Mix seasonal vegetables with year-round staples like onions and garlic to create well-balanced sun oven meals.
Remember to adapt your meal prep recipes based on each season's unique offerings.
Bulk Shopping Strategies
Efficient bulk shopping forms the backbone of successful sun oven meal prep. You'll want to focus on shelf-stable ingredients that store well and complement solar cooking methods. Start by stocking up on dry goods like rice, beans, and wheat berries, which form the foundation of many sun-cooked meals.
Create a categorized shopping list organized by department to streamline your store visits. You'll save time and money by buying frequently used items in bulk, especially through wholesale club memberships.
Keep a running inventory of your pantry staples, and calculate your monthly needs to avoid overbuying perishables. Don't forget to include essential spices and seasonings – they're vital for enhancing solar-cooked dishes.
For maximum efficiency, plan your shopping trips to end on your regular meal prep day.
Prepping Your Ingredients
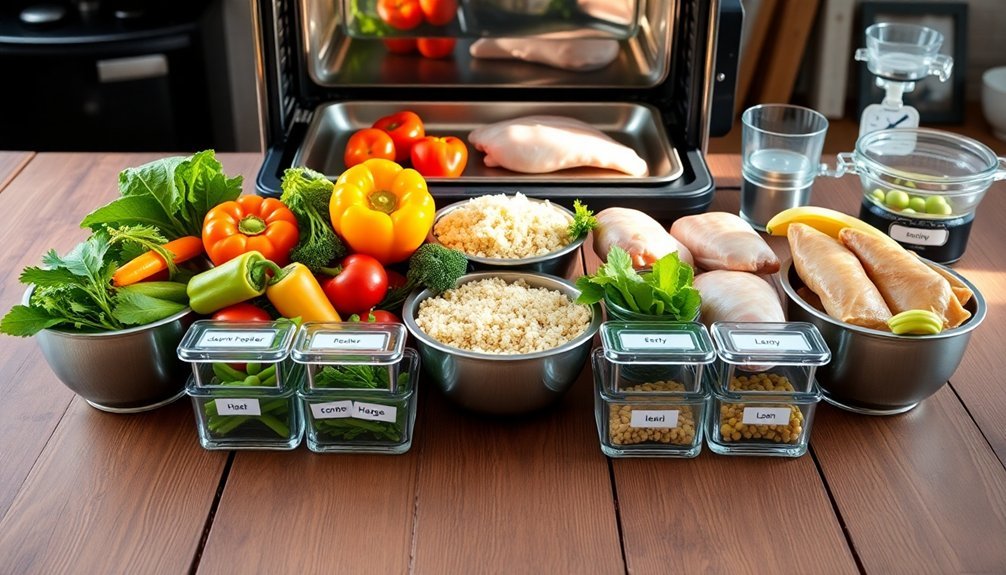
Before you start prepping ingredients for your sun oven meals, you'll need to thoroughly clean and sanitize your prep stations.
Stock your workspace with essential tools like sharp knives, cutting boards, storage containers, measuring cups, and mixing bowls.
Having dedicated areas for proteins, produce, and grains will help streamline your meal prep process and prevent cross-contamination.
Clean Prep Stations First
A clean and organized prep station serves as the foundation for successful meal preparation. Before you begin prepping ingredients for your sun oven meals, make certain your workspace is sanitized and strategically arranged.
Position your prep station near electrical outlets and sinks while maintaining easy access to refrigeration for ingredient freshness.
- Start by cleaning all utensils, equipment, and surfaces thoroughly using your preferred sanitizing solution.
- Arrange your prep station to minimize unnecessary movement, keeping storage and cooking areas within arm's reach.
- Set up a digital checklist on your phone or tablet to track cleaning compliance and maintenance tasks.
- Position labeled containers and organize shelves according to the FIFO method, making sure older ingredients are used first.
Remember to maintain a clutter-free workspace throughout your meal prep session for maximum efficiency and safety.
Essential Tools Required
Successful meal prep with sun ovens depends heavily on having the right tools at your disposal.
You'll need a reliable food processor like the Breville Sous Chef 16 Pro or Hamilton Beach model for efficient slicing, dicing, and sauce-making. A Cuisinart Push Chopper is essential for quickly mincing garlic, chopping nuts, and preparing vegetables without a cutting board.
For your solar oven setup, gather aluminum foil to reflect sunlight, clear plastic wrap or Plexiglas to trap heat, and black construction paper for heat absorption.
Don't forget a thermometer to monitor cooking temperatures and heat-resistant gloves for safety. You'll also want quality storage containers and bags to organize ingredients and store prepared meals.
Stackable pans with various lids will help maximize your cooking efficiency.
High Energy Breakfast Recipes
Starting your day with high-energy breakfast recipes guarantees sustained vigor throughout the morning. Your sun oven can transform simple ingredients into nutrient-packed meals that'll fuel your day.
Focus on combining protein-rich foods with complex carbohydrates and healthy fats for ideal energy release.
- Create a protein-packed spinach frittata with garlic, tomatoes, and peppers, letting your sun oven slowly bake the eggs to perfection.
- Prepare sweet potato and egg meal prep bowls by roasting the potatoes with olive oil in your solar cooker.
- Bake a batch of chia and oat breakfast scones, topped with yogurt and antioxidant-rich berries.
- Make turmeric granola in your sun oven, combining nuts, seeds, and dried fruits for a golden-hued energy boost.
Add flax seeds or bee pollen to enhance nutritional value and sustain energy levels longer.
Quick Lunch Box Ideas
Preparing lunch boxes with sun ovens requires strategic planning to guarantee meals stay fresh and appetizing throughout the day.
You'll find success by combining pre-cooked items with fresh ingredients. Consider heating leftovers in your solar oven using glass containers, or warm up canned soups in heavy-duty zip-lock bags.
For cold options, you can pack turkey sandwiches on Brownberry thins, homemade lunchables with Applegate pepperoni, or pinwheel tortilla roll-ups.
Don't forget to include protein-rich sides like hard-boiled eggs or cheese sticks. Add color and nutrition with fresh fruits like grapes, blueberries, or apple slices, paired with crunchy vegetables such as carrots and peppers.
Complete your lunch with wholesome snacks like Quaker reduced sugar granola bars or Simple Mills crackers.
Family Friendly Solar Dinners
Whether you're cooking with kids or planning a casual family dinner, solar ovens offer an exciting way to prepare simple, crowd-pleasing meals.
You'll find these eco-friendly cooking methods perfect for creating favorite dishes while teaching children about sustainable energy. From melty s'mores to crispy nachos, these recipes don't require complex preparations or fancy ingredients.
- Try classic s'mores using graham crackers and marshmallows, taking 40-90 minutes to achieve the perfect gooey consistency.
- Create quick nachos by layering chips with cheese and optional toppings, ready in just 20-30 minutes.
- Make personalized English muffin pizzas with sauce, cheese, and pepperoni, cooking in about 40 minutes.
- Transform a Pringles container into a hot dog cooker for a fun science experiment that delivers tasty results.
These family-friendly options combine entertainment with practical solar cooking skills.
Smart Food Storage Methods
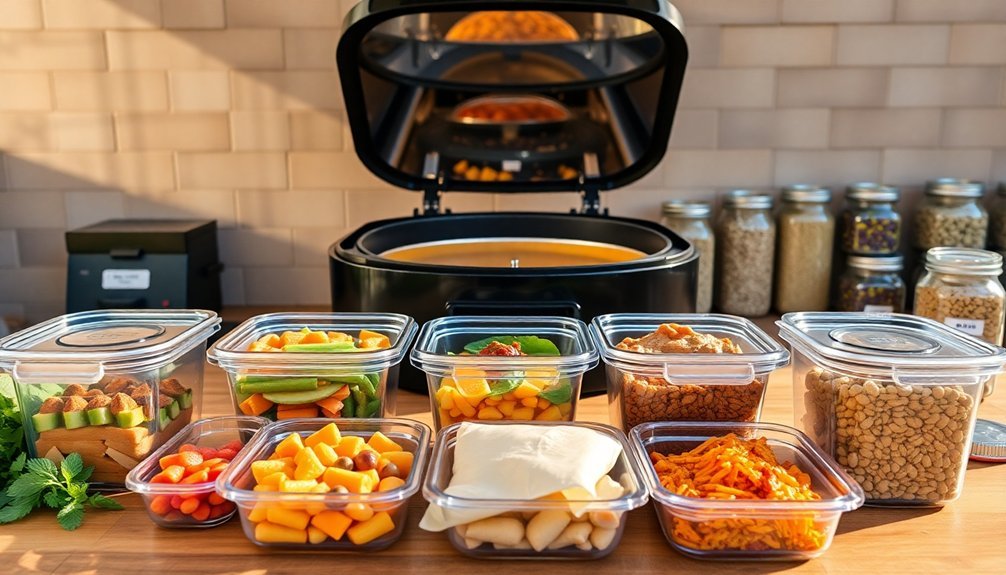
You'll maximize your sun oven meal prep's longevity by storing cooked dishes in vacuum-sealed, BPA-free containers that can extend freshness up to three times longer than conventional storage methods.
Keep your prepped meals at ideal temperatures by using smart containers with digital displays that monitor freshness and alert you when food needs to be consumed.
For best results, stack your containers in temperature-controlled zones of your refrigerator, using clear, modular designs that let you quickly identify and rotate meals throughout the week.
Airtight Container Best Practices
Smart food storage begins with selecting the right airtight containers, which serve as your first line of defense against spoilage and waste.
You'll want BPA-free, microwave-safe containers with leak-proof seals to protect your sun-cooked meals from bacteria and cross-contamination. Clear, stackable designs maximize your fridge space while letting you quickly identify contents.
For ideal food preservation, follow these essential practices:
- Use vacuum-sealed containers or oxygen absorbers to extend freshness up to 5 times longer
- Store raw and cooked foods separately to prevent cross-contamination
- Label containers with dates and contents using smart lids or waterproof markers
- Clean containers thoroughly in the dishwasher after each use, paying special attention to the seals
Consider antimicrobial containers with silver-ion technology for additional protection against bacterial growth.
Temperature-Controlled Meal Storage
Maintaining precise temperature control stands at the core of successful meal prep storage. You'll need to keep your prepped cold foods at 41°F or below and hot foods at 135°F or above to guarantee safety.
When cooling your TCS foods, follow the 2-6 hour rule: cool from 135°F to 70°F within 2 hours, then to 41°F within 6 hours total.
For ideal storage, invest in smart containers with temperature monitoring capabilities. These containers can connect to your phone to alert you about unsafe temperature fluctuations.
Look for vacuum-sealed options with adjustable humidity control, which can extend food freshness up to five times longer than traditional storage methods.
Choose containers made from borosilicate glass, which can withstand temperatures from -4°F to 752°F, making them perfect for both freezer storage and sun oven reheating.
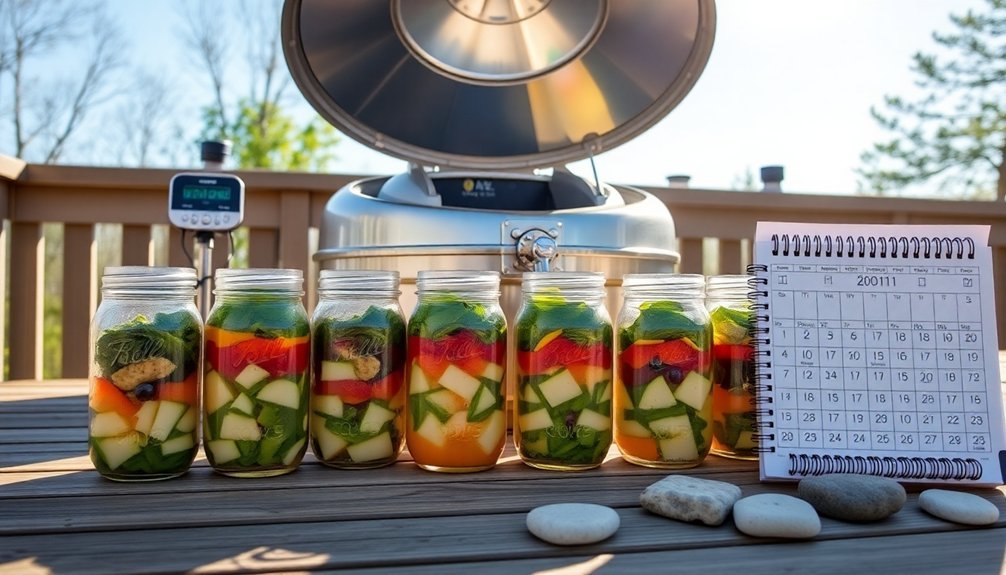
Scheduling Your Solar Cooking
Success with solar cooking hinges on proper scheduling and timing throughout the year. You'll need to plan your meals around peak sunlight hours, which vary considerably by season.
In summer, you've got a wider window from 10 AM to 4 PM, while winter limits you to just three hours between 11:30 AM and 2:30 PM.
- Pre-heat your solar oven for 15-20 minutes before cooking to maximize efficiency.
- Track the sun's position and adjust your cooker more frequently during shorter days.
- Use a timer to manage cooking times precisely, especially for baked goods.
- Plan one-pot meals when possible to simplify the process.
Remember to factor in your location's specific sunlight patterns, as areas like Oregon require more precise timing adjustments than sunnier regions.
Weather Planning Strategies
Because weather conditions directly impact solar cooking effectiveness, you'll need a solid strategy to maximize your sun oven's potential. Start by checking the weather forecast for clear, sunny days with a UV index of 7 or higher, and plan your most sun-dependent meals accordingly.
Position your oven to face directly into the sun, adjusting the reflectors throughout the day for ideal exposure. You'll want to protect your setup from strong winds by finding a sheltered spot, while still maintaining full sun exposure.
For days with intermittent clouds or shorter daylight hours, break your cooking into stages or have backup cooking methods ready. Don't forget to monitor the sun's path to avoid shadow interference, and always keep food safety in mind by avoiding perishable ingredients on cloudy days.
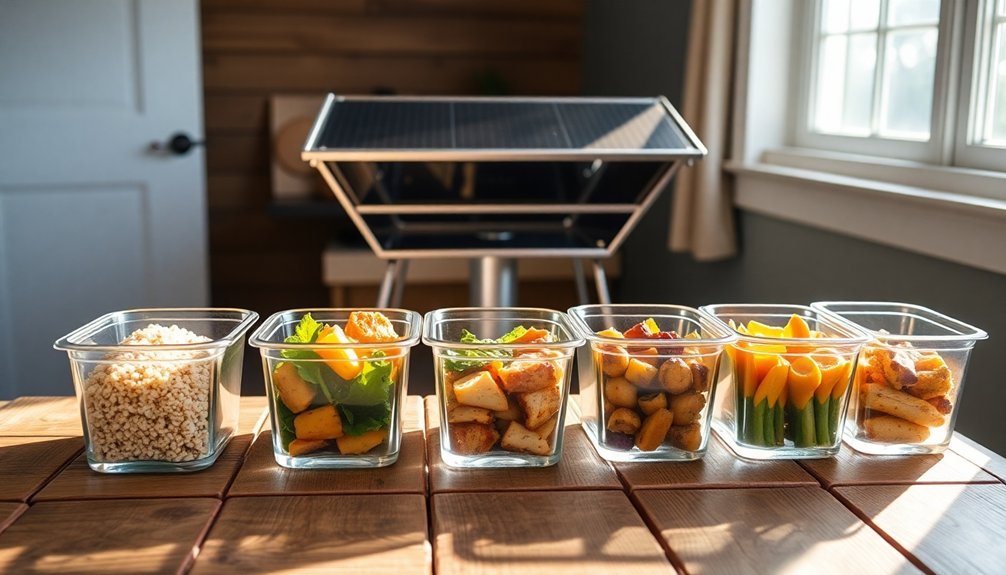
Batch Cooking Success Tips
When planning a week's worth of sun-powered meals, efficient batch cooking becomes your greatest ally. Start by ensuring you've got all essential tools ready, including freezer-safe containers and sharp knives for quick prep work.
You'll want to select recipes that maximize your sun oven's capacity while minimizing complexity.
- Choose one-pot meals and recipes that share similar cooking temperatures to make the most of your solar cooking time.
- Prep your ingredients and containers before you begin cooking to maintain efficiency.
- Plan recipes that can repurpose leftovers, like roasted meats that work in multiple dishes.
- Label everything clearly with contents and dates.
Keep your kitchen clean and organized throughout the process, and don't forget to portion meals appropriately before freezing.
With proper planning, you'll create a week's worth of sun-cooked meals efficiently.
Frequently Asked Questions
Can I Use Aluminum Foil or Reflective Containers in My Sun Oven?
Yes, you can use aluminum foil in your sun oven to reflect sunlight and trap heat effectively. If you want better durability, try alternatives like Mylar or reflective tape, which maintain their reflectivity longer.
How Do I Prevent Condensation From Dripping Onto My Food?
You can prevent condensation drips by venting your sun oven slightly, using well-fitted lids on pots, reducing liquid in recipes, or placing a dark tea towel under pot lids to absorb excess moisture.
What Happens if I Need to Relocate My Sun Oven Mid-Cooking?
If you need to move your sun oven mid-cooking, detach it carefully, store parts securely, and quickly reposition it facing the sun. You'll need to readjust alignment and monitor temperature after relocation.
Does Food Cooked in a Sun Oven Taste Different?
You'll notice sun oven-cooked food tastes more moist and tender, with better-preserved natural flavors. While you won't get char marks, the slow, even heating creates a melt-in-your-mouth texture that many prefer.
Can I Stack Multiple Cooking Vessels in My Sun Oven?
Yes, you can stack multiple cooking vessels in your sun oven. You'll need to use stackable pots, cross-stack flat pans, or use the leveling tray to double-stack round pots for efficient cooking.
In Summary
Start your solar cooking journey confidently with these beginner-friendly meal prep strategies. You'll save time and energy while creating nutritious meals using the sun's power. Remember to check weather forecasts, organize your prep schedule around peak sunlight hours, and store your meals properly. With practice, you'll master batch cooking in your sun oven and develop a sustainable, eco-friendly weekly meal routine that works for you.


Leave a Reply