You'll maximize outdoor heat by implementing these expert tips: Face your setup south (Northern Hemisphere) or north (Southern Hemisphere), and add 15 degrees to your latitude angle. Position black surfaces for ideal absorption, but avoid overheating at noon. Use aluminum foil's 97% reflectivity by keeping it smooth and clean. Create windbreaks perpendicular to air flow, and utilize nearby structures as shields. Set up parabolic dishes with reflective materials to concentrate sunlight, and pack insulated containers tightly to maintain temperature. Time your activities around peak solar hours, and adjust angles seasonally. These fundamentals will lead you to even more advanced heat-focusing techniques.
Mirror Placement for Solar Energy

When positioning mirrors to enhance solar energy collection, proper placement and angle are essential for maximizing your system's efficiency.
You'll need to carefully consider both the sun's daily path and seasonal variations to determine ideal mirror positioning. Use an inclinometer to set precise angles that direct sunlight onto your solar panels effectively.
Your mirrors should match your solar panels' dimensions while remaining practical to install and maintain. Professional guidance is vital since improper installation can create serious safety hazards.
Before installation, analyze your property's sunlight exposure using a solar pathfinder to identify potential obstructions like trees or buildings. You'll want to avoid shadowed areas that could compromise performance.
Remember that proper mirror placement can greatly boost your system's energy output and extend peak performance hours, but you'll need efficient cooling systems to prevent overheating from the concentrated sunlight.
Black Surfaces and Heat Absorption
While black surfaces excel at absorbing solar radiation, you'll need to be cautious about placing dark materials in areas with direct sunlight.
You're likely to encounter significant overheating issues during peak sun hours, particularly around noon, as black surfaces can reach temperatures far above ambient levels. The lack of reflective pigments in black surfaces makes them particularly efficient at converting sunlight into heat.
If you're installing dark materials outdoors, consider shading options or alternative locations to prevent excessive heat buildup that could damage materials or create uncomfortable conditions.
Dark Materials Create Problems
Despite their sleek appearance, dark materials and black surfaces can create significant heat-related challenges in outdoor spaces. You'll notice these materials absorb more solar energy and convert it into heat, making your outdoor experience uncomfortably warm, especially during summer months. The scientific principle shows that the darker the color, the greater its heat absorption from light sources.
| Problem | Solution |
|---|---|
| Excessive heat absorption | Use light-colored materials |
| Higher surface temperatures | Install shade structures |
| Increased cooling costs | Choose reflective surfaces |
When you're designing outdoor spaces, it's essential to understand how dark materials affect thermal comfort. They'll not only make you feel warmer but also impact the surrounding environment's temperature. That's why you shouldn't use large expanses of dark materials in areas where people gather or relax. Instead, opt for lighter colors that reflect more sunlight and help maintain a cooler environment.
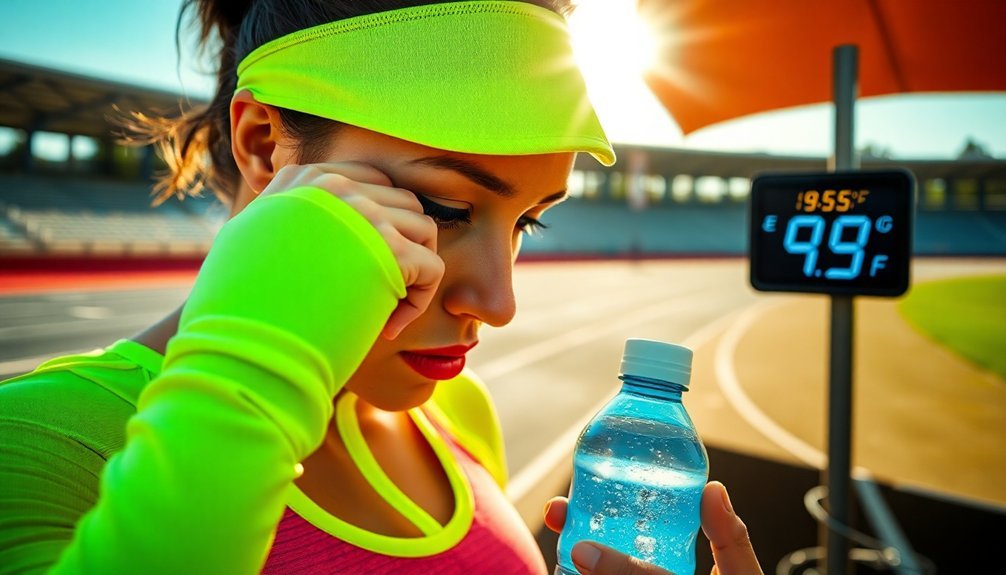
Overheating Risks at Noon
As temperatures peak at noon, black surfaces pose serious overheating risks that you'll need to manage carefully.
When you're near black pavement or wearing dark clothing, you're exposing yourself to markedly higher temperatures because these surfaces absorb all wavelengths of light and convert them to heat. This is because light converts to heat when objects absorb it, especially dark-colored surfaces.
You'll face increased risks of heat stress, dehydration, and even burns from touching hot black surfaces.
The combination of peak solar radiation and black materials' exceptional heat absorption can raise your body temperature dangerously fast.
To protect yourself, wear light-colored clothing, seek shade whenever possible, and stay well-hydrated.
If you must be outdoors during peak hours, use cooling accessories like hats or cooling towels, and plan your activities for earlier or later in the day.
Insulated Container Setup
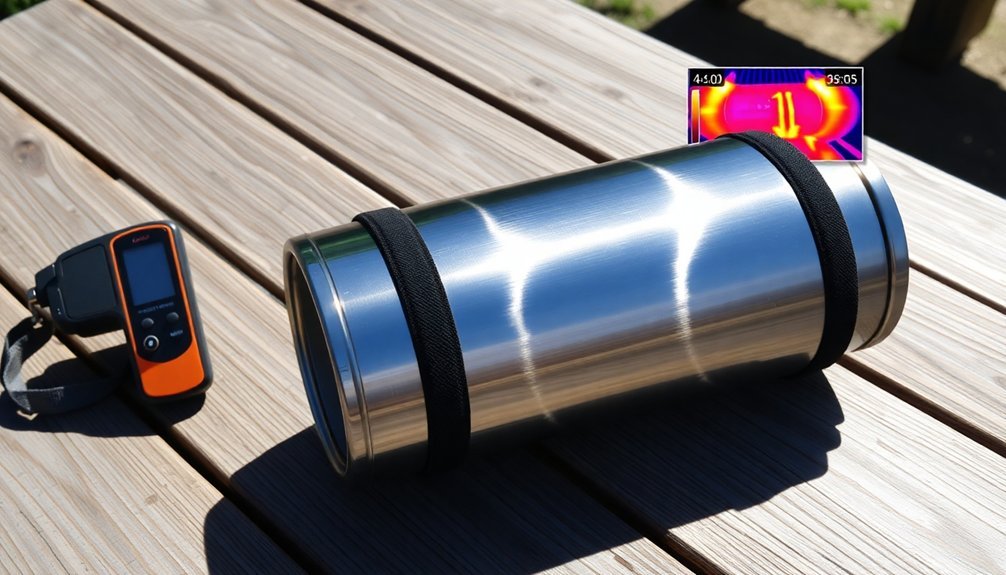
You'll want to start by choosing a container with thick, insulating walls and an airtight seal to maintain consistent temperatures for extended periods.
Pack the container efficiently with insulating materials like PIR sheets and multi-quilt foil, leaving minimal air gaps that could compromise heat retention.
Control your cooking temperature by using WiFi-enabled plugs or thermostats to regulate heat input while monitoring the internal temperature of your setup.
Selecting the Right Container
When setting up an insulated container, selecting the right size and configuration is essential for maximizing heat efficiency.
You'll need to evaluate your space requirements carefully, considering both the standard sizes (10, 20, or 40 feet) and your specific storage needs.
For ideal heat management, choose a container with strong structural integrity that can support your insulation method.
If you're in a wet climate, opt for exterior insulation to prevent condensation on the steel walls.
However, if you're dealing with intense heat, interior insulation might serve you better.
Consider pairing your insulation with proper ventilation and climate control units to regulate temperature effectively.
Don't forget to factor in the container's weight limitations and verify you've left enough interior space for your equipment after accounting for insulation thickness.
Temperature Control Materials
The right container is only half the equation – proper insulation materials make or break your temperature control success. You'll want to focus on high-performance materials like High-Density Polyurethane (PUR) and Vacuum Insulated Panels (VIP) for maximum thermal protection. When combined with Phase Change Materials (PCM), you'll achieve ideal temperature maintenance.
| Material Type | Best Feature | Ideal Use Case |
|---|---|---|
| PUR | Excellent thermal resistance | Long-duration transport |
| VIP + XPS | Highest insulation efficiency | Premium cold chain |
| Block Insulation | Lowest heat transmission | Critical temperature control |
For best results, you'll need waterproof inner bags to maintain hygiene standards and protect against moisture. Choose containers with modular construction – they're easier to maintain and repair when needed. Remember, proper insulation can maintain temperatures for up to 144 hours in the 2-8°C range.
Air Space Management
Proper air space management stands as the foundation for creating an effective insulated container system.
You'll need to focus on creating an airtight environment that prevents moisture buildup while maintaining ideal insulation performance. Install vapor barriers like polyethylene sheets or specialized paint to block moisture from compromising your insulation's effectiveness.
- Overlap all vapor barrier seams and secure them with heavy-duty tape
- Address any condensation-prone areas with spray foam insulation
- Keep the interior consistently dry to prevent mold growth
- Create an airtight seal by checking for and addressing leaks regularly
Remember to extend your vapor barriers across all surfaces, ensuring complete coverage.
When you're sealing joints and connections, be thorough with your application of caulk or expanding foam to maintain the integrity of your insulated space.
Aluminum Foil Reflection Techniques
Since aluminum foil reflects up to 97% of radiant energy, you'll want to leverage its remarkable properties for maximizing heat reflection outdoors.
Position smooth, clean foil sheets strategically to redirect heat where you need it most, ensuring the shiny surface faces your target area with an air cavity between.
For ideal results, maintain your foil's surface cleanliness and smoothness, as impurities and roughness can reduce its reflective performance.
You'll get better results using higher-purity aluminum foil (99.6% or higher) that's free from surface contaminants.
Create effective heat zones by combining foil with other insulating materials like foam or bubble wrap, and always orient the reflective surface toward an enclosed air space.
Angle Optimization for Sunlight
Understanding ideal sunlight angles can dramatically improve your heat collection efficiency outdoors.
When positioning heat-collecting surfaces, you'll want to take into account your latitude as the baseline angle, then make adjustments based on your specific needs and seasons. For year-round heating, match your latitude exactly, but for summer-only purposes, reduce the angle by 10-15 degrees.
- Face your surfaces south if you're in the Northern Hemisphere, or north if you're in the Southern Hemisphere.
- Add 15 degrees to your latitude angle during winter months for maximum heat capture.
- Adjust angles steeper during spring and fall to account for lower sun positions.
- Consider a steeper tilt in areas with frequent snowfall to help the snow slide off naturally.
Heat Retention Materials
To maximize outdoor heat, you'll want to combine both natural and synthetic heat-retaining materials.
While natural elements like stone and gravel absorb sunlight during the day and slowly release warmth at night, synthetic materials such as XPS foams and artificial turf with crumb rubber infill can greatly boost heat retention.
Consider layering these materials strategically, using heat-reflective technologies and closed-cell structures to trap warmth and maintain consistently high temperatures in your outdoor space.
Natural Heat-Storing Elements
Natural heat-storing elements play an essential role in maintaining ideal outdoor temperatures, especially when you're looking to maximize heat retention.
You'll find that materials like rocks and soil naturally absorb heat during the day and release it slowly at night, creating a consistent thermal environment.
Phase change materials (PCMs) offer even more precise temperature control, as they can store and release heat at specific temperatures.
- Use water features strategically – they'll absorb heat during peak temperatures and release it gradually when temperatures drop
- Incorporate natural stone or ceramic elements, which excel at sensible heat storage
- Add gravel or decomposed granite pathways to help regulate ground temperatures
- Consider organic infills like cork blends that provide both insulation and natural cooling properties when needed
Synthetic Thermal Insulators
While natural materials effectively store heat, synthetic thermal insulators take heat retention to the next level. You'll find these high-performance materials, like fiberglass and polyethylene, in combination with reflective aluminum foil, working together to trap and maintain warmth.
When you're looking for outdoor gear, choose items that incorporate these synthetic insulators. They're specifically engineered to withstand extreme temperatures while keeping you warm. You'll notice many premium outdoor products use multi-layer systems that combine these materials for maximum effectiveness.
These synthetic insulators aren't just effective – they're also environmentally conscious. They'll help reduce your energy needs and carbon footprint.
For the best results, look for products that match your specific activity level and climate conditions. The right combination of synthetic insulators will keep you comfortable in even the harshest outdoor environments.
Parabolic Dish Construction
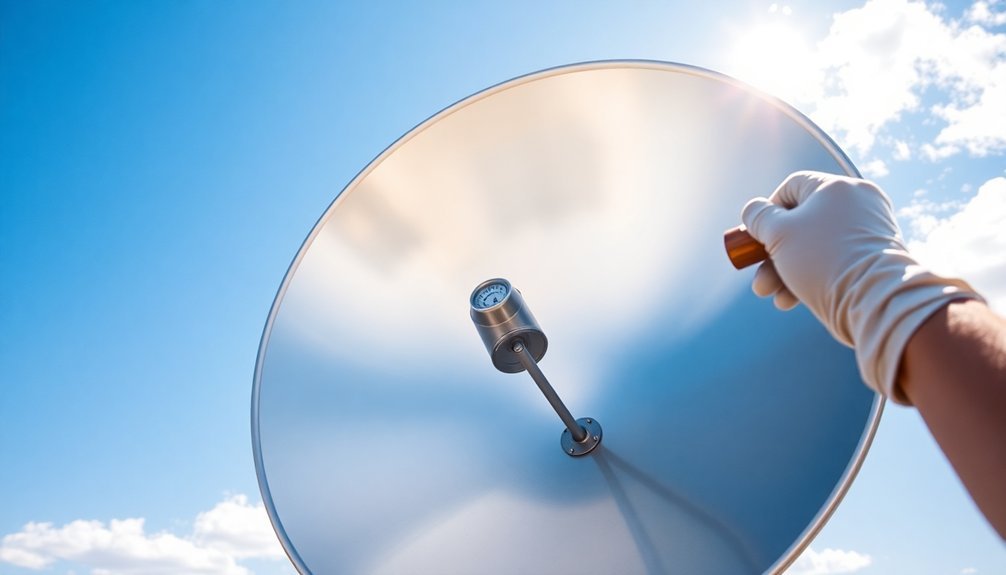
Building an effective parabolic dish requires careful attention to both geometry and material selection.
You'll need to focus on creating a precise parabolic shape that efficiently concentrates sunlight onto a single point. The reflective surface, typically made from aluminum sheets, must be carefully attached to a sturdy base structure to maintain the correct curvature.
- Use the focus and directrix method to map out your parabolic shape, ensuring all parallel rays will converge at the focal point.
- Select highly reflective materials like anodized aluminum and secure them with both adhesive and rivets.
- Install an adjustable mechanism that lets you track the sun's movement for ideal heat concentration.
- Position a black-painted metal container at the focal point to maximize heat absorption and achieve temperatures up to 296°C.
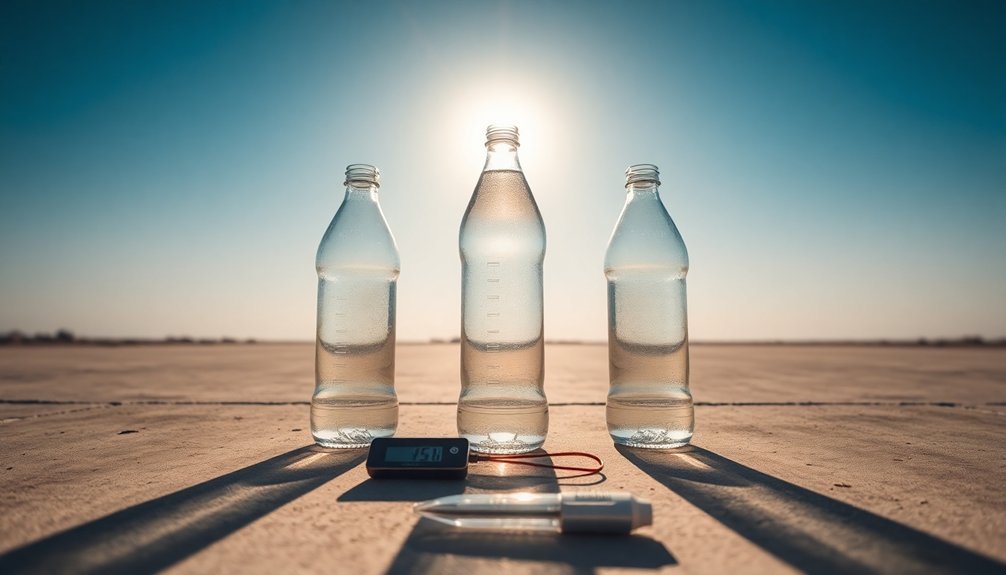
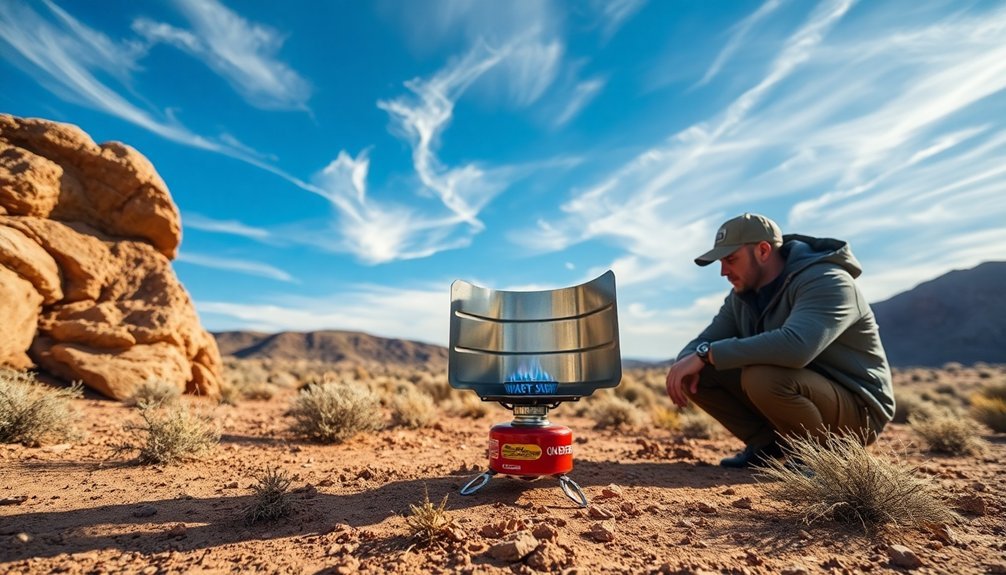
Temperature Zone Management
Successful temperature zone management in solar cooking requires careful monitoring and adjustment of multiple heat variables.
You'll need to track temperature gradients across your cooker's zones and use buffered probe sensors for accurate readings.
Keep your cooking temperatures between 250°-400° for ideal results.
Install thermometers in different areas to identify hot spots and cold zones, and use apps that alert you when temperatures fall into the dangerous 50°-150° range.
You'll want to regularly adjust your cooker's position as the sun moves across the sky.
Make sure you're using dark-colored cookware to maximize heat absorption and maintain proper sealing with silicon rubber gaskets.
Check weather apps to plan your cooking schedule and adjust cooking times based on real-time sun intensity and cloud cover.
Wind Protection Methods
To maintain consistent heat during outdoor cooking, protecting your grill from wind is essential. You'll want to position your grill perpendicular to the wind and use nearby structures like sheds or fences as natural windbreaks. Remember to keep at least 10 feet between your grill and any blocking structure for proper ventilation.
- Install a folding windbreak or DIY tarpaulin shield between your grill and the wind direction.
- Create a three-sided barrier using plywood or cardboard, leaving the front accessible.
- Build a permanent brick or stone windscreen for lasting protection.
- Manage vents and lid positioning to control smoke and maintain flame stability.
When using wind blocks, adjust their height to fully shield the cooking area while ensuring proper airflow.
Monitor your grill closely and keep extra charcoal handy, as wind can cause faster fuel consumption.
Solar Time Tracking
Maximizing outdoor heat requires understanding how the sun moves across your space throughout the day.
You'll get the best results by tracking the sun's position and adjusting your location accordingly, just like solar panels do.
During morning hours, you'll find the most direct sunlight facing east, while western exposure becomes ideal in the afternoon.
To maximize heat absorption throughout the day, you'll want to follow the sun's path from east to west, covering a full 180-degree range.
For even better results, consider both the sun's height (elevation) and directional position (azimuth) – similar to dual-axis tracking technology.
This two-directional awareness can help you capture up to 40% more sun exposure than staying in a fixed position.
Frequently Asked Questions
How Does Humidity Affect the Effectiveness of Heat-Focusing Methods?
High humidity reduces your body's ability to cool through sweat evaporation. You'll feel hotter as moisture stays on your skin, and your natural cooling system becomes less effective in humid conditions.
Can Heat-Focusing Techniques Work Effectively on Cloudy or Overcast Days?
You'll find heat-focusing techniques aren't very effective on cloudy days since they typically require direct sunlight. Cloud cover scatters light rays, making it difficult to concentrate heat through traditional focusing methods.
What Safety Precautions Should Be Taken When Handling Heat-Focusing Equipment?
Always wear protective gloves, maintain safe distances, avoid flammable materials, and don't leave equipment unattended. You'll need proper ventilation and should keep a fire extinguisher nearby when handling heat-focusing devices.
How Do Seasonal Changes Impact the Positioning of Heat-Focusing Devices?
You'll need to adjust heat-focusing devices seasonally. In summer, move them away from direct sunlight to prevent overheating. During winter, position them to maximize heat absorption and maintain efficiency.
Are There Specific Materials That Should Never Be Used for Heat Focusing?
You shouldn't use highly conductive metals like copper or aluminum, homogeneous materials without nanoparticles, or irritating substances like fiberglass. These won't effectively concentrate heat and could cause safety or performance issues.
In Summary
You'll maximize outdoor heating efficiency by combining these proven techniques. Set up your mirrors and black surfaces strategically, use insulated containers, position aluminum foil reflectors carefully, and optimize angles for peak sun exposure. Build a simple parabolic dish, manage temperature zones, block wind interference, and track solar movement. With these methods working together, you're ready to harness nature's heat effectively in any outdoor setting.


Leave a Reply