When bad weather disrupts your outdoor cooking plans, you've got plenty of indoor alternatives to save your meal. You can adapt most recipes using common kitchen tools like Dutch ovens, skillets, or slow cookers. For solar recipes, simply increase your conventional oven temperature by 200-300°F and reduce cooking time by half. Quick stovetop adaptations work well with a single pot or skillet – just start with high heat, then reduce and cover to retain moisture. Don't forget handy substitutions like using coconut oil for butter or Greek yogurt for sour cream. The world of indoor cooking alternatives offers endless possibilities to explore.
Essential Kitchen Tools for Indoor Cooking
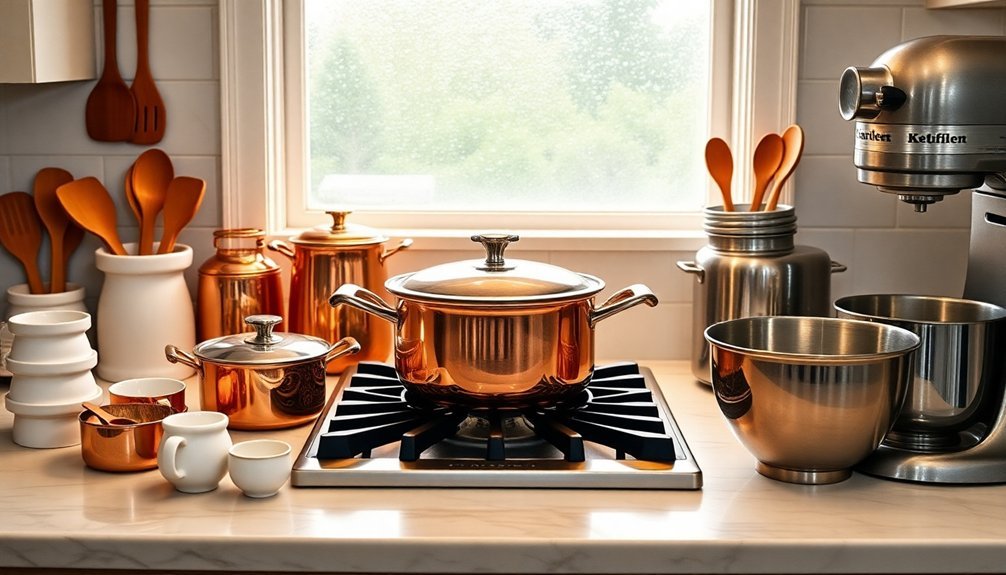
While outdoor cooking offers its own charm, having the right indoor kitchen tools is essential for creating delicious meals year-round.
You'll need a versatile collection of pots, including a 4-quart saucepan for pasta and sauces, an 8-12 quart stock pot for soups, and a Dutch oven for stews and bread-making. A high-quality Staub braiser pan offers excellent versatility for both stovetop and oven cooking.
Don't forget quality knives – a chef's knife, serrated knife, and paring knife from brands like Global or Wusthof will handle most cutting tasks.
For baking indoors, you'll want baking sheets for roasting vegetables and sheet pan dinners, plus glass baking dishes for casseroles.
Essential utensils include wooden spoons, tongs, and a whisk for mixing and handling hot foods.
Complete your indoor kitchen setup with preparation tools like a colander, mesh strainer, and box grater for efficient food prep.
Quick Stovetop Recipe Adaptations
Now that you've stocked your kitchen with the right tools, let's adapt your favorite recipes for stovetop cooking.
You'll find that many dishes can be simplified using fewer ingredients and a single pot or skillet. For example, you can transform traditional lasagna into a quick stovetop version using just noodles, sauce, and cheese. From prep to finish, this simplified lasagna takes just 20 minutes total.
To keep your kitchen cool, start with high heat to bring ingredients to a boil, then reduce to low. Cover your pot with a lid to trap moisture and guarantee even cooking.
You can customize recipes by adding pre-cooked meats, fresh vegetables, or different cheese combinations. Don't forget to shake water in your empty sauce jar to use every drop.
These adaptations work especially well for busy weeknights when you need a satisfying meal without heating up your home.
Oven Methods for Solar Recipes
Converting your favorite solar oven recipes to conventional oven methods requires simple temperature and timing adjustments for successful results. You'll need to reduce cooking times by half and increase temperatures, as conventional ovens operate at 200-300°F higher than solar ovens. While solar ovens use reflective surfaces to concentrate heat, conventional ovens rely on direct heating elements.
| Recipe Type | Solar Time | Conventional Time | Temperature |
|---|---|---|---|
| Baked Goods | 3-4 hours | 1.5-2 hours | 350°F |
| Stews/Soups | 4-6 hours | 2-3 hours | 325°F |
| Roasted Meats | 5-6 hours | 2.5-3 hours | 375°F |
| Casseroles | 3-4 hours | 1.5-2 hours | 350°F |
Keep your dishes covered to retain moisture, and place them in the center of your preheated oven. Use cooking thermometers to guarantee food safety, and check periodically for doneness. Remember to adjust seasonings since shorter cooking times may affect flavor intensity.
Instant Pot Alternative Solutions
You'll find multiple ways to adapt your favorite Instant Pot recipes using traditional cookware like Dutch ovens, stovetop pressure cookers, or slow cookers.
Converting campfire and one-pot meals to indoor cooking methods requires adjusting your cooking times and liquid ratios based on your chosen alternative method.
Whether you're using a Dutch oven for slow braising or a stovetop pressure cooker for quick results, you can achieve similar outcomes by following the specific timing and temperature guidelines for each cooking vessel. Remember that stovetop pressure cookers typically cook at higher pressures than Instant Pots, which may reduce your overall cooking time.
Quick One-Pot Meals
Creating delicious one-pot meals doesn't require an Instant Pot, as traditional cookware like Dutch ovens and large skillets can produce equally satisfying results.
You'll find budget-friendly options like chicken and rice for just $1.54 per serving, or hearty beef stroganoff at $1.39 per serving.
Try versatile ingredients that work well in multiple recipes. Chicken adapts beautifully to dishes like chicken and dumplings or chicken and apples skillet, while beef shines in stroganoff and stew.
You can prepare most of these meals in under 30 minutes using simple sautéing techniques. For maximum efficiency, start by browning your meat to release flavors, then add vegetables and other ingredients in a single pan.
These one-pot alternatives save time on cleanup while delivering the same comforting flavors you crave.
Pressure Cooking Time Tips
While one-pot meals offer simplicity, achieving the same convenience without an Instant Pot requires understanding pressure cooking basics.
When using a stovetop pressure cooker, you'll need to account for three key timing elements: pressurization (about 10 minutes), cooking time, and pressure release (10-30 minutes for natural release).
You can speed up the process by preheating ingredients and avoiding frozen foods. Remember to include at least ½ cup of thin liquid to create proper pressure.
For tough meats, rice, and soups, let pressure release naturally. If you're cooking vegetables or quick-cooking items, you can use quick release by carefully venting the steam.
Always adjust cooking times based on your pot's size – larger pots need more time to pressurize than smaller ones.
Converting Campfire Recipes
Converting traditional campfire recipes for indoor cooking becomes simpler with an Instant Pot's versatility.
You'll find that meat dishes like pulled pork and garlic herb chicken adapt particularly well, requiring just a fraction of the outdoor cooking time. Instead of slow-smoking over a campfire, you can pressure cook pulled pork for 90 minutes, while chicken dishes typically need only 10-15 minutes.
For soups and stews that usually simmer over an open flame, your Instant Pot can deliver similar results in 20-30 minutes.
Even classic camping favorites like chili beans and potato dishes transform easily – just adjust the liquid ratios and cooking times.
Don't forget about seafood options: fish tacos and shrimp boils that normally require careful fire management can be perfectly cooked indoors with precise temperature control.
Making Solar Recipes Microwave Friendly
Since many solar recipes rely on prolonged exposure to heat, transforming them for microwave cooking requires strategic adjustments to preserve their quality and taste.
You'll need to mix your ingredients more thoroughly to guarantee even cooking, while keeping the same measurements for dry ingredients, eggs, and oils.
When using your microwave, start with a 3-minute cooking time on high power, but check your dish after 2 minutes to prevent overcooking.
You'll want to spray your microwave-safe mug with non-stick spray and mix ingredients directly in it.
Don't forget to take into account that microwaves vary in power, so you may need to adjust timing.
For safety, avoid aluminum foil, and remember that your mug will be hot.
Let your creation cool briefly before serving.
Crockpot Conversions for Solar Dishes
As solar recipes shift to indoor cooking methods, your crockpot can serve as an excellent alternative for maintaining the slow, even heating process.
You'll need to adjust cooking times and liquid amounts, ensuring at least one cup of liquid for proper cooking. Place root vegetables at the bottom of your crockpot with meats on top, and add softer vegetables later to prevent mushiness. Well-marbled meats and dark poultry work best, while lean cuts might dry out.
- Layer firm vegetables like carrots and potatoes on the bottom
- Brown meats before adding them for enhanced flavor
- Add delicate vegetables in the final hour of cooking
- Keep the lid closed to maintain consistent temperature
Convert standard oven times using this rule: 30 minutes in the oven equals about 2.5 hours on HIGH or 6 hours on LOW in your crockpot.
Indoor Ingredient Substitutions
When your pantry lacks a specific ingredient, you'll find plenty of practical substitutions that can save your recipe without compromising taste or texture.
You can replace butter with coconut oil or applesauce in baking, while heavy cream can be mimicked by combining whole milk and melted butter. For dairy alternatives, try almond milk or Greek yogurt in place of regular milk or sour cream.
Don't let missing condiments stop you either. Create your own barbecue sauce using ketchup and liquid smoke, or mix dried mustard with basic pantry items for a DIY mustard substitute.
Even pantry staples have alternatives: cornstarch can be swapped for all-purpose flour, and breadcrumbs can be replaced with cracker crumbs or ground oats.
These substitutions guarantee you can keep cooking even when you're missing ingredients.
Meal Prep and Storage Tips
Proper food storage transforms your meal prep efforts into lasting, safe meals throughout the week. When you can't cook outdoors, you'll want to make the most of your indoor cooking sessions by storing meals correctly.
Keep hot food at room temperature for 30 minutes before refrigerating, and use airtight containers to maintain freshness.
- Store perishables like meats and seafood front-and-center in your fridge for 3-5 days
- Freeze meals you won't eat within 4 days in plastic containers or freezer bags
- Label everything with dates and rotate items using the first-in, first-out method
- Thaw frozen meals in your fridge 1-2 days before reheating, never at room temperature
When reheating, verify proper internal temperature using a food thermometer, and keep container lids slightly open for steam to escape.
Cast Iron Cooking Techniques
Proper seasoning of your cast iron skillet creates an essential non-stick surface through repeated oil application and high-heat baking cycles.
You'll want to maintain consistent stovetop temperatures by preheating your skillet for 5-10 minutes before cooking, using high-heat oils like grapeseed or coconut oil for the best results.
To maximize your cast iron's versatility, you can create complete one-pan meals by starting on the stovetop to develop a golden crust, then transferring to the oven for thorough, even cooking.
Seasoning Your Cast Iron
Mastering cast iron seasoning releases the full potential of this versatile cookware.
To begin, strip your pan to bare metal if it's rusty, using a vinegar-water solution to remove oxidation. After thoroughly drying the pan, choose a food-grade drying oil like flaxseed or canola oil for best results.
- Apply a thin, even layer of oil across the entire surface, including the bottom and handle
- Wipe away excess oil to prevent sticky spots or pooling
- Heat the pan in your oven at 350-400°F for about an hour
- Cool the pan in the oven before handling
You'll want to repeat this process several times to build a durable seasoning layer.
Once seasoned, maintain your pan by cooking with fatty foods regularly and avoiding acidic ingredients until it's well-established.
Stovetop Temperature Control Tips
Now that you've built a solid seasoning on your cast iron, controlling temperature becomes your next major skill to develop.
Start with a lower heat setting and gradually increase it as needed, since cast iron retains heat longer than other cookware materials.
You'll know your pan is ready when oil or butter starts to sizzle. For best results, preheat your skillet before adding ingredients, and use high-smoke-point oils like coconut, grapeseed, or vegetable oil.
Once you achieve the desired browning on your food, reduce the temperature to guarantee even internal cooking.
If you're cooking delicate foods, consider alternative cookware, as cast iron's intense heat retention might be too aggressive.
Remember to use heavy-duty oven mitts when handling your skillet, as both the pan and handle will become extremely hot.
One-Pan Meal Methods
Creating delicious one-pan meals in your cast iron skillet begins with understanding the layering sequence of ingredients.
You'll want to preheat your pan first, then add high-smoke-point oils like coconut or grapeseed. Start by sautéing your base ingredients, such as onions, to build flavor.
When you're ready to combine cooking methods, you can move seamlessly from stovetop to oven for perfect results.
- Sear meats on high heat to develop a golden crust before adding vegetables
- Layer hardy vegetables on the bottom, tender ones on top
- Add quick-cooking ingredients like eggs or leafy greens last
- Let ingredients rest briefly before stirring to achieve ideal textures
Remember to maintain your pan's seasoning between uses to keep that perfect non-stick surface for your next one-pan creation.
Safe Indoor Food Handling Practices
Safe food handling practices in your kitchen are essential for preventing foodborne illnesses and guaranteeing the well-being of those you cook for.
Start by washing your hands thoroughly for at least 20 seconds and keep your workspace clean using hot, soapy water and paper towels. You'll need separate cutting boards for raw meats and produce to prevent cross-contamination.
When cooking, use a thermometer to guarantee foods reach 75°C internally. Keep raw meats on the bottom shelf of your fridge, and maintain a temperature of 4°C or below.
Don't let food sit in the "Danger Zone" between 4°C and 60°C for more than two hours. When thawing ingredients, use your refrigerator whenever possible, and cook microwave-thawed foods immediately.
Remember to rinse all produce thoroughly, even items with inedible skins.
Frequently Asked Questions
How Long Can Adapted Indoor Recipes Be Stored in the Freezer?
You can store most adapted recipes in your freezer for 2-4 months, but timing varies by dish type. Casseroles last 4-6 months, while enchiladas and tamales keep for 1-2 months when properly wrapped.
Can I Use Aluminum Foil Packets for Indoor Oven Cooking?
Yes, you can safely use aluminum foil packets in your oven. They're perfect for cooking meats, vegetables, and seafood at high temperatures (425-450°F). Just wrap ingredients tightly and poke holes for steam release.
Which Marinades Work Best When Switching From Outdoor to Indoor Cooking?
You'll get excellent results with the herby or simple chicken marinade for indoor cooking. They're versatile and won't smoke excessively. The all-purpose marinade also works well, especially when using an indoor grill pan.
Do Cooking Times Differ Significantly Between Solar and Conventional Indoor Methods?
You'll need considerably more time when solar cooking – typically 1.5 to 3 times longer than conventional methods. Your rice will take 2 hours instead of 20 minutes, while chicken needs 2-3 hours versus 25 minutes.
How Do Altitude Changes Affect Indoor Cooking Compared to Outdoor Methods?
You'll notice altitude affects indoor boiling and baking more than outdoor methods. Indoor cooking needs specific time and recipe adjustments, while grilling and smoking outdoors mainly require standard weather-related modifications, not altitude changes.
In Summary
Don't let bad weather dampen your cooking plans. You've now got multiple indoor alternatives to adapt your favorite outdoor recipes. Whether you're using your stovetop, oven, Instant Pot, or microwave, you'll find success with these modified techniques. Remember to keep your ingredients list flexible and your food safety practices strong. With these indoor cooking strategies, you're ready to tackle any recipe, rain or shine.


Leave a Reply