To maximize your sun-powered cooking, start with double-glazed panels that cut heat loss by 50%. Use dark, thin-walled containers with tight lids and position them on black surfaces for ideal absorption. Add multi-layer insulation with rock wool core and polystyrene sheets to trap heat effectively. Configure reflector panels at 45-60 degrees and track the sun every 1-2 hours. Select heat-trapping containers with minimal air space, and incorporate thermal mass materials like water or granite. Protect from wind using stabilizing elements, and manage temperature zones with digital monitoring. These proven techniques will help you access the full potential of solar cooking performance.
Double-Glazing for Maximum Heat Capture
While single-pane glazing offers basic heat retention, double glazing dramatically improves the thermal efficiency of solar ovens by reducing heat loss through the covering material by up to 50%.
You'll find that double-glazed ovens can reach temperatures between 100°C and 140°C on clear days, even without reflectors.
You can use either glass or high-temperature plastics like oven roasting bags for your glazing materials.
While you'll notice a slight 5-15% reduction in solar transmittance, the overall performance increases due to better heat retention. Similar to how natural thermal mass in cob walls regulates temperature, proper glazing helps maintain consistent cooking temperatures.
To maximize efficiency, keep the spacing between glazings under 20mm, and guarantee your window frames are thermally separated.
For best results, design your collection area longer in the east/west dimension, and consider adding a selective surface coating to your absorber plate – it can boost temperatures by an additional 50°C compared to black paint.
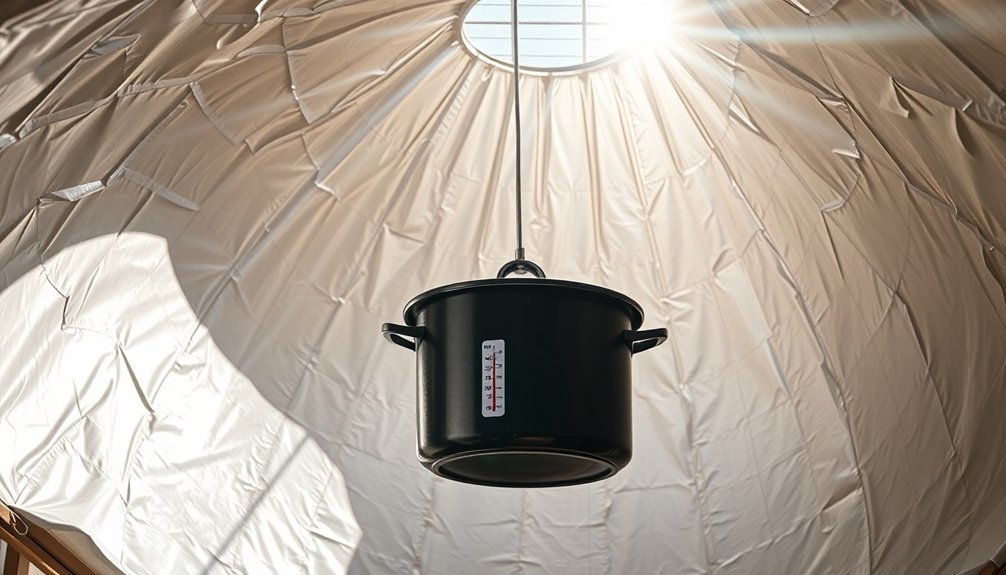
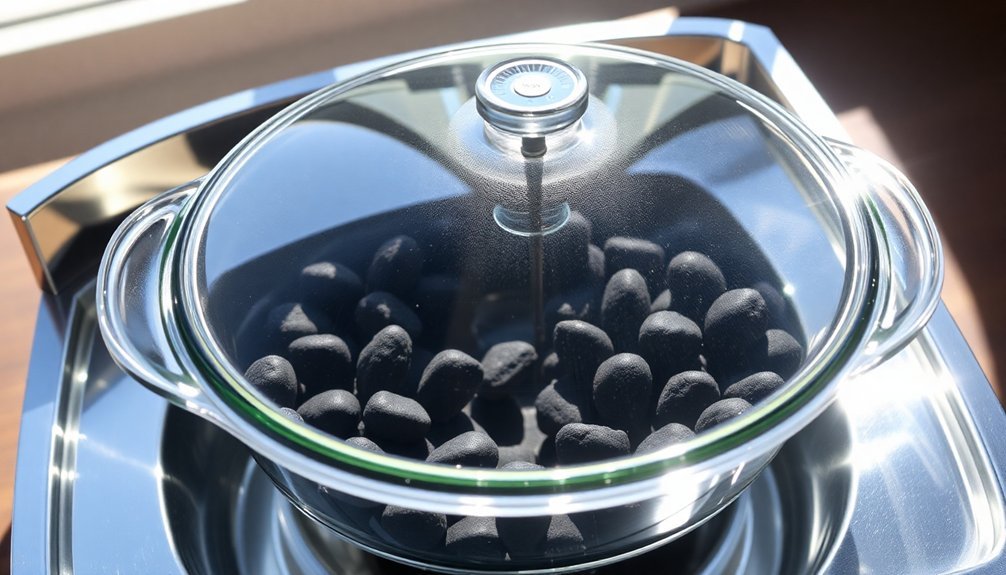
Strategic Dark Surface Placement
Since effective solar cooking depends heavily on heat absorption, strategic placement of dark surfaces plays an essential role in maximizing your cooker's performance.
You'll want to use thin, dark-colored pots with tight-fitting lids, as they absorb sunlight more effectively and maintain consistent temperatures.
Position your solar cooker in direct sunlight and adjust its angle throughout the day to capture maximum rays. For best results, preheat your cooker for 15-30 minutes before adding food.
If you're using a parabolic cooker, you'll need to reorient it every 10-15 minutes to prevent overheating and guarantee even cooking.
Keep your dark surfaces clean and well-maintained. Proper care can help solar cookers achieve temperatures of 150 to 200°C under ideal conditions.
If you're using aluminum reflectors, consider electropolishing or machine buffing them to enhance their heat absorption capabilities and maintain their effectiveness.
Multi-Layer Insulation Techniques
To maximize your solar cooker's efficiency, proper insulation through multiple layers proves crucial for maintaining consistent cooking temperatures. You'll want to start with a rock wool core (0.04 W/m·K thermal conductivity) surrounded by polystyrene sheets to trap air particles. Add corner reinforcement to reduce edge heat loss by 25% and maintain peak temperatures longer. Testing showed that insulated systems had a cooling rate of only 0.5 °C per minute, significantly outperforming non-insulated designs.
| Material Layer | Primary Function | Heat Retention Impact |
|---|---|---|
| Rock Wool Core | Reduces conductive loss | 30% reduction with 5cm |
| Polystyrene Sheets | Traps air particles | Maintains high temps |
| Corner Reinforcement | Prevents edge loss | 25% improvement |
For peak performance, make sure your insulation system achieves a thermal resistance of 1.25 m²K/W. This multi-layer approach will help retain 60% of peak temperature even after an hour of reduced sunlight, keeping your food cooking consistently.
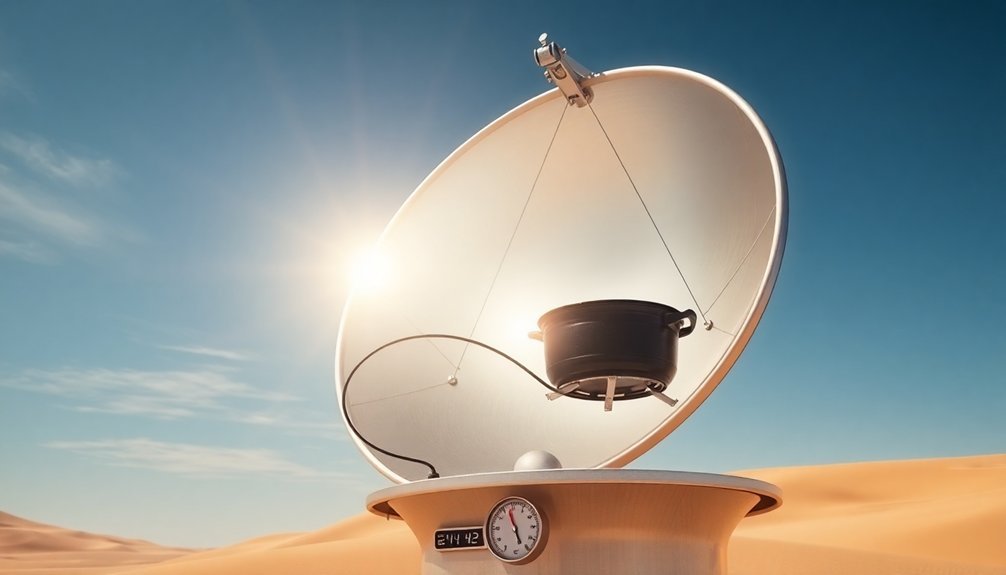
Reflective Panel Configuration
You'll need to position your reflector panels at precise angles to direct maximum sunlight onto your cooking pot, typically between 45 and 60 degrees for ideal heat concentration.
Your configuration can include multiple smaller panels arranged in a parabolic shape or a single large reflector, but each must be easily adjustable to track the sun's movement throughout the day.
For the most effective heat retention, you should guarantee all panels maintain clean surfaces and proper alignment, allowing them to work together to create a concentrated focal point of solar energy on your cooking vessel. The cooker's nine mirror pieces work together to optimize sunlight concentration for efficient cooking performance.
Optimal Reflector Panel Angles
The configuration of reflector panels plays a critical role in maximizing solar cooking efficiency. You'll want to position your reflectors between 45 and 90 degrees, with 60 degrees being a widely successful angle for most designs.
If you're using a taller reflector, aim for 20 to 22.5 degrees from perpendicular to the glass. The Global Sun Oven's 60-degree angle and Heaven's Flame's 45-degree angle have proven effective in their respective designs.
For peak performance, you'll need to guarantee your reflector doesn't shade the oven window and directs sunlight onto the cooking vessel's sides and bottom.
Consider making your reflector panels adjustable – this'll help you adapt to different conditions and make storage easier.
Remember that shorter reflectors might need steeper angles, while longer ones can work with shallower angles.
Multi-Panel Heat Concentration
Four key components define an effective multi-panel heat concentration system: reflective materials, strategic panel placement, adjustability, and stability.
You'll want to use glass mirrors or aluminum foil as your reflective surfaces to maximize sunlight capture. Position your panels at varying angles to direct all available sunlight to your cooking area.
Make sure you can adjust your panels throughout the day to track the sun's movement, ensuring consistent heat concentration.
Your setup should remain stable on uneven surfaces, and you'll benefit from using modular, smaller panels that you can easily assemble and transport.
When you combine these elements correctly, you'll create a concentrated point of heat that reaches high temperatures quickly, especially when paired with insulated cooking areas and heat-trapping lids.
Optimal Sun Tracking Methods
Successful solar cooking relies heavily on maintaining ideal sun exposure throughout the day, making effective sun tracking methods essential for consistent heat retention.
You'll need to adjust your solar cooker every 1-2 hours, ensuring it faces directly toward the sun while monitoring any shadows that might block the rays.
For enhanced efficiency, you can utilize reflecting panels made of materials like aluminum or chromium to concentrate UV rays onto your cooking vessel.
These panels require adjustment alongside your cooker to maintain peak heat concentration.
If you'd prefer a hands-off approach, consider installing a motorized solar tracker with photocell sensors that automatically follows the sun's movement.
Alternatively, you can build your own tracking system using DC motors and solar cells, customized to fit your specific cooker's dimensions and requirements.
Airtight Sealing Solutions
You'll find silicone edge protection offers superior durability for your solar cooker's seams, particularly where glass meets frame or where hinged components come together.
To enhance your cooker's weather resistance, apply silicone weatherstripping along the lid edges and corners where moisture might penetrate.
These protective measures work together to create a reliable barrier against both heat loss and environmental factors, ensuring your solar cooking remains efficient in various conditions.
Silicone Edge Protection Methods
When implementing heat-retention systems in sun-powered cooking, silicone edge protection serves as a critical component for maintaining airtight seals and temperature control. You'll find that high-quality silicone rubber compounds offer exceptional performance across extreme temperatures, from -60°C to +200°C.
- FDA-compliant materials guarantee your food stays safe during preparation
- Heat resistance up to 446F/230C prevents melting and maintains seal integrity
- Stainless steel inlay provides secure fitting on curved surfaces
- Easy installation without adhesives lets you adjust protection as needed
- Waterproof and slip-resistant properties enhance safety during use
For ideal results, you can cut the silicone to your exact specifications and install it by sliding onto edges.
The material's chemical resistance protects against cleaning agents while remaining dishwasher safe, making maintenance straightforward. This protection method is particularly effective for retaining heat in your solar cooking setup.
Weather-Resistant Barrier Techniques
Building on the silicone edge protection system, effective weather-resistant barriers create an additional layer of defense for maintaining ideal cooking temperatures. You'll need to implement airtight sealing techniques using vacuum technology and moisture barriers to protect your sun-powered cooking setup from environmental factors.
| Barrier Type | Primary Function | Best Application |
|---|---|---|
| Vacuum Seal | Prevents air leaks | Edge sealing |
| Edible Coating | Controls moisture | Food surface |
| Polymer Barrier | Blocks water/vapor | External wrap |
For optimal outcomes, you'll want to combine these barrier methods. Start with a vacuum-sealed edge using double heat-seal technology, then apply an edible moisture barrier directly to your food items. Finally, wrap your cooking container with a polymer-based barrier coating to defend against environmental moisture and maintain consistent cooking temperatures throughout the process.
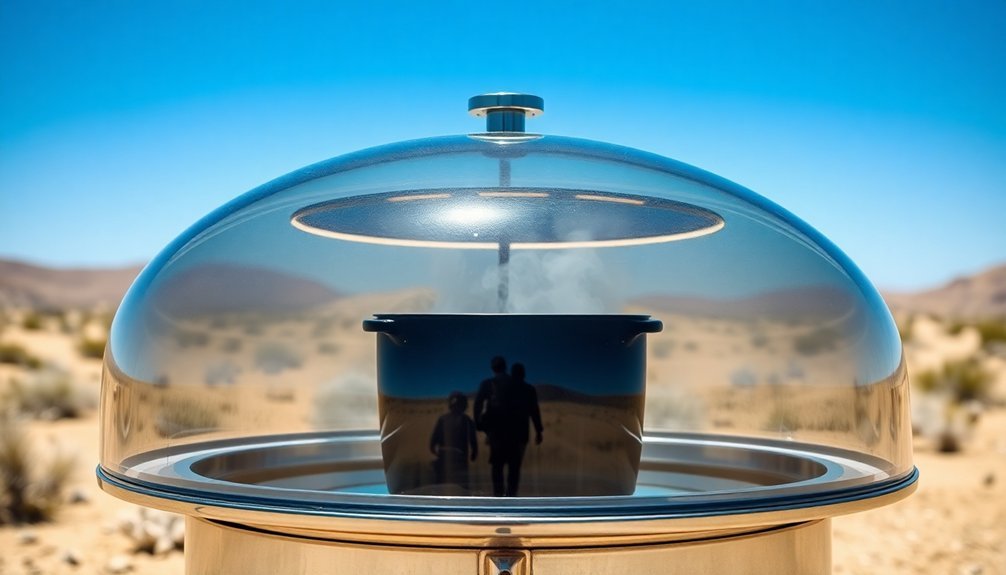
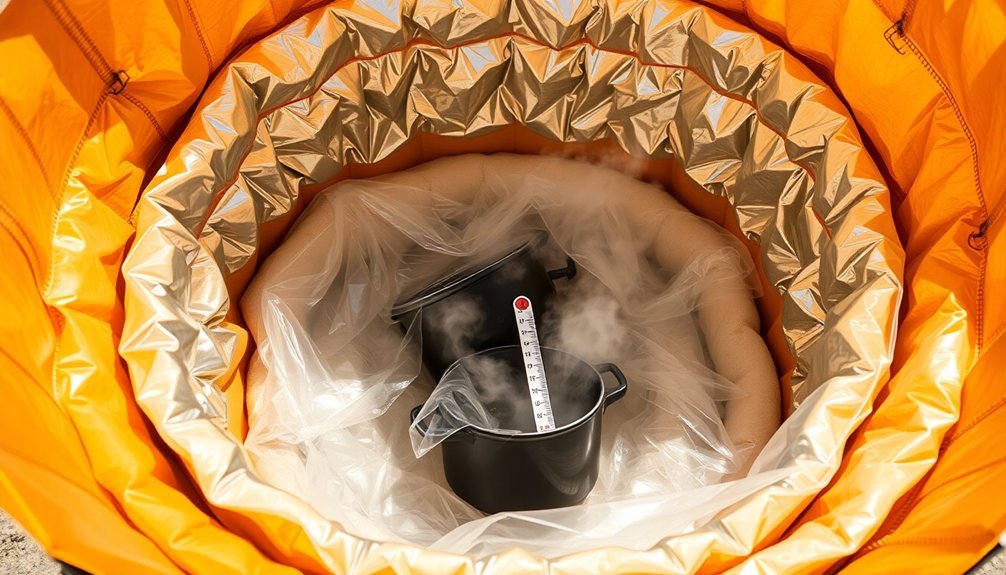
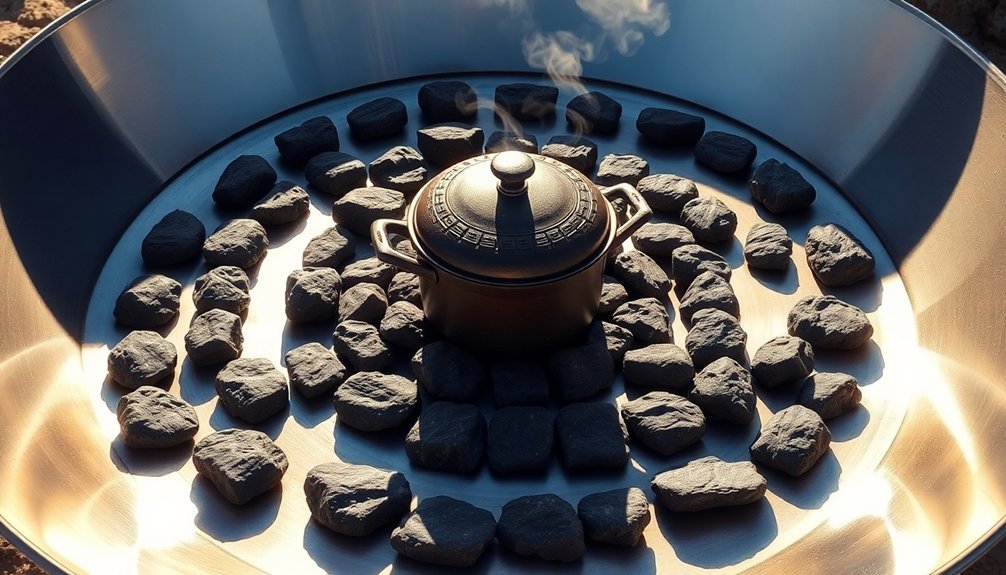
Heat-Trapping Container Selection
Selecting the right container for heat retention plays an essential role in successful sun-powered food preparation. You'll want to choose thin metal pots with tight-fitting lids, as they heat quickly and maintain temperature effectively.
Make sure your containers have reflective surfaces to bounce heat back into the food and minimize heat loss.
- Look for advanced vacuum or foam-insulated containers
- Choose pots that match your food quantity – fuller pots retain heat better
- Opt for containers with minimal air space to prevent heat dissipation
- Select pots with tight, foil-lined lids for enhanced heat reflection
- Pick containers that can nest inside insulating bags or foam units
Before cooking, preheat your chosen container and lid to the same temperature.
This uniform heating, combined with proper container selection, will greatly improve your solar cooking results and maintain safe cooking temperatures throughout the process.
Temperature Zone Management
You'll notice distinct hot spots and cold zones within your solar cooker, with the areas closest to direct sunlight heating more intensely than shadowed regions.
By understanding these temperature variations, you can strategically position food items to take advantage of different heat levels – placing items requiring higher temperatures in hot spots while using cooler zones for gentler cooking.
To maintain even cooking, you'll want to create layered heat distribution zones using thermal mass materials like bricks or stones, which help stabilize temperatures throughout the cooking chamber.
Hot Spots Vs Cold Zones
Managing temperature zones effectively is crucial for successful solar cooking, with two distinct challenges to address: hot spots and cold zones.
You'll need to monitor and adjust your cooker throughout the day while maintaining safe cooking temperatures between 200°F and 300°F.
- Use digital thermometers through sealed holes to track temperatures accurately
- Position dark-colored cookware and thermal mass materials to stabilize heat
- Cover openings with clear plastic wrap to prevent heat loss
- Adjust reflector angles every 20-30 minutes to follow the sun
- Keep the cooker in direct sunlight between 11 AM and 3 PM
To prevent cold zones, guarantee proper insulation and avoid frequent lid opening.
Monitor internal food temperatures carefully, maintaining at least 140°F to stay above the danger zone where bacteria can grow.
Layered Heat Distribution Zones
Successful solar cooking requires mastering layered heat distribution zones, building upon the principles of hot spots and cold zones. You'll need to understand how different configurations affect temperature layers within your solar cooker. For ideal results, position your cooking vessel at the focal point while using insulation to maintain consistent heat.
| Zone Type | Temperature Range | Best For |
|---|---|---|
| Direct Focus | 300°F+ | Quick searing, boiling |
| Upper Layer | 200-300°F | Baking, roasting |
| Middle Layer | 155-200°F | Slow cooking, stews |
| Bottom Layer | 135-155°F | Warming, holding |
Remember to adjust your cooker every 10 minutes to track the sun's movement. Use an oven bag or container lid to trap heat and create insulation layers. This layered approach helps prevent food from entering the bacterial danger zone while ensuring thorough, even cooking.
Thermal Mass Optimization
When designing a sun-powered food preparation system, optimizing thermal mass plays an essential role in maintaining consistent cooking temperatures and extending heat retention.
You'll want to select materials that offer maximum heat storage capacity while keeping costs manageable.
- Water stands out as your best option, storing three times more heat than sand and retaining 84% of stored energy after 8.4 months.
- Black-coated granite can reach temperatures of 73.5°C, outperforming black engine oil's 64°C.
- Place thermal mass materials where they'll receive direct sunlight, especially near north-facing windows.
- Add 300mm of mineral wool insulation to minimize heat loss from your thermal mass.
- Install Arduino-based tracking devices to maximize solar exposure and achieve peak efficiency rates of up to 40.3%.
Wind Protection Strategies
Strong winds can quickly undermine even the best-designed solar cooking setup by disrupting heat retention and destabilizing equipment.
You'll need to implement multiple protection strategies to maintain cooking efficiency.
Start by physically stabilizing your solar cooker. Use bricks, logs, or cinder blocks to brace all sides, and secure it with bungee cords or guy lines anchored to a sturdy base.
For panel cookers, place heavy rocks along the edges for added stability.
Create effective windbreaks by positioning transparent barriers like recycled glass panels that won't block sunlight.
You can also take advantage of natural terrain or buildings by setting up on the leeward side.
Choose wind-resistant designs like the Copenhagen Lite or Hot Pot, which feature rigid materials and aerodynamic construction for better performance in challenging conditions.
Frequently Asked Questions
Can Solar Ovens Be Used Effectively During Winter Months?
Yes, you can effectively use solar ovens in winter by utilizing proper insulation, strategic positioning, and reflective surfaces. You'll need to reposition more frequently, allow extra cooking time, and maximize sunlight during peak hours.
How Long Does It Take to Sterilize Water in a Solar Oven?
You can't fully sterilize water in a solar oven, but you can pasteurize it. It'll take about one hour per liter in good sunlight to reach 65°C, which kills harmful organisms.
What Safety Precautions Should Children Follow When Using Solar Ovens?
You'll need adult supervision, heat-resistant gloves, and clear understanding of safety rules. Don't touch hot surfaces, stare at reflections, or leave the oven unattended. Keep away from flammable materials while cooking.
Are There Foods That Should Never Be Cooked in Solar Ovens?
You shouldn't cook raw seafood, undercooked eggs, or foods requiring rapid high heat in solar ovens. The slow, variable temperatures can't guarantee food safety standards and won't properly cook temperature-sensitive items.
Can Solar Ovens Be Used Indoors Through Window Glass?
You won't get effective results cooking through window glass, as most modern windows block UV rays. It's best to place your solar oven outdoors or on a balcony where it can receive direct sunlight.
In Summary
You'll find these heat-retention techniques transform your solar cooking experience. By implementing double-glazing, strategic dark surfaces, and multi-layer insulation, you're maximizing every ray of sunlight. Don't forget to optimize your thermal mass and protect against wind. With proper container selection and temperature management, you'll cook efficiently even in less-than-ideal conditions. Start applying these methods today for better solar cooking results.


Leave a Reply