To dry fresh fruits successfully, you'll need to achieve a moisture content around 20% for ideal preservation. Start by washing and cutting your fruit into uniform ⅛-inch to ¼-inch slices, then pre-treat with lemon juice or ascorbic acid to prevent browning. Maintain drying temperatures near 130°F with humidity below 60%, using mesh screen trays for proper airflow. Test for doneness by touch – fruit should feel leathery but pliable, not brittle or sticky. Store your dried fruits in airtight containers below 45°F for best results. These foundational steps open the gateway to perfectly dried fruit every time.
Optimal Fruit Moisture Levels
Achieving the right moisture content in dried fruits can make or break your preservation efforts. Most fruits should reach approximately 20% moisture content when properly dried, which means you'll want to aim for 80% solids to prevent microbial spoilage.
You'll know your fruits are properly dried when they're leathery but not brittle. If you're drying high-sugar fruits like figs or cherries, don't worry if they feel slightly sticky – that's normal. For berries, you'll want to continue drying until they rattle when shaken. Always remember that warm fruit appears softer, so let items cool completely before testing for doneness.
To test for proper dryness, let the fruit cool first, then cut several pieces in half. You shouldn't see any visible moisture or be able to squeeze moisture from the fruit. When you fold a piece, it shouldn't stick to itself, and when squeezed, it should fall apart once you release pressure.
Different fruits have varying ideal moisture levels in their raw form. For instance, apples and pears aim for 16% solids, while cherries range between 14-20%. Figs need about 21% solids, and grapes require 19%.
For apricots, nectarines, and plums, you'll want to aim for 14% solids.
Preparing Fruit For Dehydration
You'll want to start by washing your fruit thoroughly and removing any pits, stems, or inedible parts.
Cut your fruit into uniform slices of ⅛-inch to ¼-inch thickness, using a sharp knife or mandoline to guarantee even drying throughout. Selecting mature, firm fruits will ensure optimal sugar content and nutritional value in your final product.
To prevent browning, soak your sliced fruit in a lemon juice or ascorbic acid solution for about 10 minutes before placing it in your dehydrator.
Slice For Even Drying
Proper slicing techniques create the foundation for successfully dried fruits. You'll want to cut your fruits into uniform pieces between ⅛-inch to ½-inch thick to guarantee even drying throughout. For fruits like apples, apricots, bananas, mangos, peaches, pears, and strawberries, create thin, consistent slices.
When working with smaller fruits like blueberries, cherries, and grapes, cut them in half or quarter them to expose their inner flesh for faster drying. For grapes specifically, make three crosswise cuts. Fresh, thoroughly washed fruits with no signs of blemishes will yield the best results.
Once you've sliced your fruit, arrange the pieces in a single layer on your dehydrator trays. Don't let the pieces overlap or touch each other, as this will impede proper air circulation. If you're using mesh trays, you'll get better airflow and quicker results.
Position the cut sides facing the direction of airflow, and if you're working with pitted fruits, place them with the pit cavity facing up. Remember to check your fruits halfway through the drying process and rotate larger pieces every 3 to 4 hours to achieve even drying.
You'll know they're done when they're pliable, leathery, or crispy with no visible moisture.
Pre-Treatment Solutions Matter
Successful fruit dehydration starts with selecting the right pre-treatment solution to preserve color, flavor, and nutrients. You'll find several effective options, from acidic solutions like ascorbic acid and citrus juices to specialized dips like honey or pectin glaze.
These pretreatments don't just prevent browning – they're vital for destroying harmful bacteria and extending your dried fruit's shelf life.
When you're ready to pretreat, mix your chosen solution according to specific ratios. For an ascorbic acid solution, combine 1-2 teaspoons of crystals with a quart of water, or use 3000-6000mg of crushed vitamin C tablets. If you prefer natural alternatives, mix one cup of lemon juice with a quart of water.
- Soak your sliced fruit for 3-5 minutes in your chosen solution
- Replace the solution after two uses to maintain effectiveness
- Allow extra drying time if fruits absorb excess moisture
Remember to guarantee even coating during pretreatment, and don't skip the conditioning period afterward – let your dried fruits rest for 4-10 days to distribute remaining moisture evenly.
This step is essential for achieving consistent, high-quality results.
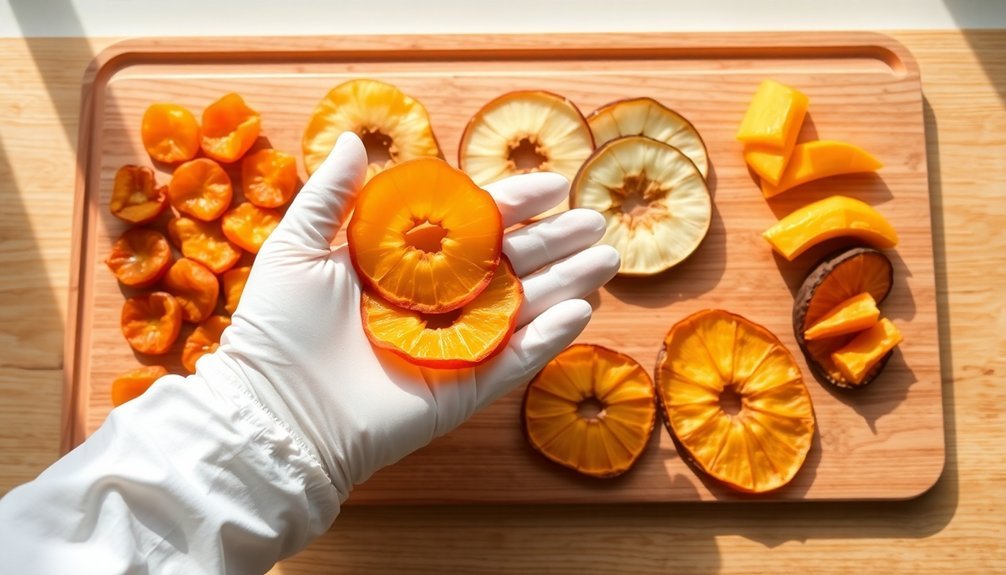
Clean Before You Begin
Starting with clean, high-quality fruit sets the foundation for excellent dried snacks. You'll want to select mature, firm fruits that are fully ripened but not overripe or bruised. The best candidates have naturally high sugar content and show vibrant colors, indicating peak nutritional value.
Before you begin cutting, rinse your fruits thoroughly under clean water to remove dirt, pesticides, and debris. Once washed, gently pat them dry with a clean towel. If you notice any decay, bruises, or mold, cut these sections away and discard them.
Next, prepare your fruits by slicing them into uniform pieces. You'll achieve the best results by cutting them to ⅛-inch to ¼-inch thickness. While some fruits need peeling, you can leave edible skins intact on apples, grapes, and cherries. For fruits with waxy skins like blueberries and grapes, make a small cut through the skin to speed up the drying process.
Arrange your prepared fruit pieces in a single layer on your dehydrator trays or baking sheets, making sure they don't overlap. Position them with cut sides facing the airflow direction to maximize drying efficiency and guarantee even dehydration.
Testing Fruit Dryness
When testing dried fruit for doneness, you'll need to rely on both touch and visual cues to guarantee it's properly dehydrated. The fruit should feel leathery but not hard, and when you fold it, it shouldn't stick to itself. High-sugar fruits like figs and cherries might retain a slight stickiness, while berries should rattle when shaken.
Don't rush to test your fruit while it's still warm, as this can lead to inaccurate results. Always let pieces cool to room temperature first, since warm fruit feels softer and less dry than it actually is. You'll want to achieve about 20% moisture content (80% solids) to prevent microbial spoilage while maintaining good texture.
- Cut several cooled pieces in half and check for any visible moisture – there shouldn't be any.
- Test the texture by folding – properly dried fruit won't stick together.
- If you're unsure, weigh the final product using the percent solids formula for verification.
If you notice any condensation during the conditioning period, return the fruit to the dehydrator. For extra certainty, use a lower temperature towards the end of the drying process.
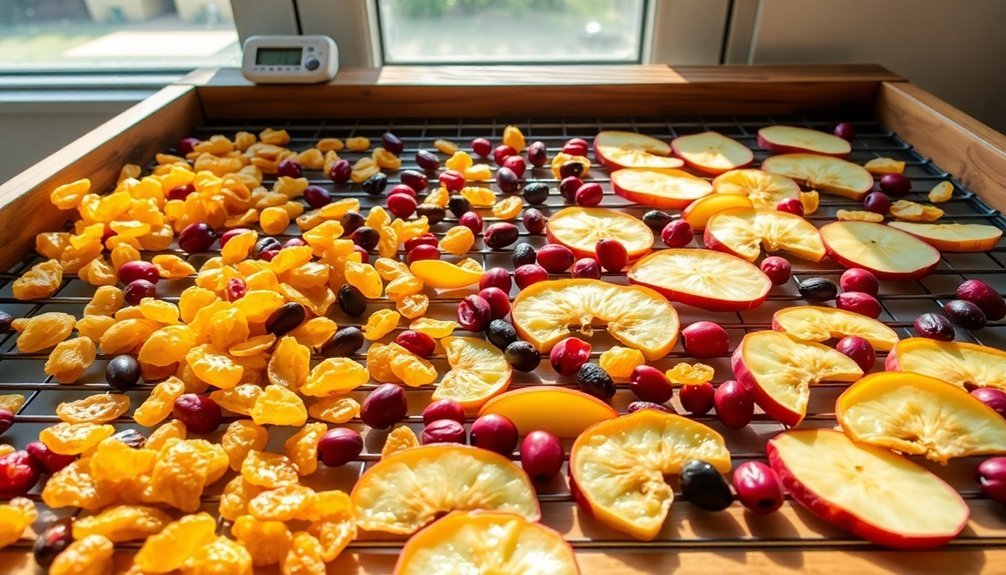
Sun Drying Equipment Setup
You'll need mesh screen trays with small holes to guarantee proper airflow while preventing fruit from falling through during the drying process.
To maintain ideal drying conditions, set up your equipment to achieve temperatures around 130°F using solar collectors or transparent covers that convert sunlight into heat.
Position your drying setup to maximize air circulation by elevating trays and installing a ventilation system or chimney that creates natural convection currents over your fruit.
Mesh Screen Tray Selection
For successful sun drying, choosing the right mesh screen tray materials makes a critical difference in food safety and quality. Stainless steel screens are your best choice, offering durability and food-safe properties.
While you can use Teflon-coated fiberglass screens, you'll need to monitor them closely for signs of degradation. Food-grade plastic screens with fine mesh work well too, but avoid any screens made from copper, aluminum, or galvanized metal with cadmium or zinc coatings, as they can contaminate your food and destroy nutrients.
When constructing your drying trays, you'll want to create a sturdy frame using square battens, securing the mesh tightly to prevent sagging. Remember that your trays should be stackable to save space and designed for ideal airflow.
- Select food-safe materials:
- Stainless steel (preferred)
- Teflon-coated fiberglass (with caution)
- Food-grade plastic mesh
- Verify proper construction:
- Use square battens for framing
- Add cross supports for stability
- Secure mesh tightly with flat battens
- Consider maintenance needs:
- Regular cleaning required
- Periodic screen replacement
- Protection from elements
Temperature Control Methods
Temperature control through proper equipment setup stands out as the most critical factor in sun drying fruits successfully.
You'll need to position your solar dryer in a location with full sun exposure, guaranteeing the ground is level and there's no shade interference. If you're in the northern hemisphere, point the dryer's opening southward; if you're in the southern hemisphere, face it northward.
For best drying, you'll want days with temperatures above 85°F and humidity below 60%. Use clear plastic or specialized fabric to trap solar heat, and incorporate a chimney or ventilation system to maintain proper airflow.
You'll need to adjust the dryer throughout the day to maintain a 90-degree angle with the sun's path, maximizing heat absorption.
Don't forget to bring your fruits inside at night to prevent moisture from condensing on their surface. The entire process might take several days depending on weather conditions.
For consistent results, you'll want to monitor the temperature regularly and guarantee your setup maintains good airflow.
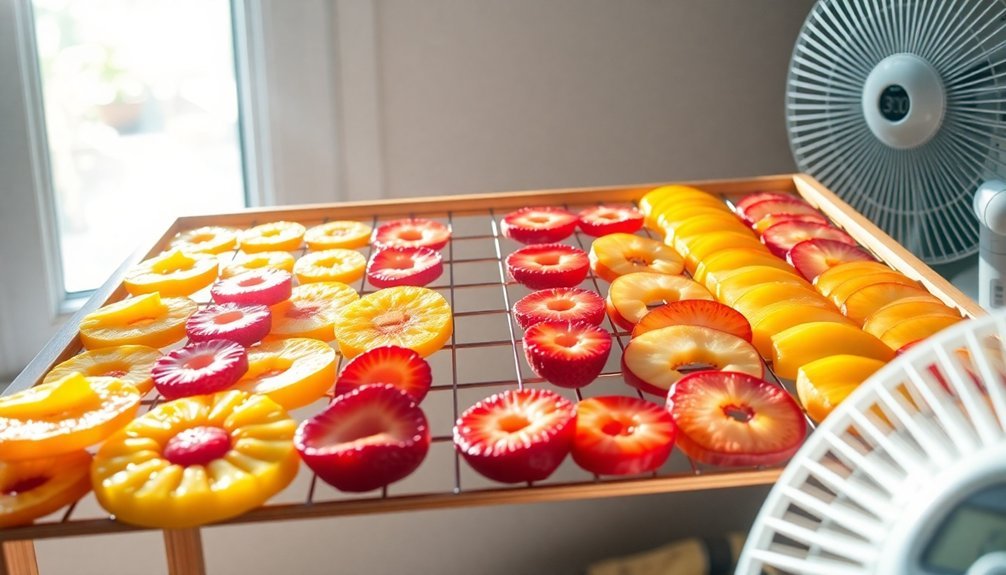
Air Circulation Requirements
Proper air circulation in and around your drying setup plays an essential role in achieving excellent results.
You'll need hot, breezy days with humidity below 60% and temperatures of at least 85°F for effective drying. Choose a location that receives full sun exposure throughout the day, and clear the area of tall grasses or obstacles that might block airflow.
For ideal air movement, elevate your drying trays on blocks and consider using a concrete driveway or reflective surface like aluminum sheeting to enhance the drying temperature.
Cover your trays with cheesecloth to protect the fruit while maintaining airflow, and verify you're using mesh-covered trays that allow air to circulate freely around your produce.
- Set up your drying table at a comfortable height, confirming it's sturdy enough to support loaded trays.
- Install a clear plastic-covered chimney that extends 2 meters above the table to enhance air circulation.
- If you're using a solar bubble dryer, position the solar panel for maximum sun exposure and utilize the photovoltaic system with a blower for consistent air movement.
Remember to keep the drying area free from roaming animals and use internal mixing tools when necessary to guarantee even drying.
Weather Conditions For Success
Successful fruit drying starts with the right weather conditions. You'll need temperatures of at least 86° F, though higher temperatures will enhance your drying process. For ideal results, aim for temperatures between 140-150° F when drying indoors. Remember that temperatures below 86° F will slow down the process and increase spoilage risks.
You'll want to check that humidity levels stay below 60 percent, as higher humidity can promote mold and bacterial growth. If you're in a humid southern region, you might need to explore alternative drying methods, as sun-drying won't be effective.
Look for hot, sunny, and breezy days when planning your drying schedule, as these conditions guarantee even drying.
Don't forget that cool night air can add unwanted moisture back to your fruit. You'll need to bring your drying racks indoors or provide proper coverage during nighttime hours.
If you live in a dry, arid climate, you'll find sun-drying more feasible than those in tropical or humid regions. Always evaluate your local weather patterns and be prepared to adjust your drying method based on your regional climate conditions.
Natural Dehydration Time Requirements
Once you've confirmed your weather conditions are right, you'll need to understand how long each fruit takes to dry naturally. Different fruits require varying dehydration times due to their unique compositions.
You'll find that berries typically need 10-15 hours, while apricots can take up to 28 hours for ideal results.
Your drying success depends heavily on several key factors that affect moisture removal. Water and sugar content play significant roles – fruits with higher amounts of either will need more time to dry properly.
You'll also need to take into account the thickness of your slices, as thinner cuts dry faster than thick ones.
- Monitor your fruits closely during these recommended drying windows:
- Quick-drying fruits (6-10 hours): bananas, thin apple slices
- Medium-drying fruits (10-15 hours): berries, medium-cut apples
- Slow-drying fruits (20-28 hours): apricots, cherries
Maintain temperatures between 50-70°C and keep humidity below 60% for best results.
You'll know your fruits are ready when they're leathery or pliable with no visible moisture when cut.
Don't forget to condition your dried fruits for 4-10 days before storing them in sealed containers.
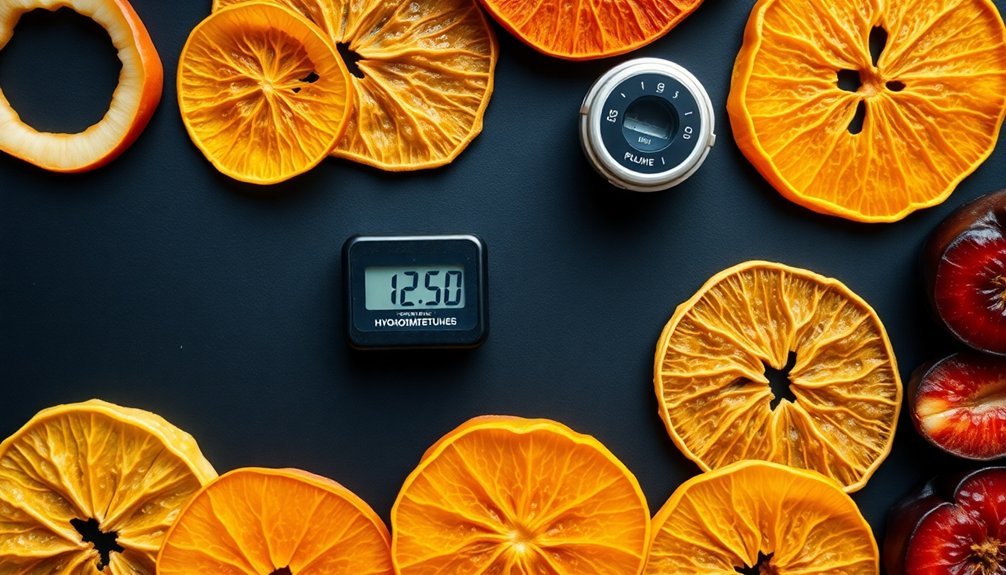
Moisture Balance After Drying

Managing moisture balance is critical after drying your fruits, with most varieties requiring approximately 20% moisture content for ideal preservation.
You'll need to test your dried fruits carefully to verify they've reached the proper moisture level – when cooled, they shouldn't stick together when folded, and berries should rattle in their container.
To achieve consistent moisture distribution, you'll need to condition your dried fruits properly.
Place them loosely in glass or plastic jars and let them stand for 7-10 days, shaking the containers daily. This process helps equalize moisture between pieces and prevents mold growth.
If you notice any condensation forming on the jar's sides, return the fruit to your dehydrator for additional drying.
For precise moisture measurement, you can use near-infrared technology or moisture analyzers like the MA/R and MA/X2 series.
If you're using laboratory methods, dry your samples at 80°C for 2 hours, then cool them in a desiccator until they reach a stable mass.
You'll want to avoid over-drying, as this can make your fruit too light and compromised in texture, while insufficient drying increases the risk of spoilage.
Storage Temperature And Humidity
Proper temperature and humidity levels work together to keep your dried fruits fresh for up to a year. You'll want to maintain temperatures between 32°F and 45°F (0-7°C), with 45°F being ideal for general storage. If you're storing soft invert sugar dates, keep them closer to 32°F to preserve their color and prevent sugar crystallization.
For humidity control, aim for a relative humidity range of 55-60%, with raisins benefiting from the lower end of this range. You'll need to store your dried fruits in tightly sealed containers and place them in a cool, dry, well-ventilated area to prevent moisture migration and mold growth.
- Store dried fruits in airtight containers at temperatures below 45°F (7°C)
- Maintain uniform temperature and humidity levels to prevent moisture migration
- Monitor storage conditions regularly for signs of mold, insects, or sugaring
If you're storing dried fruits commercially or in large quantities, you might need to take into account additional measures like fumigation or modified atmospheres for insect control.
Remember that proper packaging plays an essential role in maintaining quality, especially for consumer packages that can tolerate slightly higher humidity levels due to their moisture barriers.
Signs Of Improper Drying
While maintaining ideal storage conditions helps preserve your dried fruits, knowing how to spot signs of improper drying can save you from consuming spoiled products.
You'll want to check for visual indicators first – look out for unusual discoloration, dull or faded spots, and any signs of mold, especially black spots that could indicate mold colonies.
Pay attention to the texture of your dried fruits. They should be leathery and pliable, not slimy or extremely hard. If you notice pieces sticking together when folded or liquid oozing out, these are clear signs of improper drying.
The fruit shouldn't feel tacky or brittle, as these textures suggest either insufficient or excessive drying.
Your nose can be a reliable detector too. Fresh dried fruit should have a pleasant, sweet aroma. If you detect sour, rancid, or musty smells, don't consume the fruit.
Watch for moisture issues, such as beads forming inside storage containers or inconsistent moisture distribution throughout the fruit. If you spot any visible mold growth or scorching, these indicate serious drying problems that make the fruit unsafe for consumption.
Frequently Asked Questions
Can I Mix Different Types of Fruits During the Drying Process?
You shouldn't mix different fruits while drying since they have varying moisture levels and drying times. It's best to dry similar fruits together to guarantee proper dehydration and consistent results.
What Causes Some Dried Fruits to Become Extremely Hard and Brittle?
Your dried fruits become hard and brittle when you use excessive drying temperatures, dry them beyond ideal moisture levels (15-20%), or don't properly prepare them. High heat can cause case hardening and texture problems.
Do Pesticides Concentrate in Fruits When Dried?
Yes, when you dry fruits, the pesticide residues become more concentrated because you're removing water while the pesticide amount stays the same. It's like concentrating juice – you'll get more pesticides per weight.
How Do Artificial Sweeteners Affect the Fruit Drying Process?
When you're drying fruit, artificial sweeteners can create a crystalline coating on the surface. They won't mix well with fruit tissues unless you use a freezing point depressant. You'll need proper integration to avoid residue issues.
Can I Reuse the Sodium Bisulfite Solution for Multiple Batches?
You shouldn't reuse sodium bisulfite solution for multiple batches. It loses effectiveness after one use since it reacts with the fruit, and the altered chemical composition won't properly protect your next batch.
In Summary
You'll find success in drying fresh fruits by maintaining proper moisture balance throughout the process. Watch for weather conditions, test fruit regularly for dryness, and guarantee your setup allows adequate airflow. Don't rush the natural dehydration time – patience leads to better results. Store your dried fruits at appropriate temperature and humidity levels to prevent spoilage. Check periodically for any signs of improper drying.


Leave a Reply