
You'll need all-purpose flour, yeast, salt, and water to make crispy French bread in your solar oven. Start by preheating your oven in direct sunlight for an hour while you mix and knead your dough using proper French bread techniques. Position the oven so its shadow falls behind it, and adjust its angle every 15 minutes to maintain ideal temperature. You'll want to bake during peak sunlight hours and keep the oven cover sealed to trap heat. Once baked, let your bread cool completely on a wire rack. There's much more to discover about perfecting your solar-baked French bread technique.
Choosing Solar Oven Bread Ingredients
When it comes to baking bread in a solar oven, your choice of ingredients will make all the difference in the final product. All-purpose flour is your best starting point, as it's versatile and works well in solar baking. If you're looking for a healthier option, you can incorporate whole wheat flour for added fiber and a nuttier taste.
You'll need baker's yeast as your primary leavening agent, which you'll activate in warm, filtered water before mixing it with your dry ingredients. Don't forget to add salt – it's essential for proper flavor development. For optimal results, use 2 tablespoons of salt in your recipe.
If you're making a sweeter variation, you can include sugar and butter. For the liquid components, guarantee you're using warm water at the right temperature to activate your yeast properly. You can replace some of the water with orange juice for a subtle flavor enhancement.
If you want to experiment with texture and taste, consider adding nuts like pecans or walnuts, or dried fruits such as cranberries. These additions won't just enhance flavor – they'll also contribute to the bread's moisture content and overall texture.
Preparing Your Solar Baking Setup
Now that you've gathered your ingredients, setting up your solar oven correctly will determine your bread's success. Position your oven in a spot with unobstructed sunlight and begin preheating it at least an hour before you plan to bake. Make sure the oven's shadow falls directly behind it, indicating the best sun alignment.
Install your baking rack to promote even airflow around the bread. While your dough rises, you'll need to maintain consistent temperature by adjusting the oven's position every 15 minutes using the turntable. Keep the cover zipped throughout the entire process to retain precious heat. The expected baking time is 40 minutes for a perfectly browned loaf.
Monitor the internal temperature with a thermometer and make positioning adjustments as needed. You'll want to tilt the oven forward during lower sun periods and regularly check that no shadows are falling inside the cooking chamber.
Place your insulated materials strategically to enhance heat retention. Set up your adjustable stand so you can easily modify the oven's angle throughout the baking process.
Mixing Perfect French Dough
To achieve authentic French bread texture, you'll need to master the precise mixing technique that begins with carefully weighing your ingredients. Start by combining flour and water, holding back a small portion of water for later adjustments. Mix until you've formed a shaggy mass with no dry flour visible. The optimal dough structure relies on the interaction between gliadin and glutenin proteins.
| Step | Action | Time | Key Indicator |
|---|---|---|---|
| Initial Mix | Combine flour & water | 3-5 min | Shaggy mass |
| Autolyse | Rest dough | 20-30 min | Hydrated texture |
| Strengthen | Slap & fold or machine mix | 5-7 min | Elastic structure |
| Final Mix | Add salt & enrichments | 2-3 min | Smooth surface |
You'll want to let the dough autolyse, which enhances gluten development and improves the final bread structure. During this rest period, you can adjust the hydration using your reserved water. After autolyse, strengthen your dough using either the slap and fold technique or a stand mixer with a dough hook. Mix until you've achieved a soft, smooth consistency with a slightly tacky surface. Add your salt and any enrichments last, incorporating them fully while maintaining the dough's proper texture. Don't add excess flour, as it'll result in dense bread.
Solar Baking Tips
Keep in mind that cloud cover can affect your baking schedule, so you'll want to plan accordingly.
If you're baking on a variable weather day, you might need to extend the cooking time. For consistent results, maintain your oven's orientation to the sun and monitor the bread's progress regularly.
During winter months, you'll achieve better results by baking during peak sunlight hours, while summer offers more flexibility with longer daylight periods.
Storing Solar Baked Bread
Proper storage of your solar baked bread will guarantee it stays fresh and delicious for days or even months. Start by letting your bread cool completely on a wire rack – this prevents unwanted moisture from building up.
Don't slice the bread until it's fully cooled, or you'll end up with a dense texture. For short-term storage up to three days, place your bread in a paper or cloth bag that allows it to breathe.
If you're planning for longer storage, freezing is your best option. Slice the bread before freezing, then place the slices in a single layer inside a freezer-safe container. Be sure to remove as much air as possible to prevent freezer burn.
Your frozen bread will keep for up to three months, and you can thaw it at room temperature or toast it straight from the freezer.
Don't throw away bread that doesn't turn out perfectly. Instead, turn it into breadcrumbs by cutting it into small pieces and drying it in the sun.
Store these crumbs in airtight containers for future use in recipes. For even longer preservation, consider dehydrating or canning your bread, which can extend its life up to a year when stored properly.
Frequently Asked Questions
Can I Bake Bread in a Solar Oven During Winter Months?
Yes, you can bake bread in a solar oven during winter. You'll need longer baking times due to lower solar radiation, but with proper positioning and temperature monitoring, you'll achieve successful results even on partly cloudy days.
What's the Maximum Number of Loaves I Can Bake Simultaneously?
You can bake up to two loaves at once in the All-American Sun Oven, while the SunChef Pro's larger 37-liter capacity could handle more. The All Season's 12"x12" space fits about two loaves.
How Do Altitude Changes Affect Solar Oven Bread Baking Times?
At higher altitudes, you'll need to extend baking times by 5-8 minutes per 30 minutes due to lower boiling temperatures. You should also monitor your bread more closely since yeast rises faster at elevation.
Will Bread Taste Different When Baked in a Solar Oven?
Yes, you'll notice your solar-baked bread tastes different – often better! It's typically more moist and flavorful thanks to the even heat distribution. Many people prefer the melt-in-your-mouth texture over conventional baking.
Can I Use Glass Containers Instead of Metal Pans?
You can use glass containers, but you'll need to be careful about thermal shock. It's safer to choose metal pans instead, as glass may shatter with temperature changes and requires longer baking times.
In Summary
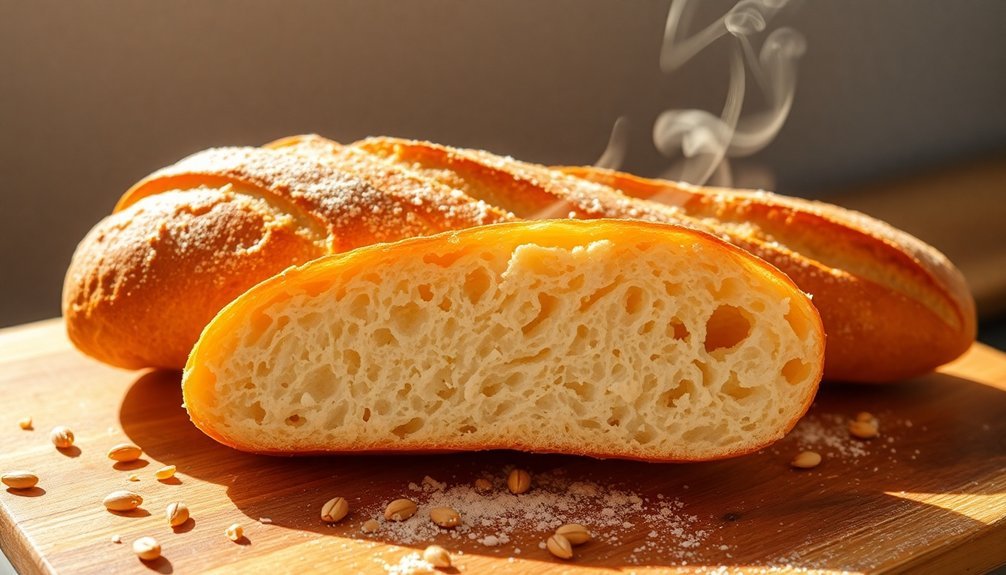
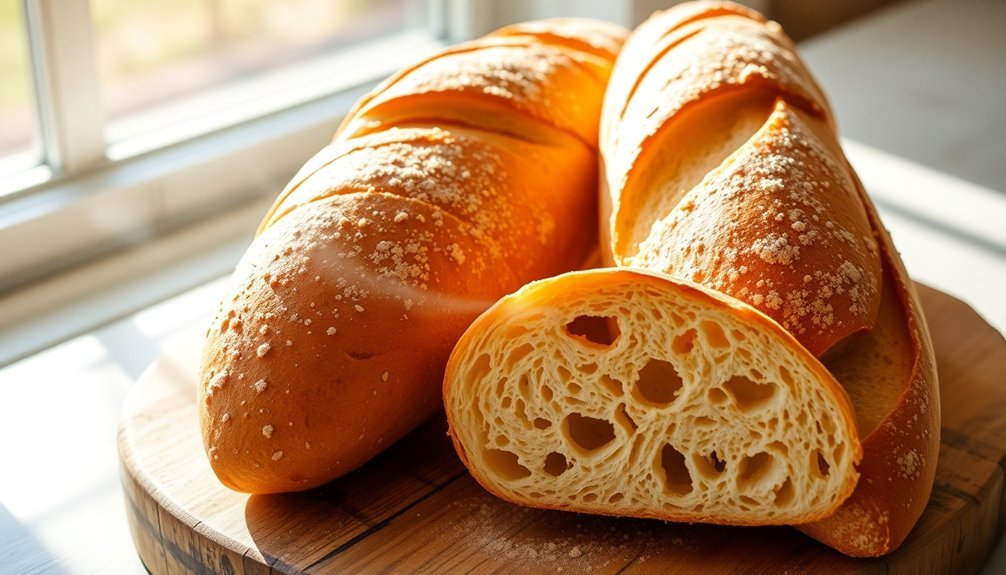
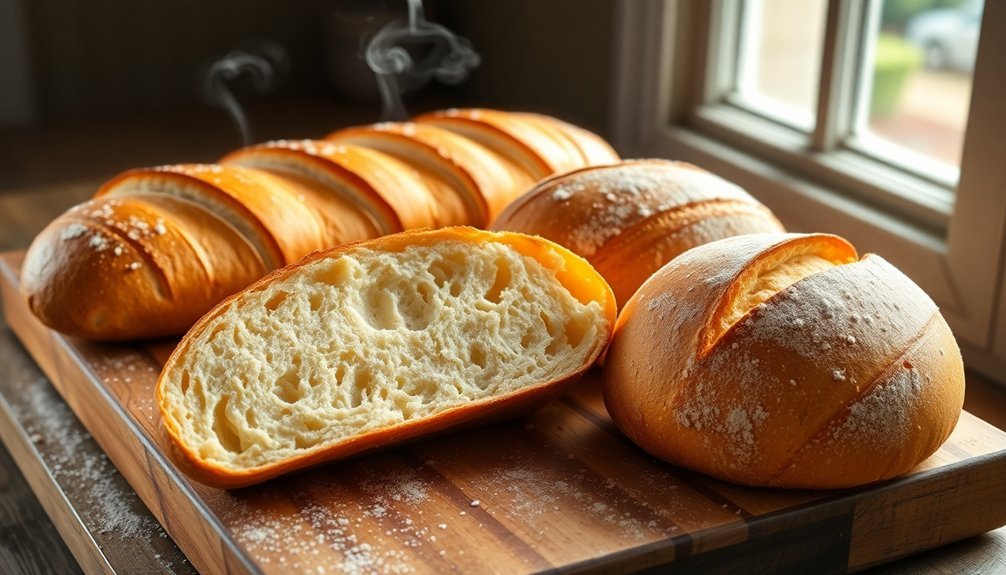
You've learned how to harness the sun's power to create delicious, crusty French bread right in your backyard. Whether you're baking on a summer afternoon or a bright winter day, your solar oven can produce bakery-quality results with minimal energy use. Don't let cloudy days discourage you – keep practicing your solar baking skills, and you'll soon master the art of eco-friendly French bread making.


Leave a Reply