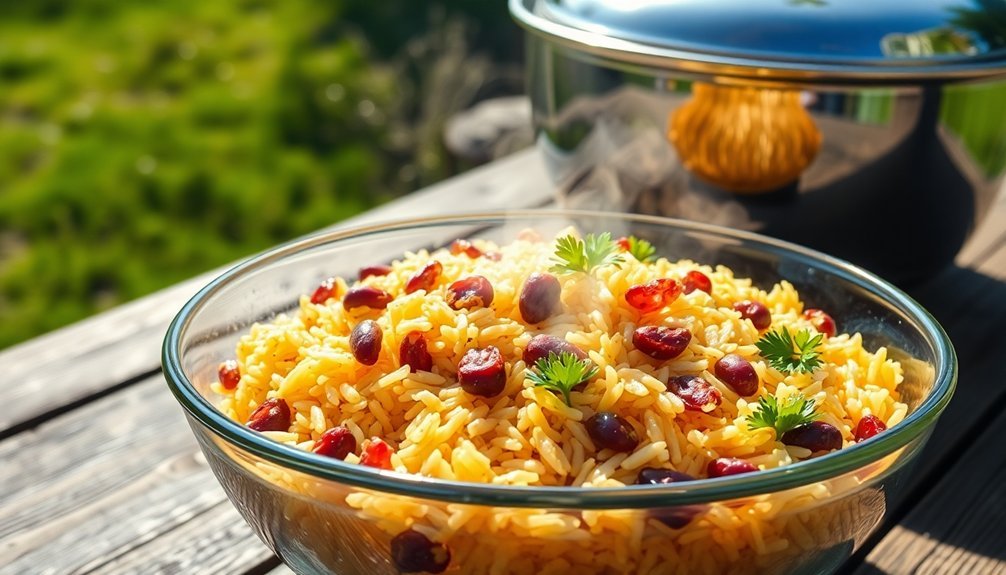
You'll need a solar cooker with reflective surfaces and clear glazing, plus basic ingredients: 1½ cups long-grain rice, 3 cups warm broth, diced onion, and minced garlic. Start by positioning your cooker toward true south (Northern Hemisphere) or true north (Southern Hemisphere) for maximum sun exposure. Mix rice with olive oil, add your warmed broth, seasonings, and aromatics in a dark pot for better heat absorption. Cover tightly and let the sun work its magic for 25-30 minutes until the rice is tender. Fluff with a fork before serving. This simple method opens up endless possibilities for solar cooking success.
Essential Solar Cooking Equipment
Three basic components form the foundation of any solar cooker: a reflective surface, an insulated box, and a clear glazing material. You'll need to gather these essentials before starting your rice pilaf adventure.
Start with a sturdy cardboard or insulated box as your base, then line it with aluminum foil to create reflective surfaces that direct sunlight to your cooking pot. Make sure to cut a flap in the lid for optimal sunlight reflection.
For the glazing, you'll want to use either plastic wrap or Plexiglas to create a transparent cover that traps heat while allowing sunlight to enter.
Don't forget to add black construction paper to the bottom of your cooker – it's vital for absorbing and converting solar energy into heat.
You'll also need some basic safety and monitoring tools. A thermometer is essential to track your cooker's internal temperature, and you'll want oven mitts nearby for safe handling.
Keep a ruler or wooden spoon handy for adjusting your pot's position throughout cooking. For better heat retention, add layers of newspaper as insulation between your box's walls, and consider creating a foil-covered flap to redirect additional sunlight into your cooking chamber.
Rice and Broth Ratios
Your solar rice pilaf's success hinges on getting the right ratio of rice to broth, typically 1:2 for white rice or 1:2.5 for brown rice.
You'll want to select a low-sodium broth that won't overpower the dish while still providing enough seasoning to enhance the rice's natural flavors.
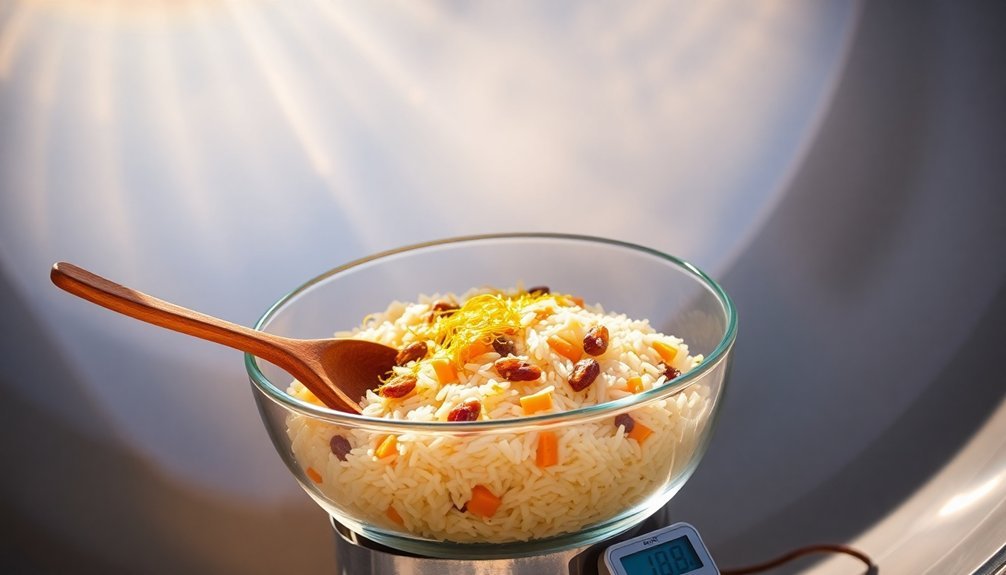
For the most consistent results in your solar cooker, use room temperature or slightly warmed broth to maintain steady cooking temperatures and guarantee even absorption. Let the pilaf rest covered for 10 minutes after cooking to achieve the perfect texture.
Proper Liquid Measurements
Getting the liquid-to-rice ratio right is absolutely vital for perfect sun-cooked pilaf. You'll want to follow a 2:3 ratio of rice to liquid, which means for every 2 cups of rice, you'll need 3 cups of broth or water. This specific ratio guarantees your pilaf won't become mushy or waterlogged during the cooking process.
When you're measuring your ingredients, make certain to use the same measuring unit for both rice and liquid to maintain accuracy. You'll notice this ratio is different from regular steamed rice because pilaf requires less liquid, especially since you'll be toasting the grains beforehand. Using high-quality broth brands like Swanson or Imagine will significantly enhance your pilaf's flavor.
Once you've added your measured liquid, bring it to a boil before reducing to a simmer. Keep the pot covered to trap the steam, which is essential for even cooking.
Don't stir the rice while it's cooking – this will activate the starch and lead to mushiness. After cooking, let your pilaf rest covered for 5-10 minutes, then fluff it with a fork. This resting period allows the moisture to redistribute, guaranteeing perfectly separated grains in your finished dish.
Perfect Broth Selection
Building on proper liquid measurements, selecting the right broth can transform your sun-cooked pilaf from good to exceptional. You'll want to maintain a 2:1 broth-to-rice ratio, which guarantees perfect consistency in your sun-cooked dish. Whether you choose vegetable, chicken, or beef broth, each brings its unique character to your pilaf.
| Broth Type | Best For | Flavor Profile |
|---|---|---|
| Vegetable | Vegetarian dishes | Light, garden-fresh |
| Chicken | All-purpose cooking | Subtle, versatile |
| Beef | Heartier dishes | Rich, robust |
Before adding your broth to the rice, you'll need to season it properly. Add garlic powder, onion powder, and paprika for a traditional flavor profile. Don't forget to simmer your broth before combining it with the rice – this guarantees even cooking throughout. Once you've added the broth, stir everything together, then cover your cooking vessel.
Remember to let your pilaf rest after cooking, allowing any remaining liquid to absorb fully. If you're using store-bought broth, you can still enhance its flavor by adding your own blend of herbs and spices to achieve your desired taste profile.
Preparing Your Ingredients
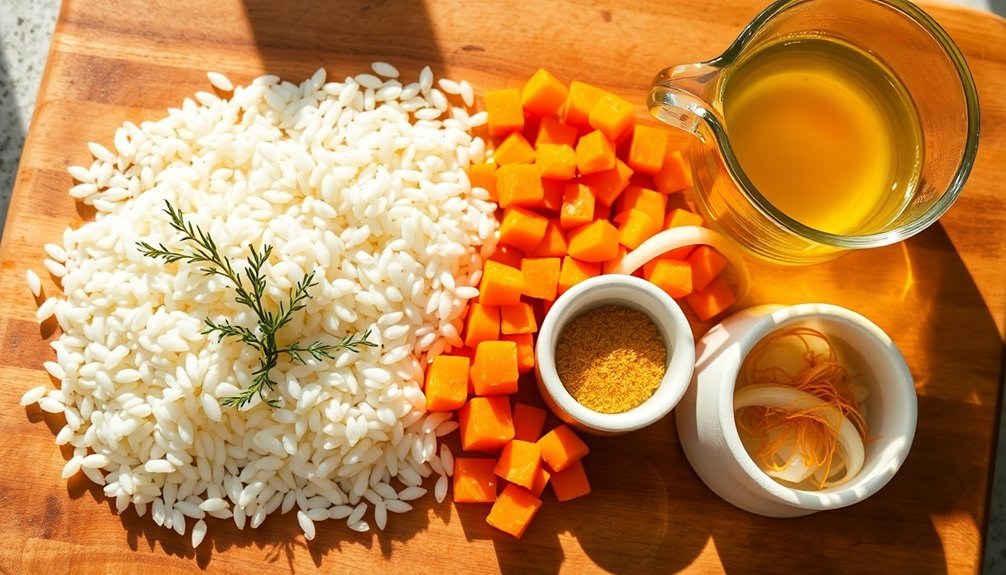
To make your sun-cooked rice pilaf, you'll need the core components of long-grain rice, fresh aromatics like minced garlic and diced onions, and warm broth as your cooking liquid.
Measure out 2-4 cloves of minced garlic and 1/2 to 1 medium diced onion, which will form the aromatic base of your pilaf.
Get your seasonings ready by combining salt, pepper, and any additional spices like paprika or coriander that'll complement your main dish.
Essential Rice Pilaf Components
Successful rice pilaf begins with a careful selection and preparation of essential ingredients. You'll need high-quality long-grain rice as your foundation, whether it's basmati or jasmine rice. Before cooking, rinse your rice thoroughly to remove excess starch, ensuring each grain remains separate and fluffy in your final dish.
Your aromatics form the flavor base of your pilaf. Start with finely chopped onions, minced garlic, and diced celery. These ingredients will release their flavors gradually during the cooking process, infusing your rice with a rich, savory taste.
You'll also need a good-quality broth – chicken, vegetable, or beef – which will serve as your cooking liquid.
For a perfectly balanced pilaf, you'll want to include these core components:
- Cooking fat (olive oil or butter) to toast the rice and sauté aromatics
- Properly measured rice-to-liquid ratio (1:2-3)
- Warm broth ready for adding to the toasted rice
- Basic seasonings (salt, pepper, and bay leaves)
Remember to have all these components ready before you begin cooking, as proper timing is essential for achieving the ideal texture and flavor in your sun-cooked pilaf.
Measuring Your Aromatics
Proper measurement of aromatics lays the groundwork for a flavorful sun-cooked pilaf. You'll need one large onion, sliced thinly for even cooking, which you'll sauté until golden for about 10 minutes. Before slicing, don't forget to peel off the outer layer to guarantee clean, fresh onion pieces.
If you're aiming for a Middle Eastern twist, use four large shallots instead. Chop them finely to distribute their tangy, sweet flavor throughout the dish. You'll want to sauté them until they're soft and fragrant. For added depth, you can include three minced garlic cloves, though this is optional.
For the cooking fat, measure out 1/4 cup of either olive oil or ghee. While both work well, ghee offers a richer flavor profile that many prefer in traditional pilaf.
Heat your chosen fat over medium heat before adding your aromatics. If your recipe calls for additional aromatics like carrots, chop them into small, uniform pieces. Remember not to use too much oil, as this can make your pilaf greasy.
You'll know you've measured correctly when your aromatics cook evenly without excess oil pooling.
Getting Spices Ready
A rainbow of fragrant spices forms the backbone of a delicious sun-cooked pilaf. You'll want to start with the essentials: kosher sea salt and freshly ground black pepper for your base seasoning.
Add minced garlic or garlic powder and a pinch of onion powder to build your flavor foundation. Don't forget the paprika – whether smoked or regular – to add that rich, distinctive taste.
For your dried herbs, combine thyme and basil to create depth, and keep fresh parsley on hand for both garnish and flavor enhancement. You're free to customize with additional herbs like oregano based on your preference.
When it comes to liquid measurements, you'll need 3 cups of low-sodium chicken or vegetable broth for every 1.5 cups of rice.
- Toast your spices gently to release their aromatic oils
- Mix dried herbs separately from fresh ones
- Combine salt and pepper in a small bowl for easy access
- Keep your measured broth ready in a separate container
Remember to adjust your liquid ratios if you're using jasmine or basmati rice, as these varieties typically require less moisture than standard long-grain white rice.
Setting Up Solar Position
Positioning your solar cooker correctly is essential for efficient sun cooking. If you're in the Northern Hemisphere, align your solar cooker to face true south; if you're in the Southern Hemisphere, point it true north. You'll want to place your cooker where it'll receive direct sunlight throughout the cooking process.
To determine the ideal tilt angle, use your latitude as a starting point. For the best results, you'll need to adjust this angle based on the season – add 15 degrees in winter and subtract 15 degrees in summer. During spring and fall, subtract 2.5 degrees from your latitude for ideal positioning.
Make sure your cooker receives perpendicular sunlight for maximum efficiency. You'll need to take into account any obstacles that might cast shadows on your cooker throughout the day.
In areas with frequent rain or snow, position your cooker at a steeper angle to prevent moisture accumulation. Remember that the sun's path changes throughout the day, so you may need to make minor adjustments to maintain ideal exposure.
Poor positioning can greatly reduce your cooking efficiency and increase cooking time.
The Cooking Process
Now that your solar cooker is perfectly positioned, let's begin preparing the rice pilaf. Start by warming your broth mixture in a dark-colored pot that will absorb maximum solar heat.
While the broth heats, rinse your rice thoroughly and prepare your aromatics. You'll want to combine the orzo and rice with olive oil, ensuring each grain gets a proper coating to prevent clumping during the solar cooking process.
- Pour your warmed broth into the pot with your rice and orzo mixture, then add your seasonings – garlic powder, onion powder, paprika, and salt.
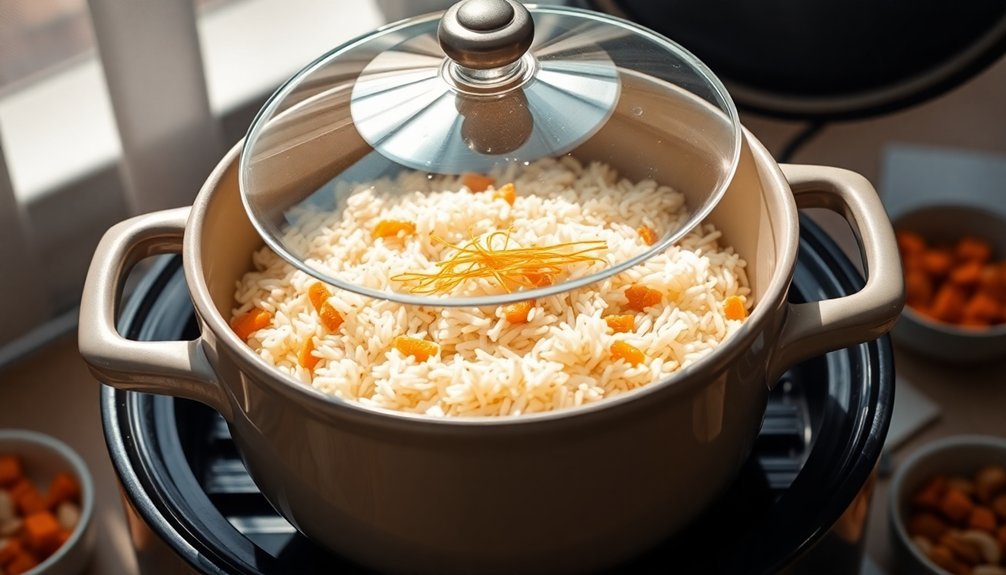
- Cover the pot tightly with a heat-safe lid or solar cooking bag to trap moisture and heat.
- Place the covered pot in your preheated solar cooker and let it cook undisturbed for about 25-30 minutes (slightly longer than conventional cooking).
- Check that all liquid has been absorbed by tilting the pot slightly.
Once cooking is complete, let your pilaf rest for 5 minutes while covered. Then fluff with a fork, garnish with fresh parsley, and serve immediately. You can enhance the final dish by stirring in some grated Parmesan cheese.
Serving and Storage Tips
Making the most of your sun-cooked rice pilaf comes down to proper serving and storage techniques. When you're ready to serve, use a fork to fluff the rice, separating the grains to avoid mushiness. You'll want to serve it warm or at room temperature for the best flavor.
Consider adding extras like spinach, sun-dried tomatoes, kalamata olives, or sautéed mushrooms for texture and color. Top your pilaf with chopped parsley or crumbled feta, and pair it with roast chicken, salmon, curry, or steak.
For storage, you'll need to take several precautions to maintain freshness. Store your rice pilaf in airtight containers to prevent moisture and pest infiltration. Keep it in a cool, dark place below 55°F, or opt for refrigeration or freezing to extend its shelf life.
Remember to rotate your rice stock regularly, using older portions first to prevent waste. Don't store your rice near strong-smelling ingredients like garlic or spices, as it can absorb these odors and affect its taste.
These storage practices will help maintain your rice pilaf's quality and flavor for future meals.
Frequently Asked Questions
Can Rice Pilaf Be Solar-Cooked During Cloudy or Partly Cloudy Days?
You'll find it challenging to solar-cook rice pilaf on cloudy days. While it's possible with reflectors and extended cooking times, you're better off using a conventional stove when sunlight isn't consistently bright.
How Do Seasonal Changes Affect Solar Cooking Times for Rice Pilaf?
You'll find your rice pilaf cooks fastest in summer (4-6 hours) and slowest in winter (8-10 hours). Spring and fall cooking times vary between 6-8 hours depending on sun intensity and temperature.
What Alternative Grains Work Well for Solar-Cooked Pilaf Dishes?
You'll find farro and millet work exceptionally well for solar-cooked pilaf, as they retain texture and absorb flavors beautifully. Buckwheat and freekeh are great options too, offering unique nutty tastes.
Does Altitude Affect the Solar Cooking Time for Rice Pilaf?
Yes, you'll need to extend cooking time at higher altitudes since water boils at lower temperatures. You'll also need more liquid, as it evaporates faster. Plan for about 15-20% longer cooking time than usual.
Can Solar-Cooked Rice Pilaf Be Prepared Overnight Using Stored Solar Heat?
You can't cook rice pilaf overnight using stored solar heat. Solar cookers don't retain enough heat after sunset to complete the cooking process. You'll need direct sunlight or should use alternative cooking methods instead.
In Summary
Solar-cooked rice pilaf doesn't need to be complicated. You'll find this method saves energy while delivering fluffy, flavorful results. Remember to start early on a sunny day, position your solar cooker facing the sun's path, and check the temperature regularly. Once you've mastered the basic 2:1 liquid-to-rice ratio and proper timing, you'll be ready to experiment with different seasonings and add-ins.


Leave a Reply