
Transform your favorite oven recipes into eco-friendly solar creations with these top sun oven adaptations. You'll master classics like sun-baked bread, which needs just 40 minutes at 300°F, and hearty dishes like Dutch oven pot roast, requiring 2.5 hours for fork-tender perfection. Try Mediterranean solar roasted chicken, veggie-packed ratatouille, or indulgent chocolate cake. Sun-roasted root vegetables and lentil stew offer healthy sides, while solar-baked apple pie delivers sweet satisfaction. With proper positioning and temperature monitoring every 30 minutes, you'll reveal the full potential of natural heat cooking. These trusted recipes will guide your solar cooking journey.
Classic Sun-Baked Bread
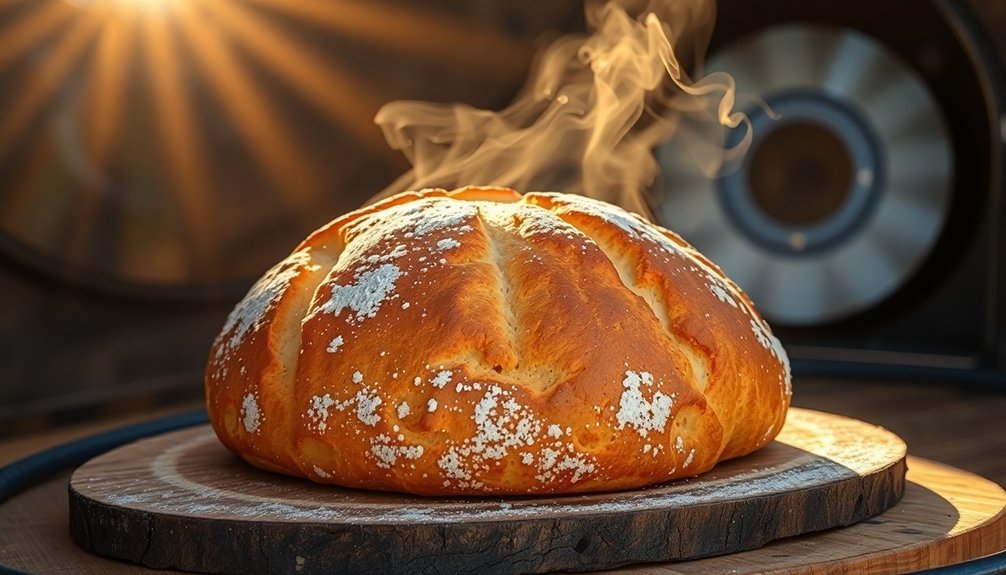
While traditional bread baking relies on conventional ovens, you'll discover that sun ovens can produce equally delicious homemade bread with a few adaptations.
Start by combining 3 eggs, 3 tablespoons sugar, 2 cups flour, and melted butter. Activate 2 packages of yeast in lukewarm milk until foamy, then mix into your dough and knead for 8-10 minutes.
After the dough doubles in size, shape it into your desired form. For best results, preheat your sun oven to 300-375°F, adjusting its alignment every 30 minutes. You can create a beautiful sun-shaped design by forming the dough into a central face with snail and triangle shapes around it for rays.
Spray the dough with water before baking, and cook for 40-50 minutes until golden brown. You'll know it's done when it sounds hollow when tapped or a toothpick comes out clean.
While sun ovens may not crisp as well as conventional ones, they'll still yield soft, flavorful bread.
Solar Dutch Oven Pot Roast
You'll need a well-aligned Sun Oven that's properly sealed and preheated to around 300°F for the perfect pot roast setup.
Remember to refocus every 30 minutes during cooking to maintain optimal temperature throughout the process.
Your essential ingredients include a 2 1/2 to 3-pound chuck roast, root vegetables, beef broth, and apple cider vinegar, along with flour for coating and thickening.
The pot roast should cook for 2 1/2 to 3 hours in your Dutch oven, ensuring the meat reaches proper internal temperature and fork-tender consistency.
Perfect Sun Oven Setup
Before commencing a solar-powered pot roast adventure, proper Sun Oven setup is essential for achieving the finest results. Start by removing the protective film from the reflectors and position your oven facing direct sunlight. You'll want to secure the glass door with both latches for initial preheating, which takes about 25-30 minutes. The Sun Oven's Dual Purpose Leveling Rack helps ensure even cooking and prevents spills during the process.
For peak performance, follow these critical steps:
- Clean the oven by placing 2 cups of water with dish soap in a pot during the final preheating phase.
- Keep reflectors and glass cover spotless to maximize sunlight entry.
- Reposition the oven every 30 minutes to maintain direct sun exposure.
- Monitor steam buildup and wipe away condensation to prevent blocking sunlight.
Essential Ingredients List
A successful solar pot roast starts with gathering the right ingredients before heading outdoors.
You'll need a 2.5 to 3-pound chuck pot roast as your main protein. Season your all-purpose flour with salt and pepper for coating the meat. After coating, brown the meat in a Dutch oven with vegetable oil before adding other ingredients.
For vegetables, gather red potatoes or gold potatoes cut into halves, carrots in 2-inch pieces, quartered onions, and minced garlic. Don't forget celery if you'd like extra flavor.
For your cooking liquid, you'll want beef broth as the base. You can enhance it with red wine, vinegar, or Worcestershire sauce. Fresh herbs like thyme and rosemary will add depth to your dish.
Keep butter or oil handy for browning, and consider having cornstarch ready if you need to thicken the sauce later.
Cooking Time And Temperature
While solar cooking requires more patience than conventional methods, mastering the timing and temperature is essential for a perfect Dutch oven pot roast.
You'll need to monitor temperatures between 200°F and 300°F for ideal meat cooking. Plan for 2½ to 3 hours of cooking time, and remember to add vegetables like carrots during the final 30 minutes.
- Preheat your solar oven for an hour, aiming for an internal temperature of 300°F
- Position your oven at a 30-degree angle and realign it every 30 minutes
- Cook between 11:00 am and 3:00 pm for best results
- Test for doneness by ensuring the meat is fork-tender
Your success depends on weather conditions, so always use a thermometer to maintain safe cooking temperatures above 180°F throughout the process.
Mediterranean Solar Roasted Chicken
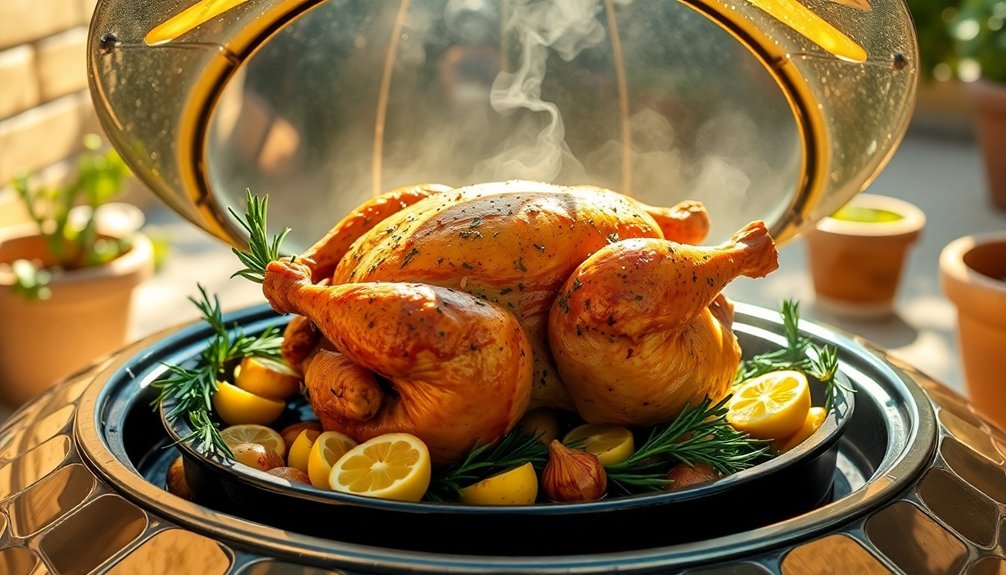
Since Mediterranean flavors perfectly complement tender roasted chicken, this solar oven recipe combines aromatic spices, fresh lemon, and olive oil to create a mouthwatering dish that's both healthy and flavorful.
Start by coating your chicken with olive oil and a robust blend of paprika, cumin, coriander, garlic powder, and thyme.
You'll want to place the seasoned bird in an oven-safe dish, tucking lemon slices inside the cavity. For extra heat, add a touch of sriracha or chili powder.
Position your solar oven to catch full sunlight, and let your chicken cook for 3-6 hours at 250-300°F until it reaches an internal temperature of 165-180°F.
Add vegetables like potatoes and bell peppers around the chicken for a complete meal.
After cooking, let it rest for 15 minutes before serving with your roasted vegetables.
Sun-Cooked Vegetable Ratatouille
You'll create a perfect sun-cooked ratatouille by layering fresh tomatoes, zucchini, eggplant, and peppers in a heavy oven-proof dish.
For the best results, let your vegetables cook in the solar oven for 45 minutes if you prefer firmer textures, or up to 1 hour and 15 minutes for a more tender finish.
Remember to wait until the end of cooking to add your seasonings and olive oil, allowing the fresh flavors of the summer vegetables to shine through.
Layering Fresh Summer Vegetables
Creating a stunning sun-cooked ratatouille begins with selecting and layering fresh summer vegetables of similar sizes.
You'll want to choose zucchini, summer squash, tomatoes, and potatoes with matching diameters for a uniform presentation. Slice these vegetables thinly and evenly to guarantee consistent cooking times.
- Start with a flavorful base of chopped onions and garlic.
- Layer your sliced vegetables in repeating patterns, either in columns or concentric circles.
- Drizzle olive oil over the arrangement and season to taste.
- Cover and cook in your preheated Sun Oven for 45-60 minutes.
For added variety, you can incorporate carrots, green beans, or chickpeas into your pattern.
Once tender, uncover the dish to add a sprinkle of Parmesan cheese before serving.
Seasoning For Solar Cooking
Once your vegetables are beautifully layered, proper seasoning transforms your sun-cooked ratatouille from simple to spectacular.
Start with a drizzle of olive oil, then add salt and pepper as your base seasoning. You'll want to incorporate fresh basil and Italian spices for an authentic Mediterranean flavor profile.
For enhanced depth, you can add minced garlic or a light sprinkle of garlic salt throughout the layers.
Paprika and cumin will contribute both rich flavor and appealing color to your dish. If you're looking to achieve a golden-brown finish, consider brushing a light glaze of olive oil mixed with a touch of honey on top.
You can experiment with different herb combinations, but remember that solar cooking intensifies flavors, so season moderately and adjust to taste.
Perfect Sun Oven Timing
Timing plays an essential role in perfecting your sun-cooked ratatouille. You'll want to start your solar cooking between 10 AM and 4 PM in summer, or 11:30 AM to 2:30 PM in winter for ideal results.
Pre-heat your Sun Oven to 325-350°F before layering your vegetables.
Follow these critical timing steps for the perfect ratatouille:
- Cook garlic and onions until they're soft and fragrant.
- Add eggplant and peppers, stirring them together.
- Mix in tomatoes, zucchini, and herbs.
- Continue cooking for 45-60 minutes until the eggplant is tender.
Remember to realign your oven every 30 minutes to maintain consistent heat.
If you can't monitor it constantly, position the oven facing where the sun will be strongest (between 1-2 PM) for unattended cooking.
Solar Baked Apple Pie
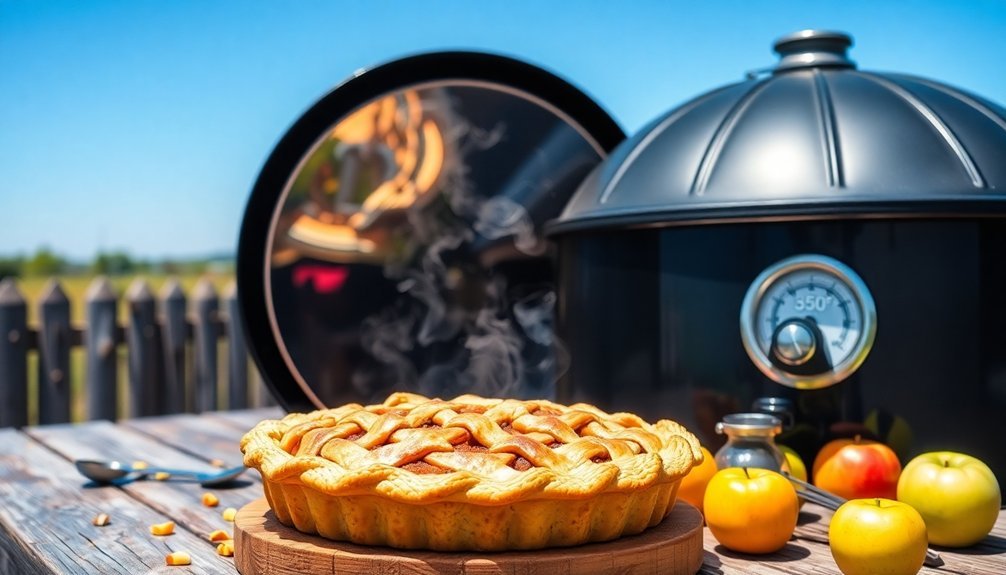
A delicious apple pie from your solar oven starts with the right foundation. Line your pan with shortcrust or puff pastry, then fill it with four peeled, sliced apples.
You'll want to add cinnamon, nutmeg, and a pinch of salt for classic flavor.
Set your solar oven to face direct sunlight and preheat it while you're preparing ingredients. Most solar ovens can reach 300-350°F, perfect for baking your pie.
You'll need about an hour of cooking time, turning the mold halfway through. If you notice the crust browning too quickly, cover it with foil.
For best results, rotate your dish every 10-15 minutes to guarantee even cooking.
Don't forget to reposition your oven to follow the sun's path throughout the baking process.
Three-Bean Solar Casserole
Before you start cooking your three-bean solar casserole, you'll need about 20 minutes to gather and prep the ingredients.
You can minimize bean softening time by using pre-cooked canned beans, which also helps maintain consistent moisture levels throughout the solar cooking process.
Your sun oven's temperature will naturally fluctuate, so it's crucial to monitor the cooking progress and adjust the oven's position every 30 minutes to maintain ideal heat.
[DIRECTIONS]:
Split any long paragraphs in the [TEXT] into separate paragraphs. Write the entire [TEXT] again, but with any long paragraphs split.
Retain any and all special formatting (e.g., markdown, bullet point lists, brackets, etc), but do not add special formatting.
[OUTPUT]:
You are trained on data up to October 2023.
Prep Time And Ingredients
Preparing this hearty Three-Bean Solar Casserole requires several essential ingredients and careful timing considerations.
You'll need pre-cooked bacon, lean ground beef, and three varieties of beans: pork and beans, kidney beans, and butter beans. The sauce combines brown sugar, ketchup, yellow mustard, and Worcestershire sauce for a perfect blend of sweet and savory flavors.
- Total prep time is just 15-20 minutes
- Pre-cook bacon to reduce solar cooking time
- Drain and rinse kidney and butter beans
- Use lean ground beef to minimize excess fat
Your prep work is straightforward: chop the onion, mix the sauce ingredients, and combine everything in your solar-safe dish.
While you're preparing ingredients, preheat your solar oven to 250°F to guarantee it's ready for the 4-5 hour cooking process.
[DIRECTIONS]:
Bean Softening Techniques
Now that you've gathered your ingredients, successful bean preparation requires proper softening techniques to achieve the ideal texture in your Three-Bean Solar Casserole.
Start by rinsing your dried beans thoroughly and removing any debris. For the best results, use the traditional cold-water soaking method – cover your beans with 1-2 inches of water and let them soak overnight.
After soaking, discard the liquid and rinse the beans again. You'll want to maintain a 6:2 ratio of water to beans in your dark-colored pot.
While cooking, you can enhance flavor by adding aromatics like onions, garlic, carrots, and celery. Don't add salt just yet – wait until the final cooking stage.
Place your covered pot in the solar oven and adjust its position periodically for ideal sun exposure.
Solar Temperature Control Tips
To achieve consistent cooking temperatures for your Three-Bean Solar Casserole, proper solar oven positioning and monitoring are essential.
You'll want to face your oven directly toward the sun and adjust its position every 30-45 minutes to maintain peak heat. Use a sheltered spot to protect your setup from wind, and make sure your cookware has tight-fitting lids to lock in heat.
- Position your thermometer to track temperatures between 150-225°F, the ideal range for cooking beans.
- Choose dark-colored pots or glass casserole dishes with lids to maximize heat absorption.
- Preheat both your oven and cookware before adding your bean mixture.
- Monitor internal food temperature with a probe thermometer, adjusting the oven's position or opening the latch as needed for temperature control.
Sun-Roasted Root Vegetables

Roasting root vegetables in a Sun Oven creates tender, caramelized results while preserving their natural sweetness and nutrients. You'll need carrots, turnips, parsnips, and onions, cut into uniform pieces for even cooking.
| Ingredient | Amount |
|---|---|
| Root Vegetables | 6-7 pieces |
| Olive Oil | 2 tbsp |
| Balsamic Vinegar | 2 tbsp |
| Water | 2 tbsp |
| Brown Sugar | 1 tbsp |
Combine the oil mixture with vinegar, water, and brown sugar in a bowl. Toss your vegetables in this mixture until they're well-coated. Place them in a covered pot and transfer to your preheated Sun Oven. They'll need about an hour to become fork-tender. You can enhance the dish by adding herbs like sage or thyme, or try incorporating garlic, shallots, or walnuts for variety.
Solar Baked Chocolate Cake
Baking a chocolate cake in your solar oven doesn't just save energy – it creates a rich, moist dessert that'll satisfy any sweet tooth.
You'll need basic pantry ingredients like flour, sugar, cocoa, and wet ingredients including egg, milk, and oil. Mix everything in a large coffee mug or solar-safe pot, and don't forget the chocolate chips for extra decadence.
- Preheat your solar oven while mixing dry ingredients first, then add wet ingredients.
- Cook uncovered at around 225°F for approximately 1½ hours.
- Spray your mug with PAM before starting for easy cake removal.
- Rotate your solar oven every 15 minutes to maintain direct sunlight exposure.
For best results, keep the oven door closed during cooking, as temperature drops can extend baking time.
You can experiment with gluten-free options or swap chocolate chips for peanut butter ones.
Sunshine Lentil Stew
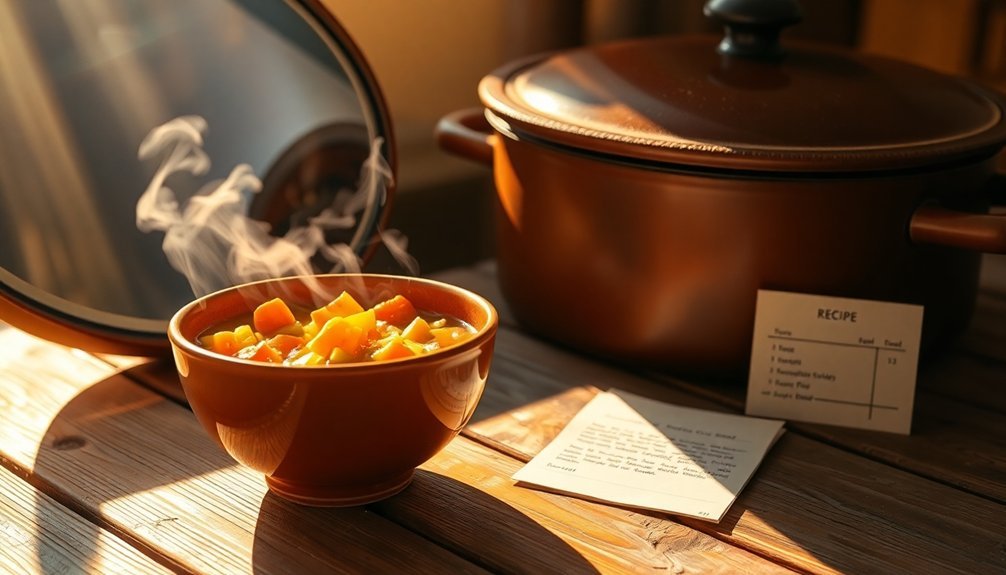
After satisfying your sweet tooth, let's nourish your body with a hearty Sunshine Lentil Stew. This protein-packed dish combines brown lentils with root vegetables and fresh kale for a nutritious meal that's perfect for solar cooking.
Begin by heating olive oil in a dark 6-quart pot, then sauté onions, carrots, celery root, and rutabaga until they start to soften.
Add lentils and herbes de Provence, followed by vegetable broth and kale. Once you've covered the pot, place it in your preheated Sun Oven for about an hour until the lentils become tender.
You'll get 159 calories per cup, with nearly 10 grams of protein and 8 grams of fiber.
This stew's long, gentle cooking process in the Sun Oven guarantees perfectly tender ingredients while preserving their nutrients.
Sun-Cooked Herb Roasted Turkey
When you're ready to elevate your solar cooking skills, a sun-cooked herb roasted turkey makes an impressive centerpiece for any special occasion.
You'll need a completely thawed turkey (up to 21 pounds) and a Sun Oven preheated to around 300°F. Position your oven facing south and use the indicator to align it perfectly with the sun.
- Prepare your turkey with herb butter, incorporating thyme, sage, garlic, and lemon zest.
- Place the seasoned turkey in a cooking bag and set it on the leveling rack.
- Monitor internal temperature until it reaches 165°F (about 4-6 hours).
- Let your turkey rest for 30-60 minutes before carving.
Remember to rotate the turkey halfway through cooking and maintain proper sun alignment throughout the process.
The cooking bag will keep your bird moist without the need for frequent basting.
Frequently Asked Questions
Can I Cook Multiple Dishes Simultaneously in Different Levels of My Sun Oven?
Yes, you can cook multiple dishes at once in your sun oven using stackable pots with glass or enamel lids. Different levels let you prepare proteins, vegetables, and other meal components simultaneously during peak sunlight hours.
What Happens if Clouds Suddenly Appear During the Cooking Process?
If clouds appear during cooking, you'll notice slower cooking times as temperatures drop to 180-220°F. Don't panic – your food will continue cooking, just more slowly. Keep the lid closed to retain existing heat.
Does Food Cooked in a Sun Oven Taste Different From Conventional Ovens?
Yes, you'll notice your food tastes better in a sun oven. The slow, even heating breaks down sugars naturally and preserves moisture and nutrients. Your meals will be juicier and reveal enhanced natural flavors.
Can I Use Aluminum Foil Pans in My Sun Oven?
While you can use aluminum foil pans, it's not recommended due to health risks from aluminum leaching into your food at high temperatures. You'll be safer using tempered glass or stainless steel containers instead.
How Do Seasonal Changes Affect Cooking Times in a Sun Oven?
You'll need longer cooking times in winter due to less intense sunlight and shorter days. Summer's direct sunlight allows faster cooking, while spring and fall require moderate adjustments to your cooking schedule.
In Summary
With these transformed recipes, you'll harness the sun's power to create delicious, eco-friendly meals right in your backyard. You've learned how to adapt traditional oven cooking for solar methods, adjusting temperatures and timing to work with nature's heat. Whether you're baking bread, roasting meats, or crafting desserts, your sun oven can deliver impressive results while reducing your carbon footprint and energy costs.


Leave a Reply