
You'll need to make a few key adjustments when baking sweet treats in your solar oven. Start by using dark-colored pans and preheating your oven for 20-30 minutes during peak sunlight hours (11 am to 3 pm). Since solar ovens typically operate between 200-300°F, you'll need to extend traditional baking times by 1.5 to 2 times longer. Line your oven with aluminum foil and black construction paper to maximize heat absorption, and realign it every 30 minutes to maintain temperature. Spray pans with cooking oil and monitor internal temperature closely. With these essential modifications, you'll reveal the secrets to successful solar-baked desserts.
Understanding Solar Oven Temperature Ranges

A solar oven's temperature range is essential for successful outdoor baking. You'll find that different types offer varying heat levels, with parabolic cookers reaching up to 800°F, while simple box-type ovens max out around 200°F.
For most desserts, you'll want temperatures between 200°F and 300°F, which panel cookers and box-type ovens can easily achieve. Adding reflective aluminum panels will help concentrate more sunlight onto your cooking surface.
To reach ideal baking temperatures, you'll need to preheat your solar oven for 20-60 minutes during peak sunlight hours (11 am to 3 pm). Make sure you've sealed any gaps and used dark-colored cookware to maximize heat absorption.
Quality insulation materials like cotton balls or newspapers will help maintain steady temperatures. Remember that weather conditions and seasons will affect your oven's performance, so you'll need to adjust cooking times accordingly.
Essential Equipment and Pan Selection
Three key components make up an effective solar oven setup: the cooking vessels, reflective materials, and insulation tools.
You'll want to start with dark-colored pans, preferably black metallic or Granite Ware, as they absorb solar radiation most effectively. For easy cleanup, consider using silicone baking pans.
Line your oven with aluminum foil and black construction paper to maximize heat reflection and absorption. Cut a flap in the lid to create an opening that will direct sunlight into your oven.
Don't forget to create a tight seal using weather stripping and clear plastic wrap or Plexiglas to trap heat inside.
You'll need foam board or newspaper layers between boxes for insulation.
Keep oven mitts and a thermometer handy to safely monitor your treats' progress.
For ideal sun exposure, use bricks or supports to position your oven at the right angle.
Adjusting Traditional Baking Times

With your equipment ready, understanding solar oven baking times becomes your next key to success.
When your solar oven reaches 350°F on a sunny day, you'll use similar timing to conventional baking. However, you'll need to adjust for lower temperatures and weather conditions.
For consistent results, follow these essential timing adjustments:
- Plan for longer baking times if your oven temperature stays below 300°F.
- Realign your oven every 30 minutes to maintain ideal temperature.
- Monitor internal temperature with a gauge to determine precise timing.
- Expect slower cooking on cloudy days, but don't worry – your food will still bake.
Your Sun Oven should reach 300°F in about 20 minutes during preheating when positioned correctly in strong sunlight.
Fruit Based Dessert Conversions
When preparing fruit desserts in your solar oven, you'll need to adjust the way you handle peaches to account for slower cooking times and increased moisture retention.
You can achieve ideal results for cobblers by maintaining consistent temperatures through proper positioning of dark-colored baking dishes and ensuring adequate ventilation.
Berry-based desserts typically require 1.5 to 2 times longer to bake in a solar oven compared to conventional methods, so plan accordingly and monitor their consistency during cooking.
Peach Baking Basics
Baking peach desserts in a solar oven requires some adjustments from traditional oven recipes.
You'll need to focus on proper preparation and timing to achieve the best results in your sun-powered baking adventure.
When preparing your peach dessert, follow these essential steps:
- Pre-heat your solar oven for 30 minutes, aiming for 300°F.
- Use dark-colored baking pans to maximize heat absorption.
- Layer your ingredients carefully: half batter, peach mixture, remaining batter.
- Cover the dish during cooking, only removing the cover in the final 30 minutes.
Start with fresh peaches mixed with sugar and optional cinnamon.
You'll want to combine your wet and dry ingredients separately before layering.
Remember to pre-bake your peach filling for about 10 minutes if you're making a cobbler to prevent firm fruit under the topping.
Cobbler Temperature Control
Successfully converting traditional cobbler recipes for solar oven use requires mastering temperature control techniques specific to fruit-based desserts.
You'll want to preheat your solar oven while preparing ingredients, aiming for temperatures between 300°F and 375°F. For reliable results, the Solavore Sport performs well at 300°F.
Monitor your oven's temperature closely, as cooking times can vary from 1 to 2 hours depending on weather conditions.
Don't cover your cobbler while baking – this allows excess moisture to escape. You'll know it's done when the bottom layer has a cake-like texture and the top turns lightly golden brown.
Rotate the oven periodically to guarantee even cooking. If you're using different fruits, you might need to adjust your cooking time, but don't worry – solar ovens cook slowly without burning.
Berry Dessert Timing
Making berry desserts in your solar oven requires precise timing adjustments to achieve the ideal consistency and flavor. You'll need to plan for 1½ to 2 hours of cooking time, though this can drop to just 1 hour in perfect sunny conditions at 375°F.
While your solar oven preheats, prepare your berry mixture and let the flavors meld together.
For successful berry desserts in your solar oven, follow these key timing elements:
- Preheat your solar oven while mixing ingredients
- Allow 1½ to 2 hours for complete cooking in moderate conditions
- Check for golden-brown tops and cake-like consistency at the 1-hour mark
- Let cool for 20 minutes before adding toppings
Remember to adjust your oven's position every 30 minutes to maintain direct sunlight exposure throughout the cooking process.
Brownie and Cake Modifications
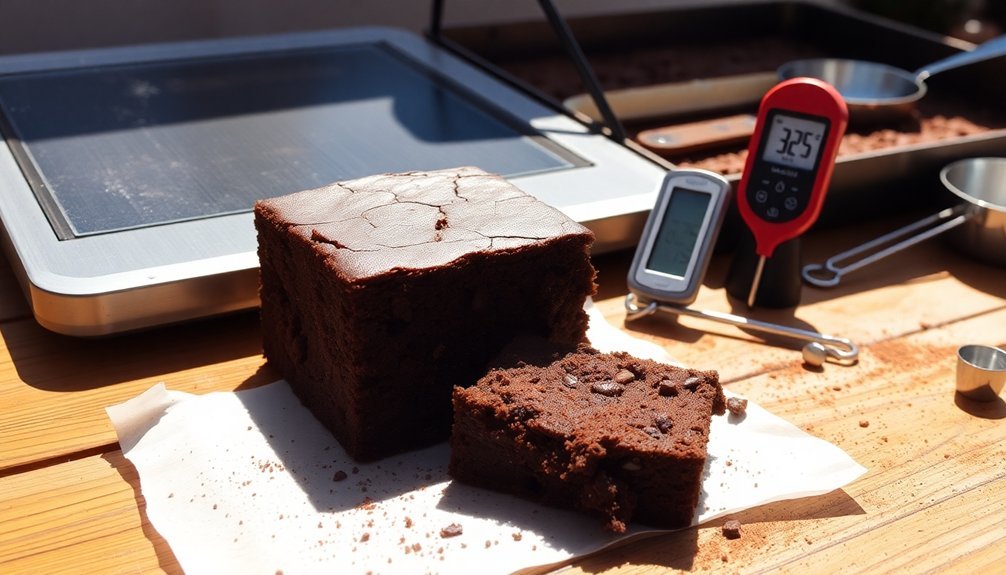
You'll need to monitor your sun oven's temperature closely using an oven thermometer and adjust the position throughout baking to maintain consistent heat.
Select dark, non-reflective pans that maximize heat absorption, and consider using stacking pans to make the most of your solar space.
For perfectly textured brownies and cakes, you may need to slightly increase the liquid content in your batter to prevent over-drying during the longer solar baking times.
Temperature Control Tips
Baking perfectly moist brownies and cakes in a Sun Oven requires careful attention to temperature fluctuations and timing adjustments.
You'll need to monitor and adapt your baking process based on weather conditions and time of day.
Four essential temperature control strategies for success:
- Preheat your Sun Oven for 20 minutes to reach 300°F on clear days while you're preparing your recipe.
- Realign the oven every 30 minutes to maintain ideal temperature, especially vital for even brownie baking.
- Keep the door closed as much as possible, as opening it can drop temperature by 50-75°F.
- Adjust cooking times based on available sunlight – brownies typically need 30-40 minutes, but may require longer on cloudy days.
Pan Selection Guidelines
Three key factors determine successful brownie and cake baking in your Sun Oven: pan material, size, and preparation.
Choose dark, thin-walled pans that efficiently convert sunlight into heat, and avoid shiny surfaces that reflect light. For brownies, use an 11 x 7 x 2-inch pan, while cakes work well in small silicone molds or stackable pots.
Your pan must fit comfortably in the cooking chamber with enough space for air circulation. Line it with parchment paper, extending over the rim for easy removal, and spray with cooking spray.
For multiple items, consider using stackable pots or placing smaller pans inside larger ones. Always center your pan in the preheated oven and secure the lid to maintain consistent heat.
Remember to check that your pan's height doesn't interfere with the oven's lid closure.
Batter Consistency Adjustments
Successful solar baking requires specific adjustments to traditional brownie and cake recipes to accommodate the unique cooking environment.
You'll need to adapt your mixing techniques and moisture levels while maintaining proper consistency for best results.
- Mix wet and dry ingredients separately for cakes, then combine them thoroughly, but avoid overmixing brownies to preserve their signature texture.
- Pour your batter into the pan before positioning the solar oven to prevent uneven cakes.
- Keep moisture levels balanced by using powdered ingredients for camping convenience.
- Expect longer baking times of 1-1.5 hours versus conventional ovens.
Monitor your treats carefully during baking, using toothpick tests to check doneness.
The solar oven's enclosed environment helps retain moisture, resulting in perfectly moist brownies and cakes.
Remember to adjust cooking times based on your oven's performance and sun conditions.
Cookie Recipe Solar Adaptations
When adapting traditional cookie recipes for a solar oven, you'll need to make several key adjustments to guarantee success. Your solar oven will typically operate at lower temperatures (225-300°F), so you'll need to extend baking times and modify ingredients accordingly.
| Solar Cookie Tips | Adaptations |
|---|---|
| Baking Time | 1-2 hours instead of 10-12 minutes |
| Temperature | Aim for 250°F on sunny days |
| Batter/Dough | Slightly thicker consistency |
| Pan Choice | Dark, solar-safe pans for better heat absorption |
For single cookies, you can use the simplified recipe with 1 TBSP each of butter and sugars, while bar cookies work especially well in solar ovens. Using cake mix as a base for bar cookies provides consistent results. Remember to preheat your solar oven and monitor weather conditions, as cloud cover will affect baking times.
Proofing Sweet Breads Successfully
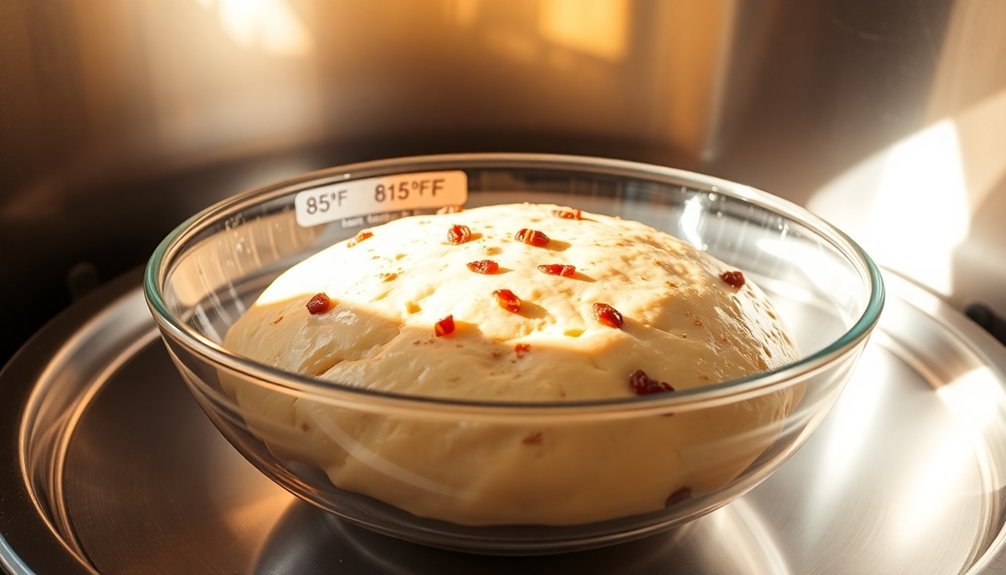
Proofing sweet breads in your Sun Oven requires careful attention to temperature and timing for perfect results.
You'll want to prepare your dough carefully, keeping it below the pan's rim to prevent overproofing while it rises.
For successful sweet bread proofing, follow these essential steps:
- Preheat your Sun Oven to 325°F for 25-30 minutes, ensuring consistent temperature.
- Shape your dough and place it in lightly oiled bread pans, leaving ½" to ¾" space at the top.
- Let the dough rise in a warm spot for 30-45 minutes before baking.
- Spray a light mist of water on the dough just before placing it in the Sun Oven.
Remember to realign your Sun Oven every 30 minutes to maintain ideal sun exposure during the 45-50 minute baking period for a single loaf.
Common Troubleshooting Solutions
Despite the Sun Oven's reliable design, you'll occasionally encounter challenges that require simple solutions. When condensation builds up, insert a matchstick between the glass and gasket to create a small vent, or reduce your liquid ingredients by 1/4 cup.
For consistent temperatures, preheat your oven for 20-30 minutes and realign it with the sun every half hour using the circle of light method.
If you're finding half-done treats, check your temperature gauge regularly and adjust cooking times accordingly. Keep your glass door clean and use reflectors to maximize sunlight exposure.
Don't forget to rotate your oven as the sun moves across the sky. On cloudy days, you'll need to extend cooking times, as temperatures can drop from 350°F to below 300°F when direct sunlight is interrupted.
Frequently Asked Questions
Can I Use Aluminum Foil to Cover Desserts in a Sun Oven?
You shouldn't cover desserts directly with aluminum foil in a sun oven. Instead, use clear or dark lids to trap heat while allowing sunlight in. You can use foil for reflecting light or insulation.
How Do Seasonal Changes Affect Dessert Baking in Solar Ovens?
You'll need longer baking times during fall and winter since there's less direct sunlight. Your desserts may take up to twice as long, so you should start earlier and monitor them more frequently.
Will Artificial Sweeteners Work the Same as Sugar in Solar Desserts?
No, artificial sweeteners won't behave like sugar in solar desserts. You'll miss out on browning and caramelization, and since they're much sweeter, you'll need to adjust recipes for proper texture and taste.
Can I Stack Multiple Dessert Pans in a Sun Oven?
Yes, you can stack multiple dessert pans in your sun oven! Using dark, stackable pans, you'll fit several desserts at once. Just make sure they're level and properly positioned for even cooking.
Does Altitude Affect Baking Time for Sun Oven Desserts?
Yes, altitude will affect your Sun Oven desserts. You'll need to reduce baking time by 5-8 minutes per 30 minutes, and monitor closely since both high altitude and solar cooking require shorter baking periods.
In Summary
You'll find baking in your solar oven opens up exciting possibilities for eco-friendly desserts. Start with simple recipes like fruit crisps or brownies, then work your way up to more complex treats. Keep notes on your adjustments to temperature and timing, and don't get discouraged by initial setbacks. With practice, you'll master the art of solar baking and create delicious, sun-powered sweets year-round.


Leave a Reply