You'll get ideal results baking bread with solar power between 10 AM and 2 PM on clear, sunny days. Choose days with stable temperatures around 24-26°C (75-79°F) and unobstructed sunlight. You'll want to start preparing your dough 2-3 hours before peak sun hours, positioning your solar oven at a 45-degree angle in a south-facing location. Monitor weather forecasts 2-3 days ahead to plan your baking session, as cloudy conditions can extend baking times considerably. Summer months offer longer peak hours and higher sun angles, but you can achieve success year-round with the right timing and preparation techniques.
Optimal Weather Conditions
When baking bread using solar power, success largely depends on achieving and maintaining perfect weather conditions.
You'll need clear, sunny skies to preheat your solar oven effectively and maintain stable temperatures throughout the baking process.
The best time to bake is during peak sunlight hours when you can guarantee full sun exposure on your oven's deck.
Avoid days with passing clouds, as they'll lower the oven temperature and extend your baking time unpredictably.
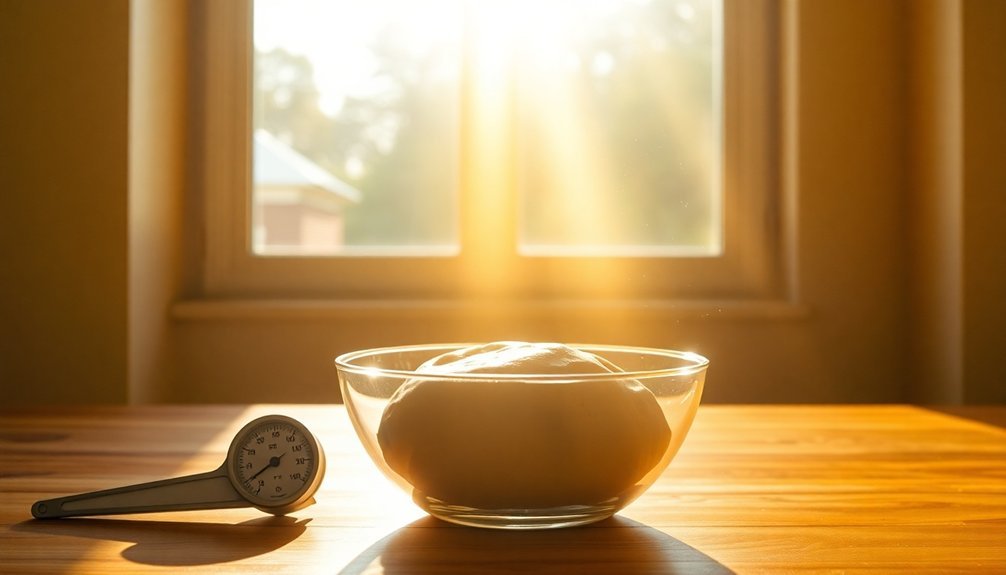
Since bread dough needs a consistent temperature between 24°C to 26°C for prime fermentation, you'll want ambient conditions that support this range.
Monitor the weather forecast and plan your baking accordingly.
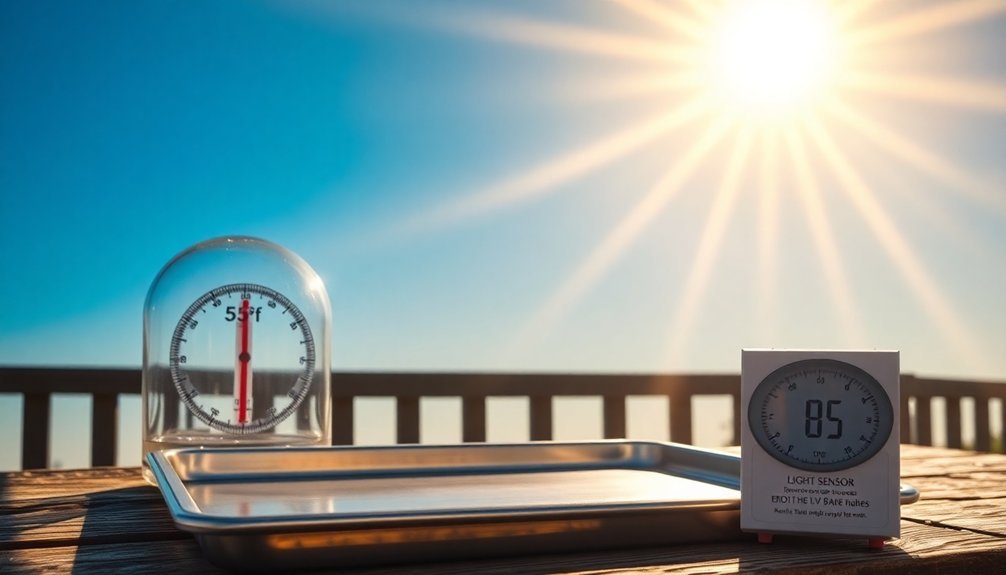
Using a digital thermometer will help ensure accurate temperature readings throughout the baking process.
Remember that high-altitude locations may require adjustments, and ambient humidity can affect both your dough's hydration and overall baking time.
Peak Sun Hours
You'll find the most success baking sun-powered bread during peak sun hours, typically between 10 AM and 2 PM when solar intensity reaches its maximum of 1000 watts per square meter.
Your baking schedule should account for seasonal changes in peak sun hours, as summer months offer longer periods of intense sunlight compared to winter. Solar power output naturally decreases during cloudy or low-light conditions, so plan your baking accordingly.
In regions like Arizona with 7.5 daily peak sun hours, you'll have more opportunities for solar baking than in places like Washington, where you might need to carefully time your baking during the limited 2 hours of peak sunlight.
Optimal Time For Baking
The ideal time to bake bread in a solar oven centers around peak sunlight hours, typically between 10 AM and 2 PM.
You'll want to preheat your oven to 300-350°F and align it properly with the sun. Before you begin, let your dough rise according to your recipe, keeping it about three-quarters of an inch below the pan's top to prevent over-rising.
Your baking time will vary from 45 minutes to 1.5 hours, depending on weather conditions. You can still bake on partly cloudy days, though you'll need to adjust your timing. The reduced carbon footprint makes solar bread baking an environmentally conscious choice.
Remember to check the bread's internal temperature – it should reach 190°F for doneness. To maintain consistent heat, minimize opening the oven door and rotate the turntable every 15 minutes to track the sun's movement.
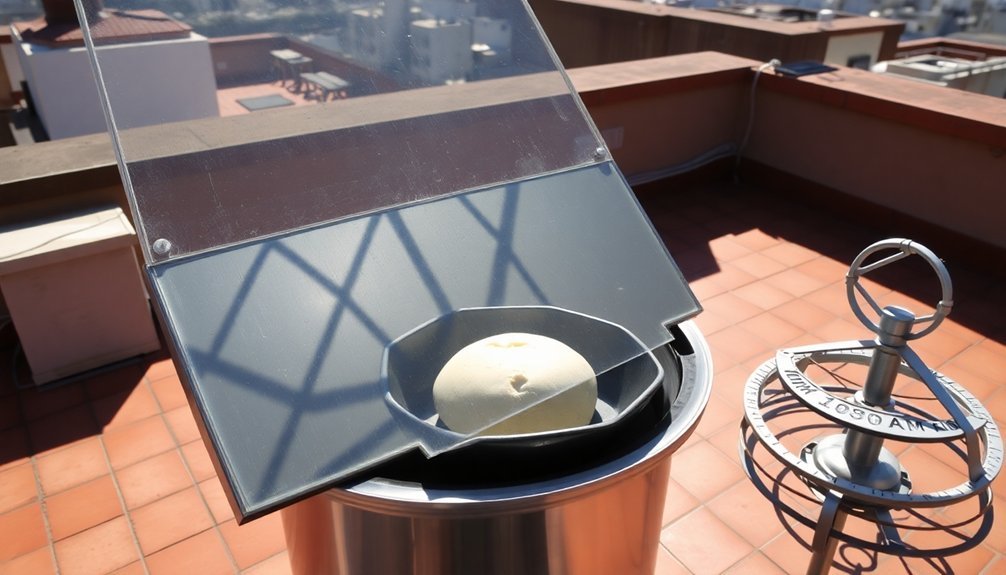
Sun Intensity Throughout Day
Solar intensity peaks during specific hours of the day, with maximum power reaching 1000 watts per square meter during ideal conditions.
You'll find the strongest sun intensity during midday hours when the sun is highest in the sky. This period offers the best time for solar baking, as it's when you'll get the most direct sunlight. The nicely browned crust results from this optimal sunlight exposure during peak hours.
The intensity of sunlight varies by location, affecting your solar baking success.
Here's what you need to know:
- Your geographic location determines daily peak sun hours – Phoenix gets 7.5 while Chicago receives only 4.
- Peak hours don't refer to clock time but to periods when solar radiation reaches 1000 W/m².
- You'll achieve best baking results by timing your activities during these peak intensity periods.
Understanding these patterns helps you plan your solar baking schedule effectively.
Seasonal Solar Energy Patterns
While planning your solar bread baking schedule, seasonal variations greatly impact available sunlight throughout the year.
You'll find summer offers ideal conditions with longer days and higher sun angles, providing more direct solar radiation for consistent baking temperatures.
Spring and fall present moderate opportunities, though you'll need to adjust your baking times as daylight hours and sun angles shift.
Winter poses the biggest challenge for solar baking, especially if you're in northern regions.
You'll encounter shorter days, lower sun angles, and often cloudy skies that reduce solar energy.
Snow can also cover your solar oven, though most are designed to shed it.
If you're near the equator, you'll experience more consistent year-round baking conditions with less seasonal variation in sunlight hours.
Seasonal Baking Windows
When you're planning to bake bread with solar power, you'll find longer windows of opportunity during summer's peak hours, typically between 10 AM and 4 PM.
Winter presents more limited baking windows due to shorter days and reduced solar intensity, often restricting your active baking time to 11 AM – 2 PM.
You'll need to adjust your bread-making schedule according to these seasonal variations, considering that summer allows for multiple baking sessions while winter may limit you to a single midday batch.
Peak Summer Hours
To maximize your solar bread-baking success, understanding peak summer hours is crucial. You'll find the most effective baking window between 10 AM and 4 PM when the sun reaches its highest point. During these hours, your solar oven can achieve temperatures of 300-350°F, matching conventional oven performance for bread baking.
For ideal results, follow these key steps:
- Position your oven to face the sun directly, adjusting its angle throughout the day.
- Keep reflective surfaces clean and properly aligned.
- Monitor internal temperature with a gauge to guarantee consistent heat.
You can expect standard bread-baking times when proper temperature is maintained.
If you're off-grid or want to avoid heating your home, summer solar baking offers an eco-friendly solution – just be sure to check the weather forecast first.
Winter Sunshine Duration
Solar bread baking in winter presents unique challenges due to shorter daylight hours and reduced sun intensity. You'll need to adapt your baking schedule to maximize the limited sunlight hours, typically achieving temperatures between 250-300°F. For successful winter bakes, plan your activities during peak sun hours and be prepared to adjust baking times accordingly.
| Winter Baking Factor | Your Adaptation |
|---|---|
| Temperature Range | 250-300°F |
| Ideal Hours | Peak sunlight only |
| Baking Time | Extended as needed |
| Dough Preparation | Shorter proofing |
| Browning Method | Use water spray |
In regions with persistent cloud cover, you'll face additional limitations. Consider preheating your dough on the stove before transferring it to the solar oven, and rotate the oven to track the sun's position. Keep your solar oven well-maintained for best efficiency during these challenging conditions.
Temperature Requirements for Success
Just how hot does a solar oven need to be for successful bread baking?
You'll get the best results when your solar oven reaches 350°F, which matches conventional oven baking times. While solar ovens can maintain temperatures between 300°F and 350°F on sunny days, you'll need to adjust your baking time for lower temperatures.
For ideal bread baking, keep these temperature guidelines in mind:
- At 350°F – Expect normal baking times similar to conventional ovens
- At 300°F – Plan for extended baking periods (up to 2 1/2 hours)
- At 250-300°F (winter days) – Prepare for considerably longer baking times
Using a temperature gauge will help you monitor conditions and adjust accordingly.
Daily Solar Cooking Schedule
When planning your daily solar baking schedule, you'll achieve the best results between 10:00 a.m. and 2:00 p.m., while the sun's intensity is at its peak.
You can quickly check if conditions are right by looking at shadows – if an object's shadow is shorter than its height, it's an ideal time to bake.
Start by preheating your solar oven as you prepare your ingredients.
You'll want to monitor your bread periodically, especially since baking times can vary based on your specific oven and weather conditions.
Don't rush the process – solar baking requires patience and flexibility.
Check that your bread reaches an internal temperature of 190°F (88°C) before removing it from the oven.
While it's possible to bake later in the day, you'll get more consistent results during peak sunlight hours.
Weather Forecast Planning
Once you've mastered the daily cooking schedule, weather forecasting becomes your next best tool for successful solar baking.
You'll need to monitor predictions several days ahead to plan your bread baking sessions effectively. When clouds or rain threaten to disrupt your solar baking, having a backup plan is essential.
For ideal solar bread baking, follow these essential weather-planning steps:
- Check reliable weather forecasts at least 2-3 days before your planned baking day
- Schedule your baking between 11:00 am and 3:00 pm, when sun intensity is strongest
- Keep your conventional oven ready as a backup if clouds roll in unexpectedly
During less favorable seasons like fall and winter, you'll need to be more selective with your baking days and pay closer attention to weather patterns to guarantee success.
Location and Sunlight Angles
Finding the perfect spot for your solar bread oven can make the difference between success and failure. Choose a stable, south-facing location that gets unobstructed sunlight throughout your baking session.
You'll want to avoid any areas where shadows might fall on either side of the oven. Position your oven at a 45-degree angle to capture maximum sun energy between 11 am and 3 pm.
You'll need to track and adjust its position every 30 minutes as the sun moves. For ideal performance, raise the oven's leg during non-summer months to match the sun's lower position.
Use reflectors like aluminum foil to direct more sunlight into the oven, potentially reaching temperatures up to 300 degrees. Keep your baking surface level by using a gimbaled tray or stable platform.
Timing Your Dough Preparation
Successfully timing your dough preparation requires careful coordination with the sun's peak hours.
You'll want to start mixing and kneading your dough early enough to align the baking phase with ideal sunlight conditions. Remember to measure all ingredients precisely before beginning, and allow time for proper proofing in a warm environment.
- Begin dough preparation 2-3 hours before peak sun hours, accounting for 30-45 minutes of initial rising time.
- Start preheating your solar oven during the final dough rise to reach approximately 300°F.
- Plan for flexible baking times ranging from 45 minutes to 2.5 hours, depending on weather conditions.
Monitor your dough's consistency throughout the process, keeping it covered with oiled plastic wrap to prevent drying.
You'll need to adjust your timing based on weather forecasts and seasonal sun patterns.
Frequently Asked Questions
Can I Use Any Type of Bread Recipe in a Solar Oven?
You can use most bread recipes in a solar oven, but you'll need to adjust baking times and temperatures. Quick breads and dense recipes work best, while yeast breads require careful monitoring of rising times.
How Do Different Colored Baking Pans Affect Solar Bread Baking Time?
You'll find dark pans cook your bread faster because they absorb more sunlight, while light-colored pans reflect heat and increase baking time. Dark pans also help achieve better browning on your loaves.
What Backup Plans Should I Have if Clouds Appear Mid-Bake?
You'll need to quickly transfer your bread to a preheated conventional oven or hybrid solar oven. Keep your backup method ready before starting, and adjust baking time based on how far along your bread is.
Does Altitude Affect Solar Bread Baking Temperatures and Times?
Yes, altitude will affect your solar baking. You'll need higher temperatures and longer baking times due to lower atmospheric pressure. Watch your dough closely, as it'll rise faster but may require more moisture at elevation.
Can Solar-Baked Bread Develop a Crispy Crust Like Conventional Ovens?
You'll find it challenging to get a super-crispy crust in a solar oven. While you can achieve some browning, the lower temperatures and moisture retention typically produce softer crusts than conventional oven-baked bread.
In Summary
You'll get the best results from solar bread baking when you plan around peak sunlight hours between 10 AM and 2 PM on clear, windless days above 85°F. Always check the weather forecast and position your solar oven where it'll receive direct sunlight throughout the baking process. Time your dough preparation so it's ready when conditions are ideal, and you'll achieve perfectly baked bread using the sun's power.


Leave a Reply