
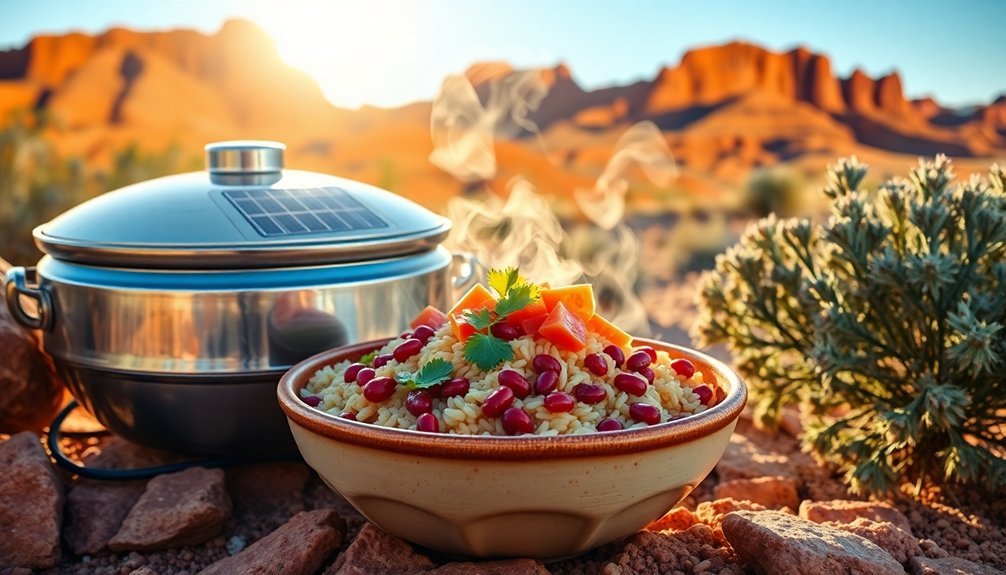
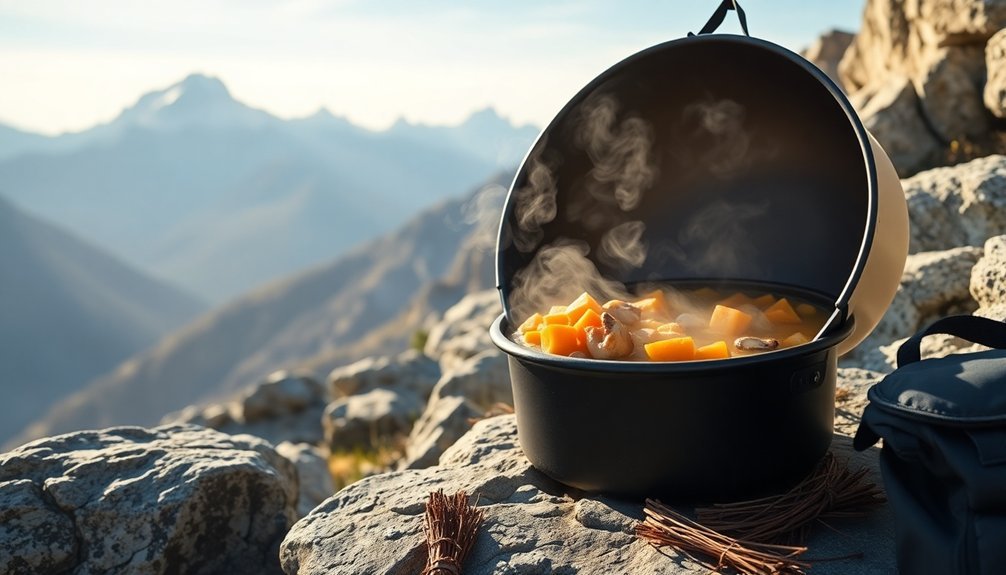
One-pot backcountry meals using solar energy combine convenience with eco-friendly cooking. You'll need a solar cooker (box, panel, or parabolic) and basic utensils to prepare satisfying dishes like Mediterranean Couscous Bean Bowl, Southwest Rice and Beans, and Quinoa Vegetable Curry. Pack lightweight, pre-measured ingredients for recipes such as Lentil Sweet Potato Stew, Spicy Thai Noodles, and Camp Chili Mac. Popular options also include Teriyaki Rice Bowl and Backcountry Thanksgiving Feast. Cook between 9 AM and 5 PM on sunny days, adjusting your cooker every 30-60 minutes. These flavorful meals are just the beginning of your solar cooking adventure.
Essential Solar Cooking Equipment
Solar cooking equipment transforms wilderness meal preparation from a challenge into an eco-friendly adventure.
You'll need to choose from several types of solar cookers, each serving different purposes. Box cookers work best for baking and slow-cooking, while panel cookers offer portability and easy setup. If you're planning to grill or fry, a parabolic cooker's concentrated heat will serve you well. For quick heating, consider GoSun ovens, which can reach 550°F in under 20 minutes.
Essential components include reflective panels to direct sunlight, insulated boxes for heat retention, and transparent lids to let sunlight in. You'll want dark-coated cooking pots that maximize heat absorption.
Don't forget basic utensils like a manual can opener, spoon, and pot cozy to maintain food temperature. Solar ovens can maintain cooking capability even in less than ideal weather conditions.
For thorough off-grid cooking, pack additional tools such as a French press for coffee and hot water, a kitchen timer for precise cooking, and food preparation tools like a wheat grinder or veggie slicer.
If you're planning extended trips, a solar generator like the GoSun Power 550 can provide backup power for multiple cooking devices.
Mediterranean Couscous Bean Bowl
Transform your backcountry dining with this vibrant Mediterranean couscous bean bowl that's perfectly suited for solar cooking. This one-pot meal combines Israeli or regular couscous with protein-rich beans, colorful vegetables, and a medley of Mediterranean spices.
Start by positioning your solar cooker to maximize sun exposure. Toast the couscous briefly, then add broth and water, allowing it to cook until tender. The process of toasting in butter creates a deliciously nutty flavor profile.
While the couscous cooks, you'll want to roast your zucchini, grape tomatoes, and bell peppers with olive oil and seasonings. Drain and rinse your chosen beans – white kidney beans or chickpeas work best – and add them to the mix.
You've got options for the dressing: create a creamy feta sauce by whisking together sour cream, feta, and olive oil, or opt for a classic balsamic vinaigrette. For added texture, consider including roasted chickpeas as a crunchy topping.
The final touch comes from fresh herbs like basil or parsley, which you can sprinkle on top. Remember to adjust your cooking times based on available sunlight and your solar cooker's efficiency, monitoring the temperature to guarantee even cooking throughout.
Southwest Rice and Beans
Along the backcountry trails, this hearty Southwest Rice and Beans dish delivers bold flavors with minimal effort in your solar cooker.
You'll combine uncooked rice with water or broth in your pot, adding taco seasoning for that authentic southwestern kick. Once the rice starts cooking, you'll stir in your lightweight ingredients: freeze-dried corn, dehydrated black beans, and shelf-stable diced tomatoes with green chilies. The recipe is highly versatile as a side dish that pairs wonderfully with any protein you choose to bring along.
For the backpacking version, you'll want to opt for lightweight alternatives to fresh ingredients.
Pack pre-measured portions of dried onions and bell peppers, which you can rehydrate directly in the solar cooker. The beauty of this one-pot meal is that you don't need to hover over it – let the solar energy do the work while you set up camp or explore nearby trails.
When everything's heated through, you can enhance your meal with portable toppings like shelf-stable cheese or dried avocado bits.
If you're planning a longer trip, you can pre-mix the dry ingredients at home and store them in sealed bags, making it even easier to prepare this filling meal on the trail.
Season with cumin, salt, and pepper to taste.
Quinoa Vegetable Curry
When hunger strikes after a long day of hiking, this protein-packed Quinoa Vegetable Curry delivers a flavorful and nutritious meal using your solar cooker.
Start by heating your oil of choice and sautéing garlic, ginger, and onion until fragrant. Add your preferred combination of vegetables like cauliflower, zucchini, bell peppers, and sweet potatoes, along with protein-rich chickpeas.
While the vegetables are cooking, rinse your quinoa thoroughly. You'll need a 1:2 ratio of quinoa to liquid – either water or broth works well.
Add your curry paste to the vegetables, followed by coconut milk or broth to create the sauce. You can either cook the quinoa separately or add it directly to your curry pot with the additional liquid.
Let everything simmer until the quinoa becomes fluffy and the vegetables are tender. Don't forget to season with curry powder, turmeric, and cumin to enhance the flavors.
This one-pot meal stores well for up to three days in a sealed container, making it perfect for multi-day trips. Remember to adjust your cooking times based on your solar cooker's efficiency and the day's sun exposure.
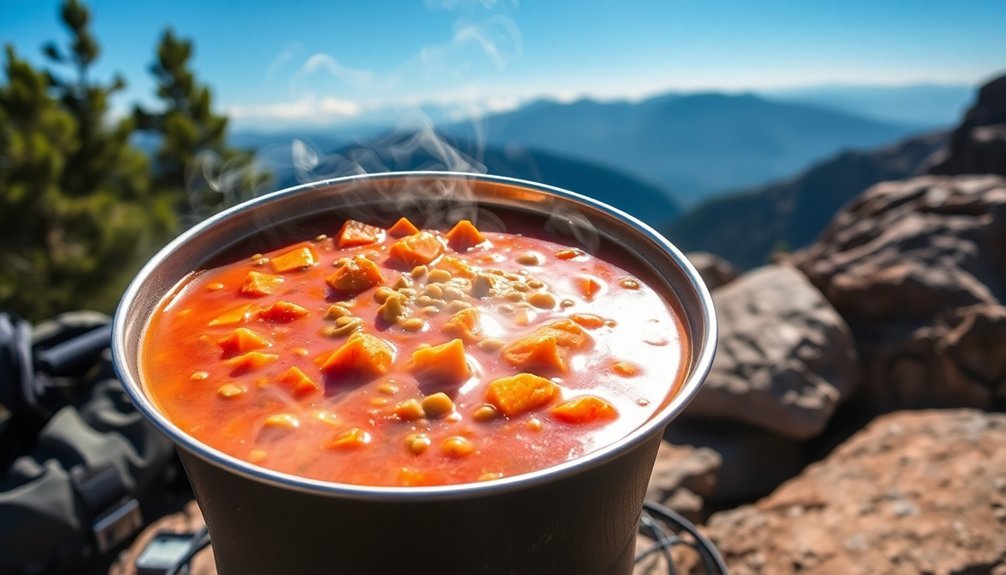
Lentil Sweet Potato Stew
You'll need pre-portioned bags of dried lentils, dehydrated sweet potato cubes, and spice blends for efficient packing that won't weigh down your backpack.
The assembly couldn't be simpler: pour your ingredients into your solar-ready pot, add the recommended amount of water, and let the sun do the work.
When using a solar cooker in good conditions, you can expect this hearty stew to be ready in 2-3 hours, with the lentils and sweet potatoes becoming perfectly tender as they slowly cook in the gathered solar heat.
Ingredients And Storage Tips
This hearty backcountry lentil sweet potato stew calls for five core ingredients: yellow onion, carrots, sweet potatoes, garlic, and canned diced tomatoes.
You'll benefit from the sweet potatoes' rich vitamin A and fiber content, while lentils pack protein and heart-healthy folate. For the onions, you can use either sweet or white varieties, and your garlic can be fresh cloves or dried powder, depending on your backcountry storage capabilities.
When preparing for your outdoor adventure, consider using dehydrated versions of these ingredients to minimize weight and space in your pack.
You'll want to prepare and portion ingredients before heading into the backcountry, making the cooking process more efficient when using your solar oven or backpacking stove. If you're making this ahead, you can freeze portions for up to three months in airtight containers.
For storage in the field, verify you're using sealed containers and cooling the stew completely before storing to prevent bacterial growth.
When reheating, add a splash of purified water or broth if needed. Don't forget to optimize your cooking time to conserve fuel, especially if you're not using solar energy.
Quick Assembly Method
The time-saving assembly method for this backcountry stew starts with proper mise en place. You'll need to dice your onion, mince the garlic and ginger, and chop sweet potatoes into uniform cubes. While preparing these ingredients, rinse your lentils and dice any additional vegetables you've brought along.
Begin by heating oil in your pot and sautéing the onions, garlic, and ginger until fragrant. Add your spice blend – garam masala, curry powder, cumin, turmeric, and paprika. You'll want to cook this mixture for about a minute to release the flavors. If you're using tomatoes, add them now.
Pour in your vegetable broth, using it to scrape up any flavorful bits from the bottom of the pot. Add your lentils and sweet potatoes, then season with salt and pepper.
Cover the mixture and transfer it to your solar oven-compatible pot. Once it's in the solar oven, you'll let it cook until the lentils are tender and the sweet potatoes are soft.
Just before serving, stir in any quick-cooking greens like spinach, and top with your choice of garnishes.
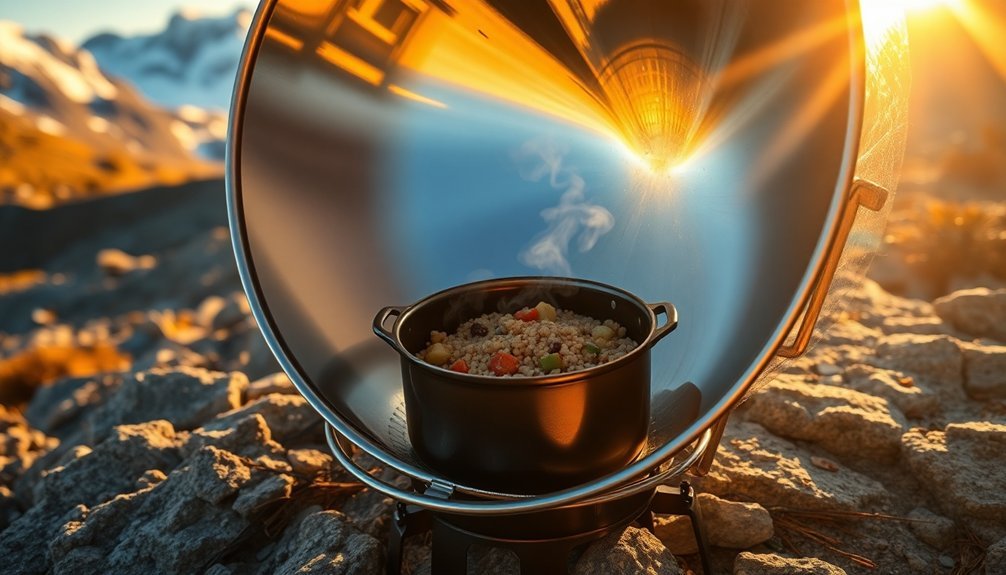
Solar Cooking Time Guide
Planning your solar cooking schedule requires careful attention to timing and sun conditions. You'll need a clear, sunny day and should plan to cook between 9 AM and 5 PM when sun exposure is ideal.
For a lentil sweet potato stew, start by soaking your lentils for 6-8 hours before cooking to reduce overall cooking time.
Set up your solar cooker with a black pot and position it facing the sun. You'll need to adjust the cooker's position every 30-60 minutes to maintain consistent heat. The sweet potatoes will take approximately 8 hours to cook thoroughly, so start early in the day.
To enhance the steaming process, you can pre-soak your sweet potatoes for 30 minutes.
Keep a close eye on your stew's progress using a thermometer to guarantee safe cooking temperatures. If clouds appear and interrupt cooking, you may need to finish your meal using a conventional method.
For faster results, consider using advanced solar ovens like the GoSun Fusion, which can reduce cooking time considerably. Remember that larger portions may require up to 90 minutes even in ideal conditions with advanced equipment.
Breakfast Hash Browns Supreme
Starting your day in the backcountry with a hearty hash brown breakfast provides the perfect fuel for mountain adventures. This dehydrated meal combines instant hash browns with protein-rich pinto beans and a medley of vegetables for a complete breakfast option.
Before hitting the trail, you'll need to prepare your ingredients. Dehydrate your rinsed pinto beans, chopped peppers, onions, mushrooms, and salsa at 135°F until they're crispy, which typically takes eight hours or more.
Store these dried ingredients in mason jars until you're ready to pack them with instant hash browns in a ziplock bag.
When you're ready to cook, simply combine 1.33 cups of water with your ingredient mixture in a pot. You can use either solar energy or a camping stove to bring it to a boil, stirring occasionally.
Once boiling, reduce to a simmer for one minute, then remove from heat and let it rest for 10 minutes until the water's fully absorbed. For extra flavor, add garlic powder, salt, and pepper to taste.
You can enjoy this versatile dish on its own or use it as a filling for breakfast burritos.
Spicy Thai Noodles
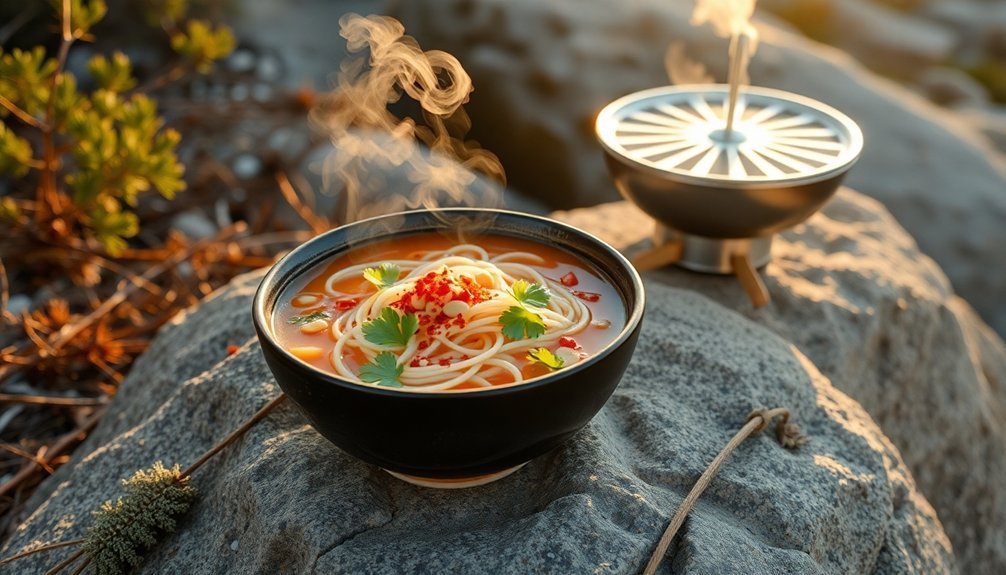
You'll find that solar-heated Thai noodles come together quickly when you've pre-mixed your spices and peanut sauce at home in a wide-mouth bottle.
Your base heat level can be adjusted by varying the amount of red pepper flakes or hot sauce in your pre-mixed sauce, letting you control the spiciness before heading out.
Start with just two tablespoons of the spice-infused sauce mixture per serving, then add more to taste as your noodles warm in the solar cooker.
Easy Prep Instructions
Three simple steps form the foundation of this one-pot spicy Thai noodle dish that's perfect for backcountry cooking with solar energy.
First, you'll need to boil water in your high-sided skillet using your solar setup. While the water heats, prepare your vegetables by cutting the zucchini into half-circles and chopping the mushrooms, garlic, cilantro, and green onions.
Once your water's boiling, add 1 TBS of olive oil and the linguine. While the pasta cooks, combine brown sugar, soy sauce, Sriracha, and grated ginger in a small bowl.
When the noodles are almost done, push them to one side of the pot and add the remaining olive oil to the empty space. Pour in the beaten eggs and scramble them quickly.
Add your vegetables, garlic, and sauce mixture to the pot. You'll want to stir everything together until the vegetables become tender, which typically takes 3-5 minutes depending on your solar setup's heat retention.
Finally, top your dish with chopped peanuts, cilantro, and green onions. Don't forget to adjust the crushed red pepper flakes to match your preferred spice level.
Thai Spice Mix Guide
Building on our cooking instructions, mastering the Thai spice mix takes your backcountry noodles from good to extraordinary. You'll need to combine paprika, turmeric, black pepper, coriander powder, dry mustard, cumin, ginger powder, and cayenne pepper.
Store this mix in an airtight container before hitting the trail to maintain freshness for up to a year.
When you're ready to cook, you've got several sauce options. Mix your spice blend with peanut butter, tamari, and vinegar for a rich sauce, or combine it with soy sauce, rice wine vinegar, and sesame oil for a lighter dipping alternative.
If you're looking to add more complexity, incorporate coconut milk or miso paste.
For the freshest flavors, consider grinding whole spices just before your trip. You can customize the heat level by adjusting the cayenne pepper, and don't forget to include Sriracha if you want extra kick.
When preparing your one-pot meal, add the spice mix to your noodles along with vegetables like zucchini and mushrooms. Break up any clumps in the mix before adding to guarantee even distribution throughout your dish.
Quick Heat Adjustments
When preparing spicy Thai noodles in the backcountry, mastering quick heat adjustments guarantees perfect results every time. Your backpacking stove's adjustable flame control lets you prevent scorching while maintaining the ideal cooking temperature.
You'll want to start by bringing your water to the right temperature – a full rolling boil for raw water, or just until small bubbles appear for treated water.
For precise heat management during cooking, you've got three main options:
- Remove the pot from heat and let it simmer naturally when cooking delicate ingredients
- Use a pot cozy to maintain consistent temperature without direct flame
- Adjust your stove's flame output to switch between boiling and simmering
Your high-sided pot helps control the cooking process by preventing sauce from bubbling over while allowing enough space for noodles to cook evenly.
Remember to measure your water carefully – about 600-700mL per person – to achieve the right consistency.
As you add your sriracha sauce and other ingredients, you can fine-tune the heat by alternating between direct flame and the pot cozy method, ensuring everything cooks through without overcooking.
Camp Chili Mac
Chili mac stands out as one of the most satisfying one-pot meals you'll make out in the backcountry. You'll need just a handful of essential ingredients: ground beef, onions, garlic, crushed tomatoes, kidney beans, broth, elbow macaroni, and your choice of real cheddar or cheese powder.
To prepare this hearty meal for the trail, you'll want to dehydrate it at 145°F. Start by cooking your ground beef with breadcrumbs, onions, and garlic. Once you've added your tomato paste, spices, broth, and pasta, let it simmer until the pasta reaches that perfect al dente texture.
A cornstarch slurry will help bind everything together before you add the kidney beans and spread it on your dehydrator trays.
When you're ready to eat in the backcountry, you'll appreciate that this meal packs a serious nutritional punch. With roughly 1000 calories per serving, you're getting 45g of protein, 110g of carbohydrates, and 43g of fat.
Using solar energy to heat your one-pot meal means you won't need to carry fuel, making this filling dish even more practical for extended trips.
Backcountry Thanksgiving Feast
The comforting flavors of Thanksgiving don't have to stay at home when you're out on the trail. This solar-powered feast combines instant potatoes, stuffing, and pre-cooked chicken with traditional holiday flavors, delivering a satisfying 334 calories per serving.
To prepare this backcountry feast, you'll need two cups of boiling water heated by your solar setup. Split the water between your instant potatoes and stuffing, then create the gravy mixture with the remaining portion. The dried cranberries add a burst of tanginess that perfectly complements the savory elements.
For the most efficient solar cooking experience:
- Use an 800-1000ml titanium pot with folding handles to maximize heat retention and minimize weight.
- Position your solar cooker to maintain a steady simmer, especially when preparing the gravy and chicken mixture.
- Consider using a pot cozy to keep ingredients warm while they rehydrate.
This meal packs an impressive nutritional punch with 52g of carbohydrates, 25g of protein, and just 5g of fat per serving. You'll get all the satisfaction of a traditional Thanksgiving dinner while keeping your pack light and your cleanup simple.
Teriyaki Rice Bowl
You'll find that teriyaki rice bowls make an excellent backcountry meal by combining shelf-stable ingredients like dried rice, powdered teriyaki sauce mix, and dehydrated vegetables in a single zip-lock bag.
To cook using solar energy, simply add water to your pre-mixed ingredients in a dark-colored pot and place it in your solar oven until the rice is tender and has absorbed the teriyaki flavors.
For best results, store your pre-mixed ingredients in separate compartments within your bag, and don't forget to pack some dried seaweed and sesame seeds to add authentic flavor and texture to your backcountry creation.
Simple Ingredient Mix
Putting together a backcountry teriyaki rice bowl starts with assembling a simple mix of pantry staples and shelf-stable ingredients.
You'll need instant rice as your base, pre-cooked chicken pouches for protein, and a combination of soy sauce packets, brown sugar, and honey for the teriyaki sauce. Dried vegetables like onions and bell peppers work perfectly since they're lightweight and won't spoil on the trail.
For the sauce components, you can pre-mix your dry ingredients at home and store them in a small ziplock bag. The wet ingredients should be packed in leak-proof containers or collected from single-serve packets.
To keep your pack light while maintaining flavor, consider these essential groupings:
- Base ingredients: instant rice, pre-cooked chicken pouches, and dried vegetables
- Sauce dry mix: brown sugar, powdered ginger, garlic powder, and optional red pepper flakes
- Sauce wet components: soy sauce packets, honey packets, and rice vinegar in a small container
When you're ready to cook, you'll simply combine these ingredients with water in your pot, using solar energy to heat and rehydrate the meal.
Solar Cooking Instructions
Successful solar cooking begins with proper setup and timing. Position your solar cooker in direct sunlight, guaranteeing it faces the best direction to capture maximum rays. Before you start, check that your cooker is clean and equipped with a thermometer to monitor internal temperatures.
Once you've set up, add water to your pot along with the dried vegetables. Place the pot in your solar cooker and wait for it to reach a boil. You'll want to maintain a temperature of at least 82°C (180°F) for safe cooking.
When the water's boiling, stir in your pre-cooked teriyaki chicken, coconut aminos, and broth concentrate. Add the instant rice last, mixing thoroughly.
Cover the pot tightly and let it cook for 10-15 minutes, adjusting the cooker's position as needed to maintain heat. If you're cooking at high altitude or in cold weather, wrap your pot in a cozy for better insulation.
Monitor the temperature regularly to guarantee food safety. When the rice has absorbed the liquid and reached proper temperature, remove the pot from the cooker. Let it cool slightly before serving with optional garnishes like sesame seeds.
Seasoning And Storage Tips
For the perfect teriyaki rice bowl, proper seasoning and storage make all the difference in the backcountry. Start with essential spices like garlic, ginger, and soy sauce as your base, then add brown sugar to balance the savory notes.
You'll want to include toasted sesame oil for depth and sesame seeds for texture. For additional complexity, you can incorporate green onions and red pepper flakes to elevate the flavors.
When storing your ingredients, follow these critical steps:
- Pack all seasonings in odor-proof bags and store them with other food items in a bear canister or certified bear-proof sack.
- Keep your food storage container at least 200 feet from your camping area, preferably hung in trees or stored in a vehicle.
- Never leave your ingredients unattended during meal preparation, and maintain a clean cooking area to avoid attracting wildlife.
Store your pre-mixed spice blends in small, lightweight containers for easy access. If you're looking for convenience, consider using pre-made seasoning blends like Trader Joe's 21 Seasoning Salute, but remember to transfer them to scent-proof containers before your trip.
Always follow local regulations for food storage in bear country.
Frequently Asked Questions
Can I Cook During Cloudy Weather Using a Solar Oven?
Yes, you can cook during cloudy weather with a solar oven. While it'll take longer and reach lower temperatures, your food will still cook effectively using diffused light, similar to using a slow cooker.
What Happens if Animals Are Attracted to Cooking Smells?
If animals smell your cooking, you'll risk dangerous encounters with wildlife. They're attracted by food odors and might approach your camp. You'll need to properly store food and dispose of waste.
How Do I Clean a Solar Oven in the Backcountry?
You'll need to wipe reflective surfaces with a damp cloth, brush off debris, and dry thoroughly. Use soapy water for stubborn stains on the transparent cover. Don't use harsh chemicals that could damage materials.
Does Food Taste Different When Cooked in a Solar Oven?
Yes, you'll notice food tastes different in a solar oven. The gentle, slow cooking process enhances flavors while preserving nutrients better than conventional methods. There's also no smoky taste since there's no combustion.
What's the Maximum Altitude Where Solar Cooking Remains Effective?
You can effectively solar cook at any altitude, even up to mountain peaks above 16,000 feet. You'll actually get better results at higher elevations due to more intense UV rays and less atmospheric interference.
In Summary
You'll find these solar-powered one-pot meals revolutionize your backcountry cooking experience. By harnessing the sun's energy, you've saved pack weight from fuel while creating delicious, sustainable meals. Whether you're craving international flavors or comfort food classics, these recipes prove that eco-friendly outdoor cooking doesn't mean sacrificing taste. Pack your solar cooker and hit the trails – adventure and amazing meals await.


Leave a Reply