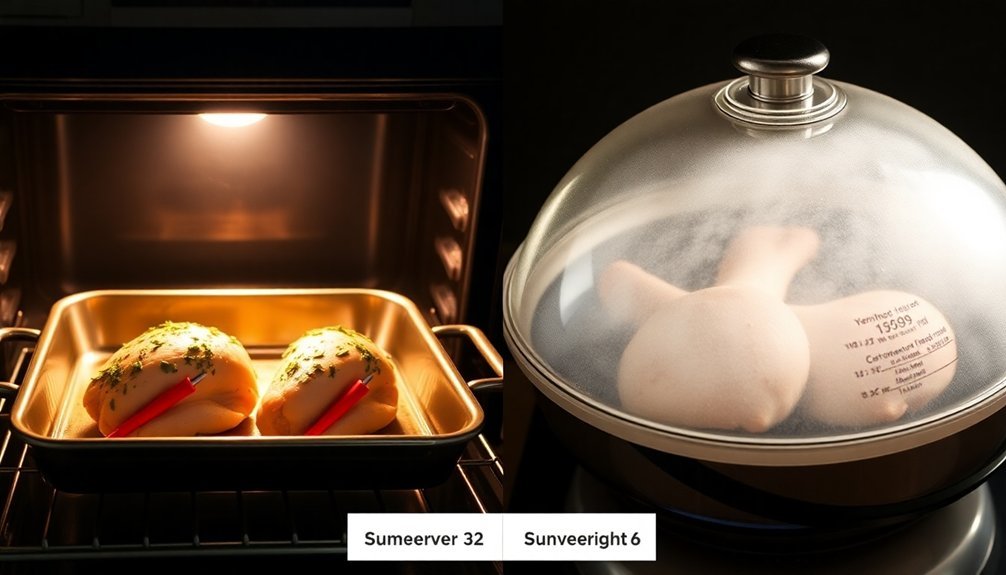
To convert your roasting recipes for sun ovens, start by adjusting cooking temperatures down to 300-400°F and extending cooking times by 1.5 to 3 times longer. Switch to dark-colored cookware like cast iron or granite ware for better heat absorption, and use glass lids to monitor progress. Reduce liquid amounts by 25-50% since moisture doesn't evaporate as quickly. Enhance seasoning intensity to compensate for longer cooking times, and position food centrally on the leveling rack. Check food alignment every 30 minutes and use a digital probe thermometer to verify safe internal temperatures. The following steps will guide you through each vital adaptation for sun oven success.
Adjust Cooking Temperature Guidelines
When converting traditional roasting recipes for sun ovens, you'll need to adapt to lower and more variable cooking temperatures.
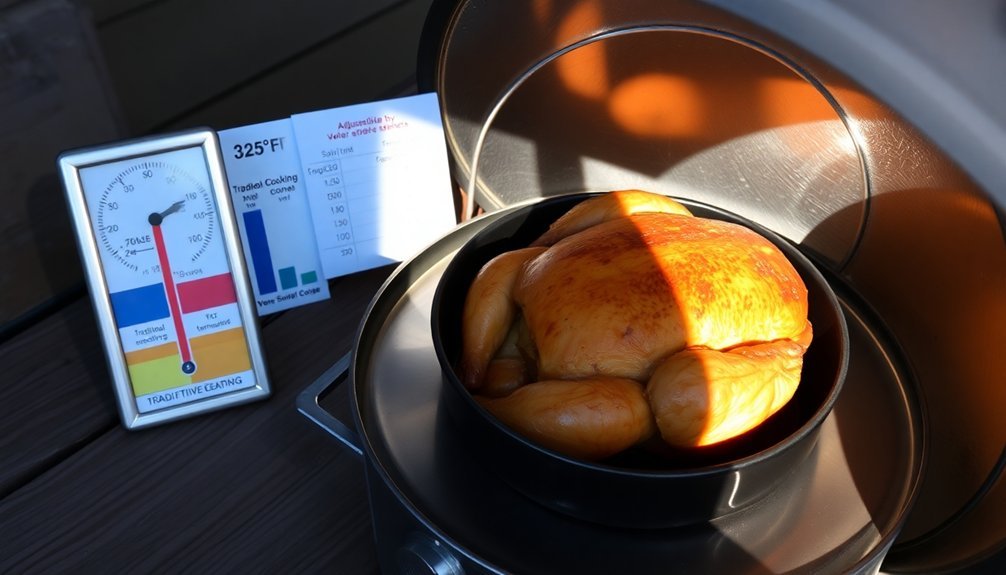
Your sun oven will typically operate between 300°F to 400°F, though performance varies by design. Box-type ovens reach up to 400°F, while panel cookers work in the 200°F to 300°F range.
To guarantee food safety, maintain a minimum temperature of 180°F. You'll get the best results between 200°F and 300°F for most dishes, including meat. Using dark enamel cookware will help maintain consistent temperatures throughout the cooking process.
Position your oven during peak hours (11 am to 3 pm) to maximize heat, and use a reliable thermometer to monitor temperatures.
Remember that cooking takes 1.5 to 3 times longer than conventional methods, so plan accordingly.
During winter months, expect lower maximum temperatures and prepare to reposition your oven more frequently to maintain heat.
Select Proper Solar Cookware
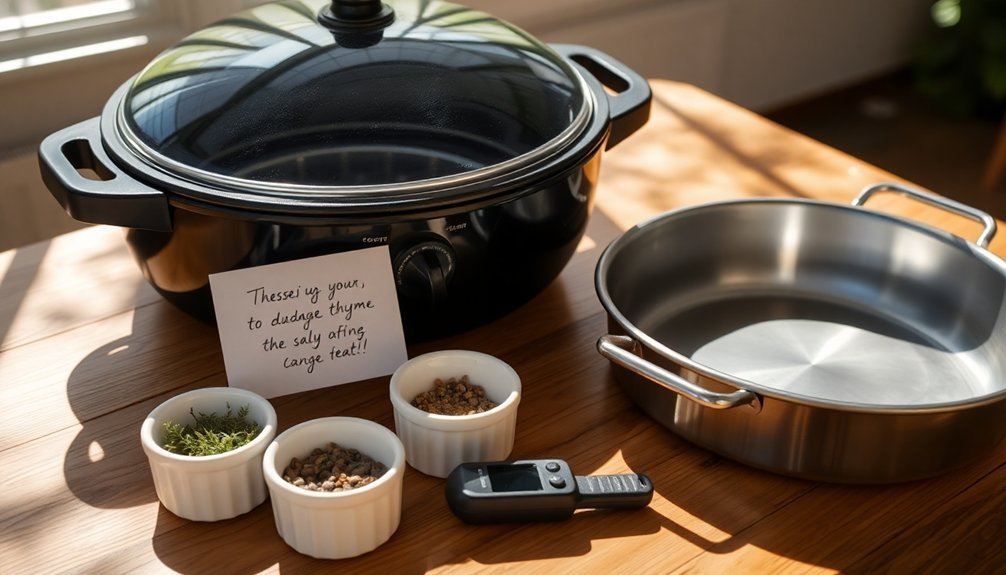
Three key factors determine successful solar cooking: your cookware's color, material, and design.
You'll want to choose dark-colored pots, particularly those with matte black finishes, as they absorb more solar energy than shiny surfaces. For best results, select granite ware or cast iron vessels, which excel at heat retention and conductivity. Solar cookers achieve 80% energy conversion when using proper cookware materials and design.
- Use glass lids whenever possible to monitor your food without releasing valuable heat and steam.
- Cover any foil-wrapped items with black fabric or dark socks to enhance heat absorption.
- Choose thin, dark metal pots like granite ware for faster heating times.
- Add insulation around your cookware using newspaper or similar materials to maintain consistent temperatures.
Modify Recipe Cooking Times
Now that you've selected the right cookware, understanding how to modify cooking times for your solar oven will help you achieve the best results.
You'll need to plan for longer cooking times compared to conventional ovens, especially when temperatures are lower than 300°F.
Keep your solar oven focused on the sun by adjusting it every 30 minutes to maintain ideal temperatures.
Remember that each time you open the oven door, you'll need to add 10-15 minutes to your cooking time.
For recipes that typically take 30 minutes in a regular oven, expect about an hour in your solar oven.
Just like with the Perfect Baked Beans, many dishes require 6 or more hours of cooking time to achieve tender, fully-cooked results.
If you're adapting slow-cooker recipes, plan for 4-5 hours of cooking time, though regular refocusing can reduce this by an hour or more.
Use a thermometer to monitor temperatures and adjust your timing accordingly.
Enhance Moisture Retention Methods
Managing moisture effectively in your solar oven requires a balanced approach between retention and venting. You'll need to adapt your techniques based on climate conditions and specific recipe requirements while maintaining ideal cooking temperatures.
- Use dark-colored tea towels or cloth napkins under pot lids to absorb excess moisture, changing them when they become too saturated to remain effective.
- Leave one latch loose or insert a small stick between the glass and gasket to create a steam escape route, preventing excess condensation buildup.
- Reduce recipe liquids by 1/4 to 1/2 cup since moisture doesn't evaporate as it would in conventional ovens.
- Keep your oven's surfaces clean with vinegar and water solution, ensuring efficient sunlight penetration and proper moisture control while checking seals regularly for ideal performance.
Adapt Seasoning Techniques
Seasoning techniques for sun oven cooking require thoughtful adaptation since the slower, enclosed cooking process affects how flavors develop and intensify.
You'll want to marinate meats in advance using olive oil, herbs, and spices to guarantee proper flavor penetration.
When preparing your dishes, incorporate aromatic ingredients like onions, garlic, and fresh herbs to enhance the overall flavor profile.
You can add brightness with citrus zest or juice. Remember that flavors concentrate during solar cooking, so avoid over-seasoning initially.
Use dark cookware to maximize heat absorption and combine seasonings thoughtfully with other ingredients.
For one-pot meals, layer your seasonings throughout the dish.
Don't forget to monitor and adjust flavors during cooking, especially when preparing beans or stews, where you can add seasonings to the cooking liquid.
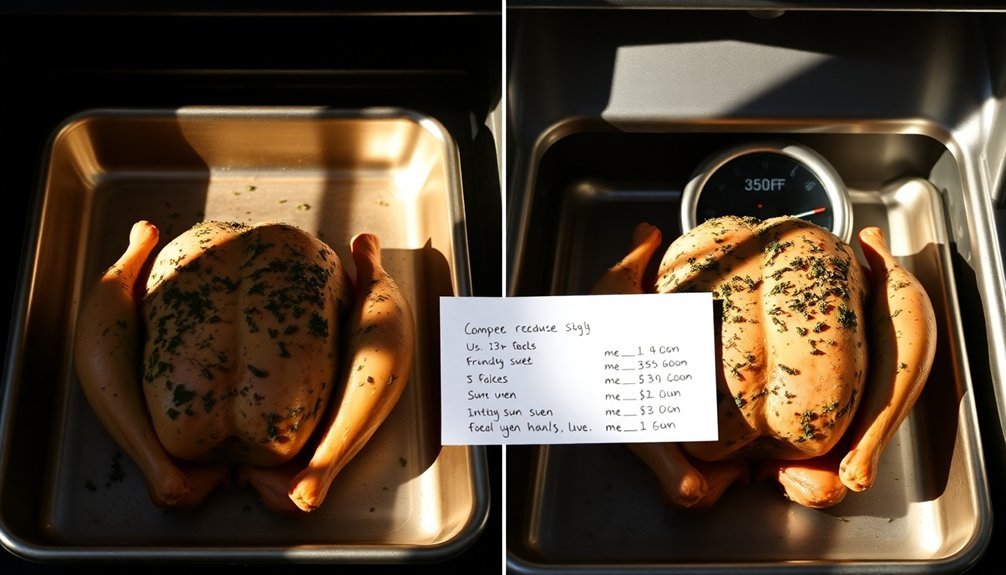
Position Food for Even Cooking
Center your cooking vessels on the leveling rack to guarantee they receive equal exposure to the sun's heat.
You'll want to maintain adequate space between multiple pots or pans to allow proper air circulation throughout the Sun Oven.
This strategic positioning helps achieve uniform cooking temperatures and prevents cold spots that can affect your final results.
Center on Leveling Rack
To achieve ideal cooking results in your sun oven, proper positioning of food on the leveling rack is essential. Bend the rack's side arms outward and place it securely on the threaded rods, guaranteeing the arms fold underneath to prevent interference. The rack should hang freely while maintaining stability for your cookware.
- Center your pots and pans on the leveling rack, never directly on the oven floor, to allow proper air circulation.
- Use the wind-resistant alignment leg to position your oven correctly with the sun, following the E-Z Sun-track indicators.
- Adjust the rack's height to optimize heat distribution and guarantee even cooking throughout your dish.
- Check and realign your oven every 30 minutes, keeping the front facing the sun for maximum temperature control.
Note: Don't forget to secure the glass door with latches when you're not actively monitoring the oven.
Space Between Cooking Vessels
Building on proper rack placement, proper spacing between cooking vessels maximizes your sun oven's effectiveness. You'll want to position your pots, pans, and mason jars to allow for ideal airflow and even sun exposure. You can fit two quart-sized mason jars alongside a main cooking pot on the leveling rack.
| Vessel Type | Spacing Requirements | Heat Distribution Tips |
|---|---|---|
| Stainless Steel | Cover with dark towel | Prevents light reflection |
| Corningware/Pyrex | Standard spacing | Best heat retention |
| Mason Jars | 2 jars + 1 pot fit | Great for side dishes |
Keep vessels from casting shadows on each other, and realign your oven every 30 minutes using the E-Z Sun-track indicators. For slow cooking, position the oven to face the sun's midpoint during cooking time. Use wire stakes for stability on windy days.
Monitor Solar Cooking Progress
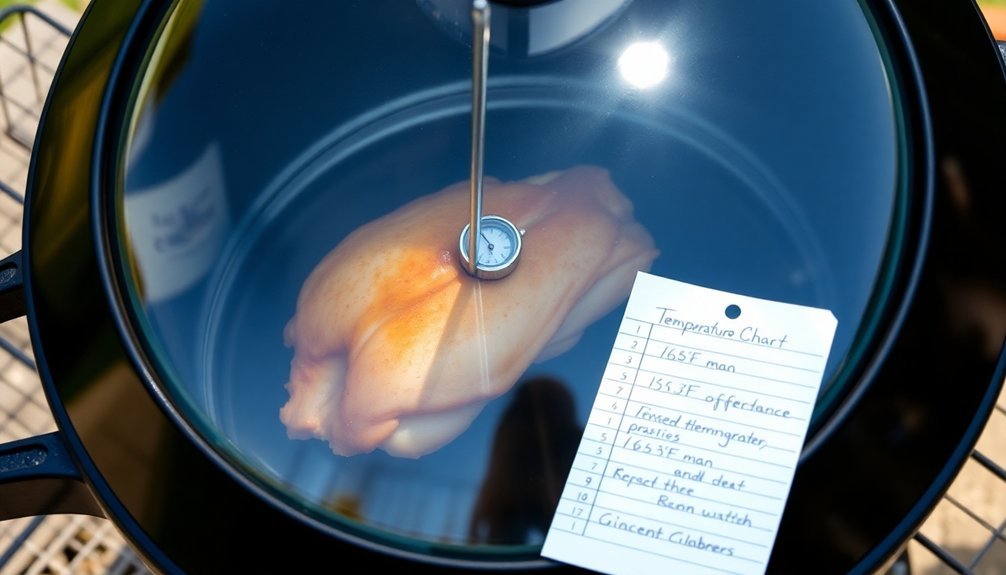
Check your food's internal temperature regularly with a calibrated probe thermometer, ensuring meats reach safe minimums of 145°F for whole cuts and 165°F for poultry.
You'll want to look for visual cues like bubbling liquids, browning edges, and set centers to gauge doneness without opening the oven too frequently.
Keep your monitoring sessions brief and efficient when you do need to open the oven, as each peek lets valuable heat escape and extends cooking time.
Temperature Check Best Practices
When cooking with a sun oven, monitoring food temperature becomes essential for both safety and ideal results.
You'll need a reliable digital probe thermometer that measures between -50°C to 300°C to track internal food temperatures accurately. Keep your meat temperature chart nearby to guarantee proteins reach their minimum safe temperatures: 145°F for whole cuts, 160°F for ground meats, and 165°F for poultry.
- Use a thermometer with a probe and lead so you won't lose heat by opening the oven.
- Check temperatures during peak sun hours (11 AM – 3 PM) when your oven's performing best.
- Don't open the oven more than necessary – each peek drops the temperature considerably.
- Calibrate your thermometer regularly to maintain accuracy and protect it from extreme conditions.
Visual Doneness Indicators
Beyond temperature readings, mastering visual cues helps you monitor food progress in your sun oven effectively.
Look for clear meat juices, firm texture, and a golden-brown crust that shrinks from the bone. You'll know your meat is done when it develops an appetizing color and crispy exterior.
For vegetables, check that they're tender but still hold their shape when pierced with a fork. They should darken slightly and develop caramelized spots.
When roasting, you'll notice liquids reducing and thickening, while surfaces develop an attractive glaze.
Watch for minimal condensation on your oven's glass cover, which indicates proper moisture levels.
Remember to inspect your food regularly and adjust the oven's position to maintain consistent heat as the sun moves across the sky.
Frequently Asked Questions
Can I Cook Multiple Dishes Simultaneously in a Sun Oven?
Yes, you can cook multiple dishes at once in your sun oven! Stack your cookware using dark, non-reflective containers, placing slower-cooking items on bottom racks and faster-cooking items on top for efficient cooking.
What Happens if Clouds Appear During the Cooking Process?
If clouds appear, your cooking temperature will drop. You'll need to extend cooking time and guarantee your oven's well-insulated. Keep the lid closed to retain heat, and consider having a backup cooking method ready.
Does Food Cooked in a Sun Oven Retain Its Nutritional Value?
Yes, you'll find that sun ovens excel at preserving nutrients. They cook at lower temperatures, which helps maintain vitamins, minerals, and antioxidants. You'll even see enhanced nutritional benefits in some vegetables.
How Do I Prevent Food From Sticking to Solar Cookware?
You'll prevent sticking by using high smoke-point oils, preheating your cookware, keeping food dry before cooking, and using dark, shallow pans on a raised rack for proper air circulation beneath.
Can I Use Aluminum Foil to Line My Sun Oven?
Yes, you can line your sun oven with aluminum foil, but don't let it touch your food directly. It's best to use the foil as a reflector on the walls and flaps instead of a cooking surface.
In Summary
Converting traditional roasting recipes for sun oven cooking doesn't have to be complicated. You'll find success by following these seven key adjustments, from temperature modifications to proper moisture control. Remember, you're working with nature's power, so patience and careful monitoring are essential. With practice, you'll master the art of solar cooking and enjoy delicious, eco-friendly meals straight from the sun.


Leave a Reply