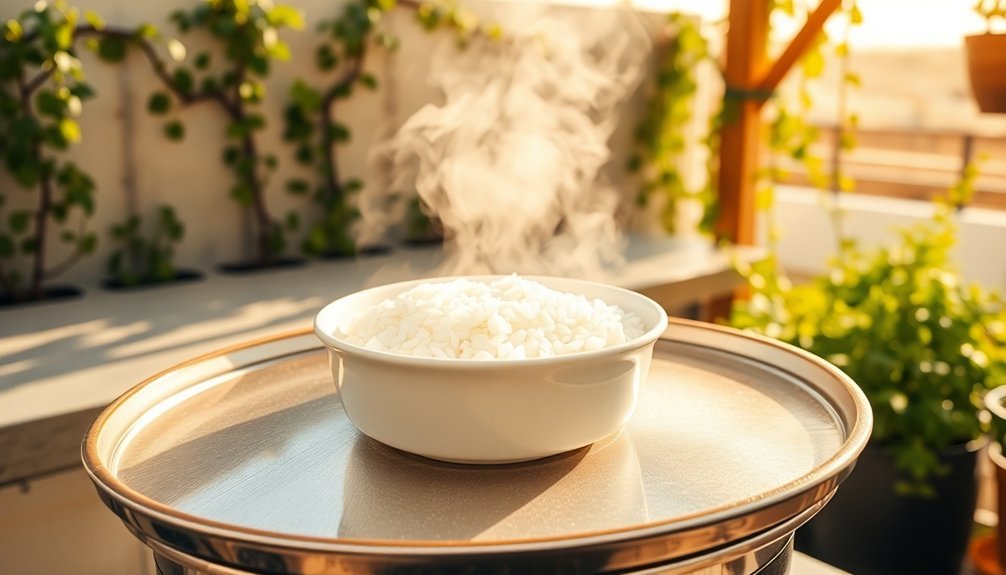
You'll achieve perfectly cooked rice using the sun's free energy with a few key steps. Start by selecting a solar cooker with effective reflectors and dark-colored, heat-safe pots for ideal heat absorption. Use a 2:1 water-to-rice ratio, adding an extra ¼ cup on sunny days to prevent drying. Position your cooker facing the sun and adjust throughout the day – east for lunch, west for dinner. Create wind barriers with stones or bricks for stability. Whether you choose long-grain basmati or short-grain sushi rice, your sun-powered kitchen will deliver fluffy, nutritious results. Let's explore how to enhance your solar cooking experience.
Why Solar Rice Cooking Works
Solar energy transforms your outdoor cooking experience by harnessing the sun's power to create perfectly cooked rice while benefiting both your wallet and the environment.
When you use a solar cooker, you'll tap into a free, renewable energy source that efficiently converts sunlight into heat, preserving up to 20% more protein in your rice compared to conventional methods.
You'll find that solar cooking offers impressive thermal efficiency, especially on sunny days. Regular temperature monitoring checks help ensure optimal cooking conditions.
While it may take longer than traditional cooking, you won't need to worry about fuel costs or utility bills.
Your rice will cook steadily in a solar cooker, whether you're using a panel cooker, solar oven, or parabolic design.
This sustainable approach reduces your carbon footprint while delivering consistently good results, making it an ideal choice for eco-conscious outdoor cooking.
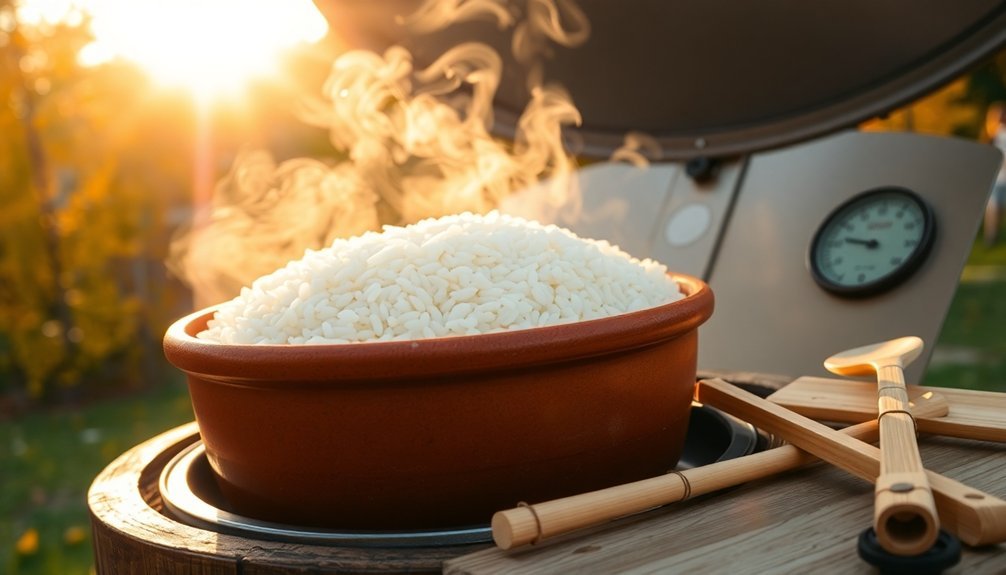
Essential Solar Cooking Equipment
You'll need a solar cooker with effective reflectors to concentrate sunlight – either a box-style cooker with multiple panels or a parabolic model that focuses intense heat onto your cookware.
For rice cooking, choose dark-colored, heat-safe pots with tight-fitting lids that can withstand temperatures up to 350°F in box cookers or 500°F+ in parabolic models. A thermal heat trap using clear glass or bags helps retain cooking temperature.
Your cookware should ideally be thin-walled and made of materials like anodized aluminum or dark ceramic to efficiently absorb and conduct heat to your rice.
Solar Oven Reflector Setup
When setting up a solar oven reflector, choosing the right materials and construction methods will dramatically impact your cooking success. You'll need either aluminum foil with its shiny side out, aluminized Mylar, or reflective car sun shades mounted on cardboard backing.
Cut your reflective material into trapezoids or rectangles, then secure them to the base using duct tape or glue. Creating a proper trapezoidal shape for your reflectors is crucial, as dimensions match cook chamber for optimal heating. You can connect multiple reflectors using twist ties or brads, and stabilize them with mirror holders or small wood pieces.
Position your reflectors to direct sunlight into the oven's opening, adjusting them throughout the day for best performance.
With proper setup, you'll achieve temperatures between 200°F and 300°F, making rice cooking efficient even on partly cloudy days. Remember to periodically reposition your reflectors to maintain consistent heat.
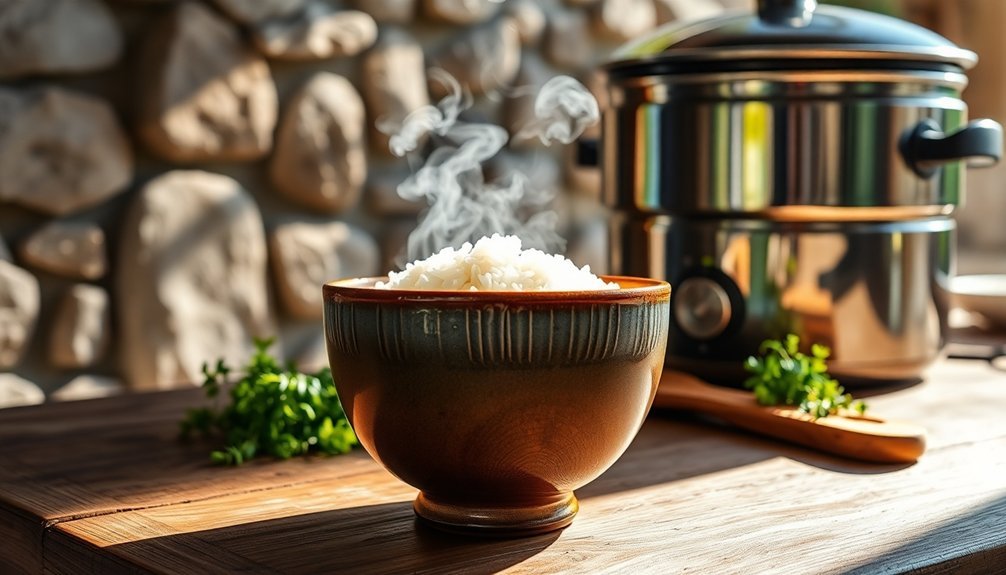
Heat-Safe Cookware Selection
Selecting appropriate cookware for your solar oven will greatly impact your cooking results. For perfect rice, you'll want to choose dark metal pots that efficiently absorb sunlight. Stainless steel and cast iron options work well, though stainless steel heats faster. The Haines 2.0 includes a 4.5 quart Dutch Oven that's perfectly suited for rice cooking.
Your pot should have a glass lid to trap heat while allowing you to monitor your rice without lifting the cover. If you're using a shiny pot, simply slip it into a black cotton bag to enhance heat absorption. Avoid ceramic containers or aluminum foil wrapping, as they'll slow down the cooking process.
Choose a thin-walled, smaller pot for faster heating. An oval or round roaster with a secure lid works perfectly for rice. You can also add a silicone rim to your glass lid for better insulation and protection.
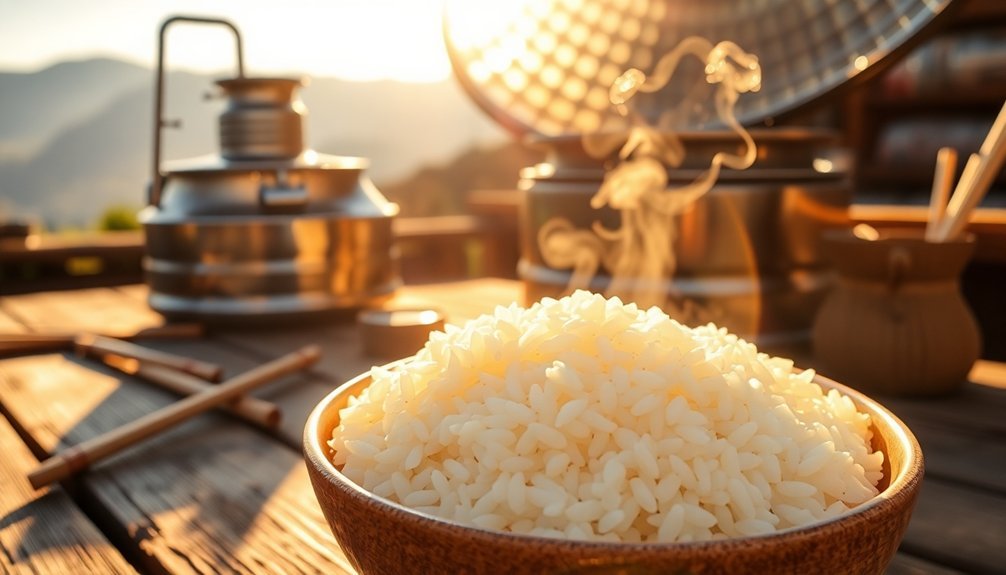
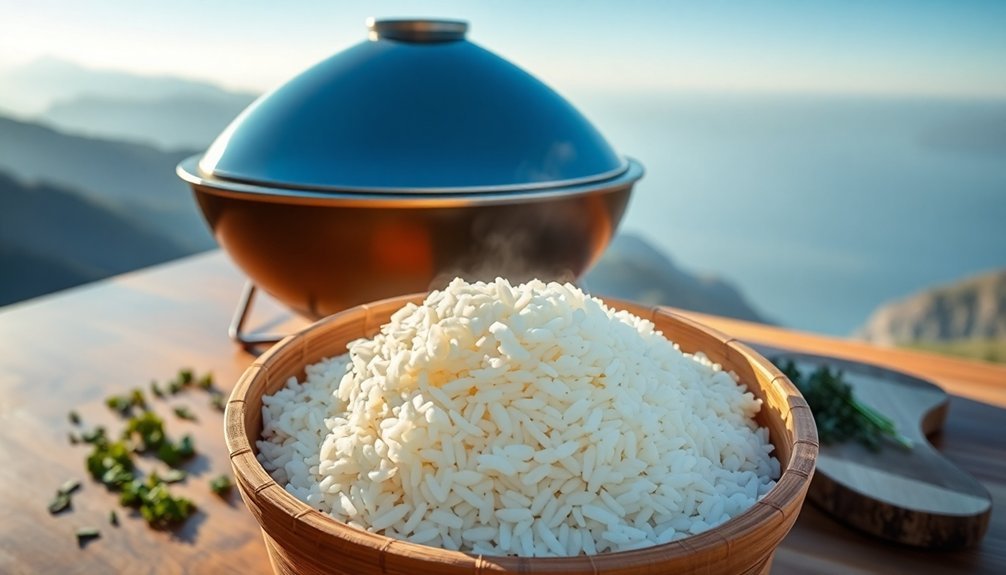
Choosing Your Rice Type
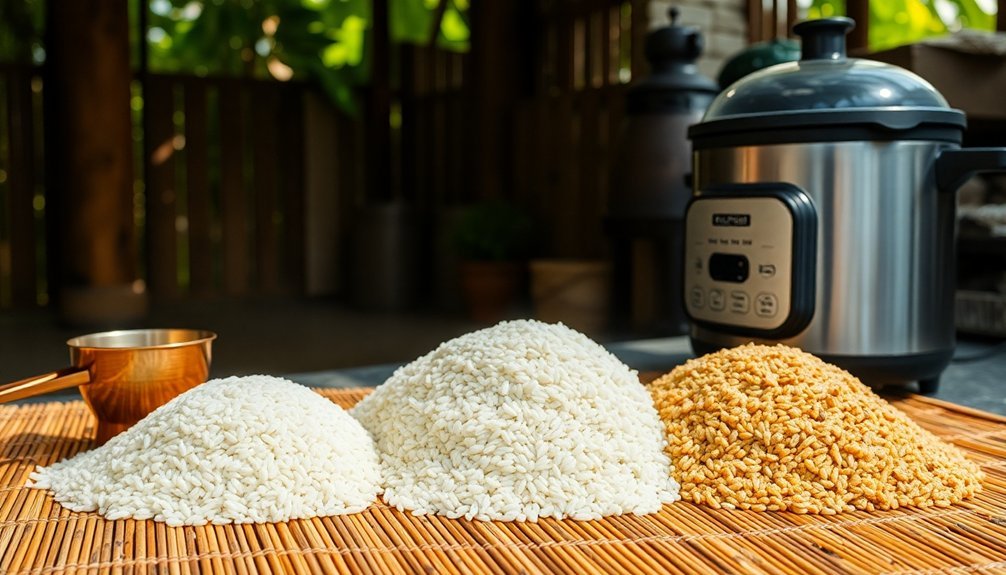
When planning your outdoor cooking adventures, you'll need to decide between long-grain rice, which cooks up light and fluffy, and short-grain rice, which becomes sticky and clumps together.
For long-term camping trips, long-grain white rice offers better storage stability and faster cooking times, while short-grain varieties work better for dishes like camp-stove risotto or outdoor sushi.
If you're focusing on nutrition, brown rice provides more fiber and nutrients than white varieties, though you'll need to adjust your cooking time and water ratio to accommodate its fibrous outer layer.
Long Vs Short Grain
Two distinct categories of rice dominate outdoor cooking: long grain and short grain varieties.
Long grain rice, with its slender shape and high amylose content, cooks up fluffy with separate grains. Short grain rice features plump kernels and higher amylopectin, creating a sticky texture when cooked.
Here's how to match your rice to your outdoor dishes:
- Choose long grain varieties like basmati or Texmati for pilafs and stir-fries where you want distinct, separate grains.
- Select short grain rice like sushi or glutinous rice when you need stickiness for hand-formed dishes.
- Use long grain brown rice when you're after extra fiber and a nuttier flavor.
- Pick short grain arborio for creamy risottos where the grains should release their starches.
Brown Rice Benefits
A nutritional powerhouse, brown rice stands out as the healthier choice for outdoor cooking enthusiasts.
You'll benefit from its impressive fiber content, lignans, and magnesium, which work together to boost your heart health and reduce disease risk by up to 20%.
Unlike white rice, brown rice retains its bran and germ layers, providing you with essential vitamins and minerals.
One cup delivers nearly all your daily manganese needs, supporting bone health and blood sugar regulation. You'll also get powerful antioxidants that protect against oxidative stress.
If you're managing diabetes or watching your weight, you'll appreciate brown rice's low glycemic index.
Water Ratios for Solar Success
Understanding proper water ratios remains essential for cooking rice in your solar-powered setup. Since solar cooking shares similarities with slow cooking methods, you'll want to use a 2:1 water-to-rice ratio to achieve the best results. This higher ratio helps compensate for any moisture loss during the longer cooking process in your solar oven.
- Start with 2 cups of water for every 1 cup of rice you're planning to cook.
- Add an extra ¼ cup of water on particularly sunny days to prevent drying.
- Consider using a dark-colored, tight-lidded pot to maximize heat retention.
- Remember that altitude affects cooking time and water needs – add 2 tablespoons more water per cup of rice when cooking above 3,000 feet.
Always guarantee your solar cooker maintains consistent heat for even cooking results.
Preparing Your Solar Cooking Station
Select a spot with unobstructed sunlight during peak hours and guarantee your solar cooker sits on completely level ground to promote even cooking.
You'll need to angle your reflective panels to maximize sunlight collection, typically around 45 degrees depending on the sun's position.
Keep adjusting your cooker's position throughout the cooking process to maintain ideal sun exposure as the earth moves.
Choose Optimal Sun Location
When preparing to cook rice with solar power, finding the ideal sunny spot becomes your first essential task. You'll need a dry, level surface with unobstructed sunlight during the peak hours of 11:00 AM to 3:00 PM.
Cold, dry air actually works in your favor, as it reduces light scattering and improves cooking efficiency.
For the best results, follow these key steps:
- Choose a spot away from trees or buildings that could cast shadows
- Position your cooker's shorter front panel eastward for lunch cooking or westward for dinner
- Create a wind barrier using stones or bricks to protect your setup
- Plan to adjust your cooker's position every 20-30 minutes to track the sun
Remember to check your local solar insolation maps to determine the ideal cooking times in your area.
Position Reflective Panels Correctly
Three critical angles define successful solar rice cooking: your top reflector, bottom reflector, and their relationship to the sun's position. Set your top reflector at a steeper angle and your bottom reflector at a shallower angle to direct sunlight onto your cooking pot.
You'll need to adjust these angles throughout the day as the sun moves. Use a protractor to measure and fine-tune your reflector positions. For winter cooking, you might need to position reflectors at 90 degrees to compensate for the lower sun angle.
Verify your reflectors are securely mounted but easy to adjust. You can add extra mirrors or aluminum foil panels to reflect light onto the pot's sides for even heating. This setup guarantees your rice gets consistent heat, even on partially cloudy days.
Level Your Cooking Surface
Setting up a stable cooking surface forms the foundation of successful solar rice cooking.
You'll want to make sure your cooker remains steady even in challenging conditions, especially when cooking rice that requires consistent heat.
For maximum stability and cooking results:
- Choose a dry, level spot for your cooker, away from potential shadows and obstructions that could affect heat distribution.
- Install leveling feet on your stand, and if you're dealing with wind, secure it using tent stakes or weigh it down with large stones.
- Use a heavier stand with a thick steel vertical pole to support your cookware without drooping.
- Check your cooker's level periodically throughout the cooking process, making adjustments as needed to maintain even heat distribution.
Remember to position your cooker so its shadow falls directly behind it for the best sun exposure.
Time and Temperature Control
Mastering time and temperature control is the key to perfect outdoor rice cooking. When using your solar cooker, you'll want to maintain an internal temperature of 98℃ for short-grain rice.
Start by soaking your rice for 120 minutes at 5℃ to guarantee even water absorption and prevent uneven cooking.
Your solar cooker can easily reach the needed temperature, as even basic box models achieve up to 165℃. For precise control, consider adding a temperature controller to your setup – it'll help maintain the ideal 98℃ during the 20-minute cooking process.
Once cooking's complete, let your rice rest covered to maintain temperature and absorb remaining moisture.
Remember to use matte black cookware to maximize heat absorption in your solar cooker, assuring consistent temperature throughout the cooking process.
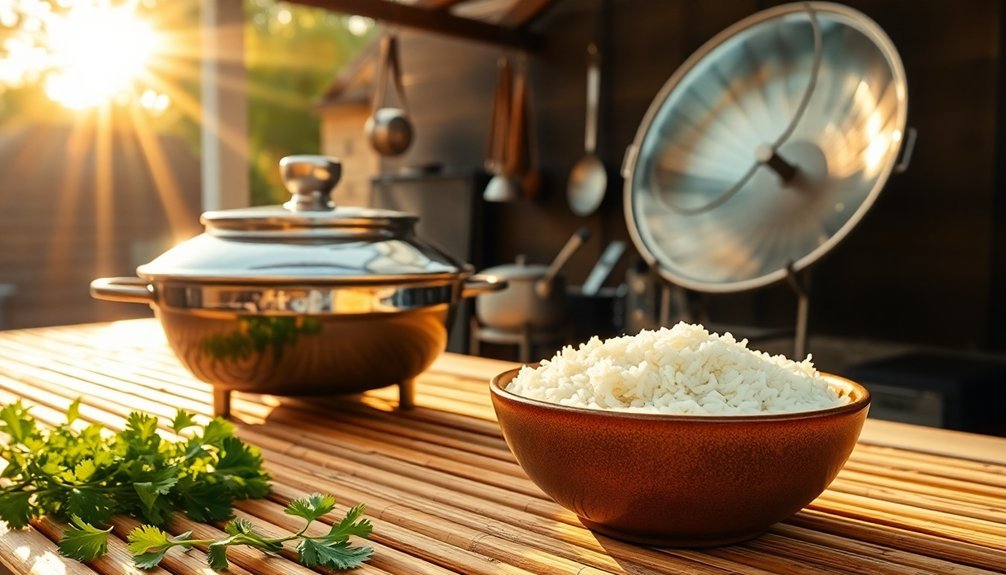
Step-By-Step Solar Rice Method
While achieving perfect solar-cooked rice might seem challenging, the process becomes straightforward with the right setup and ingredients.
You'll need quality rice, water, and a black pot with a lid placed in your solar cooker for maximum heat absorption.
- Measure your rice and water using a 1:1.25 ratio, adding slightly more water for solar cooking. Rinse the rice if desired, and add seasonings.
- Position your solar cooker directly facing the sun, placing the covered pot at the focal point of the parabolic reflector.
- Let the rice cook for 20-30 minutes in full sun, adjusting the cooker's position as needed to maintain maximum exposure.
- Remove the pot when small holes appear on the rice's surface, and let it rest for 10 minutes before fluffing and serving.
Troubleshooting Common Solar Rice Issues
Even with careful preparation, solar-cooked rice can present various challenges that affect its final quality. You'll need to watch for common issues and adjust your approach accordingly.
| Problem | Solution |
|---|---|
| Undercooked rice | Reposition cooker to face sun directly; guarantee black pot is used |
| Mushy texture | Reduce liquid ratio; avoid opening lid frequently |
| Burnt bottom | Adjust cooker angle more frequently; use leveling tray |
If you're experiencing inconsistent results, check your cooker's positioning every 30 minutes and maintain temperatures between 200°F-250°F. Don't forget to use proper insulation around your pot, and avoid aluminum foil which reflects heat away from your rice. Keep your cooking vessel sealed with a tight lid or high-temperature bag to retain moisture, and remember that peak cooking hours are between 11:00 am and 3:00 pm.
Enhancing Solar Cooked Rice Flavors
The delicate art of solar cooking presents unique opportunities to enhance your rice's natural flavors. Your solar cooker's minimal liquid evaporation helps concentrate tastes while its consistent heat guarantees perfect starch gelatinization, creating wonderfully fluffy results.
For maximum flavor enhancement in your solar-cooked rice:
- Choose a dark-colored pot to improve heat absorption and cooking efficiency.
- Add your preferred seasonings before cooking – they'll infuse deeply since there's less evaporation.
- Consider pre-soaking aromatic rice varieties to develop their distinctive flavors.
- Experiment with different water ratios – you'll need less than conventional cooking methods.
The slow, steady heat of your solar cooker naturally brings out rice's inherent sweetness and creates that sought-after pillowy texture you'd expect from perfectly cooked grains.
Solar Rice Cooking Safety Tips
Since solar cooking relies heavily on natural elements, understanding proper safety protocols becomes crucial for producing perfectly cooked rice without compromising food safety.
Don't leave raw rice in the danger zone temperature (between 52°C and 10°C) for more than four hours.
You'll need 6-7 hours of bright sunlight for most solar cookers, though parabolic ovens can cook rice in 20-30 minutes.
Keep monitoring the cooking process to guarantee even heat distribution and thorough cooking.
Once your rice is done, serve it immediately or cool it quickly below 10°C for storage.
If you're saving it for later, store it in a covered container and reheat thoroughly to 75°C.
Never reheat rice more than once, and discard any portions that have sat at room temperature too long.
Remember to wash your hands before handling food.
Seasonal Solar Rice Cooking Adjustments
Adjusting your solar rice cooking techniques throughout the year will help you maintain consistent results despite changing seasonal conditions.
You'll need to adapt your approach based on the sun's intensity and position during different seasons.
During winter months, you'll want to position your cooker at steeper angles and allow for longer cooking times.
In summer, take advantage of peak sunlight hours and reduce cooking duration to prevent overcooking.
Follow these key seasonal adjustments:
- Start cooking earlier in winter months and use additional reflectors
- Monitor water levels closely during summer's intense heat
- Keep a backup cooking method ready for unexpected cloud cover
- Adjust your cooker's angle based on your latitude and season
For best results, always check weather forecasts and plan your solar cooking schedule accordingly.
Rice Storage After Solar Cooking
Properly storing your solar-cooked rice will maximize its shelf life and maintain its quality long after cooking.
Let your rice cool to room temperature, then transfer it to clean, airtight containers. If you're planning to use it within five days, store it in your refrigerator below 40°F.
For longer storage, freeze your rice in portioned freezer bags, removing as much air as possible to prevent freezer burn.
Label your containers with the cooking date and store them away from heat and sunlight.
When you're ready to enjoy your stored rice, reheat it thoroughly to 165°F. You can use your solar cooker, microwave, or stovetop, adding a splash of water if needed.
Remember to stir while reheating and only reheat once to guarantee food safety.
Frequently Asked Questions
Can I Cook Rice in Cloudy Weather Using a Solar Cooker?
You shouldn't attempt cooking rice in cloudy weather with a solar cooker. It won't reach proper temperatures, leaving your rice undercooked. Instead, you'll need to use alternative cooking methods or wait for sunnier conditions.
How Does Altitude Affect Solar Rice Cooking Times?
At higher altitudes, you'll need to cook your rice longer since water boils at lower temperatures. Plan for 20-30% more cooking time and add extra water to compensate for the atmospheric pressure difference.
What's the Minimum Sun Angle Needed for Effective Rice Cooking?
You'll need at least a 30-degree sun angle for effective rice cooking, though 45 degrees or higher is ideal. If the angle's lower, you'll face longer cooking times and may need extra reflectors.
Can I Use a Solar Cooker Indoors Near a Sunny Window?
Yes, you can cook with a solar cooker near a sunny window. You'll need a large, south-facing window and a well-insulated cooker like a solar box oven for best results. Monitor sunlight throughout cooking.
Does Solar Cooking Rice Affect Its Glycemic Index Compared to Conventional Methods?
Based on available research, you can't definitively say that solar cooking changes rice's glycemic index compared to conventional methods. If you're concerned about GI, focus on rice variety and cooling methods instead.
In Summary
You'll find solar rice cooking to be a sustainable and rewarding way to prepare this staple food. Once you've mastered the basics of water ratios, timing, and seasonal adjustments, you'll consistently achieve fluffy, perfectly cooked rice using just the sun's energy. Keep practicing with different rice varieties and flavor combinations, and don't forget to store your cooked rice properly. You're now ready to become a solar rice cooking expert.


Leave a Reply