Converting your favorite grilled recipes to outdoor oven cooking is simpler than you might think. You'll need essential tools like a pizza stone or steel (1/4 inch thick), fire bricks arranged in a "U" shape, and a reliable thermometer to monitor temperatures between 500-900°F. Start by preheating your oven for 30-45 minutes, and adjust your cooking methods from direct to indirect heat as needed. Adapt your marinades and seasonings to complement the outdoor oven's unique cooking characteristics, and remember to rotate your food regularly for consistent results. The secrets to maintaining those beloved grilled flavors await in the details of proper temperature control and technique.
Essential Grill Conversion Tools
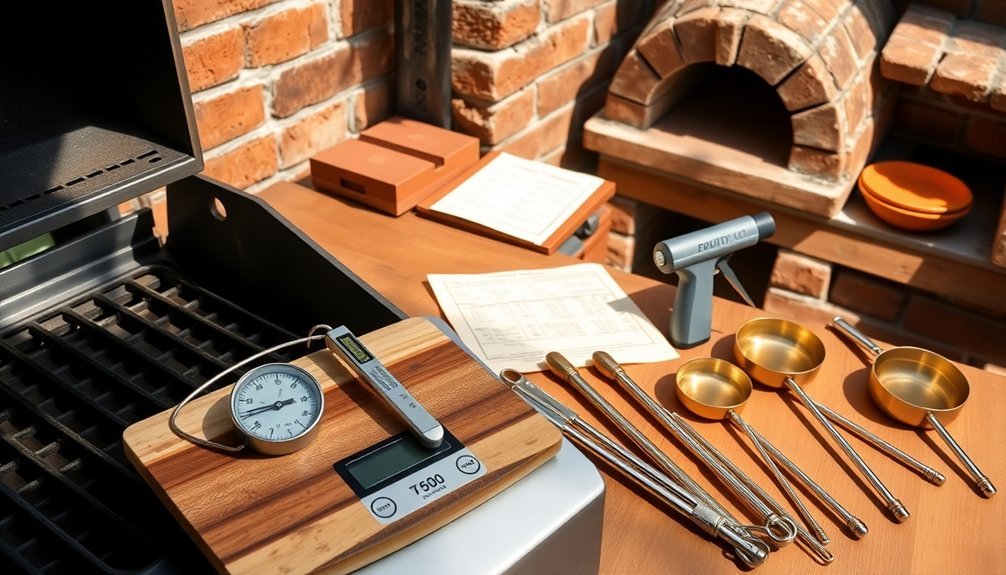
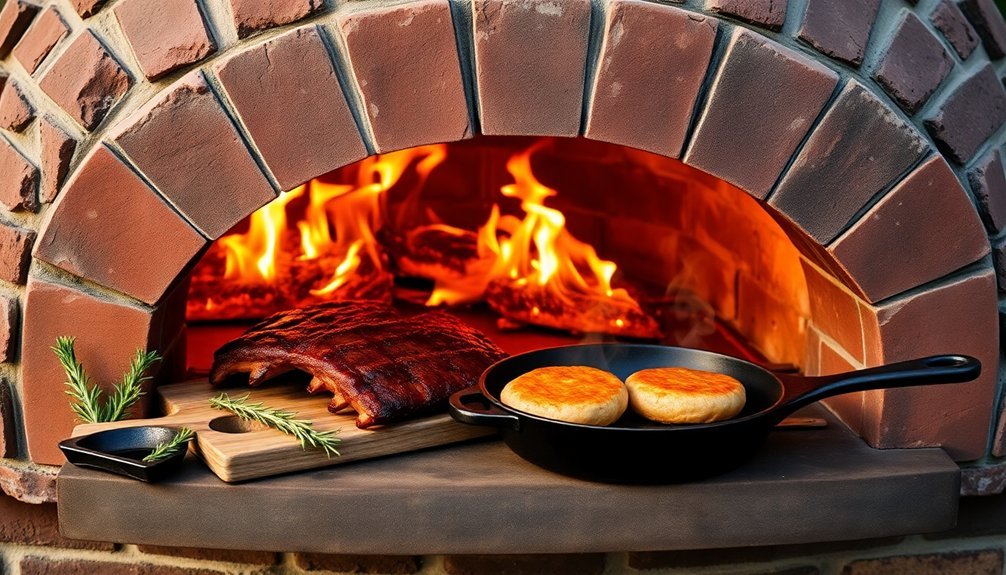
When converting your grill into an outdoor pizza oven, you'll need several essential tools to create the perfect cooking environment.
Start with a pizza stone or steel that's roughly 1/4 inch thick to guarantee a crispy crust – remember to preheat it for at least 30 minutes before use.
Arrange fire bricks in a "U" shape to maintain consistent heat distribution throughout your grill. You'll find these at most hardware stores.
Install a reliable thermometer to monitor temperatures between 500-900°F, and consider using a BBQ grill fan to boost heat when needed.
Don't forget to insulate your grill lid using ceramic fiber blankets or additional fire bricks.
If you're working with a gas grill, you'll want to remove or cover the flavorizer bars to achieve direct heat contact.
Understanding Heat Distribution Methods
To master outdoor oven cooking, you'll need to understand the three primary types of heat transfer: conduction, convection, and radiation.
When you're cooking, heat moves through direct contact with hot surfaces (conduction), circulating air (convection), and energy waves from the fire and stored heat (radiation).
If you're converting your grill into an oven, you'll create indirect heat by lighting specific burners or arranging charcoal in a ring pattern.
Using a pizza stone or buffer helps distribute heat evenly across your cooking surface. You'll want to preheat your grill higher than your target temperature to compensate for heat loss.
For best results, monitor your temperatures with an oven thermometer and adjust airflow as needed.
Different cooking tasks require varying heat zones, so you can bake, roast, or grill effectively.
Temperature Control Techniques
Mastering temperature control in outdoor ovens requires a solid understanding of fire management and airflow dynamics.
You'll need to start with small kindling, gradually adding larger pieces of dry hardwood while maintaining proper airflow through damper adjustments.
To achieve and maintain your desired cooking temperature, you'll want to preheat your oven for 20-45 minutes, aiming for at least 500°F. For optimal performance, use the three intake controls located on the front of the fire chamber.
Control the heat by managing both fire size and airflow – open dampers and add wood to increase temperature, or close dampers and reduce fuel to lower it.
Keep the cooking chamber door closed once you've established your fire.
Monitor your temperature using an oven thermometer and make adjustments as needed.
Remember to rotate your food regularly and keep the cooking space clean for consistent results.
Seasonal Recipe Adjustments
Your outdoor oven cooking requires key adjustments as seasons change, from modifying heat levels in summer's intense temperatures to increasing cooking times during winter's cold spells.
You'll need to account for seasonal ingredients, swapping summer's juicy tomatoes and eggplants for autumn's hearty root vegetables and winter's sturdy squashes.
While maintaining consistent temperatures becomes challenging in varying weather conditions, you can master seasonal cooking by matching your techniques to both the climate and available produce.
Adapt Heat for Weather
When cooking with an outdoor oven, weather conditions play an essential role in maintaining consistent temperatures and achieving ideal results.
You'll need to adjust your cooking approach based on the season and weather patterns to maintain favorable heat levels.
To adapt your cooking strategy for different weather conditions:
- Set your initial temperature 25°F higher during cold or windy weather to compensate for increased heat loss, and position your grill in a sheltered area when possible.
- Monitor your heat more closely during summer months, as high ambient temperatures can cause grills to run hotter than usual, potentially leading to overcooking.
- Keep the lid closed more frequently during adverse weather, using indirect heat zones to maintain steady temperatures and protect food from direct exposure to rain or wind.
Adjust Cooking Time Seasonally
Seasonal changes require careful adjustments to cooking times in outdoor ovens, as temperature variations can greatly impact how quickly food cooks.
You'll need to calculate temperature differences and adjust your cooking times accordingly. For example, if you're cooking on a hot summer day, you might need to reduce your cooking time by up to 11% compared to spring temperatures.
When it's cold outside, preheat your outdoor oven to about 25 degrees higher than your target temperature to compensate for heat loss. Maintaining a consistent temperature throughout cooking becomes especially critical during colder months.
You'll also want to add extra cooking time during winter months, typically multiplying your standard cooking time by 1.14-1.40, depending on the temperature difference.
Remember to check your food earlier than the calculated time and maintain indirect heat zones to guarantee even cooking throughout the seasons.
Seasonal Ingredient Modifications
Making the most of fresh ingredients means adapting your outdoor oven recipes throughout the year.
You'll discover unique flavors and textures as each season brings its own bounty to your outdoor cooking adventures.
Transform your outdoor oven dishes by following these seasonal modifications:
- Spring – Top your pizzas with tender artichokes, grilled asparagus, and peppery arugula, adding a fresh vinaigrette made with lemon and olive oil.
- Summer – Showcase vine-ripened tomatoes on Margherita pizzas, layer with thinly sliced zucchini, and finish with fresh basil.
- Fall/Winter – Embrace earthier flavors with porcini mushrooms, roasted butternut squash, and radicchio, while incorporating smoked mozzarella and spicy sausage for added warmth.
You'll find these seasonal adjustments don't just enhance flavor – they'll make your outdoor cooking more sustainable and cost-effective.
Timing Your Outdoor Cooking
Mastering outdoor cooking times requires understanding the fundamental differences between various heat sources. Unlike your indoor oven's consistent heat, grills and outdoor ovens need more attention to maintain steady temperatures.
You'll want to preheat your cooking space 25°F higher than your target temperature to account for heat loss when you add food. If you're using a wood-fired oven, give it time to reach 400-600 degrees before cooking. An outdoor clay oven can reach 450°F in 5 minutes when properly fired.
For grilling, verify at least 10 minutes of preheating.
Remember that food typically cooks faster on a grill than in a standard oven, so start with the shortest recommended cooking time. During longer sessions, you'll need to add fuel gradually around the edges of your fire.
Use a wind barrier to protect your flame and maintain consistent heat throughout cooking.
Adapting Marinades and Sauces
While temperature control sets the stage for outdoor cooking, the right marinade transforms ordinary ingredients into extraordinary dishes.
You'll want to blend sweet, savory, and spicy elements to create a balanced flavor profile that complements your outdoor oven's unique cooking characteristics.
For the best results in your outdoor oven, follow these essential marinade adaptations:
- Reserve a portion of your marinade before applying it to the meat – you'll use this later as a glaze during cooking.
- Pat your meat dry and season with salt before marinating, then store in an airtight container for up to 3 days.
- When cooking, brush the reserved marinade onto your meat halfway through, and finish with a quick broil for a crispy exterior.
Remember to incorporate aromatic elements like fresh herbs, ginger, and garlic to enhance your dish's complexity.
Moisture Management Strategies
To master moisture control in your outdoor oven, you'll need to balance steam levels through proper ventilation while protecting your food from drying out.
You can prevent excess moisture loss by using foil strategically and monitoring your food's internal temperature with precision tools.
Creating the right humidity balance comes down to managing your dough hydration levels and adjusting cooking temperatures based on whether you're working with dense vegetables or thin-cut meats.
Steam Control Basics
Since proper moisture control can make or break your steam oven dishes, understanding the basics of steam management is essential.
You'll find that steam ovens operate between 30-275°C (86-527°F), with humidity levels ranging from 20% to 100% on adjustable models. When your oven doesn't offer manual humidity control, it'll automatically select the appropriate moisture level.
For consistent results, follow these fundamental steam settings:
- Slow-roasted meats and casseroles: 120°C/250°F with 80% humidity
- Puff pastry and baked goods: 180-200°C/350-400°F with 50-60% humidity
- Pasta dishes and gratins: Up to 80% steam for silky interiors
You won't need pot lids at low temperatures, especially for cuts with fat on top.
For extra moisture retention, simply baste with pan juices during the cooking process.
Prevent Excess Water Loss
Managing moisture effectively in your outdoor oven requires a thorough approach that extends beyond basic temperature control.
You'll need to implement proper ventilation while maintaining the right moisture balance for your dishes. Install exhaust fans and guarantee good airflow around your outdoor oven to control humidity levels.
Keep your cooking area dry by using portable dehumidifiers and regularly inspecting for moisture buildup.
When cooking, use properly seasoned wood and maintain consistent ventilation to prevent excess water loss from your dishes.
Don't forget to protect your oven from external moisture by using covers and implementing proper drainage systems.
If you're dealing with high humidity, consider integrating a whole-house dehumidification system into your setup.
Remember to seal any gaps in your oven's structure and use moisture-resistant materials for long-term protection.
Humidity Balance Methods
Three essential methods form the foundation of effective humidity balance in outdoor cooking: proper wood selection, ventilation control, and dehumidification techniques.
You'll want to start with kiln-dried wood, which offers 10-20% moisture content and superior burn efficiency in damp conditions.
To maintain ideal humidity levels:
- Adjust your air vents strategically to control burn rate and promote better combustion, especially during humid weather.
- Use a water pan with lava stones to increase evaporation by 50%, ensuring proper moisture distribution.
- Install exhaust fans near your cooking area to remove excess humidity while maintaining desired moisture levels.
Don't forget to protect your equipment by using grill covers and thoroughly drying all surfaces after use.
A hair dryer can help eliminate stubborn moisture in particularly wet conditions.
Direct Heat Cooking Methods
When cooking with direct heat methods, you're harnessing temperatures from 300°F to well above 700°F to create perfectly seared, caramelized dishes.
For grilling, place your food directly over the flame or hot coals to achieve those coveted grill marks and seal in juices.
In brick oven cooking, you'll utilize the intense heat that transfers through convection and reflection off the dome, making it perfect for quick-cooking pizzas and flatbreads.
When baking on your grill, you'll need to modify the setup to mimic an oven – use a medium-off-medium burner pattern for gas grills or arrange charcoal in a circle for even heat distribution.
Remember to turn your food halfway through cooking and minimize lid openings to maintain consistent temperatures.
You'll find that direct heat methods cook food faster than conventional ovens, so watch your timing carefully.
Indirect Heat Cooking Methods
To set up indirect heat cooking zones, you'll want to create distinct hot and cool areas by turning off one side of your gas grill or moving coals to one side in a charcoal grill.
For ideal results, place your heat deflector (such as a drip pan) on the hot side to help distribute heat evenly throughout the cooking chamber.
Position your food on the unlit side of the grill, ensuring it's not directly over the heat source, which transforms your outdoor grill into an efficient convection-style oven.
Zone Setup Basics
Setting up proper cooking zones on your grill opens up a world of outdoor cooking possibilities, especially when mastering indirect heat methods.
Whether you're using a charcoal or gas grill, you'll need to create two distinct zones: a direct heat zone over your heat source and an indirect zone away from it.
For ideal zone setup, follow these key steps:
- For charcoal grills, rake the coals to one side, leaving the other side empty.
- On gas grills, light burners on one side while keeping the other side off.
- Maintain a medium temperature around 350°F by adjusting your heat source as needed.
Keep the lid closed to maintain consistent temperatures and guarantee even cooking.
This setup lets you simultaneously grill different foods while making the most of your outdoor cooking space.
Heat Deflector Placement
A properly placed heat deflector transforms your outdoor grill into a versatile cooking environment perfect for indirect heat methods.
You'll want to position it above your fire source to guarantee even heat distribution and prevent direct flame contact with your food.
For peak performance, mount your deflector so it creates sufficient clearance above the fire box while maintaining proper oxygen flow.
Don't place it at the back of the oven, as this can suffocate your fire.
Choose a deflector made from durable 3mm steel or ceramic material that can withstand intense heat.
You'll find this setup keeps your cooking space cleaner by preventing ash and ember contact with food.
The elevated placement allows for better airflow and creates an oven-like environment where your food cooks slowly and evenly on all sides.
Weather Impact on Cooking
Weather plays an essential role in outdoor cooking, affecting everything from ignition times to temperature control. You'll need to adapt your cooking strategy based on different weather conditions to achieve ideal results.
- Cold weather requires longer preheating times and uses more pellets, so you'll want to plan ahead and make certain you've got extra fuel on hand.
- Hot, sunny days can cause your outdoor oven to run hotter than the set temperature, making it challenging to maintain temperatures below 225°F.
- Wind and rain create unique challenges, from temperature fluctuations to potential flame-outs, so position your oven away from direct wind paths.
For best results, keep your oven protected from harsh elements when possible, and adjust your cooking times and temperatures according to weather conditions.
During humid or wet weather, pay extra attention to maintenance to prevent rust and guarantee proper ignition.
Meat and Poultry Adaptations

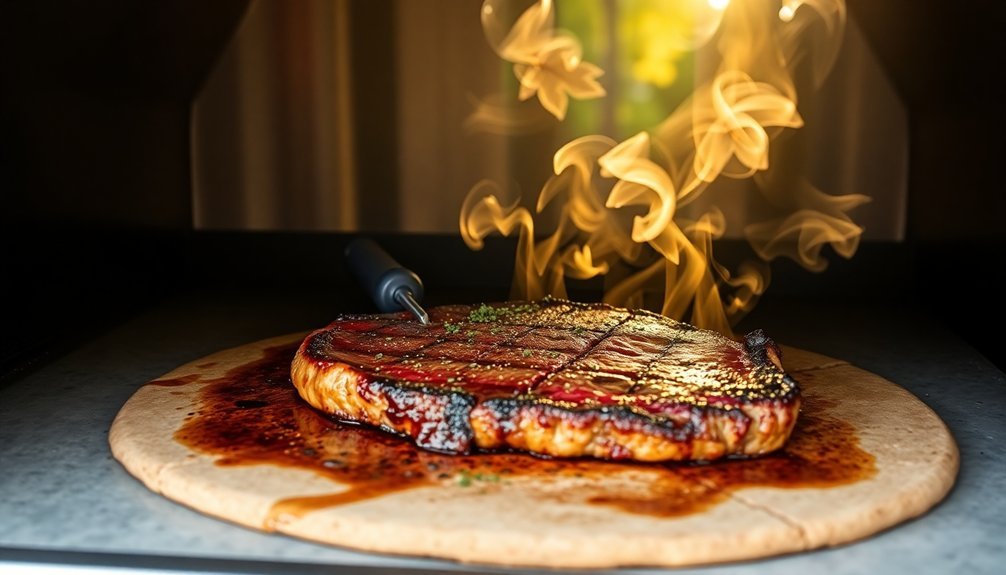
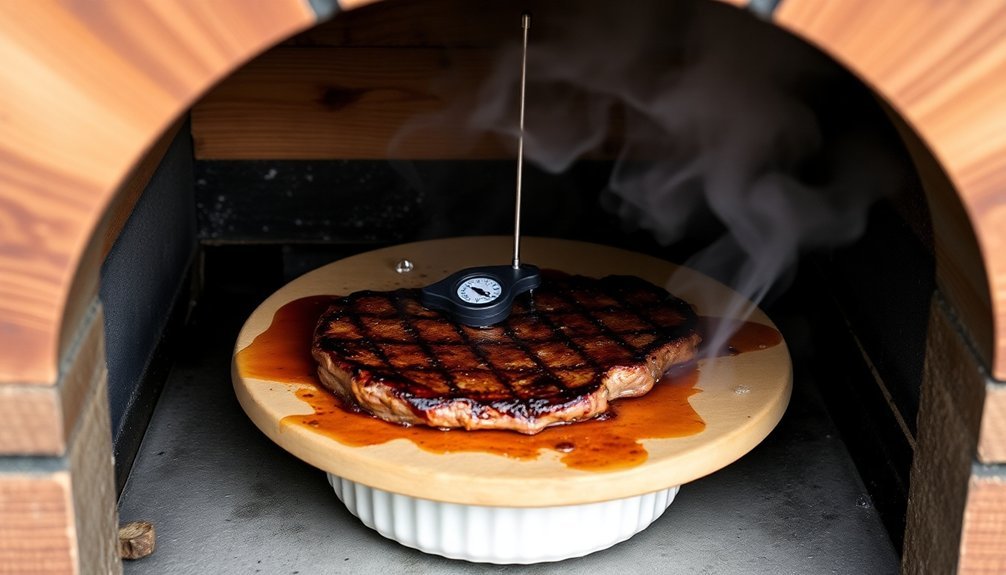
Mastering outdoor oven cooking for meats and poultry requires specific adaptations to achieve restaurant-quality results.
You'll want to select cuts like ribeye steaks, which you can cook at 400°F with beef tallow and seasonings, flipping every few minutes until reaching 120°F internal temperature.
For lobster tails, split them open and cook at the same temperature, adding a Garlic Parmesan Crust midway through.
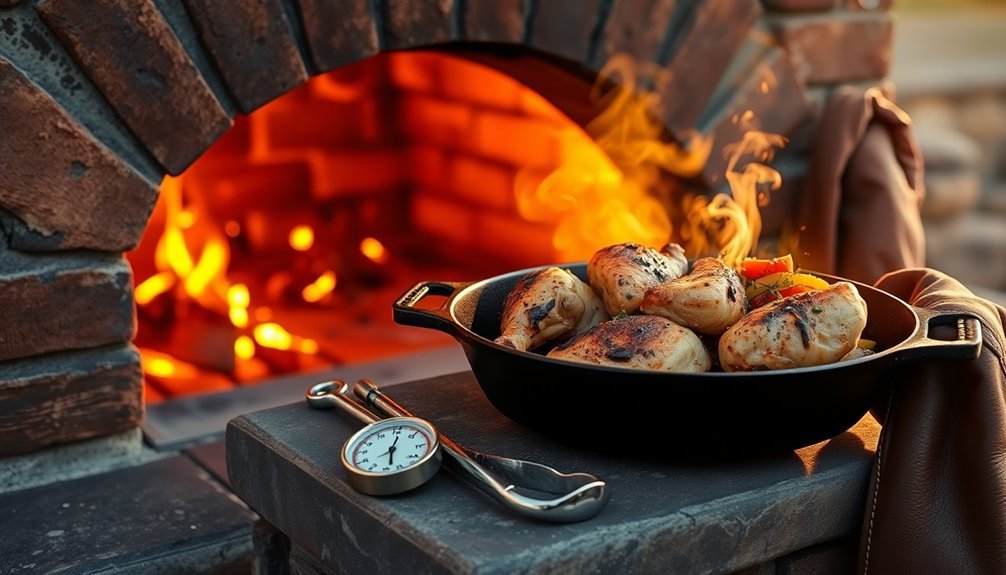
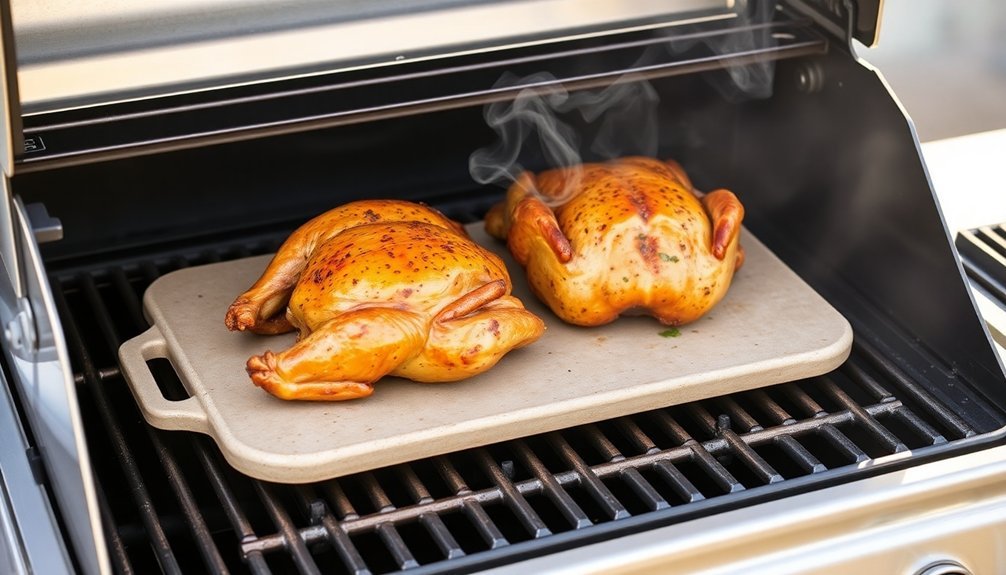
When preparing whole chicken, use indirect heat at 500°F-600°F, cooking it on a bed of vegetables for 30-40 minutes per side.
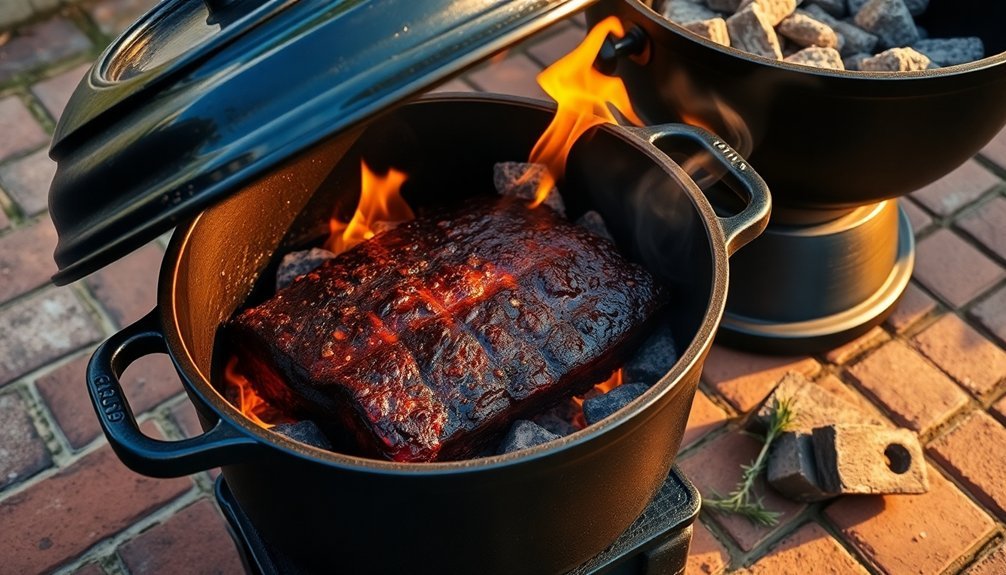
For longer-cooking cuts like beef shanks and leg of lamb, start with high heat (900°F), then reduce for slow roasting over 5 hours.
Don't forget to let your meats rest properly before serving.
Vegetable Roasting Techniques
To achieve perfectly roasted vegetables in your outdoor oven, you'll need to master essential temperature and preparation techniques. Set your temperature to 425°F (375°F for convection) and preheat your baking sheet to jumpstart the cooking process.
Cut your vegetables uniformly, adjusting sizes based on density – smaller pieces for root vegetables and larger ones for softer items like broccoli.
For the best results, follow these vital steps:
- Use rimmed aluminum baking sheets lined with foil, avoiding casserole dishes that trap moisture.
- Space vegetables in a single layer, ensuring they don't touch each other.
- Drizzle with olive or avocado oil, and toss halfway through cooking for even browning.
Remember to rotate your baking sheets if using multiple levels, and check doneness periodically based on vegetable type.
Baking With Outdoor Heat
Beyond roasting vegetables, your outdoor grill can become a remarkable baking station with the right setup and techniques.
Start by preheating your grill to 325-375°F for batters or 400-500°F for doughs, and create an indirect cooking zone to avoid direct heat under your baked goods.
You'll want to stick with rustic recipes that can handle variable temperatures.
Cast iron skillets are perfect for brownies, cookies, and cornbread, while fruit desserts like apple crisp work beautifully with indirect heat.
Monitor your temperatures closely and rotate your baking dish as needed for even cooking.
To enhance flavors, try charring ingredients before incorporating them into your recipes.
You can create unique combinations like skillet cornbread with fire-roasted corn and poblanos, taking full advantage of your grill's smoky essence.
Frequently Asked Questions
Can I Use My Regular Pizza Dough Recipe for Grilled Pizza?
You'll need a sturdy dough that can handle high heat for grilling. While your regular recipe might work, it's best if it's not too soft or sticky to prevent tearing on the grates.
How Do Different Wood Types Affect the Flavor of Grilled Dishes?
Different woods create unique flavor profiles in your grilled foods. You'll find hickory and oak provide strong, smoky tastes for red meats, while fruitwoods like apple and cherry offer milder, sweeter flavors for poultry.
What's the Best Way to Clean and Maintain a Pizza Stone?
You'll want to brush off debris after each use, avoid soap and excess water, and let your stone air dry. Use baking soda paste for tough stains, and embrace the natural seasoning that develops over time.
Should I Oil My Grill Grates Differently When Using It as Oven?
You don't need to oil your grill grates when using them as an oven. Since you're not directly cooking on them, just keep them clean to prevent smoke and maintain proper air circulation.
Can I Convert My Gas Grill's Propane Tank to Natural Gas?
You can convert your propane grill to natural gas, but first check your owner's manual for compatibility. It's best to have a professional do the conversion since it requires specific parts and careful installation.
In Summary
You'll find that converting your favorite grill recipes to outdoor oven cooking isn't complicated once you master the basics. With proper temperature control, timing adjustments, and an understanding of heat distribution, you're ready to tackle any dish. Remember to account for weather conditions and seasonal changes. Don't be afraid to experiment – your outdoor oven can deliver the same smoky flavors you love from grilling.


Leave a Reply