
To safely solar cook rice, you'll need to follow ten proven methods. Start with quality long-grain rice and use precise water ratios (2:1 for long grain, 1.25:1 for short grain). Position your solar cooker in direct sunlight between 11 AM and 3 PM, using dark cookware for better heat absorption. Monitor temperatures to maintain 180-250°F, and adjust the cooker's angle every couple hours. Check doneness by ensuring rice is tender and water-free. Cool cooked rice quickly and store below 40°F within two hours. Handle hot cookware with protection, and watch for signs of spoilage. These foundational steps will help you master the art of solar rice cooking.
Choosing Your Rice Type
Selecting the right rice variety for solar cooking can greatly impact your cooking success. When choosing rice for your solar cooker, you'll find that long grain rice is often your safest bet. It's the most forgiving option, requiring minimal adjustments to liquid ratios and cooking consistently in various solar cooker types.
If you're using aromatic rice like jasmine or basmati, you'll need to pay closer attention to water ratios, but these varieties work especially well in glass tube solar cookers. They'll retain their distinctive fragrances while cooking slowly in the gentle heat. Remember to use a 1:1 ratio plus extra when measuring your rice and water.
For short grain rice, you'll want to reduce the liquid slightly due to minimal evaporation in solar cookers, and you might need to stir occasionally to prevent excessive sticking.
Brown rice presents the biggest challenge but offers the most nutritional benefits. You'll need to plan for longer cooking times and use more water than with white rice varieties.
It works best in solar box ovens where you can maintain consistent heat for extended periods. The slow cooking process actually enhances nutrient retention, making it worth the extra time and attention.
Proper Water Ratios
When you're solar cooking rice, start with the basic measurements for your chosen variety: short grain needs 1.25 cups of water per cup of rice, while long grain requires 2 cups of water per cup of rice.
You'll need to increase these ratios slightly at higher altitudes, where lower air pressure affects cooking time and water absorption.
Your local climate's humidity levels also matter – in dry seasons or arid regions, you might need to add an extra quarter cup of water to prevent the rice from drying out during the slower solar cooking process. For optimal results, use hot tap water when starting your rice, as this helps initiate the cooking process more effectively.
Rice-to-Water Basic Measurements
The proper water-to-rice ratio stands as the foundation for perfectly cooked rice in a solar cooker. You'll need to adjust your measurements based on the specific type of rice you're using. For short-grain rice, use 1.25 cups of water per cup of rice, while basmati and jasmine rice require 1.5 cups of water per cup of rice. Long-grain rice demands the most water, needing 2 cups per cup of rice.
When using a solar cooker, you'll need to take into account additional water requirements due to slower heating times and increased evaporation. Add between half to one extra dose of water to compensate for these factors. Traditional cooking methods have been cherished across generations for their ability to create perfectly cooked rice.
- Always measure precisely using a standard measuring cup rather than estimating, as incorrect ratios can lead to mushy or undercooked rice.
- Take into account your local climate and solar cooker type when adjusting water amounts – hotter, drier conditions may require more water.
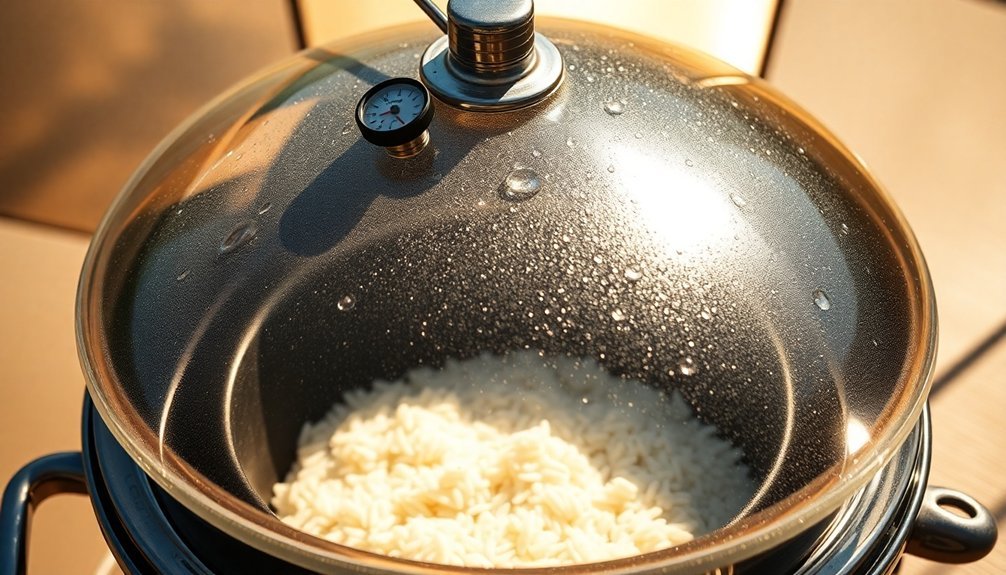
- Use a dark pot with a tight-fitting lid to retain moisture and maximize heat absorption.
Remember to rinse your rice thoroughly before cooking to remove excess starch, which helps achieve the ideal texture and prevents clumping during the solar cooking process.
Altitude Adjustment Guidelines
Up in the mountains, solar cooking requires careful attention to water ratios and cooking times. Since water boils at lower temperatures at high altitudes, you'll need to adjust your cooking approach for perfect rice. While the standard rice-to-water ratio remains similar, you'll need to extend cooking times considerably.
Use dark-colored canning jars with proper seals to help maintain pressure and improve cooking efficiency. You'll want to monitor the internal temperature using a thermometer to verify your rice reaches appropriate cooking temperatures. At 2,000 meters, water boils at 95°C (203°F), so you'll need to compensate with longer cooking times.
| Altitude (meters) | Cooking Time Increase | Temperature Adjustment |
|---|---|---|
| 0-1,000 | +10 minutes | Standard temp |
| 1,000-2,000 | +20 minutes | -3°C from sea level |
| 2,000-3,000 | +30 minutes | -5°C from sea level |
| 3,000-4,000 | +40 minutes | -8°C from sea level |
| 4,000+ | +50 minutes | -10°C from sea level |
Check your rice periodically and reorient your solar cooker as needed to maintain consistent heating. If you're using a pressure-maintaining jar, verify the seal allows excess pressure to escape while retaining enough to aid cooking.
Seasonal Moisture Variables
Beyond altitude considerations, seasonal changes dramatically affect solar rice cooking success. You'll notice significant differences between dry and rainy seasons, with dry seasons offering more reliable cooking conditions due to higher solar irradiance (570±206 W/m2) compared to rainy seasons (467±154 W/m2).
To guarantee properly cooked rice during different seasons, adjust your water ratios and cooking approach:
- During dry seasons, use 1-1/4 cups of water per cup of rice, expecting 6-7 hours of cooking time with consistent temperatures above 50°C.
- In rainy seasons, maintain the same water ratio but prepare for variable cooking times due to cloud cover interruptions.
- Keep a backup cooking method ready, especially during uncertain weather, as temperature fluctuations can affect water absorption.
The key to successful solar rice cooking lies in proper moisture management. While the basic ratio remains 1:1, you'll need to reduce water by ½ cup compared to stovetop cooking when using regular long grain rice.
Stir your rice when it reaches boiling temperature to guarantee all grains contact the liquid, and continue cooking until the liquid's fully absorbed and rice becomes tender.
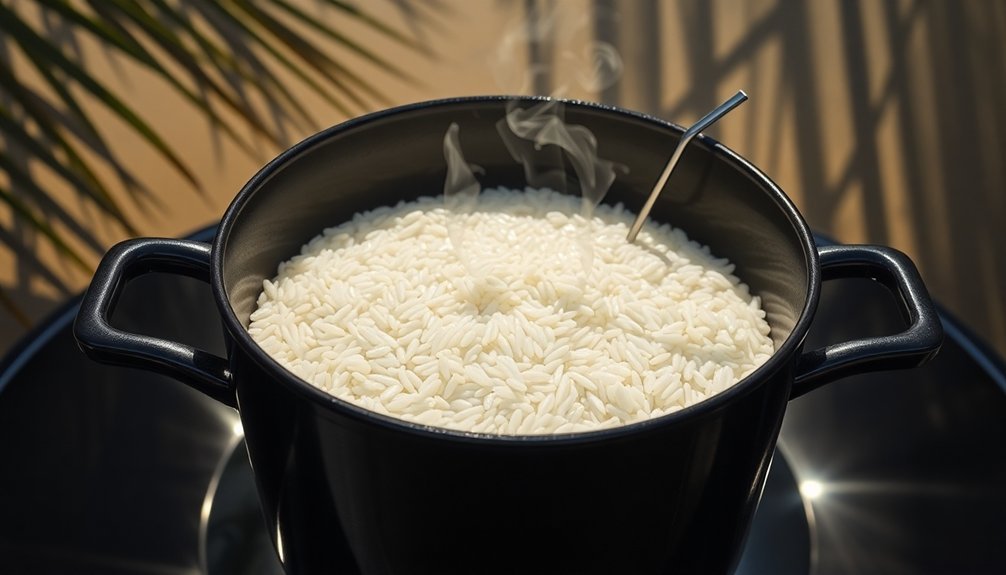
Dark Cookware Selection
Choosing the right cookware for solar cooking rice can make a significant difference in your results.
You'll want to pick thin, dark metal or black glass pots that efficiently absorb and convert sunlight into heat.
While both materials work well, dark metal pots typically heat up faster than glass, though glass retains heat longer once it reaches cooking temperature.
Heat-Absorbing Pot Materials
Dark-colored cookware stands at the heart of successful solar cooking, with specific materials playing crucial roles in heat absorption and retention.
You'll find that thin, dark-colored aluminum pots are your best choice for efficient rice cooking, as they heat up quickly and transfer warmth effectively to your food. If you're using aluminum cookware, those with dark enamel coating offer enhanced heat absorption properties.
While cast iron pots are durable, they're not ideal for solar cooking rice since they require longer heating times and more solar radiation.
Instead, consider these best material choices:
- Thin aluminum pots with dark enamel coating for quick, efficient cooking
- Dark clay or ceramic vessels mixed with grass or straw for improved insulation
- Black-painted interiors using high-temperature BBQ paint for maximum heat absorption
To maximize your pot's effectiveness, combine it with proper insulation techniques.
You'll want to guarantee airtight seals and use materials like aluminum foil or spun fiberglass to minimize heat loss.
Remember that shiny aluminum interiors can work to your advantage by reflecting sunlight onto dark pots, creating a more efficient cooking environment for your rice.
Dark Glass Vs Metal
The materials debate between dark glass and metal cookware centers on their distinct heat properties in solar cooking.
While dark glass allows sunlight penetration, it loses heat quickly through conduction and radiation, making it one of the less efficient choices for cooking rice. You'll need additional insulation if you're using glass containers to prevent excessive heat loss.
Metal cookware, particularly thin, dark metal pots, offers superior performance for solar rice cooking. You'll find that these pots heat up quickly and distribute heat more evenly than glass alternatives.
Cast iron presents another viable option – though it heats slowly, it maintains temperature consistently once hot. When selecting metal cookware, opt for dark-colored options like Granite Ware, and always use lids to retain moisture and heat.
If you're cooking rice for shorter periods, thin metal pots are your best choice due to their quick heating properties. For longer cooking sessions, consider cast iron's superior heat retention.
Whatever you choose, verify your cookware has a tight-fitting lid and is food-safe. If you need to darken your pot, use only non-toxic paint suitable for cooking applications.
Solar Cooker Positioning
Proper positioning of your solar cooker makes all the difference in achieving perfectly cooked rice.
You'll want to place your cooker in direct sunlight between 11:00 am and 3:00 pm when the sun's intensity is at its peak. Choose a dry, level surface away from potential shadows, and make sure you've got continuous sunshine throughout the cooking period.
For best results, orient your cooker based on your planned mealtime:
- For lunch, position the short front panel facing east to capture mid-morning sun
- For dinner, face the front panel westward to maximize afternoon rays
- For all-day cooking, align the cooker toward where the sun will be at noon
You'll need to stabilize your cooker, especially on windy days, using bricks or large stones.
Place your pot on a wire rack or pot stand inside the heat trap bag, making sure it's centered for maximum sun exposure.
Don't forget to adjust the cooker's position every couple of hours during longer cooking sessions, and keep the reflective flaps properly angled to follow the sun's movement.
The shadow should always fall directly behind the cooker for best performance.
Temperature Control Methods
You'll want to monitor your solar cooker's temperature regularly with a meat thermometer, aiming for a range of 180-550°F depending on your cooker's design.
On clear days, you can expect temperatures around 250°F or higher, while partially cloudy conditions might only reach 200-250°F.
It's crucial to adjust your cooking time based on these weather variations, often doubling the duration on cloudier days to achieve perfectly cooked rice.
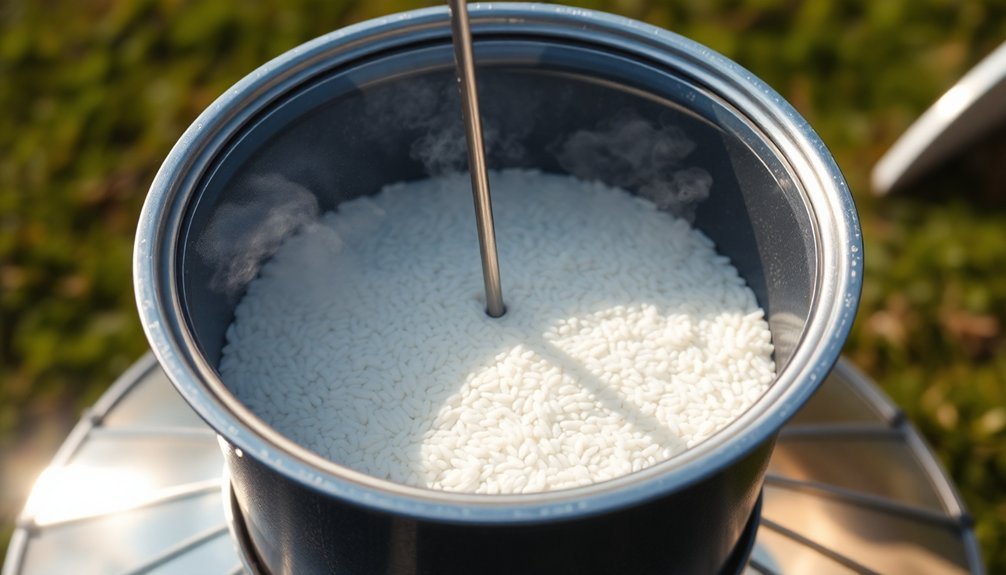
Optimal Temperature Range Monitoring
Monitoring and maintaining temperature ranges in your solar cooker stands out as a critical factor for safe, effective rice preparation.
You'll need to verify temperatures reach at least 150°F to kill harmful bacteria while staying below 225°F for ideal cooking results. Using a digital thermometer with a probe will help you track temperatures in real-time, allowing for precise adjustments as needed.
During peak sun hours (10 AM to 4 PM), you'll achieve the best cooking results. Keep your thermometer's probe inserted in the cooking vessel to monitor temperature fluctuations, and be ready to adjust your cooker's position as the sun moves across the sky.
For consistent temperature maintenance, follow these essential monitoring practices:
- Check your thermometer readings every 30-45 minutes, coinciding with the cooker's repositioning schedule
- Record temperature patterns to help predict future cooking sessions and improve your technique
- Maintain a clear view of your thermometer's display, verifying quick response to any temperature drops
When temperatures begin to fluctuate, you can make immediate adjustments to your cooker's position or reflective surfaces to maintain the ideal range.
Adjusting for Weather Conditions
Building on precise temperature monitoring, successful solar cooking demands smart adaptations to changing weather conditions.
You'll need to strategically position your solar cooker in a sheltered spot that protects it from wind while maintaining direct sun exposure. Choose a location that won't be affected by passing shadows throughout the cooking period.
To maintain consistent temperatures for your rice, you'll need to reposition your cooker every 30-45 minutes to track the sun's movement. Adjust the reflective flap's angle to keep the cooker's face perpendicular to the sun's rays.
On particularly windy days, you'll want to secure your setup to prevent it from toppling over, and consider using additional wind barriers if necessary.
You can compensate for less-than-ideal weather conditions by maximizing heat retention. Use dark-colored cooking pots with tight-fitting lids, and guarantee your cooker's insulation is properly maintained.
Line the cooking cavity with aluminum foil and surround it with multiple layers of insulation materials. If you're cooking during variable weather, you'll need to extend your cooking time and maintain a closer watch on temperature fluctuations to guarantee your rice cooks thoroughly.
Rice Preparation Steps
Proper rice preparation forms the foundation of successful solar cooking. You'll need to start with quality rice suitable for absorption cooking and measure it carefully using the one-to-one ratio as your base. Since solar cookers heat more slowly than conventional methods, you'll want to add between half to one full dose of extra water, adjusting based on your specific solar cooker type.
When preparing your rice dish, consider these essential steps:
- Measure your rice and water precisely, reducing liquid by 1/4 to 1/2 cup compared to traditional cooking methods.
- Position all ingredients so they're in full contact with the cooking liquid to guarantee even cooking.
- Add any seasonings or additional ingredients before placing the dish in your solar cooker.
If you're creating a mixed rice dish, chop your vegetables or other add-ins before combining them with the rice. You'll want to confirm everything's properly submerged in the cooking liquid.
Remember that different rice varieties like jasmine, basmati, or Japanese rice can all be cooked using similar ratios, though you may need slight adjustments based on your specific solar cooker and local conditions.
Monitoring Cooking Progress
With your rice properly prepared, successful solar cooking depends on careful observation throughout the process.
You'll need to position your cooker in direct sunlight between 10:00 a.m. and 2:00 p.m. when the sun's intensity is highest. Make sure you're adjusting the cooker's angle to effectively capture sunlight, and if you're using a parabolic cooker, reposition it every 10 minutes to track the sun's movement.
Monitor your cooker's temperature regularly using cooking thermometers. You're aiming for temperatures between 200°F and 300°F in most solar cookers, though parabolic models can reach 500°F at their focal point.
On partially cloudy days, expect temperatures to drop to 200-250°F, which will extend your cooking time.
Keep in mind that solar cooking typically takes longer than conventional methods. You'll need 6-7 hours in simple solar cookers, while parabolic models can cook rice in 20-30 minutes.
Don't forget to secure your cooker against wind using stones or bricks, and always wear sunglasses when working with parabolic cookers. Use pot holders when checking or removing your rice, as the containers can become extremely hot.
Testing Rice Doneness
Determining when your solar-cooked rice is done requires several key checks for best results. You'll need to verify that all water has been completely absorbed, and the rice grains should be soft and fluffy when tested with a fork.
While stovetop rice typically cooks in under 20 minutes, solar cooking requires 6-7 hours of bright sunlight to achieve proper doneness.
To guarantee your rice reaches the ideal temperature for gelatinization (154°F-174°F), you'll want to check these critical indicators:
- Water absorption: No visible water should remain at the bottom of your cooking vessel
- Grain separation: Individual rice grains should fluff easily and separate without clumping
- Texture consistency: Rice should be tender throughout, without any hard or crunchy spots
You can use the knuckle method when initially measuring water, placing your index finger tip on the rice surface and adding water to your first knuckle.
If sunlight becomes insufficient during cooking, don't hesitate to finish the rice indoors. Brown rice typically needs extra cooking time due to its harder grain structure, so plan accordingly when solar cooking whole grain varieties.
Safe Handling Practices

Once your rice reaches the minimum internal temperature of 165°F (74°C), remove it carefully using pot holders.
Don't let the cooked rice sit at room temperature for long periods, as this can lead to bacterial growth. If you're not serving immediately, cool it quickly to below 50°F (10°C).
Always discard any rice showing signs of spoilage like unusual odors or discoloration.
Storage After Solar Cooking
Proper storage techniques are essential after solar cooking rice to prevent foodborne illness. You'll need to cool your rice quickly and get it into the refrigerator within 1-2 hours of cooking. If outdoor temperatures exceed 90°F (32°C), you've got just one hour to refrigerate it safely.
Your primary goal is keeping the rice out of the danger zone (40°F-140°F/4°C-60°C) where bacteria multiply rapidly. Store your cooked rice at temperatures below 40°F (4°C) and use it within 3-4 days.
When reheating, verify the rice reaches 165°F (74°C) throughout, and don't reheat it more than once.
Watch for these vital warning signs that indicate your rice has spoiled:
- Bubbling or foaming on the surface
- Unpleasant or sour odors
- Discoloration or unusual texture changes
Don't taste rice that shows any signs of spoilage – discard it immediately.
Remember that properly stored rice can still become toxic without visible signs of spoilage, so maintain consistent cooling temperatures and check multiple spots when reheating. Always use a food thermometer to confirm safe temperatures.
Frequently Asked Questions
Can I Solar Cook Rice During Cloudy or Partially Overcast Weather?
You can solar cook rice in cloudy weather, but it's challenging and unreliable. You'll need extra reflectors, good insulation, and patience. It's best to have a backup cooking method ready just in case.
How Do Different Altitudes Affect Solar Rice Cooking Times?
You'll notice minimal impact from altitude on solar cooking times for rice. While water boils at lower temperatures in high altitudes, your solar cooker's performance depends more on sunlight intensity than elevation-related factors.
Is It Safe to Leave Rice in the Solar Cooker Overnight?
You shouldn't leave rice in a solar cooker overnight. It can fall into the dangerous temperature zone (50-125°F), leading to bacterial growth and toxin production. Always cool rice quickly or keep it above 125°F.
What Happens if Birds or Insects Get Into the Solar Cooker?
If birds or insects get into your solar cooker, they'll contaminate the cooking area, damage insulation, and introduce bacteria. They can also block sunlight, reduce efficiency, and make your cooker unsafe to use.
Can I Mix Different Types of Rice in the Same Solar Cooking Batch?
You can mix rice types with similar cooking times, like medium and long grain varieties. However, don't combine white and brown rice since they cook differently. Stick to mixing rice types that require similar cooking durations.
In Summary
Solar cooking your rice is a rewarding way to harness natural energy while creating delicious meals. You'll find it's both eco-friendly and cost-effective once you've mastered these methods. Remember to keep your cookware clean, position your solar cooker correctly, and always check internal temperatures for food safety. With practice, you'll be confidently preparing perfect solar-cooked rice using any of these ten proven techniques.


Leave a Reply