
You'll get better results from your solar cooker by mastering five key weather techniques. Start by choosing clear, sunny days and cooking between 11 AM and 3 PM when sunlight is strongest. Position your oven strategically by facing it toward the sun and using natural windbreaks for protection. Create a sheltered cooking area with proper elevation for ideal airflow, and keep supplies in waterproof containers. Monitor cooking temperatures with thermometers, and track the cooker's shadow to maintain perfect sun alignment. These proven methods will transform your sun-powered meals from basic to brilliant.
Pick The Perfect Cooking Day
When planning a sun-powered meal, selecting the right day can make or break your cooking success. You'll want to choose a clear, sunny day when the sun's rays are strongest, typically at high noon.
While you can still cook on partially cloudy days, you'll need to extend your cooking times and be extra careful with meat dishes. Cities like Oakland and San Francisco report very few rainy summer days, making them ideal locations for solar cooking.
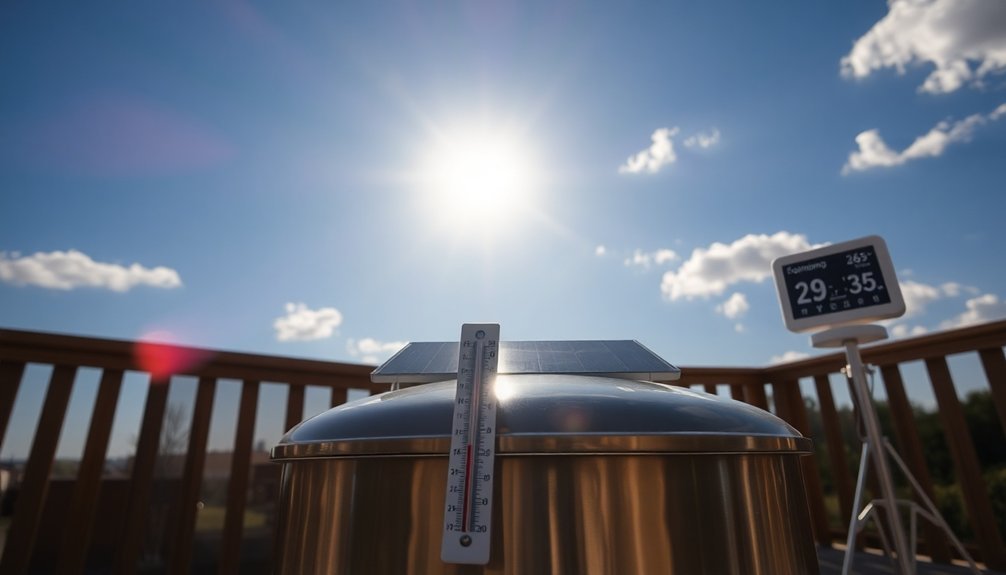
Keep an eye on the temperature too. While cooking below 90°F is generally safe, you'll need to stay hydrated and find shade.
Avoid cooking in extreme heat above 130°F to prevent heat stroke. Watch out for rain and wind, as they'll interfere with your cooking temperature and stability.
If you're in a high-altitude area, remember that water boils at lower temperatures, so you'll need to adjust your cooking time and temperature accordingly.
Strategic Oven Placement
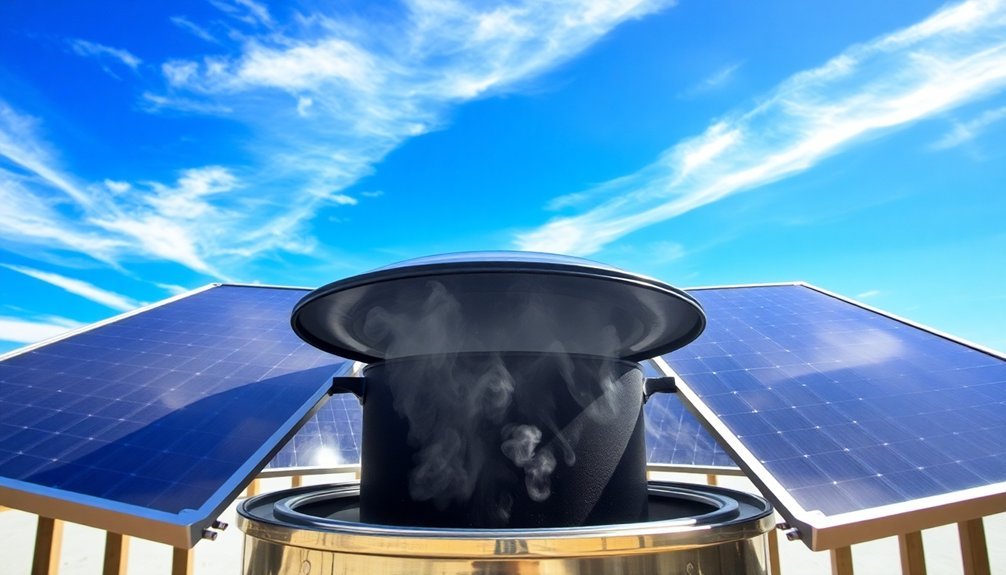
Since your solar oven's placement can make all the difference in cooking efficiency, you'll need to choose its location strategically. Position your oven where it'll receive direct sunlight for several hours, with the opening facing the sun and the reflective flap angled to maximize light capture.
Choose a spot that's sheltered from strong winds to prevent heat loss, using natural windbreaks or strategic barriers when needed. Set your oven on stable, level ground and keep it elevated for better airflow. Like traditional permanent brick installations, proper site selection is crucial since you'll want to maintain the same cooking spot long-term.
Don't forget to maintain a safe distance from flammable materials. For convenience, place your solar oven close to your house where you can easily access water, ingredients, and cooking supplies.
Consider adding nearby storage solutions to keep essentials within arm's reach while you're cooking.
Beat The Weather Elements
Because outdoor cooking requires adaptability, you'll need to prepare for various weather challenges to maintain consistent results with your solar cooking.
Start by creating a sheltered cooking area using natural materials like stones or logs to protect your setup from wind and rain. Maintaining a positive mindset while setting up will help you overcome any weather-related obstacles. You can also add awnings or utilize indoor/outdoor spaces for additional protection.
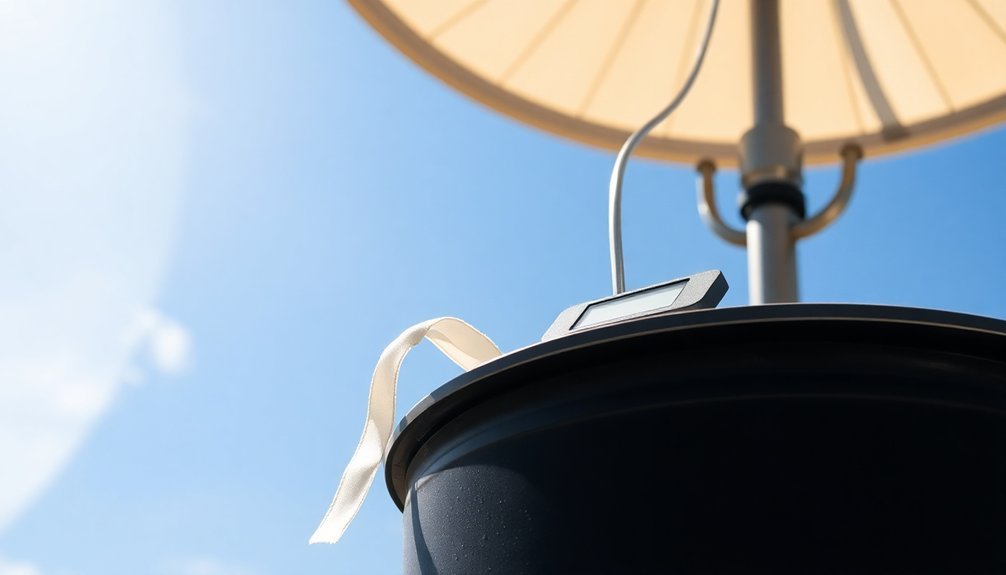
Choose high-quality, waterproof equipment that can withstand harsh conditions. Ceramic cookware offers better heat retention, while titanium pots resist corrosion.
When the weather's unpredictable, adapt your cooking techniques – try steaming or cooking en papillote instead of relying on direct heat.
Keep your supplies organized by storing dry materials in waterproof containers and using insulated coolers to maintain food temperatures.
Remember to allow extra heating time during cold weather and position your solar oven in spots that maximize available sunlight.
Maximize Sunlight Hours
To maximize your solar cooking success, understanding the ideal sunlight hours is essential. You'll get the best results between 11:00 am and 3:00 pm when the sun is directly overhead. For optimal performance, tilt your cooker so the sun hits at a 45 degree angle.
If you're planning a big meal, you can start preheating as early as 10:00 am and extend cooking until 4:00 pm for warming stages.
- Position your cooker eastward for lunch preparations and westward for evening meals
- Aim for cooking between 10:00 am and 2:00 pm when baking breads and pastries
- Keep your cooking window flexible – you'll need more frequent adjustments during shorter winter days
- Watch for your cooker's shadow to fall directly behind it, indicating prime sun alignment
Track Solar Cooking Performance
When mastering solar cooking, tracking performance helps you achieve consistent, reliable results.
You'll want to monitor key metrics like cooking power and temperature changes using basic tools such as thermocouples and a simple anemometer.
Track how quickly your water heats up compared to the outside temperature, and measure solar radiation levels to understand your cooker's efficiency.
You'll find it helpful to record both loaded and unloaded tests to evaluate your cooker's true capabilities.
For the most accurate results, use standardized testing methods following ASAE or ISO protocols.
Don't forget to note the wind speed, as it affects heat loss.
Frequently Asked Questions
Can I Cook Multiple Dishes at Once in a Solar Oven?
Yes, you can cook multiple dishes at once in your solar oven, depending on its size and design. You'll need to take into account available space, cooking temperatures, and timing requirements for each dish you're preparing.
What Happens if Animals or Insects Are Attracted to My Solar Cooker?
You'll need to keep insects and animals away as they're attracted to your cooker's warmth and reflections. Cover the cooker when not in use and clean it regularly to prevent pest problems.
How Do Different Pot Materials Affect Cooking Times in Solar Ovens?
Dark-colored metal pots will cook your food fastest, as they absorb more heat. You'll find cooking times are 30-50% longer with light or shiny containers that reflect rather than retain solar energy.
Does Altitude Affect How Well My Solar Oven Performs?
Yes, your solar oven performs better at higher altitudes due to increased UV radiation and clearer skies. However, you'll need better insulation since thinner air and stronger winds can cause faster heat loss.
Can I Use My Solar Oven to Sterilize Water or Medical Equipment?
Yes, you can use your solar oven for both. You'll need 149°F for water pasteurization (not sterilization) and over 212°F for medical equipment. Use WAPIs or thermometers to verify safe temperatures.
In Summary
You've now learned valuable tricks to harness sunlight for your solar cooking adventures. Remember to choose clear, sunny days, position your solar oven correctly, protect it from wind and weather, schedule your cooking during peak sun hours, and monitor your results. With these strategies, you'll become more efficient at solar cooking and can enjoy reliable sun-powered meals throughout the year. Start applying these tips today!


Leave a Reply