
Your sun-baked meals take longer because solar ovens operate at lower temperatures than conventional ovens, typically between 150°C to 250°C. Since you're relying entirely on the sun's energy, cooking times stretch out due to variable sunlight conditions, cloud cover, and wind factors. You'll need to adjust your cooker every 10-15 minutes to track the sun's movement for ideal heat, and peak cooking only occurs between 11:00 a.m. and 3:00 p.m. Even with perfect conditions, larger items like roasts can take 3-4 hours to cook thoroughly. Understanding these key factors can help you master the art of solar cooking.
Understanding Solar Cooking Basics
While traditional cooking methods rely on gas or electricity, solar cooking harnesses the Sun's energy through specially designed cookers that collect and trap heat.
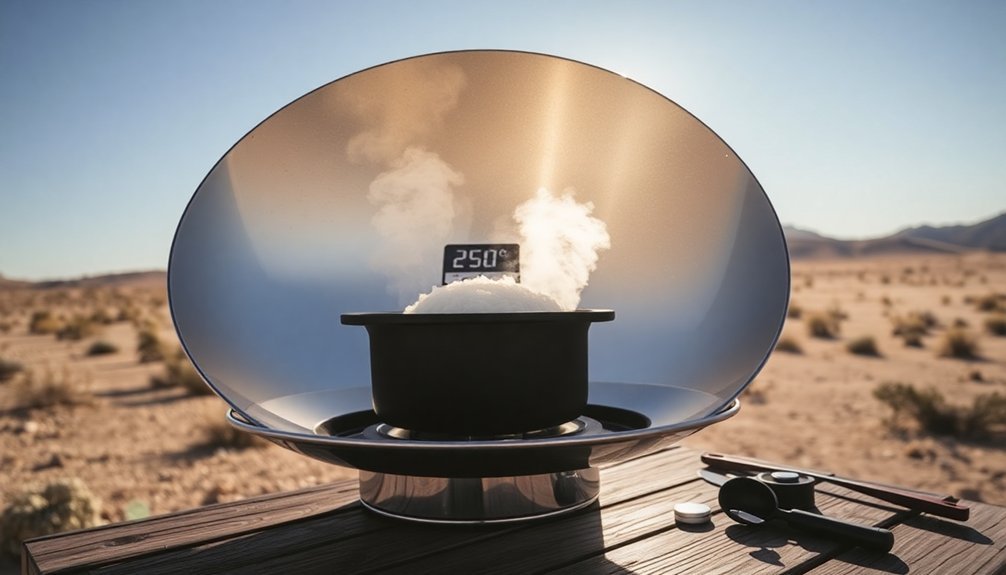
You'll find three main types of solar cookers: box cookers that work like ovens, portable panel cookers ideal for travel, and parabolic cookers with curved surfaces that achieve higher temperatures.
To cook effectively, you'll need to understand how these devices trap and maintain heat. They use reflective surfaces to direct sunlight into a cooking chamber, where black surfaces absorb the heat. For safety reasons, avoid looking directly at reflectors when checking on your food.
Clear plastic or glass coverings prevent heat from escaping. You'll get the best results using enameled metal or cast iron pans with lids, as they retain heat well and keep moisture inside during the cooking process.
Factors Affecting Solar Cooking Speed
You'll face two major challenges when managing your solar cooker's temperature: the natural fluctuations in solar intensity and the constant need to adjust your cooker's position.
As the sun moves across the sky, you'll need to reposition your cooker every 30-45 minutes to maintain ideal heating efficiency.
Your cooking success depends heavily on tracking the sun's position and making timely adjustments to keep your food in the path of direct sunlight. Using proper insulation materials like cotton or packing peanuts helps maintain consistent cooking temperatures during these adjustments.
Temperature Control Challenges
Managing temperature in solar cooking presents several interrelated challenges that affect cooking speed and efficiency.
You'll notice that weather conditions dramatically impact your cooking temperatures – clouds and wind can quickly reduce your oven's internal heat from ideal cooking ranges of 300-400°F down to ineffective levels.
Your choice of solar oven type matters too. While parabolic cookers can reach up to 800°F, panel cookers typically max out at 300°F. Most effective solar cooking happens during peak UV hours between 11:00 AM and 3:00 PM.
You'll need to match your cookware to maximize heat absorption – dark-colored or cast iron pots work best, while shiny surfaces reflect valuable sunlight.
Proper insulation becomes essential; using materials like cotton balls and newspaper helps maintain steady temperatures.
Without good insulation and airtight seals, you'll lose the thermal energy needed for efficient cooking.
Sun Position Matters
Sun position stands as a primary driver of solar cooking success, working alongside temperature control to determine your meal's outcome.
You'll achieve the fastest cooking between 10:00 a.m. and 2:00 p.m. when the sun's intensity peaks. During this window, proper orientation becomes vital – align your cooker so its shadow falls directly behind it.
For best results, you'll need to adjust your cooker every 10-20 minutes to track the sun's movement. Using dark-colored cooking containers will enhance heat absorption and speed up cooking time. If you're planning a noon meal, position the cooker to face where the sun will be mid-morning.
For evening dining, orient it toward the sun's mid-afternoon position. Remember that continuous, direct sunshine is essential throughout the cooking period.
A Lazy Susan can help you rotate the cooker more easily to maintain proper alignment.
Sun Position and Light Quality
When it comes to successful solar cooking, understanding the sun's position and light quality is essential for ideal results.
You'll get the best cooking performance between 11:00 am and 3:00 pm when the sun's rays are most direct and UV radiation is strongest.
Your location's latitude greatly impacts cooking effectiveness. If you're near the equator, you'll benefit from more direct sunlight, while higher latitudes require additional adjustments to compensate for angled rays.
You can optimize your results by tilting your solar cooker to match the sun's position, though this needs frequent monitoring, especially with parabolic models.
For less intense periods, try preheating your cooker from 10:00 am, and don't forget that elevation can work in your favor – higher altitudes often provide stronger, unfiltered UV rays despite cooler temperatures.
Weather Impact on Cooking Time
When you're cooking with solar energy, cloud cover dramatically affects your cooking time by blocking essential direct sunlight and reducing heat absorption.
You'll notice that even minor temperature variations in the ambient air can greatly impact how quickly your food cooks, with cooler days requiring longer exposure times.
The quality of available sunlight changes throughout the day and with weather conditions, so you'll need to adjust your cooking schedule based on whether you're working with bright direct sun or filtered light through high clouds.
Cloud Cover Effects
Cloud cover poses a considerable challenge for solar cooking by reflecting sunlight back into space and reducing the available solar radiation.
When clouds block the sun, you'll notice your cooking times can double compared to clear days. Even partial cloud coverage greatly impacts the solar cooker's performance.
You can take steps to adapt to cloudy conditions. Using thin, non-reflective pots and covering them with lids or high-temperature baking bags helps retain what little heat is available.
It's also crucial to rotate your solar cooker regularly using a Lazy Susan to maximize exposure to available sunlight.
Since timing becomes less reliable under cloud cover, you'll want to use a meat thermometer rather than a timer to guarantee your food is properly cooked.
Choose recipes that don't require frequent stirring for best results.
Temperature Variations Matter
Beyond cloud cover, ambient temperature plays a major role in solar cooking success.
You'll find that colder air temperatures notably slow down your cooking process, while warmer conditions can speed it up. When you're cooking on cold days, you'll notice more moisture evaporation from your food, which extends cooking times.
The humidity in your environment also affects how quickly your meals cook. If you're dealing with low humidity, moisture will evaporate faster from your food.
On windy days, you'll lose humid air from your cooker more rapidly. To combat this, you can use water pans to maintain moisture levels.
Remember to rely on accurate thermometers to monitor your cooking temperatures, as even small variations can impact your cooking times notably.
Regular calibration of your thermometer guarantees you're getting precise readings.
Sunlight Quality Changes
Throughout your solar cooking journey, you'll discover that sunlight quality greatly impacts your cooking success. Cloud cover, time of day, and environmental conditions all affect how quickly your meals will cook in a Sun Oven.
| Condition | Impact on Cooking |
|---|---|
| Clear Skies | Fastest cooking times, ideal performance |
| Light Clouds | Slower cooking, needs frequent adjustments |
| Heavy Clouds | Acts like a slow cooker, considerably longer times |
| High Humidity | Reduced efficiency, extended cooking duration |
You'll find that cooking is most efficient during clear, low-humidity days around noon when sunlight is strongest. However, you'll need to refocus your oven more frequently during mid-day hours. Early morning and late afternoon cooking requires less frequent adjustments but takes longer due to lower sunlight intensity.
Refocusing for Maximum Heat Efficiency
Maintaining ideal heat efficiency in a solar oven requires regular adjustments to track the sun's movement throughout the day.
You'll need to monitor and reposition your oven's reflector every 10 to 15 minutes to keep the sun's energy focused properly.
You can tell it's time to adjust when you notice the bright focal line shifting on the window.
In the morning, you'll want to keep the focus on the back edge, while in the afternoon, you'll need to maintain it at the front edge.
The entire oven must rotate on its vertical axis to face the sun, while the reflector tilts to match the sun's elevation.
Though this frequent adjustment might seem demanding, it's vital for achieving and maintaining the high temperatures needed for cooking.
The more precisely you align your reflector, the more solar energy you'll capture.
Temperature Control in Solar Ovens
While solar ovens offer eco-friendly cooking solutions, managing their temperature requires careful attention to several key factors.
You'll find that most solar ovens operate between 150°C to 250°C, considerably lower than conventional ovens, which means your cooking times will be longer.
To maintain ideal cooking temperatures, you'll need to focus on proper insulation. Double-walled glass tubes and vacuum technology help retain heat, while dark-colored cookware enhances heat absorption.
You'll want to use a reliable thermometer to monitor both the oven and food temperatures, ensuring safe cooking conditions.
Don't forget to take into account environmental factors that affect your solar oven's performance. Wind, cloud cover, and seasonal changes can impact cooking efficiency, so you'll need to adjust your cooking location and timing accordingly.
Food Types and Cooking Duration

When you're cooking with solar power, complex dishes like pot roasts and whole chickens will need 3-4 hours to cook properly, while simple items like eggs and pizza crackers take less than an hour.
You'll find that larger items, such as whole turkeys or briskets, require considerably more time, often 4-7 hours, compared to their smaller counterparts like fish fillets.
The density of your ingredients also plays an essential role, as dense foods like dried beans and whole vegetables need longer cooking times than lighter items like quick breads or cookies.
Complex Foods Need Time
Different foods require varying amounts of time to reach their full potential in a Sun Oven, with complex dishes demanding the most extensive preparation and cooking periods. You'll find that intricate recipes often need multiple steps, from making fish fumet to drying citrus for up to 12 hours. When you're working with complex ingredients like boned rabbit flanks or layered bacon preparations, each component adds significant time to your cooking process.
| Food Type | Prep Time | Cooking Method |
|---|---|---|
| Fish Fumet | 2-3 hours | Slow simmer |
| Dried Citrus | 12 hours | Low heat drying |
| Rabbit Flanks | 4-5 hours | Layered cooking |
| Celery Oil | 12 hours | Infusion |
| Pulled Pork | 1.5 hours | Pressure cooking |
While specialized equipment like sous vide machines can help streamline some processes, you'll still need to account for natural cooking times that allow flavors to develop fully.
Size Impacts Cooking Length
Beyond recipe complexity, the size and thickness of your food items play a major role in determining cooking duration.
You'll find that doubling your food's thickness can quadruple its cooking time, as heat needs to travel further to reach the center.
The shape of your food matters too. Even if two items have the same volume, they'll cook differently based on their surface-area-to-volume ratios.
That's why thinner foods with more surface area cook faster than thick, compact pieces. You'll notice this especially in larger cuts of meat, where heat must penetrate through multiple layers to achieve the desired internal temperature.
Remember that larger foods also experience more carryover cooking after you've removed them from heat, as they retain temperature longer and continue cooking during standing time.
Ingredient Density Matters
Just as water and oil separate in a glass, various ingredients require distinct cooking approaches due to their densities.
You'll notice this especially when working with common pantry staples, where volume measurements can be misleading. For instance, your cup of flour might weigh differently depending on how you've packed it.
When you're preparing Sun Basket meals, consider these density-related cooking tips:
- Pack brown sugar tightly for consistent sweetness
- Measure flour by weight rather than volume for better accuracy
- Account for moisture content in fresh vegetables, as it affects cooking time
- Remember that denser ingredients like root vegetables need longer cooking times
Understanding ingredient density helps you achieve better results, especially in baked dishes where precision matters most.
This knowledge guarantees your meals turn out perfectly cooked, with each ingredient reaching its ideal doneness.
Comparing Traditional Versus Solar Methods
While traditional and solar cooking methods each have their distinct advantages, understanding their core differences helps you choose the most suitable approach for your needs.
Traditional cooking offers speed, consistency, and versatility – you'll get predictable results regardless of weather, and you can use any cooking technique from searing to baking. You're not limited by time of day or outdoor conditions.
Solar cooking, however, requires more patience and planning. You'll need direct sunlight and longer cooking times, and you can't use high-heat techniques like frying.
But there are unique benefits: solar cookers are portable, making them perfect for camping, and they use gentle, even heating that preserves nutrients.
You'll also need to take into account your cookware choices, as solar methods work best with specific materials like dark-colored, thin-walled pots.
Planning Your Solar Cooking Schedule

Successful solar cooking depends on careful scheduling and attention to environmental factors.
You'll need to plan your meals around peak sunlight hours between 11:00 am and 3:00 pm when the sun's position is most favorable. Check tomorrow's weather forecast tonight to avoid wasting time on cloudy days.
Four essential steps for effective solar cooking scheduling:
- Position your oven in a wind-protected spot by 10:00 am for proper preheating.
- Track the sun's movement, adjusting more frequently in winter months.
- Organize your cooking sequence based on each dish's required cooking time.
- Use a marker board to plan multiple days' menus and track cooking progress.
Remember that your location affects cooking effectiveness – southern regions near the Equator offer more consistent solar cooking opportunities than northern areas like Oregon or London.
Meat Cooking Time Guidelines
Now that you've planned your solar cooking schedule, understanding meat cooking times will help you execute your meals perfectly.
You'll find that smaller items like eggs cook in under an hour, while cut meats need 2 to 2.5 hours. Whole chickens require 3 to 3.5 hours, and large cuts of meat can take up to 7 hours.
Your cooking times will vary based on several factors: the solar cooker's temperature, weather conditions, and your location.
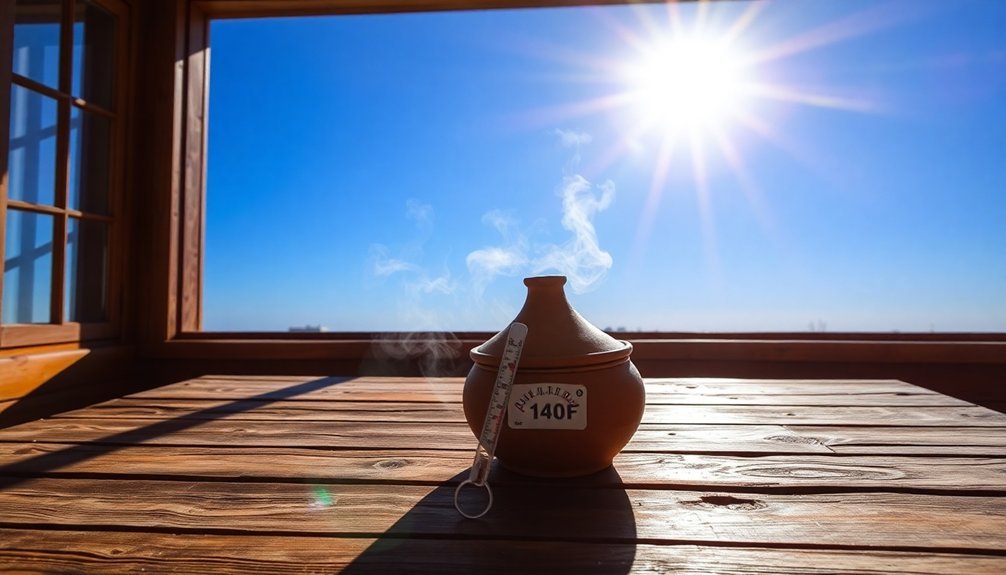
For safety, you'll need to preheat your oven to at least 140°F and monitor food with a digital probe thermometer. Ground meats should reach 160°F, while poultry needs 165°F.
Remember to stir ground meats every 20-30 minutes and adjust your oven's position every 1-2 hours to maintain direct sunlight exposure.
Solar Baking Time Requirements

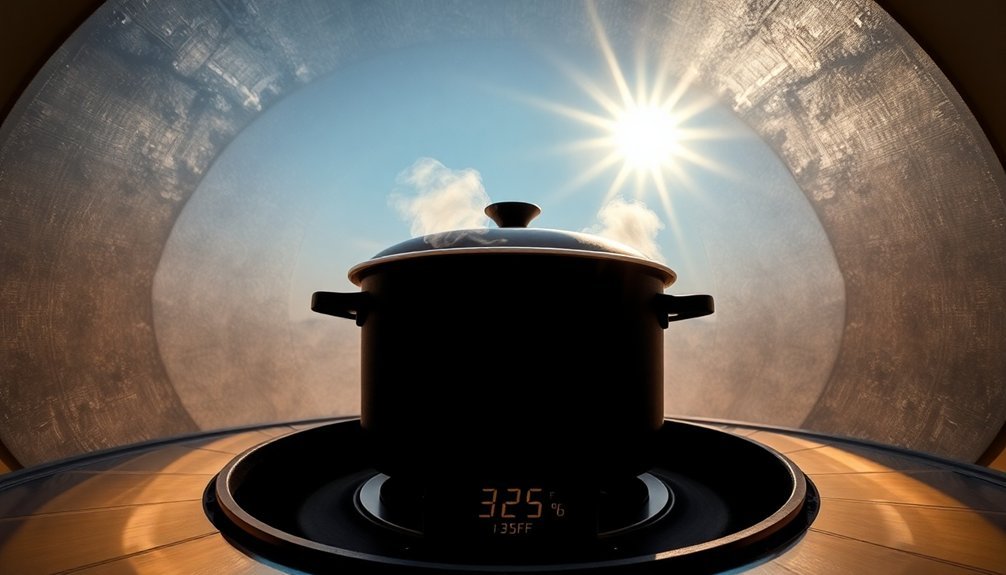
Understanding your solar oven's temperature capabilities directly impacts your baking times. When your solar oven reaches 350°F on bright sunny days, you'll find cooking times similar to your home oven. However, you'll need to adjust for longer durations during cooler weather or when temperatures hover between 250-300°F.
To guarantee successful solar baking, you'll want to:
- Install a temperature gauge to monitor and maintain consistent heat
- Position your oven to face direct sunlight, adjusting its orientation throughout the day
- Use reflectors to boost temperatures, especially in temperate regions
- Consider your latitude and time of year, as these factors affect sun exposure
Different solar cooker designs perform uniquely – parabolic models heat quickly and can reach frying temperatures, while box cookers maintain steady, even heat for baking.
Seasonal Solar Cooking Variations
As the seasons change throughout the year, your solar cooking techniques must adapt to varying sun positions and intensities.
During summer months, you'll enjoy peak cooking conditions with temperatures reaching up to 400°F, allowing for faster cooking times between 10 a.m. and 2 p.m.
Winter brings more challenges, as you'll need to adjust your cooker's angle more frequently to track the sun's lower position on the southern horizon.
You'll also find that cooking times lengthen during colder months, even on sunny days. While your solar oven won't reach maximum temperatures in winter, you can still cook effectively by preheating the oven and extending cooking duration.
If you're in the northern hemisphere, you'll get the most use from your solar cooker during summer months when sun exposure is ideal.
Tips for Faster Solar Cooking

Successfully speeding up solar cooking requires careful attention to both your equipment and technique.
You'll get the fastest results by using dark, thin metal cookware that heats up quickly, like Granite Ware pots or darkened glass pans.
- Pre-heat your solar oven for 15-20 minutes before adding food to jumpstart the cooking process.
- Cut ingredients into smaller pieces to reduce overall cooking time.
- Use lidded baking dishes to trap heat and moisture effectively.
- Position your oven in a wind-protected spot and keep it pointed directly at the sun.
Remember to choose recipes that match your available cooking time.
While whole meats might take 4-7 hours, smaller items like baked eggs and quick breads cook much faster.
Maintaining proper sun alignment throughout cooking guarantees consistent temperatures and ideal cooking speed.
Frequently Asked Questions
Can Solar Ovens Be Used Indoors Near Sunny Windows?
Yes, you can use solar ovens near sunny windows, but they'll be less effective due to window glass reducing sun intensity. You'll need large, south-facing windows and might need to adjust the cooker throughout the day.
How Do Different Colored Cooking Pots Affect Solar Cooking Performance?
You'll get the best solar cooking results with dark-colored pots, especially black ones, as they absorb more sunlight and heat. Light-colored pots reflect sunlight away, making your cooking less efficient and slower.
Does Altitude Impact Solar Cooking Efficiency and Time?
Yes, when you're cooking at higher altitudes, you'll get better solar cooking efficiency and shorter cooking times. You'll receive more direct solar radiation due to less atmospheric interference, making your solar cooker more effective.
Will Food Taste Different When Cooked in a Solar Oven?
Yes, you'll notice food tastes better when cooked in a solar oven. It retains more nutrients, moisture, and natural flavors since there's no burning or added fats, giving you tender, flavorful meals.
Can Solar Ovens Be Used to Sterilize Water or Medical Equipment?
Yes, you can sterilize both water and medical equipment using solar ovens. They'll pasteurize water at 159°F in about an hour, and with special attachments, they'll generate steam to safely sterilize medical tools in 30 minutes.
In Summary
You'll find that sun-baked meals take longer because solar cooking relies entirely on natural energy conversion. While it's more time-consuming than conventional methods, you can speed up the process by choosing ideal cooking times, maintaining proper alignment with the sun, and using reflectors effectively. Don't let the extended cooking times discourage you – the energy-saving benefits and unique flavor make solar cooking worth the wait.


Leave a Reply