
To cook food fastest outside, you'll want to position your cooking surface at a 60° angle (120° from horizontal) for ideal sun exposure. Keep your reflectors angled at 45° to focus maximum sunlight on the cooking area, and make sure your setup faces perpendicular to the sun's rays. Your cooking time will speed up by using dark-colored, flat-bottomed cookware with lids, which can reduce cooking duration by up to 40%. For peak efficiency, adjust your setup throughout the day as the sun moves. Understanding the finer points of solar angles and positioning can transform your outdoor cooking results.
Best Solar Angle Calculations
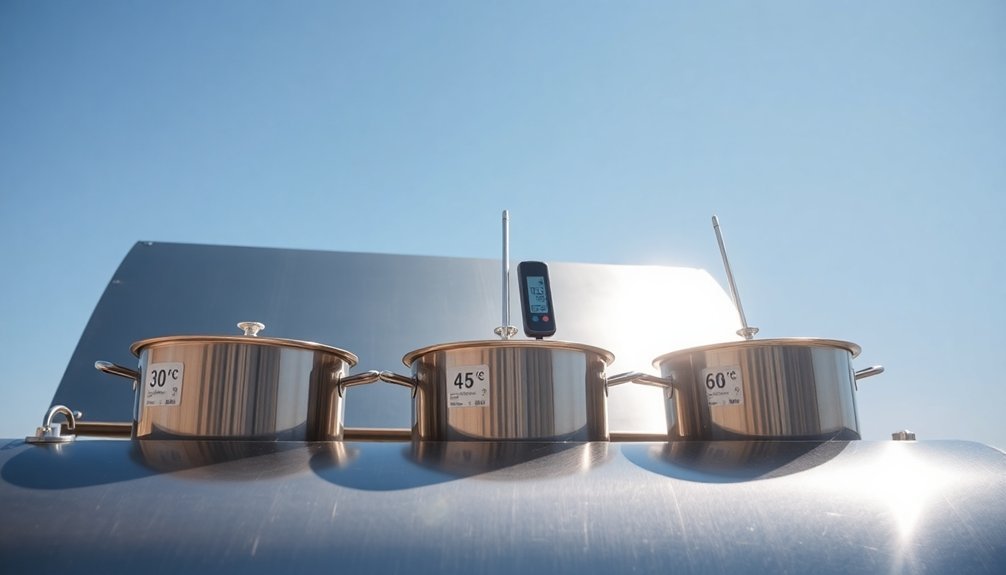
When positioning your solar cooker for ideal performance, understanding the correct reflector angles becomes essential. You'll want to keep your reflector within 22.5 degrees of perpendicular to the glass, ideally around 20 degrees if your reflector is taller than the glass width. This means setting angles between 110 and 112.5 degrees.
For most designs, you'll find a 60-degree angle (120 degrees from horizontal) works effectively, similar to the Global Sun Oven design. Regular adjustments are needed to maintain efficiency as the sun's position changes throughout the day.
If you're using a parabolic cooker, focus on maintaining a focal height that's one-fourth of your aperture length for the best angle tolerance. Remember that longer reflectors need more acute angles, while shorter ones can use shallower angles.
Your goal is to guarantee light from the reflector's upper edge reaches the far side of the glazing.
Seasonal Sun Position Effects
Beyond proper reflector angles, your success with solar cooking depends heavily on the sun's position throughout the year.
You'll find that summer provides ideal conditions, with the sun climbing higher in the sky and delivering more direct, intense rays for efficient cooking.
During winter, you'll need to adjust your cooker to compensate for the sun's lower position and weaker intensity. Tilting the cooker helps ensure more direct sunlight hits the oven surface for better results.
If you're cooking in tropical regions near the equator, you'll enjoy consistently high sun angles year-round, making solar cooking effective in any season.
However, if you're at higher latitudes, you'll experience more dramatic seasonal changes.
While longer summer days can still work well for solar cooking, you'll need to carefully time your cooking sessions and position your cooker to maximize exposure to the available sunlight.
Optimal Reflector Positioning
You'll find that proper reflector positioning makes all the difference in outdoor cooking success.
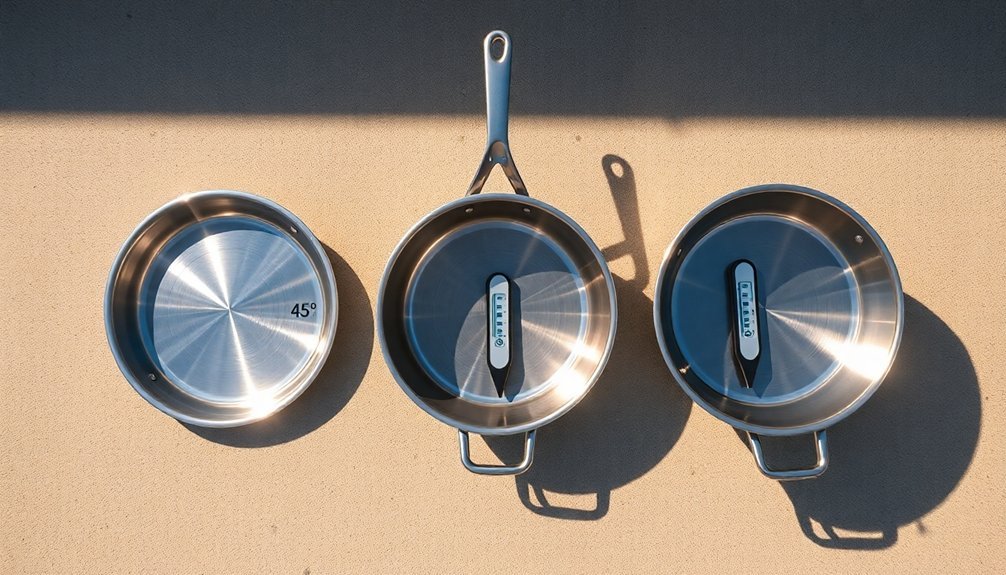
When placing metal surfaces around your cooking area, angle them at 45 degrees to focus sunlight toward your food's sweet spot.
These lightweight 1-2 pound reflector ovens provide an efficient alternative to traditional Dutch ovens while still achieving excellent cooking results.
Maximizing Solar Heat Capture
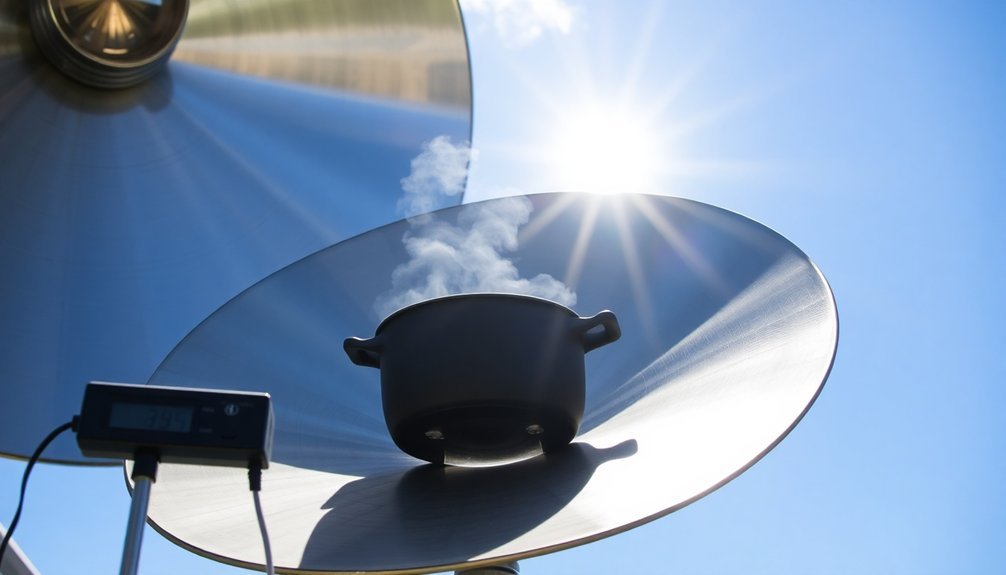
Achieving maximum heat capture in solar cooking depends heavily on proper reflector positioning. You'll want to set your reflectors at approximately 60 degrees to guarantee the sun's rays hit your cooking surface effectively.
As you position your reflectors, make certain they're tilted to face the sun directly, adjusting them as the sun moves across the sky. Optimal cooking performance requires maintaining a 15° angular tolerance for continuous unattended cooking.
For best results, you'll need to guarantee the top ray of sunlight reflects to the opposite side of your target area. If you're using a box cooker, make it longer in the east-west dimension to maintain efficiency throughout the day.
Use a deep, dark pot rather than a shallow, shiny one to increase angular tolerance. Remember, simply making reflectors longer won't improve your capture area – it's all about finding the right angle for your specific location and conditions.
Angled Metal Surface Placement
Proper angled metal surface placement takes solar cooking to the next level of efficiency.
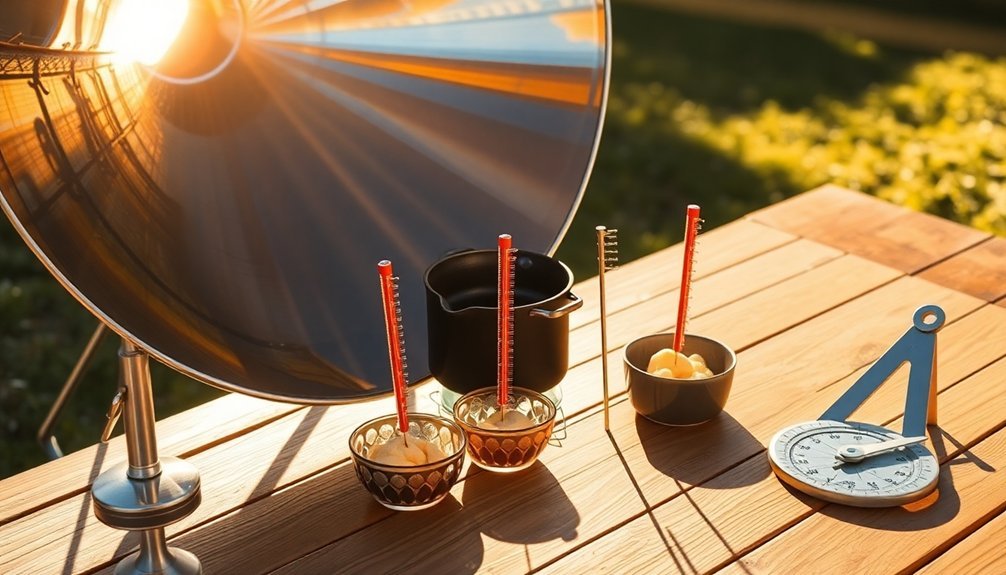
You'll want to position your reflective surface at a 30-45 degree angle for ideal heat concentration. Using adjustable mounts lets you fine-tune the angle based on sun position and cooking needs.
For the best results with your angled metal reflector:
- Install it within strategic distance of your cooking area to maximize heat reflection
- Choose highly reflective materials like polished aluminum or stainless steel
- Make sure the surface remains smooth and clean for ideal performance
- Position the reflector to direct heat precisely toward your cookware
- Adjust the angle throughout the day to track the sun's movement
Remember to use heat-resistant materials that won't warp or degrade under intense solar exposure.
The right placement will greatly reduce cooking time and improve heat distribution.
Heat Concentration Sweet Spots
Finding the ideal heat concentration sweet spots requires precise positioning of your reflector oven near the fire's edge. You'll want to place your oven a few inches from a strong wood fire, ensuring it's level and properly propped up at the back. As the fire changes, you'll need to adjust the oven's position to maintain maximum heat distribution.
| Position | Heat Effect | Action Needed |
|---|---|---|
| Too Close | Risk of burning | Move back 2-3 inches |
| Too Far | Slow cooking | Move closer to flames |
| Off-Center | Uneven heating | Realign with fire center |
| Perfect Spot | Even browning | Monitor and maintain |
| Elevated Back | Enhanced reflection | Prop with wood piece |
Consider building a vertical stick wall parallel to your oven to boost heat reflection. Using a thermometer helps you track cooking temperatures and find the perfect sweet spot for consistent results.
Direct Sunlight Exposure Tips
Position your outdoor cooker to catch the sun's rays directly in front of the setup halfway through your expected cooking time.
You'll want to monitor the sun's movement and adjust your reflective surfaces periodically to maintain ideal heat concentration on your cooking vessel.
For most effective results, check that your shadow is shorter than you're tall before starting to cook, as this indicates the sun is high enough for efficient outdoor cooking.
Sun Position For Cooking
Effective sun positioning makes or breaks your outdoor cooking success.
You'll want to position your solar oven directly facing where the sun will be halfway through your cooking time. The internal temperature should reach at least 200°F before you add any food.
- Place your cooker where shadows won't interfere during cooking hours
- Adjust the oven every 30 minutes to track the sun's movement
- Check that the sun is high enough – your shadow should be shorter than your height
- Use dark-colored pots with lids to maximize heat retention
- Tilt your cooker to match the sun's angle, especially in winter months
For best results, you'll need to monitor the oven's temperature and maintain direct sunlight exposure.
Remember that locations closer to the equator offer more consistent cooking conditions year-round, while northern latitudes require more frequent angle adjustments.
Reflective Surface Heat Maximization
The right reflective surface setup can double or even triple your solar cooking power. To maximize heat concentration, you'll want to line your cooker with smooth aluminum foil and adjust the reflective panels every 30 minutes to track the sun's movement.
Position your reflective surfaces at angles that direct the most sunlight onto your cooking vessel. You can use a ruler to prop and adjust the reflective flaps for ideal exposure.
For best results, pair your reflective setup with dark-colored cookware and cover it with a glass lid or clear plastic wrap to trap heat through the greenhouse effect.
Keep the reflective surface clean and wrinkle-free to maintain maximum efficiency. If you're using a parabolic design, align its axis with the sun's position to focus concentrated heat on your cooking container.
Solar Tracking Methods
When designing a solar cooker, implementing the right tracking method can greatly boost its performance and convenience.
You'll find several tracking options, from sophisticated automated systems to simple mechanical solutions that can help maintain ideal cooking temperatures throughout the day.
- Scheffler cookers use automated tracking powered by photovoltaic or gravity devices.
- Basic wheeled platforms can follow the sun's east-to-west motion without complex electronics.
- Parabolic designs focus intense heat up to 250°C but need manual adjustments.
- Simple mechanical trackers use two solar panels and a DC motor to automatically follow the sun.
- Reflective panel systems offer a low-cost solution using basic materials like cardboard.
Choose the tracking method that matches your needs – automated systems work best for institutions, while simple mechanical solutions are perfect for personal use.
Each system helps maximize sun exposure and cooking efficiency.
Temperature Control Through Angles
Maintaining precise temperatures on your outdoor grill starts with understanding angle adjustments and their impact on heat distribution.
You'll need to master both your top and bottom vent positions to control airflow effectively. For smoking, try opening your top vent to two stripes while keeping the bottom vent just one finger width open.
When you're setting up for indirect cooking, position your heat deflectors at angles that direct airflow around the edges of your grill. This creates even heat distribution and helps maintain consistent temperatures.
Remember that your lid's angle matters too – keeping it closed traps heat for low-and-slow cooking, while opening it allows more oxygen flow for high-heat grilling.
In windy conditions, you'll want to adjust your vent angles to compensate for increased heat loss.
Geographic Location Impact
Your geographic location's latitude affects how sunlight hits your outdoor cooking area, impacting both cooking times and temperatures throughout the day.
You'll notice that higher altitudes require longer cooking times due to lower atmospheric pressure and decreased boiling points of liquids.
When cooking outdoors, it's important to adjust your recipes and techniques based on these geographic factors, as what works at sea level won't necessarily work in the mountains.
Latitude Effects Cooking Times
Latitude considerably influences outdoor cooking times through its direct impact on solar intensity and atmospheric conditions.
When you're cooking outdoors, your location's distance from the equator affects how quickly your food will cook, especially when using solar methods.
- Higher latitudes receive less direct sunlight, requiring longer cooking times.
- Seasonal variations in day length impact the ideal times for outdoor cooking.
- Your altitude and local weather patterns can amplify or reduce latitude effects.
- Coastal locations may experience different cooking conditions than inland areas at the same latitude.
- You'll need to adjust cooking techniques based on your latitude's solar intensity.
These effects become more pronounced as you move away from the equator, where the sun's rays must travel through more atmosphere to reach your cooking surface.
Understanding your latitude helps you plan better outdoor cooking sessions and adapt your methods accordingly.
Altitude Changes Heat Levels
When cooking at higher elevations, you'll need to adapt your methods due to significant changes in atmospheric pressure and boiling points. For every 500 feet you climb, water's boiling point drops by 1°F, which means your food will take longer to cook.
At 3,000 feet, water boils at 207°F, while at 7,500 feet, it drops to 198°F. You'll notice this impact most with moist-heat cooking methods like boiling and braising, where cooking times can increase by up to 25%.
Keep pots covered to retain moisture, as liquids evaporate faster at altitude. While dry-heat methods like grilling aren't affected by lower boiling points, you'll need to watch for increased moisture loss in meats.
For best results, adjust your cooking times upward and monitor food more frequently to guarantee proper doneness.
Time of Day Adjustments
Successful outdoor food photography hinges on understanding how natural light changes throughout the day. When you're shooting food outside, timing is essential for capturing the best angles and managing shadows effectively.
- Early morning and late afternoon provide soft, warm light perfect for 45° and 75° angles.
- Midday sun creates harsh shadows, so you'll need diffusers or reflectors.
- Overhead shots (90°) work best during golden hours to minimize shadow interference.
- Use props and garnishes that complement the available natural light.
- Adjust your shooting angle based on shadow length and intensity.
You'll find that early morning and late afternoon offer the most versatile shooting conditions. During these times, you can experiment with various angles while maintaining control over shadows and highlights.
Remember to keep your background and surface choices aligned with the day's lighting conditions.
Weather and Angle Relationships
Understanding weather conditions is essential for maintaining proper cooking temperatures and ensuring food safety when grilling outdoors.
When you're positioning your grill, you'll need to account for wind direction and intensity, as they can greatly impact cooking speed and temperature control.
To maximize heating efficiency, you'll want to angle your grill perpendicular to the wind, using a windscreen when possible. This positioning helps protect the flame while allowing smoke to escape through the vents.
If you're using a charcoal grill, you might need to add more fuel to maintain consistent temperatures in windy conditions. Gas and electric grills offer better stability in challenging weather, but they still benefit from proper positioning.
Remember to secure your grill with blocks or bungee cords to prevent movement, especially during gusty conditions.
Cooking Surface Alignment Techniques
Proper alignment of cooking surfaces dramatically affects how your food cooks outdoors. When grilling, you'll want to verify your grates are level and positioned at the right height from the heat source for peak results.
For rotisserie cooking, maintaining precise alignment is vital for even roasting and browning.
Key alignment considerations for outdoor cooking:
- Position your grill on stable, level ground to prevent uneven heat distribution
- Adjust cooking grates parallel to the heat source for consistent grill marks
- Keep food items evenly spaced to avoid cold spots and verify proper air circulation
- Set up multiple heat zones by aligning coals or burners strategically
- Monitor and maintain proper distance between food and heat source throughout cooking
Remember to check your equipment's alignment regularly, as vibrations and movement can affect cooking performance over time.
Heat Distribution and Angles
When cooking outdoors, heat distribution and angles play an essential role in achieving consistently delicious results.
You'll find that griddles offer the most even heating surface, with their flat design minimizing hot spots and allowing you to cook multiple items simultaneously.
In contrast, skillets present more challenges due to their angled sides creating temperature variations, with the center typically being the hottest area.
When using a grill, heat angles (or flame tamers) greatly impact your cooking success. These V-shaped or waffle-patterned plates help distribute heat while catching drippings to prevent flare-ups.
You'll want to be aware of temperature variations across your cooking surface.
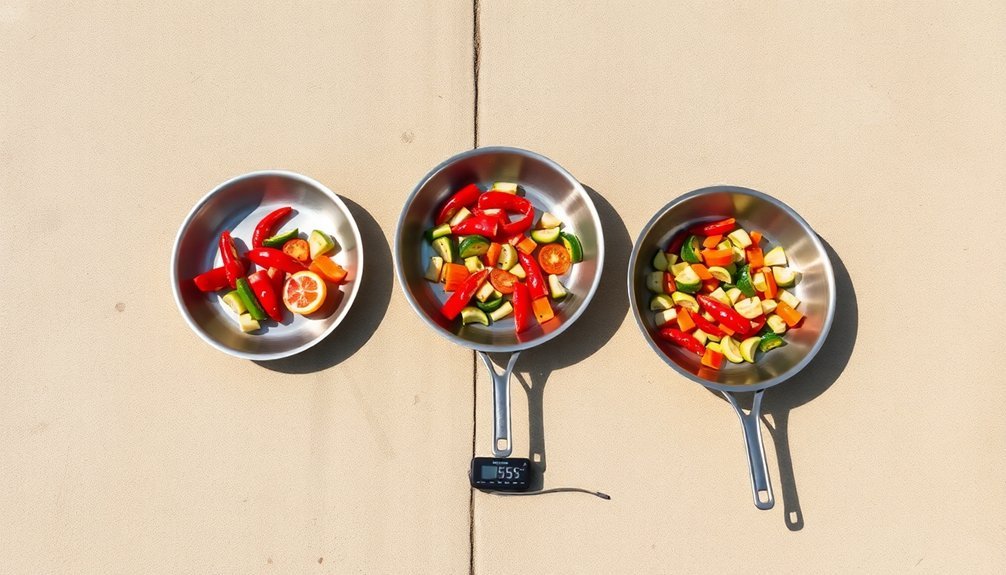
Thermal testing shows differences up to 63°F between zones, so understanding these hot spots will help you position food strategically for best results.
Maximizing Energy Absorption
To maximize energy absorption while cooking outdoors, you'll need to make strategic choices about your cookware and techniques. Use flat-bottomed, heavy-duty pans with copper or stainless steel bases to conduct heat efficiently. Keep lids on your cookware to trap heat and reduce cooking time by up to 40%.
- Choose dark-colored cookware to absorb more solar energy
- Match your pot size to your heat source
- Cut ingredients into smaller, uniform pieces
- Position your cooking setup to maximize sun exposure
- Cook larger portions at once to optimize energy use
When cooking outdoors, you'll conserve energy by defrosting food beforehand and utilizing residual heat.
Consider batch cooking multiple dishes simultaneously to make the most of your heat source. Remember, proper cookware placement and preparation techniques can greatly impact your cooking efficiency.
Frequently Asked Questions
Can Food Cook Faster When Angled Away From Wind Direction?
Yes, you'll cook food faster when you angle your grill away from the wind. It helps maintain consistent temperatures and prevents heat loss, so your food will cook more efficiently and evenly.
Does Food Container Color Affect Cooking Speed at Different Angles?
No, your food container's color won't affect cooking speed at different angles. The container's material and heat source are what matter most – color is purely cosmetic and doesn't impact cooking performance.
How Do Different Food Shapes Influence Optimal Cooking Angles?
You'll find food shapes don't greatly influence ideal cooking angles. Instead, focus on choosing the right cooking method: flat foods for grilling, tall items for roasting, and round foods for steaming or boiling.
Should Cooking Surfaces Be Tilted Differently for Meat Versus Vegetables?
Yes, you'll want different angles for meat versus vegetables. Use a 45-degree angle for meats to create sear marks and retain juices, while vegetables need flatter angles for even cooking and proper steaming.
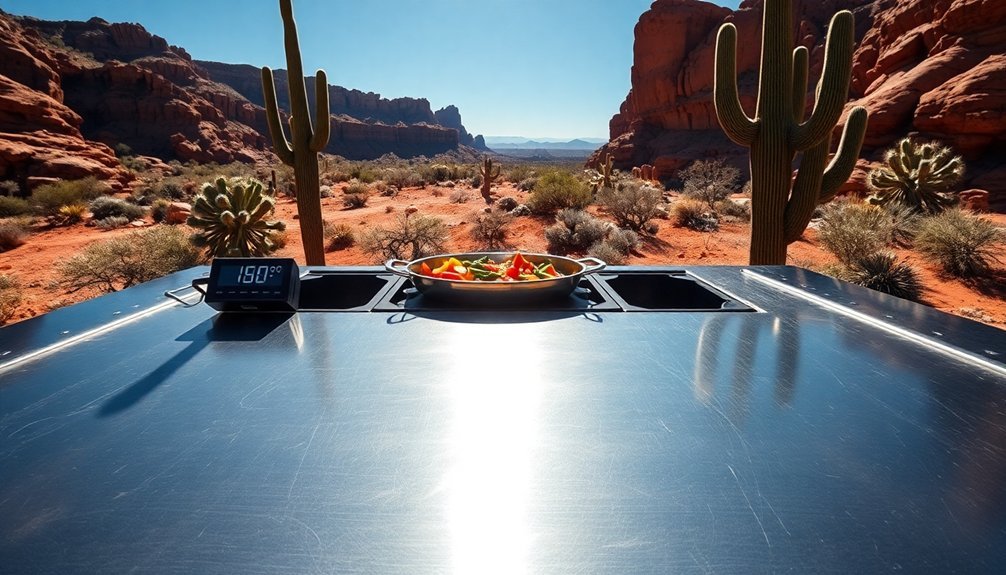
Does Altitude Change the Best Angle for Outdoor Solar Cooking?
Yes, at higher altitudes you'll want to adjust your solar cooker's angle slightly lower since there's less atmospheric interference. You'll get more direct radiation, so you won't need as steep an angle for ideal cooking.
In Summary
You'll get the fastest cooking results by positioning your solar cooker at an angle perpendicular to the sun's rays – typically between 30-60 degrees, depending on your latitude and season. Track the sun's movement throughout the day and adjust your cooker accordingly. For peak performance, keep your reflectors angled to maximize direct sunlight exposure and consider using a sundial or solar calculator to find the perfect position.


Leave a Reply