
Transform your meal prep routine with these proven sun oven strategies. Plan your weekly menu around peak sunlight hours (11 am-3 pm) and prep ingredients immediately after shopping. Position your sun oven on a level surface and adjust it every 20 minutes to track the sun's movement. Make the most of your cooking time by preparing multiple dishes simultaneously using dark-colored, BPA-free containers. Store prepped ingredients with clear labels and dates to minimize waste. Master one-pot meals like tagines and dals for maximum efficiency. Organize meal components systematically for grab-and-go convenience. These practical tips will revolutionize your solar cooking experience.
Plan Your Weekly Solar Menu
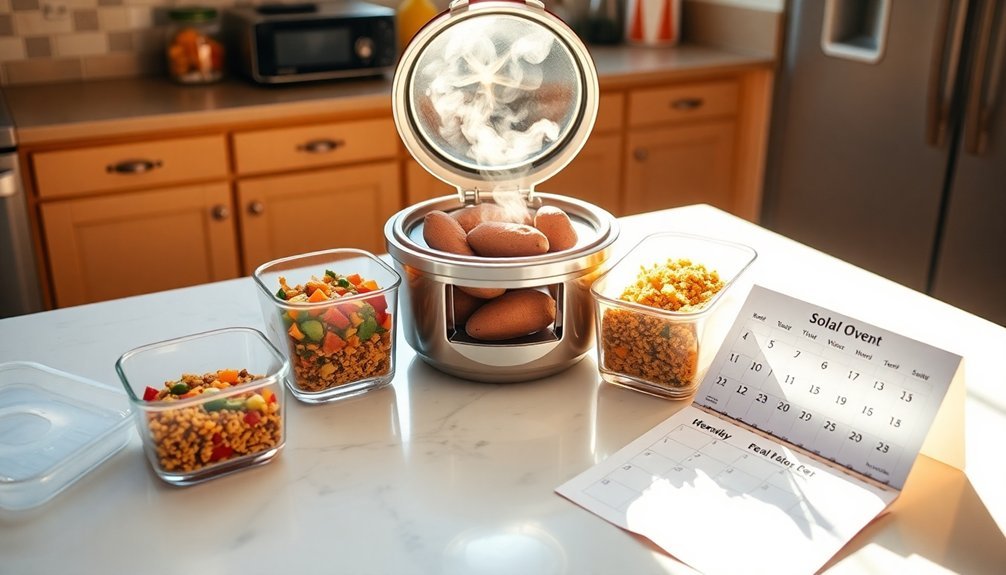
When you're cooking with a sun oven, planning your weekly menu becomes essential for maximizing solar energy use and meal efficiency.
Create a theme-based rotation that aligns with peak sunlight hours, such as slow-cooked stews on sunny afternoons or batch-cooked grains during mid-morning sunshine.
Post your solar cooking schedule where everyone can see it, and organize your menu to end right before your regular shopping day. Just like with traditional weekly menu planning, you'll want to do this on Sundays to reduce decision fatigue throughout the week.
You'll want to include a mix of quick-cooking dishes and longer ones that take advantage of the sun's natural heat.
Consider doubling recipes when possible, as sun ovens excel at batch cooking.
Keep track of successful solar meals and organize your shopping list accordingly, ensuring you've got all ingredients ready for ideal cooking windows.
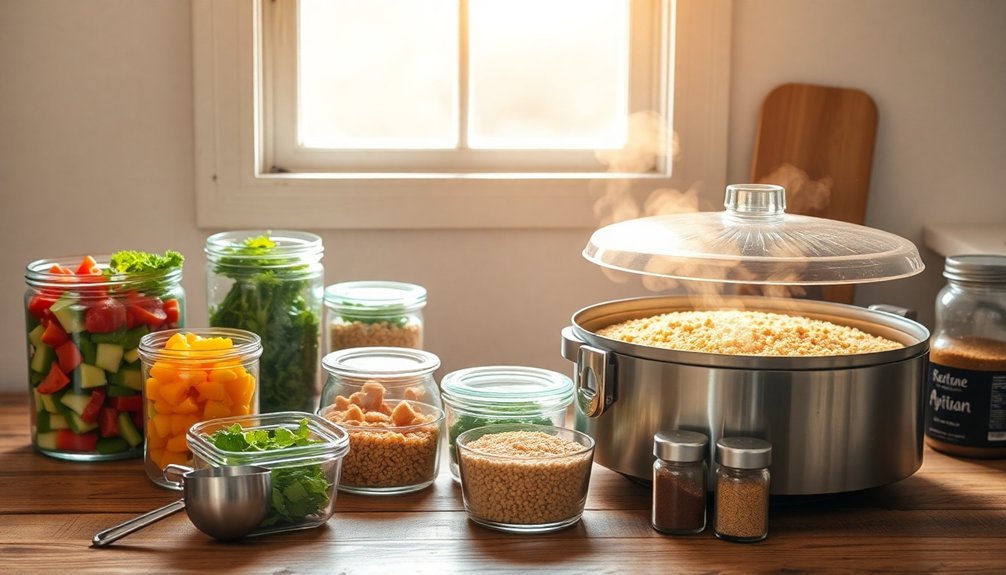
Prepare Ingredients in Advance
Start your meal prep journey by washing and chopping ingredients as soon as you get them home from the store.
You'll save significant time by batching your prep work, tackling similar tasks like chopping vegetables or measuring spices all at once.
Keep your prepped items organized and easily accessible by labeling containers with contents and dates, ensuring nothing goes to waste during your solar cooking sessions. Using dark colored containers for storage will make it easier to transfer ingredients directly to your sun oven, as they absorb heat better during cooking.
Wash and Chop Early
Taking time to prep ingredients in advance is one of the most impactful steps for efficient sun oven cooking. You'll want to wash and chop your vegetables the day before, using separate cutting boards to prevent flavor transfer between ingredients like onions and garlic.
Keep your knife sharp for quick, precise cuts.
Store your pre-chopped vegetables in labeled containers, noting both contents and prep date. You'll find it helpful to use glass containers since they don't retain odors or stains.
When prepping multiple recipes, chop all similar ingredients at once to minimize cleanup and save time. For example, if you need diced onions for several dishes, cut them all at once and portion them into separate containers. This 2-hour meal prep session can help you save several hours of cooking time throughout the week.
This systematic approach guarantees you're ready to load your sun oven as soon as the morning sun appears.
Batch Your Prep Work
By organizing your sun oven meal prep into focused batches, you'll maximize efficiency and minimize kitchen chaos. Group similar tasks together and tackle them systematically while your sun oven preheats. Use your food processor to quickly prep multiple vegetables, and arrange ingredients by cooking method and recipe requirements. This approach helps you save money while cooking since you can buy ingredients in bulk.
- Start with proteins – trim your meats, marinate your chicken, and season your fish all at once, getting them ready for the sun oven's gentle cooking process.
- Move on to starches – rinse your grains, cube your potatoes, and portion your pasta into meal-sized amounts.
- Tackle vegetables next – wash, chop, and organize them by cooking time and temperature needs.
- Prepare your sauces and seasonings – mix marinades, combine spice blends, and portion dressings into containers.
Label Prepped Items Ready
Proper ingredient preparation sets the foundation for successful sun oven cooking throughout the week.
You'll want to wash, chop, and portion your vegetables, then store them in clearly labeled containers. Confirm you mark each container with the date and contents to track freshness.
Pre-slice your proteins and marinate them in advance, storing them in microwave-safe, freezer-friendly containers.
You can also pre-cook grains like rice and quinoa in bulk, making them ready for quick assembly.
Don't forget to prepare your sauces and dressings ahead of time – they'll add instant flavor to your sun-cooked meals.
Keep your prepped ingredients organized in designated sections of your fridge or freezer.
This systematic approach confirms you'll have everything ready when it's time to load your sun oven.
Position for Maximum Sun Exposure
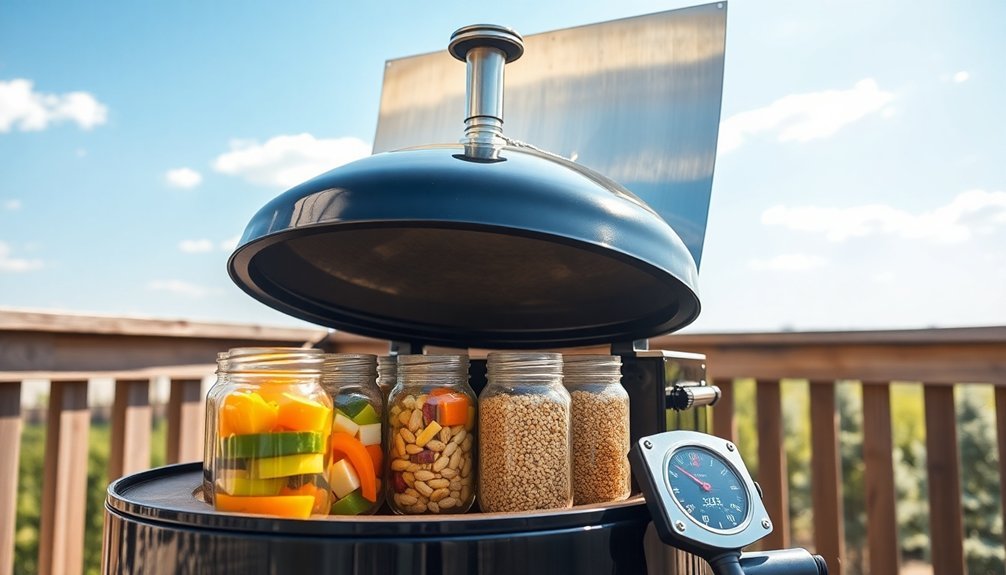
To maximize your sun oven's efficiency, positioning it correctly throughout the day is essential. Place your oven between 11:00 am and 3:00 pm when the sun's intensity peaks. For best heating, set it on a dry, level surface and orient the shorter front panel eastward for lunch or westward for dinner.
Stand behind the cooker and align it so shadows fall evenly on both sides, adjusting every 20 minutes to track the sun's movement.
- You'll feel accomplished watching shadows disappear as you perfect the tilt angle
- You'll experience the satisfaction of harnessing nature's power efficiently
- You'll enjoy the peace of mind knowing you've created the perfect cooking environment
- You'll delight in seeing your meals cook evenly with proper positioning
During winter, start earlier around 10:00 am and increase the tilt angle using the adjustable leg for better sun exposure.
Cook Multiple Dishes Simultaneously
When making the most of your sun oven, you can prepare several dishes at once through strategic layering and timing.
Stack your pots to cook different items simultaneously, like lentil soup simmering above a pot of rice. You'll maximize vertical space while ensuring even heat distribution throughout each dish.
Start with proteins since they typically require longer cooking times, then add your starches and vegetables.
You can efficiently prepare multiple meal components by using the sun oven's layered approach. For best results, organize your ingredients beforehand and preheat the oven while you're prepping.
Don't forget to realign your oven every 30 minutes to maintain consistent temperatures.
Whether you're batch cooking for the week or preparing a complete meal, you'll save time and energy by cooking multiple dishes at once.
Store Leftovers Properly

Storing your sun-cooked meals correctly guarantees their longevity and maintains their flavor. Choose BPA-free, microwave-safe containers in various sizes for individual portions, and don't forget to label them with contents and dates.
Glass containers work exceptionally well since they won't stain or retain odors from your sun-cooked dishes.
- You'll feel accomplished knowing your carefully prepared sun-oven meals are safely stored in portion-sized containers, ready for future enjoyment.
- You'll experience peace of mind seeing your labeled containers organized in your freezer.
- You'll save precious time and energy when you can quickly identify and reheat your stored meals.
- You'll be proud of reducing food waste while maintaining the nutritional value of your sun-cooked dishes.
Keep components separate and store them in a cool, dry place before refrigerating or freezing to preserve their quality.
Master One-Pot Solar Meals
Creating delicious one-pot meals in your solar oven combines simplicity with sustainable cooking practices. Start by choosing ingredients that cook well at low to medium temperatures, like chickpeas, root vegetables, and lentils.
Position your oven to face the sun directly, using a shadow test to guarantee proper alignment.
Try making a Moroccan Chickpea Tagine by combining canned chickpeas, diced tomatoes, and warming spices like cumin and cinnamon. For a hearty Dal Bhat, mix lentils with onions and garlic, letting it cook for 3-4 hours.
You'll need to monitor the temperature periodically using a thermometer and adjust cooking times based on sunlight availability.
When your dish is ready, enhance it with fresh toppings like yogurt or a splash of lemon juice just before serving.
Organize Your Meal Components
A well-organized meal prep system forms the backbone of successful solar cooking. When you're using your sun oven, it's essential to have your ingredients and storage solutions ready to maximize your cooking time during peak sunlight hours.
Keep your prepped components in clear, BPA-free containers, and label them with preparation dates to track freshness.
- You'll feel accomplished watching your neatly organized containers of solar-cooked grains, proteins, and vegetables line your refrigerator shelves.
- You'll experience peace of mind knowing your family can easily assemble balanced meals from clearly labeled components.
- You'll enjoy the satisfaction of reducing food waste by properly storing and tracking your sun-cooked ingredients.
- You'll love the convenience of grabbing pre-portioned, solar-cooked ingredients for quick meal assembly during busy weekdays.
Frequently Asked Questions
Can I Use Aluminum Foil in My Sun Oven?
Yes, you can use aluminum foil in your sun oven. It's a great way to reflect sunlight and increase heat. Line the inside walls and lid with smooth foil, but replace it regularly as it fades.
What Happens if Clouds Appear During Cooking?
If clouds appear, your food will still cook but at a slower pace. You'll need to double your cooking time and keep adjusting the oven's position every 30 minutes to maintain temperatures between 300-375°.
How Do I Clean and Maintain My Sun Oven?
Clean your sun oven's reflectors with glass cleaner, wipe the interior after each use, and deep clean with steaming soapy water periodically. Don't lock the door during storage, and keep checking the gasket's condition.
Is It Safe to Leave Food Cooking Unattended in a Sun Oven?
No, you shouldn't leave your sun oven unattended. You'll need to monitor food temperatures, adjust the oven's position every 1-2 hours, and watch for safety hazards like fire risks or animals.
What's the Maximum Internal Temperature a Sun Oven Can Reach?
You'll find that a well-made sun oven can reach maximum internal temperatures of up to 400°F (204°C) in ideal conditions. However, you'll need proper insulation and regular sun alignment to achieve these peak temperatures.
In Summary
You'll find solar cooking revolutionizes your meal prep routine when you follow these practical tips. By planning your menu, prepping ingredients, maximizing sun exposure, and cooking multiple dishes at once, you're setting yourself up for efficient, eco-friendly meals. Don't forget to store your solar-cooked foods properly and master those one-pot recipes. With smart organization and these time-saving strategies, you'll become a sun oven pro.


Leave a Reply