Keep your temperature control precise in sunlight by implementing these essential tips: Position your sensors on the north side under eaves with radiation shields for accurate readings. Set up reflector panels at 0-10° above the horizon, adjusting seasonally. Map your heat zones to identify and address cold spots. Use shallow containers and avoid stacking to prevent heat pockets. Install automated shade systems that respond to real-time conditions. Monitor weather patterns and cloud cover regularly. Track solar positions throughout the year. Maintain proper ventilation. Check equipment calibration often. These fundamentals will set you on the path to mastering sunlight temperature management.
Measuring Surface Heat Distribution
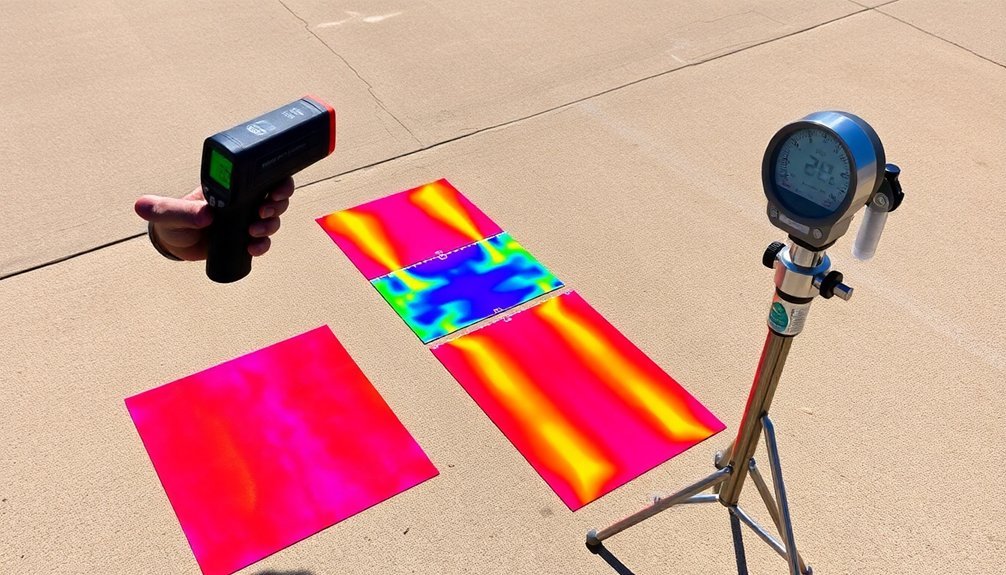
When measuring surface heat distribution in sunlight, you'll need specialized equipment to capture different types of solar radiation accurately.
Use a pyrheliometer mounted on a solar tracker to measure direct beam radiation within a 5° field of view. For diffuse radiation, you'll want a pyranometer with a shading device to block direct sunlight.
To measure global radiation, you can either use a single pyranometer or combine a pyrheliometer with a shaded pyranometer for better accuracy. While the combination method costs more, it provides more precise readings.
You can also conduct simple experiments to understand heat absorption patterns by using thermometers with black and white surfaces. This helps you observe how different colors affect temperature distribution, which is vital for designing effective temperature control systems. Regular monitoring of visible light wavelengths between 0.4 and 0.7 micrometers is essential for understanding surface heating patterns.
Reflector Panel Positioning
You'll need to position your reflector panels at angles between 0° and 10° above the horizon during winter months, while adjusting throughout the year based on seasonal sun patterns.
Research shows that using polished aluminum reflectors provides optimal results due to their high reflectivity and corrosion resistance.
To maximize energy capture, you should align your panels nearly perpendicular to the reflector plane and maintain a tilt that's lower than the sun's meridian transit altitude.
Your panel layout must account for both latitude-specific requirements and potential shading effects, which can boost energy absorption by up to 70% when properly configured.
Optimal Angle for Reflection
To achieve maximum solar energy absorption, proper positioning of reflector panels requires careful consideration of both angle and orientation. You'll want to keep the reflector angle between 0° and 10° above the horizon during winter conditions, ensuring it's lower than the meridian transit altitude to prevent blocking direct sunlight to your PV panels. Testing shows that using specular reflectors provides superior performance compared to diffuse reflectors for south-facing installations.
| Parameter | Recommendation |
|---|---|
| Winter Angle | 0-10° above horizon |
| Ideal Tilt | 15.5° for enhanced gains |
| Panel Orientation | Perpendicular to reflector |
| Size Ratio | Match reflector to panel area |
| Position Check | Avoid direct light blocking |
Position your collector plane almost perpendicular to the reflector plane for ideal results. You'll need to adjust the reflector's angular position seasonally to track the sun's movement and maximize energy absorption. Consider using curved reflectors to compensate for daily and seasonal sun position changes.
Season-Based Panel Adjustments
Proper seasonal adjustments of your reflector panels play an essential role in maximizing solar energy collection throughout the year.
You'll need to increase the tilt angle by 15° during winter months when the sun sits lower in the sky, and decrease it by the same amount in summer. If you're near the equator, keep your panels almost horizontal, but opt for steeper angles in high-latitude regions. Similar to writing a synthesis essay, you'll need to analyze multiple factors to determine the optimal panel positioning.
- Monitor your panel's performance regularly to guarantee peak energy output
- Adjust reflector angles between 0° and 10° above the horizon for winter conditions
- Face panels south in the Northern Hemisphere, north in the Southern Hemisphere
- Set your base tilt angle equal to your location's latitude
- Consider local weather patterns and obstructions when fine-tuning your adjustments
Your reflector's size and positioning should align with your area's solar path diagram, guaranteeing you don't inadvertently create unwanted shade on your PV panels.
Strategic Panel Placement Layout
Building on the principles of seasonal adjustments, strategic positioning of reflector panels demands careful attention to both placement and geometry. You'll want to place reflectors directly under your solar panels, not between rows, to maximize energy output while preventing any unwanted shading.
| Aspect | Best Practice |
|---|---|
| Position | Directly under panels |
| Angle | 0-10° above horizon (winter) |
| Size | Smaller than PV panels |
| Shape | Curved to follow sun path |
To optimize your setup, make sure the reflector's tilt angle stays lower than the meridian transit altitude. You'll need to adjust this angle based on seasonal changes – for instance, 15.5° in Calgary during winter solstice. Keep the collector plane nearly perpendicular to the reflector's plane for maximum energy absorption.
Temperature Zones Within Cooking Space
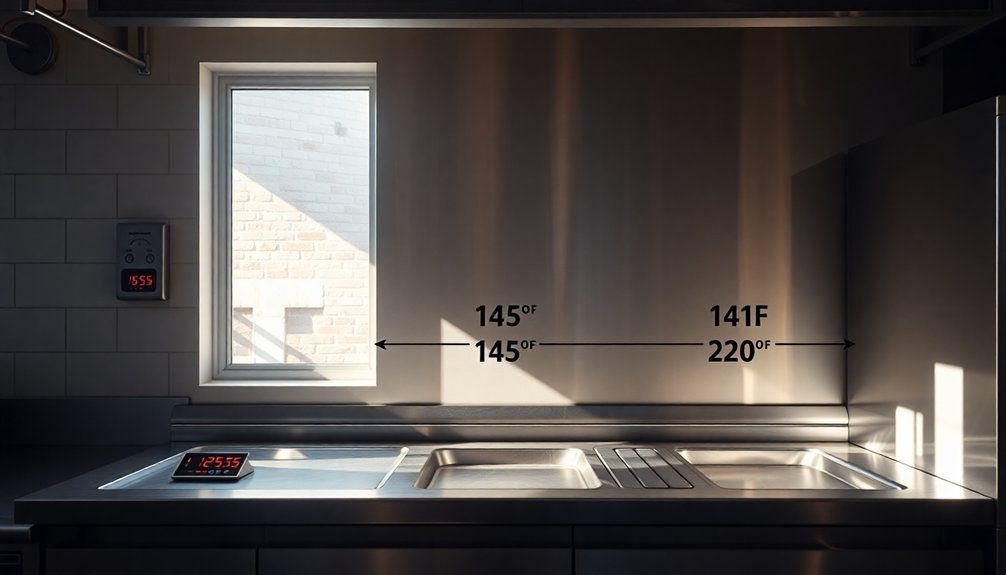
You'll need to map the heat distribution within your sunlit cooking area by taking temperature readings at multiple points to identify any cold spots.
To maintain consistent temperatures between 140-165°F and prevent cold zones, position your reflector panels to evenly distribute sunlight across the entire cooking surface.
If you discover cold spots during your mapping, adjust your panel angles or add additional reflectors to those specific areas.
Heat Distribution Mapping
Understanding temperature zones within your cooking space requires systematic heat distribution mapping to identify hot and cold spots that can affect food safety and quality.
You'll need to use Environmental Data Loggers to collect temperature data across different seasons and analyze spatial variations. By mapping heat distribution, you can optimize pan arrangements and guarantee proper airflow for even cooking.
- Place temperature sensors strategically to monitor danger zones (40-140°F)
- Track seasonal temperature fluctuations to adjust cooking parameters
- Use lattice packing strategies to maintain efficient airflow between pans
- Monitor internal food temperatures (145°F for seafood, 165°F for poultry)
- Implement simulation tools to visualize heat diffusion patterns
Remember to document environmental conditions and compare study results to identify systematic issues that might affect your cooking outcomes.
Cold Spot Prevention Methods
Preventing cold spots in your cooking space requires a systematic approach to temperature monitoring and control. Use shallow containers no deeper than two inches to guarantee even cooling and proper air circulation.
You'll want to avoid stacking containers, as this can create insulated pockets where bacteria thrive.
Set up ice baths for rapid cooling, but don't submerge your food completely. Instead, use ice paddles to cool items without diluting them, and stir periodically to distribute temperature evenly.
Monitor your food's temperature every two hours using a probe thermometer – it should reach 70°F within two hours and 40°F within six hours.
If you're dealing with larger quantities, break them down into smaller batches to maintain consistent cooling rates and prevent extended exposure to the danger zone.
Heat Loss Prevention Methods
Effective heat loss prevention requires a multi-layered approach that combines structural modifications, smart window treatments, and proper insulation techniques.
You'll want to start with your windows by installing thermal curtains and double-glazed panels, then move on to your roof by ensuring it's properly insulated to at least R-30.
Don't forget to incorporate architectural adjustments like strategic building orientation and roof overhangs to maximize heat retention.
- Install thermal or insulated curtains and apply solar control films to reflect heat back into your rooms
- Seal all gaps around windows and doors to eliminate drafts
- Choose light-colored roofing materials with high solar reflectance
- Use fans to distribute warm air evenly throughout your space
- Maintain your HVAC system regularly for peak heating efficiency
Direct Sunlight Exposure Management
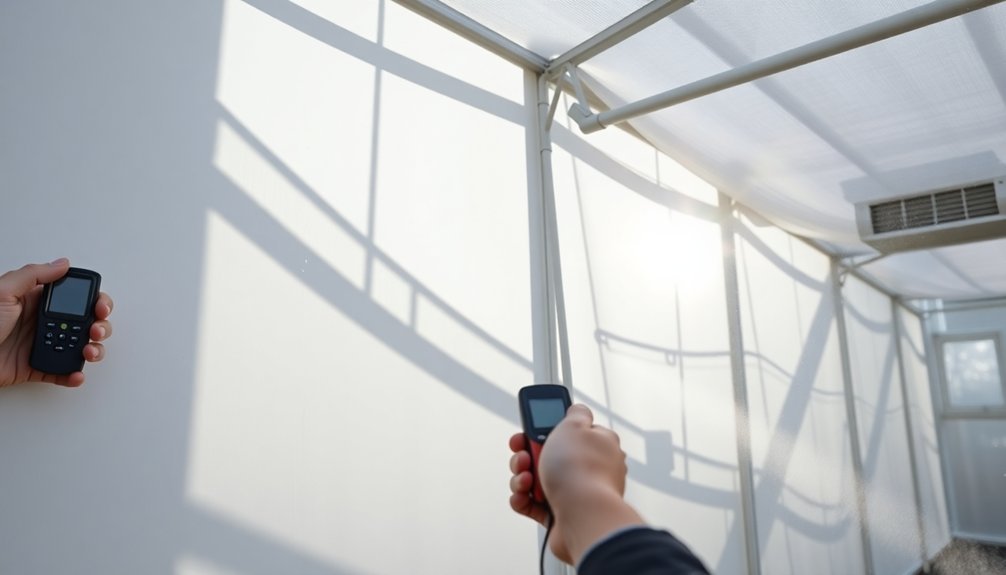
You'll find significant benefits in installing an automated shade system that responds to changing sunlight patterns while monitoring real-time light exposure.
Your strategic positioning of plants, especially tall trees or climbing vines, can create natural shade zones that adjust with the sun's movement throughout the day.
Automated Shade System Benefits
Modern automated shade systems deliver a powerful suite of benefits for managing direct sunlight exposure in both residential and commercial buildings.
You'll gain precise control over your indoor environment while saving energy and enhancing comfort. These systems can reduce heat gain by up to 77% and integrate with your HVAC system to cut energy consumption by up to 39%.
You can program your shades to adjust automatically based on time, temperature, and sunlight levels, ensuring ideal comfort throughout the day.
- Control all your shades with a single button or smartphone app
- Set schedules to automatically adjust shades during peak sun hours
- Reduce glare on screens and work surfaces for better visibility
- Save time and effort compared to manual shade operation
- Maintain consistent indoor temperatures year-round through automated adjustments
Strategic Positioning of Plants
Beyond automated systems, natural solutions offer powerful ways to regulate indoor temperatures.
When managing sunlight exposure, you'll want to strategically position your plants based on their specific light requirements. Place full-sun plants in south-facing locations where they'll receive 6-8 hours of direct light, while keeping part-sun varieties in areas that offer 3-6 hours of filtered exposure.
For temperature-sensitive plants needing part shade, utilize dappled light conditions under tree canopies or along the north side of structures.
You'll need to adjust these positions seasonally – during winter, move light-hungry plants closer to south-facing areas and consider elevating them to capture low-angle sun.
In summer, implement shade cloths to protect delicate foliage and guarantee proper ventilation to prevent overheating.
Real-Time Light Monitoring
While maintaining ideal sunlight exposure requires constant attention, real-time light monitoring systems provide an automated solution through advanced sensor technology.
You'll receive instant alerts through calls, texts, or push notifications when light levels deviate from ideal settings. The system's integrated dashboard lets you analyze data and generate reports, helping you make informed decisions about light exposure management.
- Monitor light intensity changes from your smartphone or tablet
- Set custom alerts for different times of day
- Track historical data to identify patterns in sunlight exposure
- Receive automated reports on light level fluctuations
- Adjust settings remotely to maintain ideal conditions
This technology guarantees consistent light control while saving time and energy.
The system's predictive maintenance features help you prevent potential issues before they affect your environment's temperature and lighting conditions.
Strategic Shadow Pattern Control
Through advanced shadow mapping techniques, architects and designers can now precisely control how sunlight interacts with buildings throughout the day and across seasons.
You'll find that strategic window placement and building orientation can maximize natural light while managing heat gain and reducing energy costs.
Using three-dimensional modeling software, you can analyze how shadows will fall across your property at different times.
This helps you position overhangs and shading elements exactly where they're needed to block intense summer sun while welcoming winter warmth.
You'll want to take into account your geographical location and seasonal variations when planning these features.
Temperature Monitoring Equipment Setup
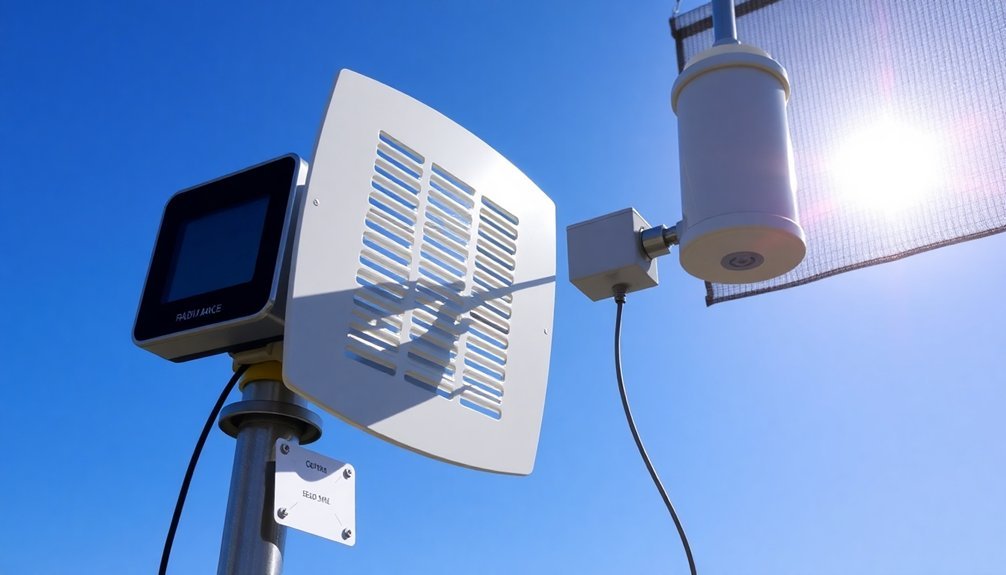
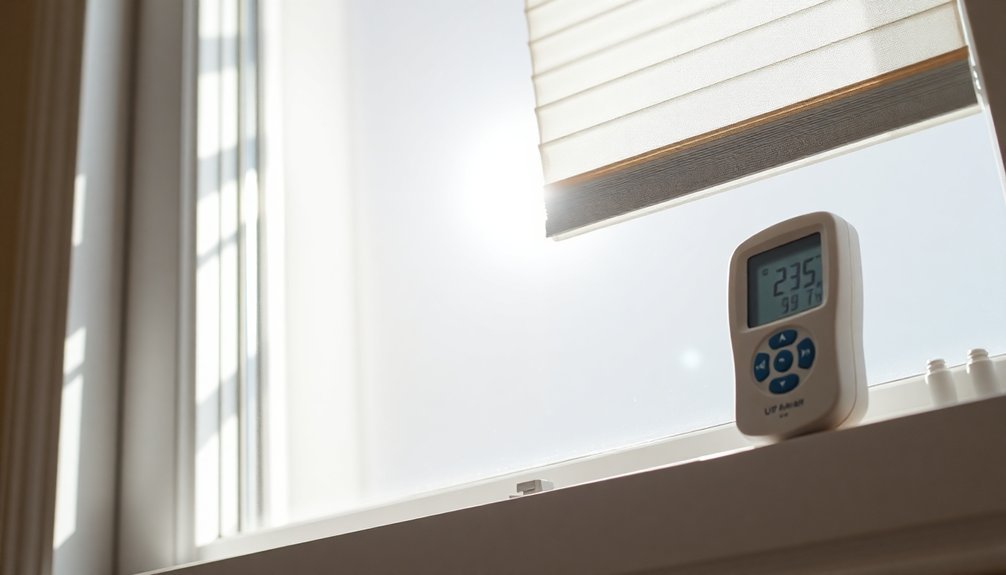
Since accurate temperature readings depend heavily on proper sensor placement and protection, setting up your monitoring equipment requires careful consideration of several key factors.
You'll want to position your sensors on the north side of your house under an eave to minimize direct sunlight exposure. For ideal results, install solar radiation shields and avoid mounting sensors on heat-retaining surfaces like metal downspouts or dark architectural features.
- Choose user-friendly sensors that match your specific temperature monitoring needs
- Mount sensors on the north side, or use east/west locations if necessary
- Install proper solar radiation shields to protect against direct sunlight
- Consider using multiple sensors to capture the most accurate readings
- Regular check and maintain your setup to guarantee consistent performance
Keep in mind that environmental factors like moisture levels and varying sunlight conditions can affect your readings' accuracy.
Heat Reflection Angle Adjustments
As sunlight patterns shift throughout the day, proper reflection angle adjustments become essential for maintaining ideal temperature control.
You'll need to match your reflectors to the sun's ray angles, using a protractor for precise measurements.
For best results, position your top reflectors at steeper angles and bottom reflectors at shallower angles when the sun is low.
You can verify your adjustments using the eyeballing technique: look at the reflector from the sun's perspective and verify you see the target area reflected back. If the top ray hits correctly, lower rays will follow suit.
To minimize unwanted heat gain, consider using retro-reflective films that bounce high-angle heat rays skyward while allowing 70% of visible light through.
This approach can lower sol-air temperature by 10% compared to standard Low-E glass.
Seasonal Solar Position Tracking
While the sun's position changes throughout the year, tracking systems help maximize solar energy collection by following its path across the sky.
You'll find both single-axis and dual-axis trackers that can adapt to seasonal variations, with dual-axis systems offering the most precise tracking capabilities. These systems use sophisticated algorithms to maintain peak panel positioning, whether it's a cloudy day or bright sunshine.
- Single-axis trackers lose only 8.3% of energy during seasonal extremes, making them efficient for most applications.
- Dual-axis systems can track both daily and seasonal movements, pointing directly at the sun.
- Open-loop trackers follow pre-programmed schedules, ideal for areas with consistent sunlight.
- Tracking software adjusts for wind conditions and diffuse light on cloudy days.
- Backtracking features prevent row-to-row shading, especially important during seasonal angle changes.
Weather Impact Response Planning
When planning for weather impacts, you'll need to understand both probabilistic forecasts and community risk thresholds to make informed decisions.
Pay attention to percentage chances of various weather events, as even low-probability scenarios can have significant impacts on your activities.
Don't let sunny conditions deceive you, especially during severe weather seasons. The combination of sunshine, high humidity, and warm temperatures can quickly lead to thunderstorm development.
Check forecasts regularly, even on clear mornings, as conditions can change rapidly.
Develop your personal "go/no-go" thresholds based on local weather patterns and your comfort level.
Consider factors like cloud cover, which can reduce sunlight by 55%, and urban structures that may block additional sunlight. These elements will affect both temperature control and safety decisions in your daily activities.
Frequently Asked Questions
How Do Different Greenhouse Glazing Materials Affect Temperature Control Efficiency?
You'll find polycarbonate and double-skinned panels provide superior temperature control, while glass offers poor insulation. Multi-layered materials reduce heat loss, and materials with IR-absorbing properties help maintain consistent internal temperatures.
What Backup Systems Are Recommended During Extended Periods of Cloudy Weather?
You'll need redundant power systems like solar with battery backup, supplemental heating units, and automated monitoring equipment. Don't forget to install backup sensors and maintain cloud-based data storage for continuous temperature tracking.
Can Automated Temperature Control Systems Be Retrofitted to Existing Greenhouses?
Yes, you can retrofit your existing greenhouse with automated temperature control systems. You'll need to integrate sensors, actuators, and control units with your current infrastructure. It's recommended to have professional installation for peak performance.
How Does Air Circulation Impact Temperature Uniformity Across Different Growing Levels?
Your greenhouse's air circulation eliminates temperature layers by moving warm air from high areas to lower levels, ensuring plants at all heights experience consistent temperatures and preventing harmful hotspots from developing.
What Role Do Ground Temperatures Play in Overall Greenhouse Climate Management?
You'll find ground temperatures strongly influence your greenhouse's climate by affecting root health, plant metabolism, and overall growing conditions. They'll guide your heating, ventilation, and plant placement decisions for ideal climate control.
In Summary
You'll achieve ideal temperature control by consistently monitoring heat zones and adjusting your reflector panels throughout the day. Remember to track seasonal sun positions and adapt your setup accordingly. Don't forget to maintain your monitoring equipment and keep it properly calibrated. When you're dealing with weather changes, stay proactive with your response plan to maintain steady temperatures in your solar cooking space.


Leave a Reply