To achieve even heat distribution in your oven, you'll need to master reflection techniques that maximize cooking efficiency. Start by positioning reflector panels at a 45-degree angle for effective heat capture, or adjust to 60 degrees for maximum concentration. Keep your reflective surfaces clean using soft microfiber cloths and avoid abrasive materials that could damage the surface. Install an accurate oven thermometer and monitor heat zones to optimize your cooking results. Regular maintenance, including proper ventilation and seasonal adjustments, will guarantee consistent temperatures throughout your oven. Master these foundational techniques to access your oven's full potential.
Understanding Solar Heat Patterns
When designing a solar oven, understanding how solar energy converts to heat is essential for maximizing cooking efficiency.
You'll need to work with both reflective and absorptive materials – aluminum foil reflects sunlight while black surfaces absorb it, converting solar energy into usable heat.
You'll get the best results by positioning your reflective panels at ideal angles to concentrate sunlight onto your cooking area. With proper design, you can achieve up to 400°F on clear sunny days.
The design should include proper insulation and a clear plastic cover to create a greenhouse effect, trapping heat inside.
Remember that environmental factors like time of day, weather conditions, and geographic location will affect your oven's performance.
To maintain consistent temperatures, you'll want to ascertain your oven is well-sealed and protected from wind, which can greatly impact heat retention.
Positioning Your Reflector Panels
Your reflector panel setup begins with careful measurements to guarantee each panel fits precisely within your cooking area's dimensions.
Position the panels at a 45-degree angle from your heat source, making sure they're securely fastened to prevent shifting during cooking.
You'll want to adjust these angles based on your heat readings, moving panels closer for more intensity or farther away for gentler cooking temperatures.
The enclosed design ensures that radiant heat from your fire is effectively captured and distributed evenly across your baked goods.
Measuring for Perfect Fit
Achieving perfect heat reflection starts with precise panel positioning and angle measurements.
You'll want to align your reflector panels perpendicular to the fire source, ensuring the angle of reflection matches the angle of incidence for maximum heat efficiency.
Set your panels on a stable, level surface using stones or built-in legs to prevent shifting. If you're using multiple panels, secure the joints with pop rivets or sheet metal screws for added stability.
Position your oven a few inches from the fire – you'll need strong flames rather than charcoal for ideal results. Placing food on a pan or grill inside the oven helps maintain consistent cooking temperatures.
Remember that environmental factors affect performance. Shield your setup from wind when possible, and adjust for altitude if necessary.
You may need to experiment with different angles through trial and error to find the sweet spot for even heat distribution.
Proper Panel Placement Methods
Proper panel positioning begins with setting the reflectors at a 60-degree angle from the box's opening for maximum heat concentration.
You'll want to install hinges on each reflector, starting with the bottom panel, then moving to the sides, and finishing with the top reflector.
When the sun sits low in the sky, adjust your top reflector to a steeper angle and the bottom one to a shallower position.
You can fine-tune angles between 30-60 degrees to track the sun's movement. If you're looking for a versatile setup, try positioning the glass at 45 degrees as an effective compromise.
Secure your panels with sheet metal screws and wingnuts to maintain stability. This design helps achieve temperatures up to 350°F in ideal conditions.
The reflectors should direct sunlight onto your cooking pot from multiple angles, creating concentrated heat for efficient cooking.
Angle Adjustment Guidelines
Three key principles guide reflector panel positioning: time of day, sun position, and capture angle.
You'll need to adjust your reflectors about every hour, rotating them approximately 10 degrees to track the sun's movement. For peak performance, set your panels at 60 degrees from the box opening, though you can adjust between 30-60 degrees as needed.
- When the sun's directly overhead, position reflectors at 30 degrees away from the box.
- At sunrise or sunset, keep the sunward reflector horizontal while the opposite panel leans 30 degrees toward the sun.
- During mid-morning (9 AM) or mid-afternoon (3 PM), set the sunward reflector at 30 degrees above horizontal with the opposite panel vertical.
- For low sun positions, use steep angles for top reflectors and shallow angles for bottom ones.
These adjustments guarantee consistent heat distribution and maximum sunlight capture throughout the day.
Optimal Cooking Chamber Setup
When designing an efficient cooking chamber setup, you'll need to contemplate three critical components: placement, ventilation, and chamber configuration.
Install your oven at working height, aligning its lower edge with the worktop for ergonomic use. Whether you choose flush or protruding installation, maintain a 3cm gap between the appliance and wall for proper airflow.
For optimal ventilation, guarantee a continuous cross-section, particularly when installing multiple ovens. Structured Air Technology creates vertical air curtains that minimize heat loss and prevent hot air blasts when opening the door.
Your chamber choice matters considerably. Single chambers work well for traditional cooking, while dual chambers offer better heat distribution.
For maximum versatility, consider multi-cook ovens with independent chambers that let you steam, bake, and grill simultaneously without flavor transfer.
Seasonal Angle Adjustments
Fine-tuning your front heat zone throughout the year guarantees consistent baking results across all seasons.
You'll need to adjust your front heat settings based on your top heat level – when it's set at 3-4, keep the front at zero; at 5-6, increase it to plus 1; and at 7-10, raise it to plus 2.
To modify your front heat zone settings, press and hold the set button while turning the main switch, then use the plus or minus signs to reach your desired level.
- Lower your front heat settings for deep dish and pan pizzas
- Increase settings for high-temperature Neapolitan-style bakes
- Consider door opening frequency when adjusting settings
- Monitor ambient temperature by holding the set button
These adjustments maximize your hearthstone's potential while ensuring even heat distribution throughout your baking sessions.
Metal Surface Maintenance
You'll need to keep your oven's reflective surfaces spotless to maintain ideal heat distribution performance.
Clean interior metal surfaces with a mild detergent solution, avoiding abrasive cleaners that could scratch or damage the reflective coating.
Don't forget to polish your heat shields regularly with manufacturer-approved products to preserve their heat-reflecting capabilities.
Cleaning Reflective Interior Surfaces
Maintaining reflective interior surfaces in your oven requires a careful balance of effective cleaning and surface protection.
You'll want to start by creating a gentle cleaning paste using 3/4 cup baking soda mixed with 1/4 cup warm water. For enhanced results, add a few drops of tea tree essential oil to boost cleaning power without damaging the reflective coating.
- Use a plastic scraper or old toothbrush to remove stubborn deposits without scratching.
- Apply the baking soda paste with a paintbrush, avoiding direct contact with heating elements.
- Create a vinegar-water solution for steam cleaning at 250°F.
- Wipe surfaces with microfiber cloths to prevent streaking.
After cleaning, verify you thoroughly dry all surfaces with a soft microfiber cloth to maintain ideal heat reflection and prevent water spots that could affect your oven's performance.
Polishing Metal Heat Shields
Beyond clean reflective surfaces, proper metal heat shield maintenance guarantees ideal heat distribution in your oven.
Start by sanding the heat shield using progressively finer grits up to 1000 to remove any surface imperfections. You'll need to select appropriate buffing tools and compounds based on the metal's condition.
Begin polishing with a felt bob or sisal buffing wheel attached to an electric drill, running at 3,000 RPM or less. Apply jewelers' rouge or polishing compound in varying directions, maintaining medium pressure.
Switch to finer compounds as needed, using a clean buffing wheel for each new compound. Don't forget to rake your buffing wheel between compound changes to prevent cross-contamination.
Finally, use a cotton spiral buffing wheel for the finishing touches, achieving that mirror-like finish that'll maximize heat reflection.
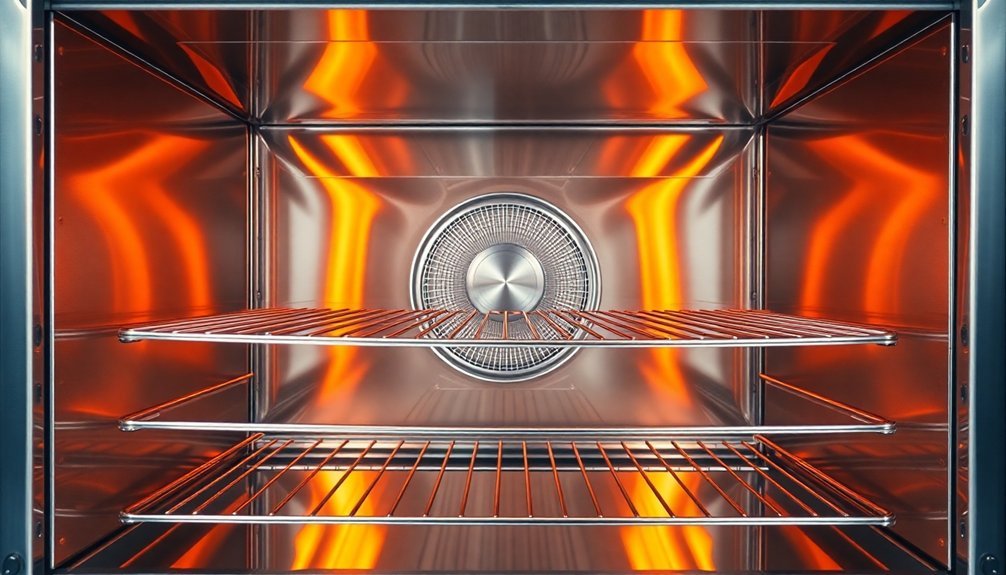
Heat Zone Management
Understanding how heat zones behave in your oven is essential for achieving consistent cooking results.
You'll find hot spots near heating elements, particularly in corners and along steel side walls. In electric ovens, these zones form around visible coils, while gas ovens concentrate heat near bottom burners.
To identify your oven's unique heat patterns, try the bread test by laying white bread slices in a grid pattern at 350°F. After 5-10 minutes, you'll see where hot spots exist through varying browning patterns.
- Use the middle rack for even cooking most dishes
- Position thicker parts of meat toward hot zones
- Rotate pans 90 degrees during baking to prevent burnt edges
- Keep the oven door closed to maintain consistent temperatures
Master these patterns, and you'll dramatically improve your cooking precision.
Weather Impact Solutions
To combat weather's effects on your oven's performance, you'll need to implement strategic adjustments throughout the year.
During cold weather, insulate your oven doors and minimize opening times to prevent heat loss. In hot conditions, guarantee proper ventilation to avoid overheating and maintain consistent temperatures.
Monitor humidity levels and adjust your baking times accordingly. When it's humid, you might need to extend cooking times slightly, while in dry conditions, consider adding a water pan to prevent excessive drying.
Pay attention to your oven's ventilation system—clean vents regularly and adjust airflow patterns based on weather conditions.
Install an accurate oven thermometer that's less susceptible to external temperature fluctuations, and maintain proper breakpoint settings in convection ovens to guarantee even heat distribution regardless of weather changes.
Frequently Asked Questions
Can Ceramic Bakeware Affect Heat Distribution Differently Than Metal Pans?
Yes, your ceramic bakeware heats slower but distributes heat more evenly than metal pans. You'll notice it maintains consistent temperatures throughout cooking, though it'll take longer to initially heat up.
How Do Different Oven Door Gasket Materials Impact Heat Reflection?
Your oven's fiberglass rope gaskets will reflect heat better than PVC alternatives, maintaining consistent temperatures. When properly sealed, they'll bounce heat back into your oven cavity, creating more even cooking conditions.
Does Using Parchment Paper Interfere With Even Heat Distribution?
No, your parchment paper won't considerably interfere with heat distribution. It actually helps create a protective barrier that promotes even baking by shielding your food from direct heat while allowing proper air circulation.
What Role Does Oven Insulation Quality Play in Heat Reflection?
Your oven's insulation quality directly impacts heat reflection, as high-quality insulation reduces heat loss and maintains consistent temperatures. You'll get better cooking results when reflective surfaces efficiently bounce heat back into the cavity.
Can Using Multiple Oven Thermometers Improve Heat Distribution Monitoring?
Yes, you'll get a more thorough view of your oven's temperature variations by using multiple thermometers. They'll help you identify hot spots, cold zones, and monitor overall heat distribution throughout your baking space.
In Summary
You'll achieve the best results from your solar oven when you've mastered heat reflection techniques. By adjusting your reflector panels seasonally, maintaining polished surfaces, and managing heat zones effectively, you'll create consistent cooking temperatures year-round. Don't let weather conditions discourage you – with proper positioning and maintenance of your reflection system, you'll overcome most environmental challenges. Keep experimenting to find what works best for your setup.


Leave a Reply